4 X 7 ½ ft. Caledonian Layout
Posted

Full Member
This is my very fist layout and I have always wanted one, so I'm very happy to share it with all of you!
Part Two!Again, I have put the photo with a description below it.
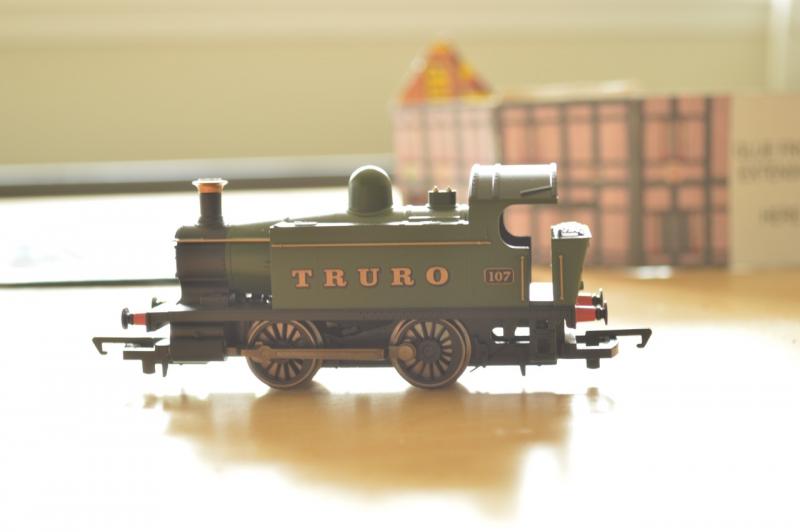
The class 101 0-4-0t in "Truro" livery she's a very nice model.
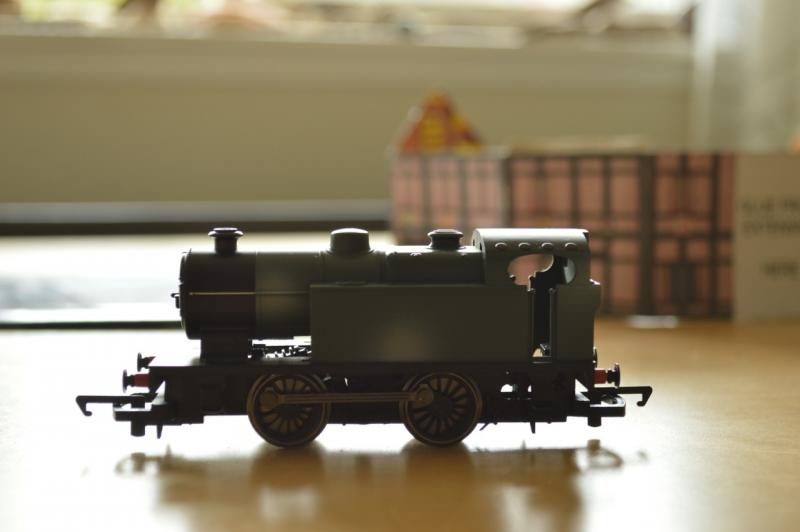
The Class D 0-4-0T. She's unpainted, and I'm pretty sure she's custom. She's very unique.

Another Class D 0-4-0T in "lion works Collieries" livery. In case you were wondering, she's maroon colour.

The "Old Oak Pub I'm building. I downloaded it for free from Townscene
That's all for part two but part three, hopefully the last part will be up soon.
- Darius

Posted
Full Member
Same as the last two time! you should know this by know! :It's a no no

I got this for 1 CAD for a spray-on adhesive to make wire trees. I hope it can hold the lichen.
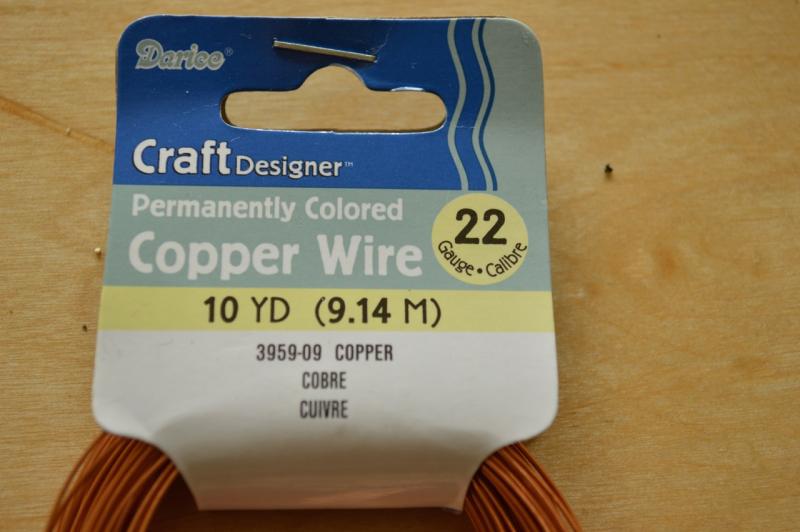
This is the copper wire I got. It is bendable enough for making trees, but still firm enough to hold its shape.
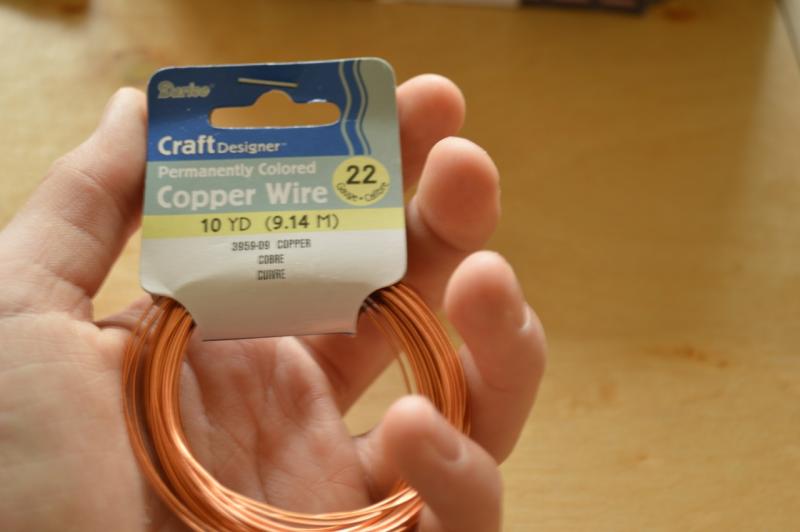
I'm posting this one just so you can see how thick it is against my hand.
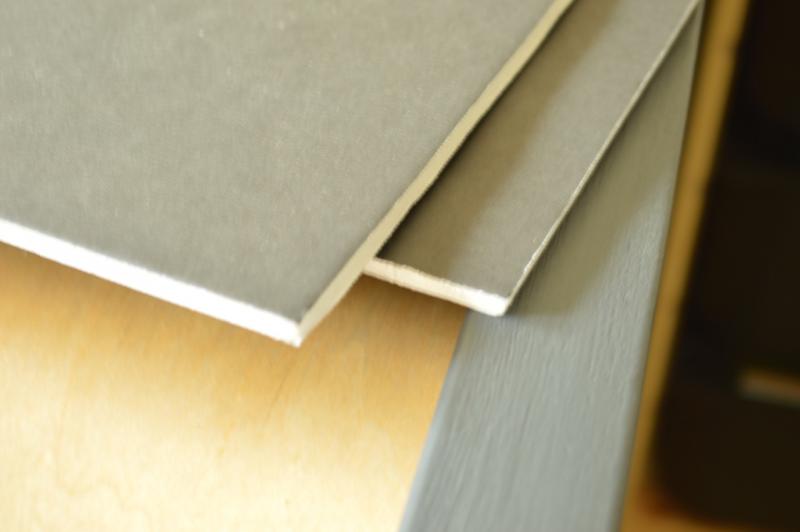
These are the two sheets of foam core I got for making buildings. They are roughly 50 x 70 cm. (30 x 20in). I got black to hide "cracks" in the corners of buildings better.
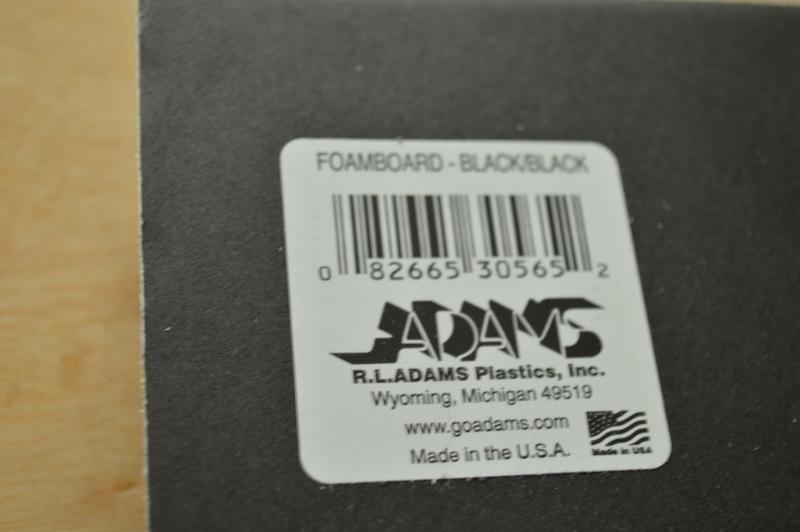
The label. I got two sheets and they were 1 CAD each.

Fun at the beach!
That's all for now. Our stuff arrives next weekend and I'll try to post something before then. I might try to buy a used tender loco from ehattons.
~ Darius
- Darius
Posted
Guest user
Looking forward to seeing your trees and buildings. Remember the pictures once you get them made.
It won't be long before your stuff comes now.
Have fun
Toto
Posted

Inactive Member
I like the idea of the baseboard over your bed.
Make sure you're getting enough sleep, now. ;-)
Max
Port Elderley
Port Elderley
Posted
Full Member
Hi Everybody!
Sorry guys, I have been meaning to tell you , but our shipment was bumped back to the 6th of April. Please forgive me for not letting you know
 . But the good news is that we have a dog! I'm afraid to say there's nothing much else worth mentioning…
 Last edit: by D_Will
- Darius
Posted

Full Member
What breed ?
'Petermac
Posted
Full Member
- Darius
Posted
Guest user
Cheers
Toto
Posted
Full Member
Sorry I haven't been around! Nothing much has happened concerning the railway, but now something big (metaphorically… literally speaking it's small
 ) has come up. But first off I'll show you pictures of the dog, as I've already said, she is a saluki-keeshond mix, she's 2 years old and her name is Luna! She was actually rescued from Saudi Arabia, and my uncle brought her back to Alberta, then my parents drove out to get her.
My sister took the picture (in case you were wondering…..;-))
Anyways, can you guess what I got? It's blue, long and has steam coming out its top. Thomas the tank engine? No. A whale? No. A big… blue bus… that's steam powered? NO!!!!!! It's this! (they say a picture's worth a thousand words…
) 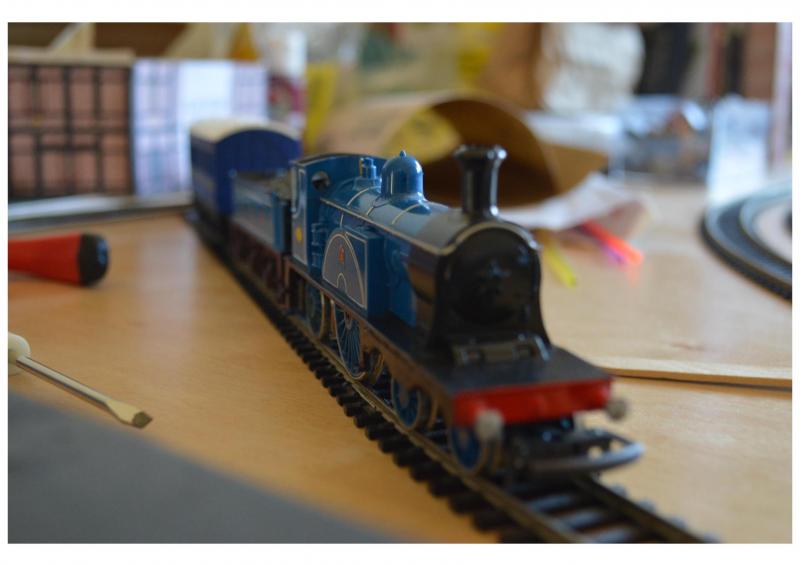

Yes! It's so exciting! It's the Hornby tri-ang R354 (loco) and R554 (tender) It's an older plastic body model, with some pick-up modifications you will see later. It also has a crew added inside.
After a nice long test run (it's fast, and can pull everything except the breakdown crane without help) I took her apart to give her a good cleaning and here is how I did it. the idea came from here:
http://www.youtube.com/v/R3GzV0i_wW8?version=3
DISCLAIMER: This is not my video or Idea. I am just using it as an example, because it helped me.
My Process:

I used a silicone pastry brush to put this onto a piece of paper towel, seen in the photo below. Make sure you wash the pastry brush before using it…. be unfortunate if you used it with the rubbing alcohol still on it…

This was my setup. I had a short piece of track with buffers at either end, a piece of paper towel moist with rubbing alcohol, and i would run the wheel sets back and forth on the track through the paper towel. I got the excess of with que-tips dipped in rubbing alcohol.
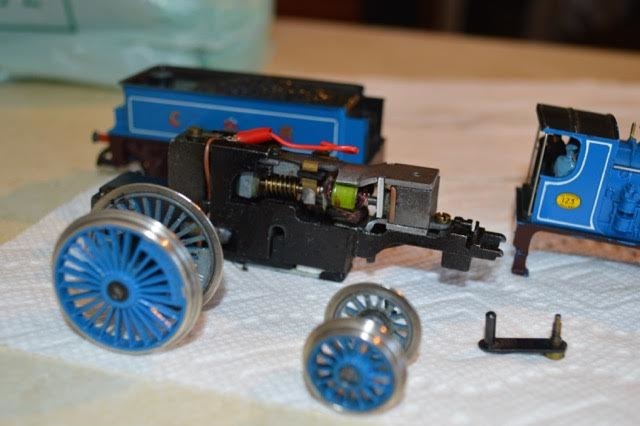
Most of the parts. Thankfully I found a service sheet on this loco, otherwise I might was still been trying to get the body off… (Just in case you were wondering, The links are here:
and

The body has some modifications above where the front bogie is. you can just see them here. they are two pieces of brown wood (one on either side) to make the front look chunkier. That was one of the problems with the original/current model, is that above the bogie there was a huge airspace that looked rather odd.
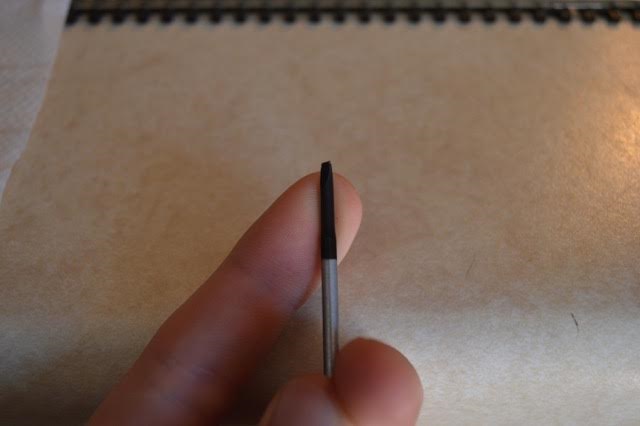
This was the only screwdriver that worked for me. I found it annoying how most of the screws needed different bits/sizes.
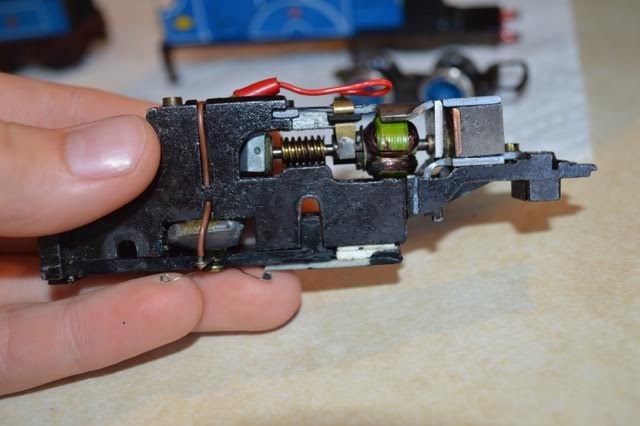
The whole motor unit. Right on top of my two bottom fingers you can see the added pickups. they rub against the back two wheel sets. Oddly enough, the front bogie pickups are missing!
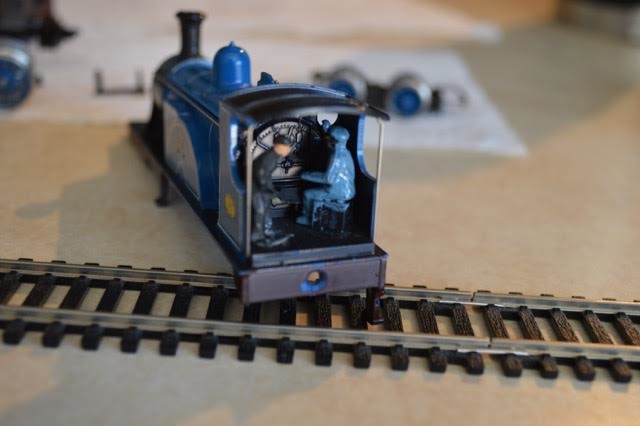
Last piccy showing the cab detail. That's it. I did that to all of my trains, and they all run a bit better.
Next, I need to "book an appointment" with grandpa, so he can help me lay the foam (it's at his house). Then I'm going to be laying track, cork, and last on the list will be to install the point controls. I'm going to be using something similar to Gem Merconrtol (https://www.youtube.com/watch?v=6swLGPqlrLA) This is bassicaly what I will be using:
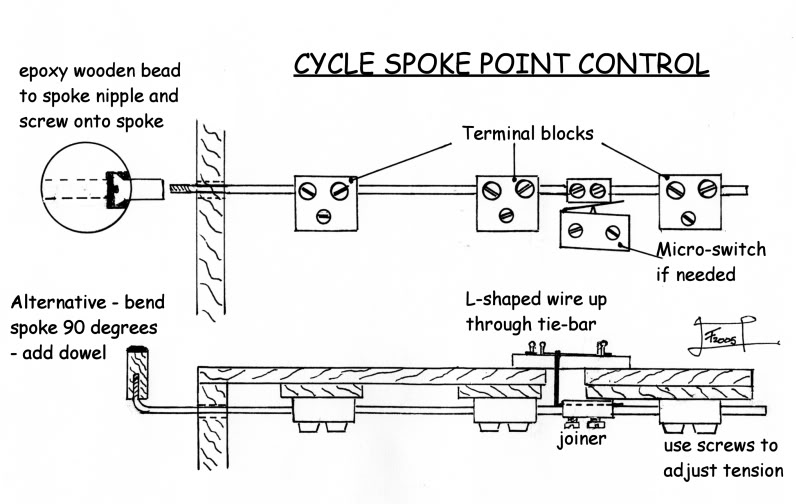
As I'm not quite sure what to do here, any help would be appreciated as always!
Darius!
Last edit: by D_Will
- Darius
Posted

Inactive Member
Nice job on the loco maintenance. That motor looks to be very well preserved and in good condition.
The point control method you propose there with the bicycle spokes will work very well, however that method really means that each bike spoke is positioned at 90 degrees to the point and extends out to the baseboard edge. The method is very simple and practically bomb proof, however connecting it up to a bank of Gemcontrol levers would be more involved.
Some people also use a sliding DPDT switch, instead of a handle or knob, to activate the throw of the point. This has the added benefit of either allowing you to change the frog polarity or indeed operate indicator lights on your control panel.
See this link and scroll down to a posting by 16A
http://www.modelrailforum.com/forums/index.php?showtopic=16212&st=0&p=174903&#entry174903
:cheers Gormo
"Anyone who claims to have never made a mistake, never made anything!!"
https://sites.google.com/site/greatchesterfordmodelrailway/home
https://sites.google.com/site/greatchesterfordmodelrailway/home
Posted

Banned
Another alternative is to use brake cables from a bicycle. These are flexible enough to run underneath the baseboard, anywhere around the layout. By using the terminal blocks on the end of the cable, a pin can be added to come up through the baseboard to the centre hole of the tie bar.
Then there is this simple method usig dowels, wire (which could be replaced with bicycle brake cables) and clothes pegs…
https://www.youtube.com/watch?v=4EoPhNLs-t0
Cheers, Gary.
Posted

Site staff
The pick ups on the front bogie wheels on mine stop the wheels rotating so they slide along the track. If you slacken of the pick ups off to allow the wheels to rotate, they don't pick up the power.
You've definitely got the better version :thumbs
Ed
Posted
Inactive Member
It looks like you may have metal axles on those wheels on the front bogie. I saw a brilliant idea on this forum in respect of coach lighting, however it would work equally as well for power pick up if you have metal axles. It just involves wrapping a spring like coil of suitable wire around the axle and connecting up to your positive and negative terminals at the motor via a wire link. One axle in the bogie could handle positive and the other axle could do negative.
Here`s a link to Nigel`s post.
http://yourmodelrailway.net/view_topic.php?id=13544&forum_id=19#p242017
:cheers Gormo
"Anyone who claims to have never made a mistake, never made anything!!"
https://sites.google.com/site/greatchesterfordmodelrailway/home
https://sites.google.com/site/greatchesterfordmodelrailway/home
Posted
Full Member
G`day Darius,
It looks like you may have metal axles on those wheels on the front bogie. I saw a brilliant idea on this forum in respect of coach lighting, however it would work equally as well for power pick up if you have metal axles. It just involves wrapping a spring like coil of suitable wire around the axle and connecting up to your positive and negative terminals at the motor via a wire link. One axle in the bogie could handle positive and the other axle could do negative.
Here`s a link to Nigel`s post.
http://yourmodelrailway.net/view_topic.php?id=13544&forum_id=19#p242017
:cheers Gormo
Hi Brian,
How will Darius be able to separate the poles on what I think is a metallic bogie frame? It would be inviting trouble would it not? Unless Darius can make a plastic bogie frame similar to the Triang one? The concept is good but I am not sure it would be practical on this model! The wire could be clumsy given the tight spaces.
Perhaps a wiper out of phosphor bronze to skate along the rail top or a pickup on the front bogie and a return through the tender?
Up to you Darius… good luck with it mate…
Trevor
Posted
Inactive Member
Good point Trevor………sorry Darius……..I didn`t realize the bogie frame was metal.
:cheers Gormo
"Anyone who claims to have never made a mistake, never made anything!!"
https://sites.google.com/site/greatchesterfordmodelrailway/home
https://sites.google.com/site/greatchesterfordmodelrailway/home
Posted

Full Member
Re Gormo's link - you need to take one wheel off and solder a link from the axle to the wheel. Tricky with a spoked wheel. If you are not up to soldering speed yet I wouldn't recommend it (I wouldn't attempt it!). It wont' work with this bogie as far as I recall. From the description if you have pick-ups on the main drivers and on the trailing wheels that should be enough to get it through the frogs. The bogie needs some weight for reliable running especially if it's used for pick-up. You might be able to use the pick-up arrangement from the Bachmann GWR City class for the bogie, email Bachmann in the UK and they will give a price with postage if they have it in stock. Otherwise try Peter's Spares on ebay. I may have one in the spares box, I'll have a look. Yours for the postage if it's there.
I think the electric arrangement for this model was pick-up from one wheel, the other was from the axle through the body. You can check by how many wires there are on the motor (I see one), and whether one wheel has a ring of insulation under the tire (which I can see from the photograph). Those wheels may be magnetic, which was used in conjunction with steel rails to increase adhesion.
Don't forget to look at the Hornby Thomas range for engines - if you remove the face (they pop off with a screwdriver) and replace with a proper smoke box door they look very acceptable. A Hornby Thomas is pretty close to a CR class 782 with a smoke box door and a repaint. Check out LMS engines, as many of them were ex-CR engines taken on after the grouping in 1922.
There is an active British Modellers group in North America (I'm a member), there is also a good listing of second-hand items for sale (engines, carriages, wagons). Plus a directory of where the members are. BRMNA.org
Tips: When using IPA for cleaning, try and us the 99% one. The 70% contains 30% water and is not as good in getting grease off (and can leave water behind). Use Windex for cleaning the body. Don't forget to put a drop of light lubricating oil at each end of the motor shaft after you've cleaned it. Use a metal paperclip (straightened) and just dip one end in the oil - that's enough. 3-in-One is fine for this motor.
The layout is looking good.
Nigel
Last edit: by BCDR
©Nigel C. Phillips
Posted
Full Member
This is my way of Ballasting if you would like to know.
Cheers Connor
CC Weathering Services: https://ccgwr1.wixsite.com/ccweatheringservices/
CC Weathering Services Facebook Page: https://www.facebook.com/ccweatheringservices/
CC Weathering Services Facebook Page: https://www.facebook.com/ccweatheringservices/
Posted
Guest user
I have a few of the Triang single Dean locos and the only trouble I have is wheel slip on a gradient (the early models didn't have tyres) but apart from that yours looks to be in superb condition and reasonably valuable also. Great work on the service/renovation keep it up.
Ian
Posted
Full Member
I've found it very difficult these past six months to find much time to post, and haven't gotten much done on the RR. I'm going to attempt over the next week or so to show you what I've gotten done. I'm going to do it in small bursts… Because otherwise this post would take forever…
Let's get started. So, this is the final trackplan, on in the bottom right I have put in an extension (because… why not!)
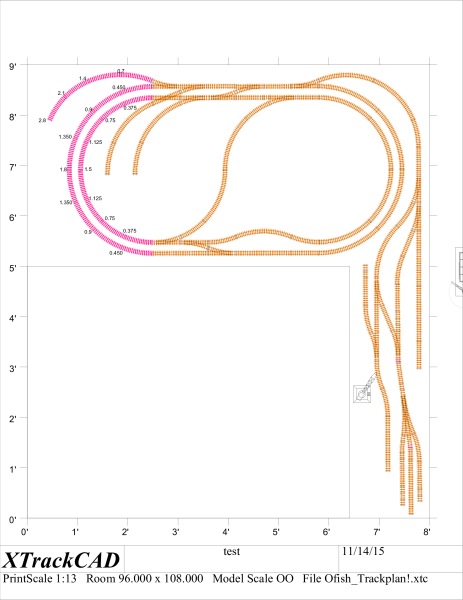
I have all the track laid (except the pink, still sorting out gradients) and cork under it all. I have also made a huge paper mache mountain.

I made a base layer like that, and then covered it in paper mache paste. (Paper shreddings mixed with the paper mache mixture)
End product:
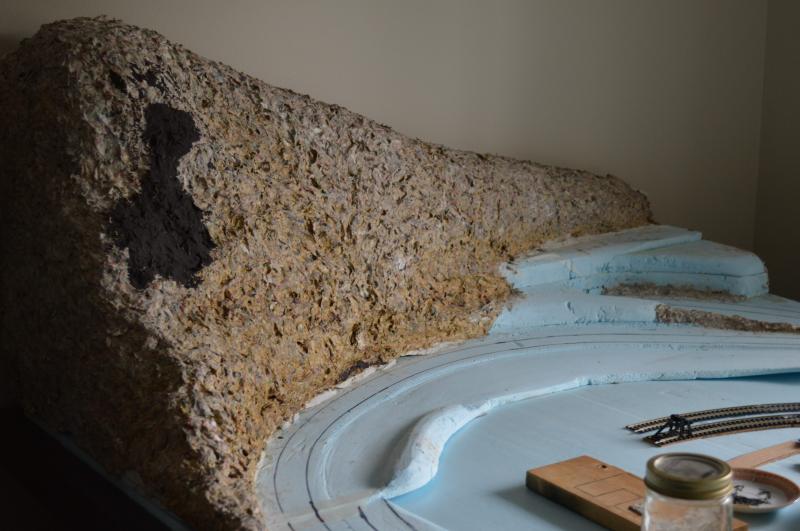
I have it glued down to the baseboard, and painted a gray basecoat on.
That's all for now. I'll probably post again later today
- Darius
Posted
Full Member
With Christmas and Birthday came more new stuff. Here are some of them…
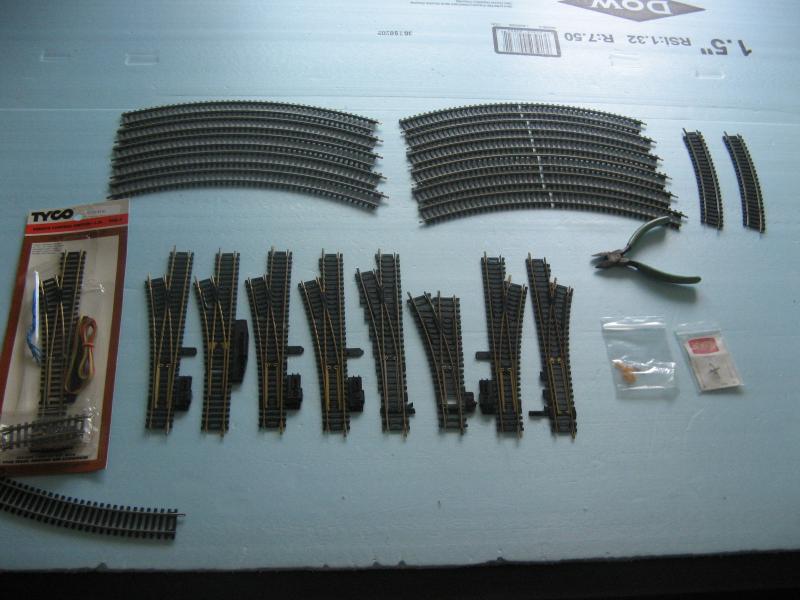
All the track that I bought… unless I add another extension I should be fine!:tongue
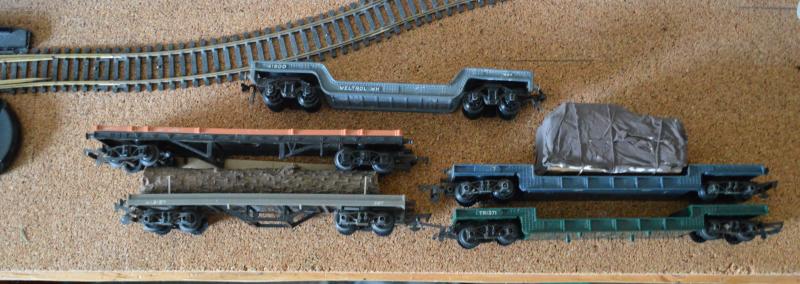
Some more rolling stock!:Happy I've been slowly making some loads for them.

6 Woodland Scenics deer
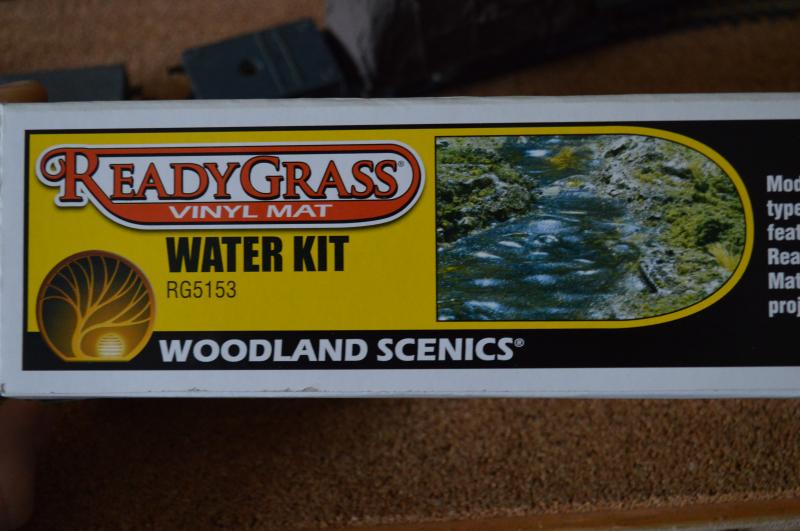
Water kit for the lake
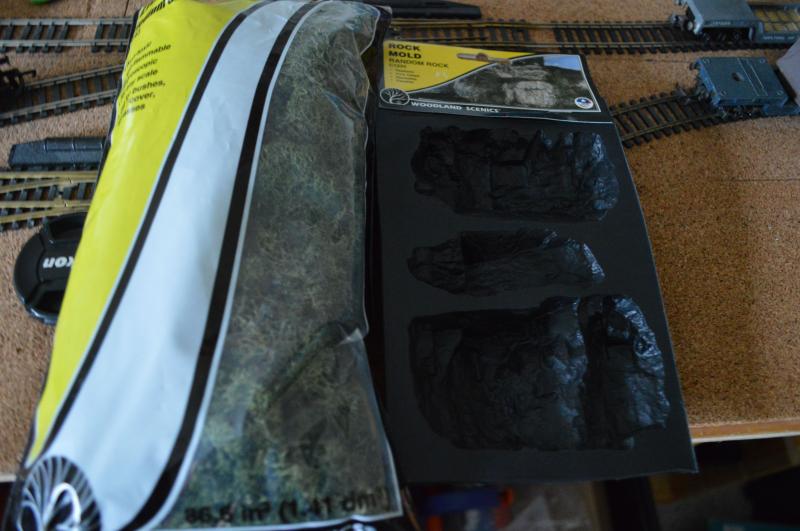
Lichen, and Rock molds
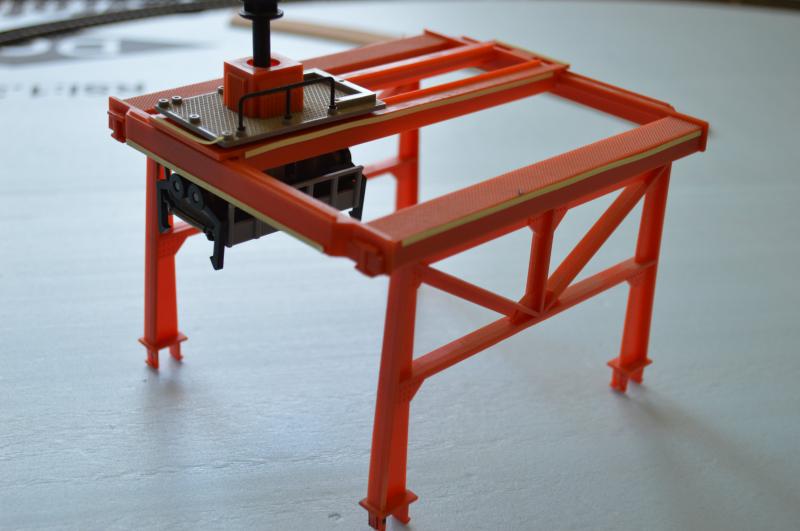
Old Tyco Gantry crane (to be modified)
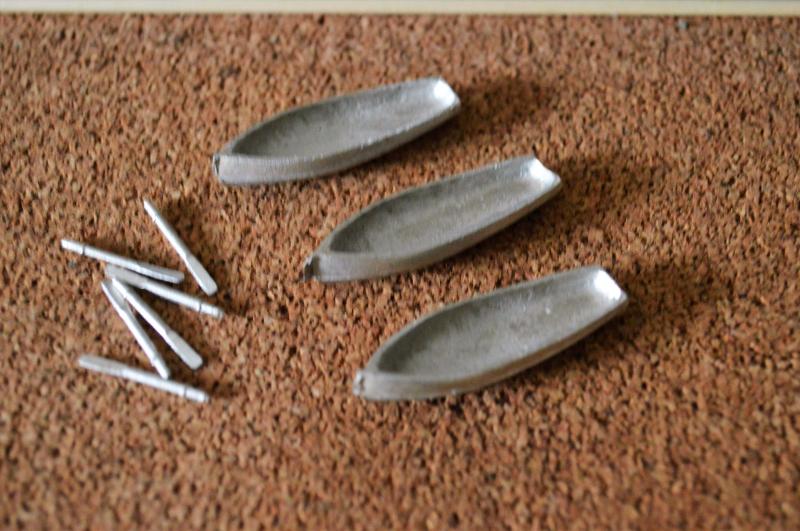
Diecast Rowboats
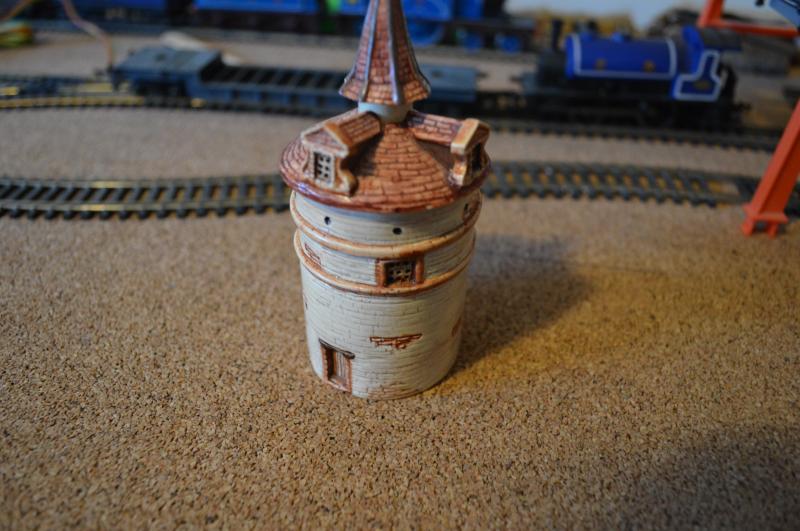
Dovecote
Sorry if it seems like I have rushed through these updates. I did skip over alot of what I did because, honestly most of it's not that impressive… You saw the most important parts.
Thanks for reading!
Last edit: by D_Will
- Darius
1 guest and 0 members have just viewed this.