Early Triang Australian Models
Posted

Inactive Member
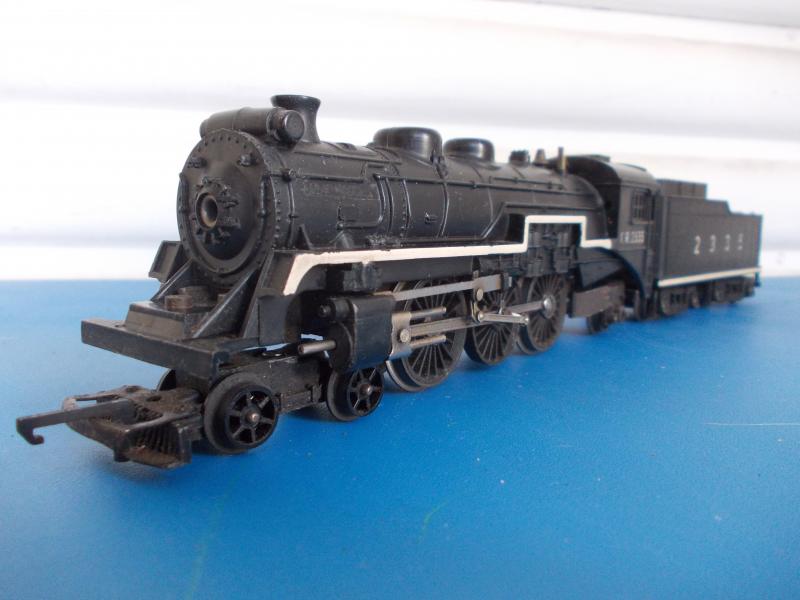
Remember these ??
Why was it that with Meccanno you could never find the nuts and bolts, unless you were running around with bare feet and trod on one.
Posted

Legacy Member
so what`s changed with railway modelling?Why was it that with Meccanno you could never find the nuts and bolts, unless you were running around with bare feet and trod on one.
 that`s how I find my super detail bits!!
:thumbs;-):cool:
Owen
web-cam 2.2.74.174:8081
if the lights are off no cam
if the lights are off no cam
Posted
Guest user

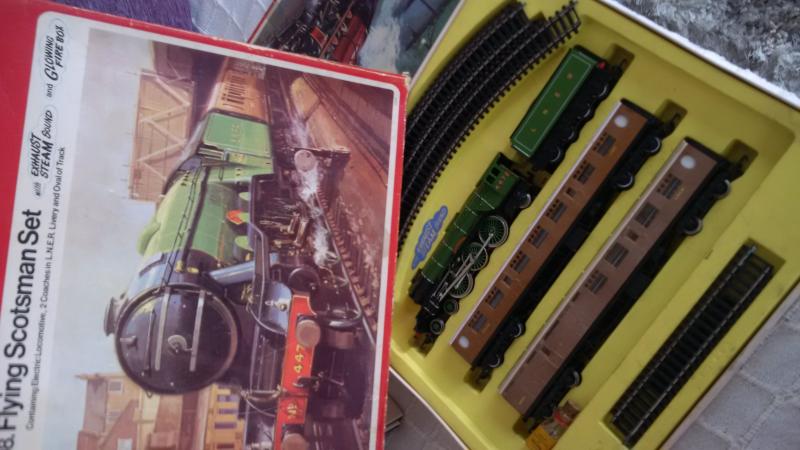
Triang Flying Scotsman
Posted
Guest user


Triang Princess Elizabeth
Posted
Guest user


Triang Brush Type 2 Diesel and Steeple cab with working pantograph
Posted
Full Member
Hi Ian…
Unfortunately I realize there is no chance of running them through Peco points but one day ….just one day they might get a layout of their own as I also brought a a lot of track. Once I've dug them out I'll submit some pictures on the thread.
Ian
Unless you are running code 83, you can regauge Triang wheels and get them through points. You simply tap the drivers from the insulated side and space the carriage wheel sets. I regauged several locos and freight cars for club members, the oldest of which was a mid 50's Princess Victoria… if you need to know more PM me,
Regards
Trevor
Posted
Guest user
Regards Ian
Posted
Full Member
It is 8pm Saturday here and I have not had a nana nap for a week in fact!
To outline the correspondence I had with Ian for the benefit of any others watching these posts…
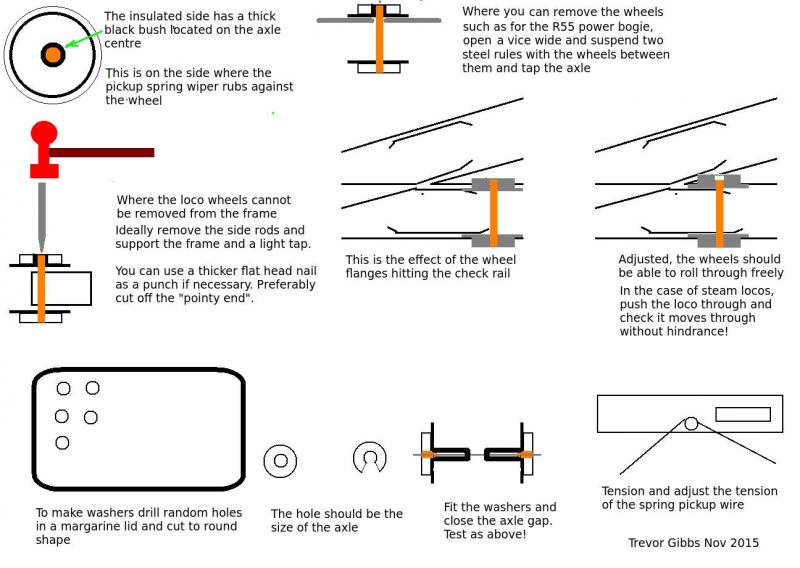
It is good if you have an NMRA track gauge or similar, but not totally necessary.
Get a hammer and small centre punch. You will see where the insulating bush is on the side where the wire pick up goes to. Lay the loco that side up and gently tap the axle. Triang wheel sets are only under gauge by about 3/4mm so it does not need much of a tap and use your Peco point to check it goes through by pushing the loco through it. It really needs to be pushed as driving it through under power will not help you feel if it is or its not binding whereas if you power the loco, the loco may "jump" and get through it but in the long term damage the points, If it goes through without hitting or binding on the check rail, you are OK. I can do an illustration to demonstrate later if you need it.
With the split axle rolling stock simply use margarine lid plastic, drill a hole and make a set of crude washers, cut them crudely round and slit it so it can be splayed onto the axle. Two per axle should do it and the shape and weights are such that there should be no out of balance component.
With pony trucks on steam locos simply prise and re-gauge.
You may have to re tension your pick up spring to ensure the contact to the wheels on your locos. Perhaps the Steeple cab electric would be a good one to try first with only two axles…
Regards
Trevor
 Last edit: by xdford
Posted
Guest user
Ian
Posted

Full Member
Cheers
Ron
Proper Preparation makes for Perfect Performance!!
http://yourmodelrailway.net/view_topic.php?id=13331&forum_id=21
http://yourmodelrailway.net/view_topic.php?id=13331&forum_id=21
Posted
Full Member
Cheers
Trevor
Posted
Guest user
Cheers
Matt
Posted

Full Member
There is one unit I own that still won't run through the newer Peco code 100 points. That one is a very early Triang Southern EMU which has had the flanges turned down a bit by a watchmaker friend of mine, but we were unable to reduce the sheer thickness of the flanges, which is what is causing the problem - they jam in the flangeways of the points. I am looking at buying some adapted wheelsets off an eBay dealer to cure this one, as I would like to see it running again once in a while.
Jeff Lynn,
Amateur layabout, Professional Lurker, Thread hijacker extraordinaire
Amateur layabout, Professional Lurker, Thread hijacker extraordinaire
Posted

Banned
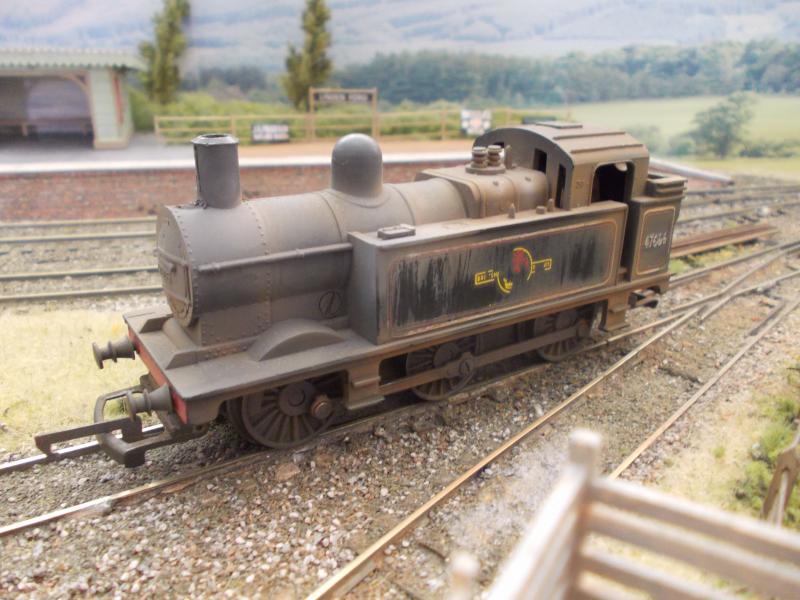
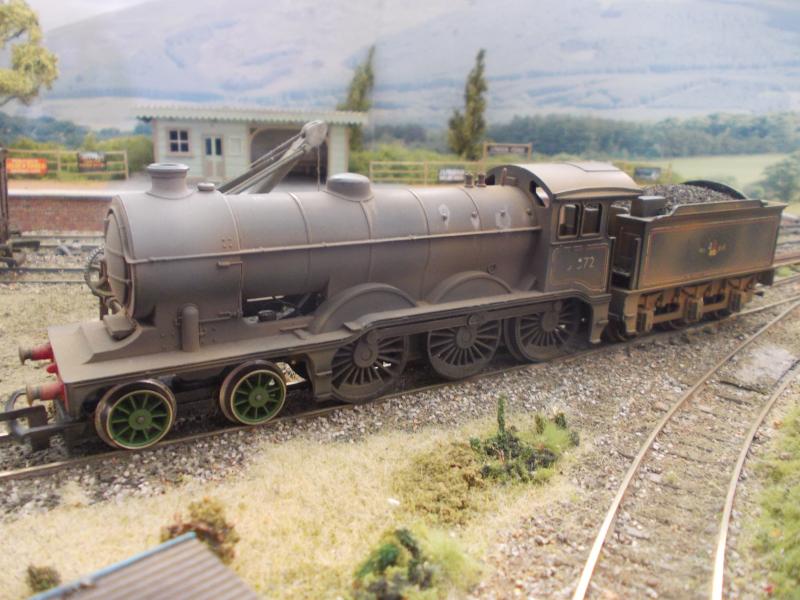
A few other locos I own that will go on sale soon… As can be seen, some I practiced 'weathering' techniques on a while ago…:oops:
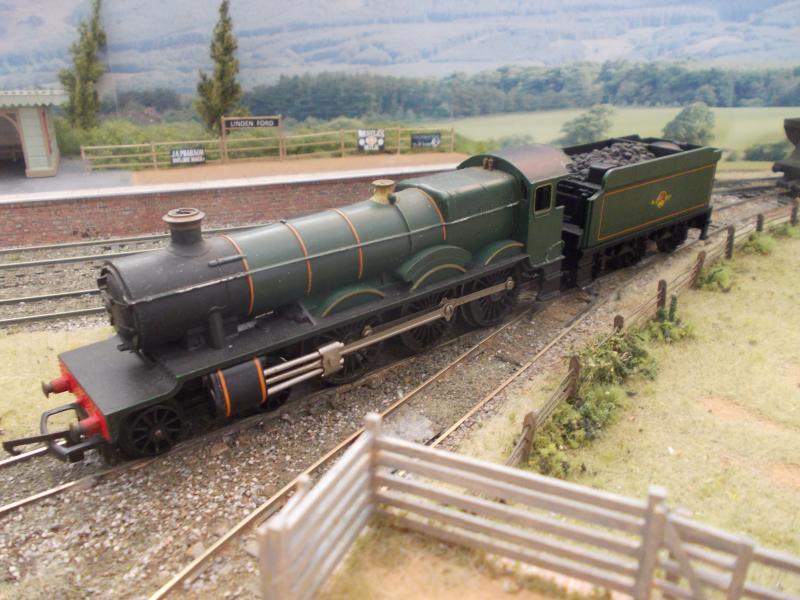

This one above I have replaced the front pony bogie, hence the green wheels. Hornby went on to use this body mould for a very long time.
Triang Continental Pacific 'Hiawatha'. I have sold this loco already and they are a good seller.
One loco that I sold and made a great return is this :

The 08 sold at such a great price that I could purchase a brand new Bachmann 08 (DCC ready) and still have change left over. The main reason for the good return is this :
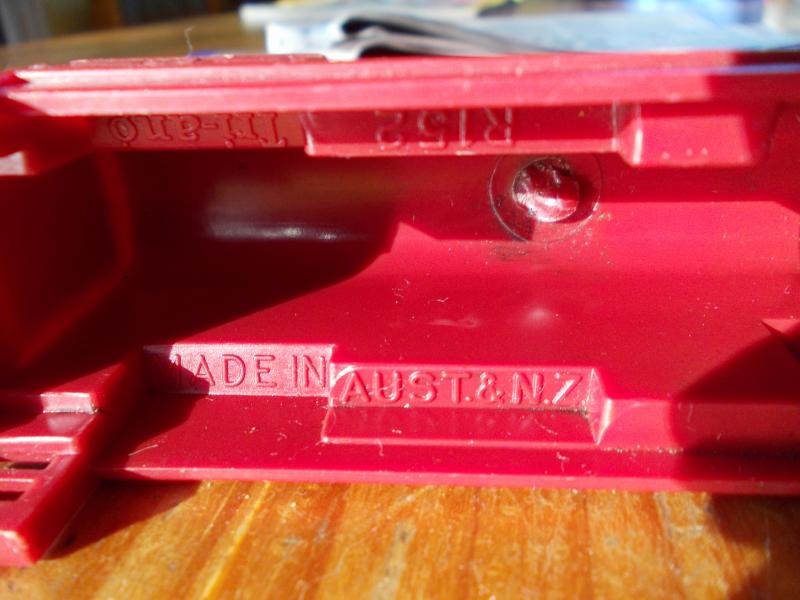
The 'Made In Australia & New Zealand' models were manufactured with a slight colour variation in the plastic, that was not equal to the Rovex/Triang models. They are becoming very collectable in the UK as well. The chap who bought this (located in Emerald Qld) has a trading partner in the UK.
I do wonder where this loco ended up ?? :hmm
Cheers, Gary.
'
Posted

Inactive Member
Max
Port Elderley
Port Elderley
Posted
Full Member
Hope it adds to the discussion and clarifies the description. The shapes are exaggerated but it should be OK
Regards
Trevor
Posted
Legacy Member
:thumbs;-):cool:
Owen
web-cam 2.2.74.174:8081
if the lights are off no cam
if the lights are off no cam
Posted
Full Member
Jeff if you are stuck, I have a small Uni mat lathe and we could probably take the wheels out and turn the backs down… let me know you are interested in coming out my direction…
Cheers
Trevor
Posted
Full Member
My friend , the watchmaker, offered to do the job originally, but he was on holidays, so he took the wheels and axles and said it would be "a couple of weeks" before he could put them on the lathe at work. He duly reported back, "Blunted the tool on the lathe, not a scratch on the wheels."
He went on to say that he was doing a TAFE course and they had a bigger, more sophisticated lathe and he would try the wheels on that, "but it will be a couple of weeks before the next class." He duly reported back, "Blunted the tool on the lathe, not a mark on the wheels! But this has interested the lecturer, so he is going to bring in a tungsten-carbide tool." He said I would have to wait a couple more weeks for the result.
The end result was that they managed to turn the flanges down a bit but blunted the tungsten-carbide tool. This intrigued my friend, who collects old railway stuff, such as Farish models and other oddities, so he started doing some research. The upshot of his digging was that at some point, Triang had bought some army surplus armour plating and had added that to the metal mix for the wheels, which accounted for the extreme hardness of the wheels.
While they are runnable on plain track now, they are too thick to pass through the finer flangeway clearances of the newer Peco points. However, I know that no matter how much running I ever give them, they will never, repeat NEVER, wear out!!
Jeff Lynn,
Amateur layabout, Professional Lurker, Thread hijacker extraordinaire
Amateur layabout, Professional Lurker, Thread hijacker extraordinaire
Posted
Full Member
Our ears must have been collectively burning… I have just got off the phone about 5 minutes ago with a friend from 2 clubs about this issue and what he did was heat the wheels in a gas oven to soften them which enabled to be turned. I was concerned about wheel wear but as he said with N/S rail, it should be OK. He has reset his wheels with new bushes from the UK.
I wonder if the heating of the wheel would allow it to be cooled, the wheel could be reheated afterwards and quenched to reharden them?
Alternatively if the flanges could be filed, I wonder if the back of the wheel could filed in a lathe? The heat generated would tentatively soften them a bit…
Perhaps others have experience of this… please share…
Cheers
Trevor
Last edit: by xdford
1 guest and 0 members have just viewed this.