Old mill, old methods and materials.
Posted
Legacy Member
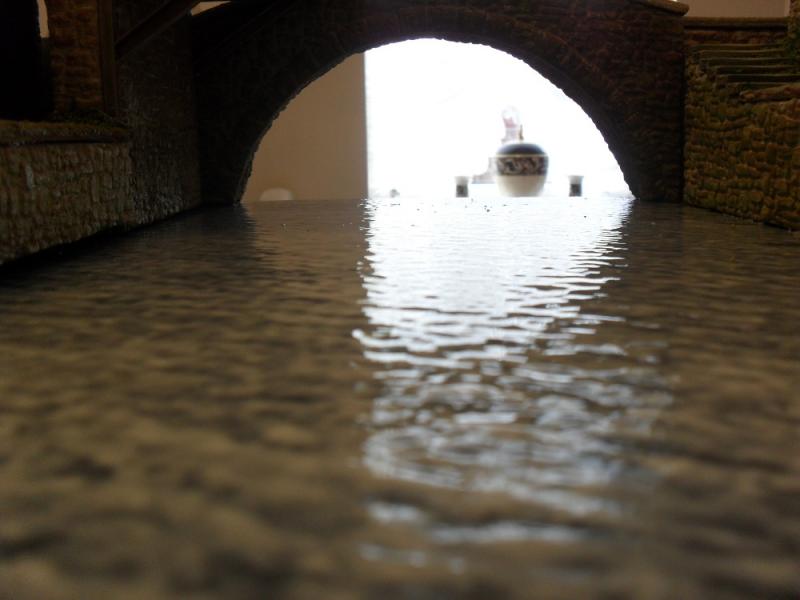
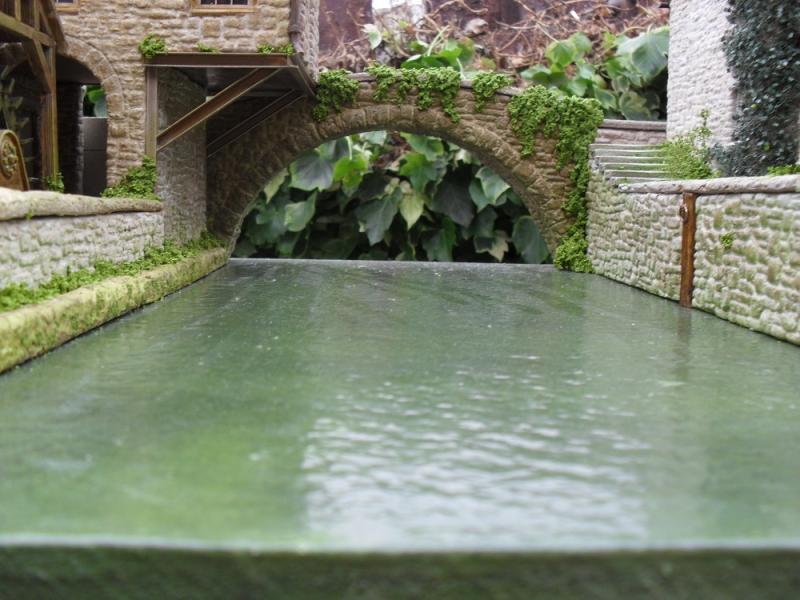
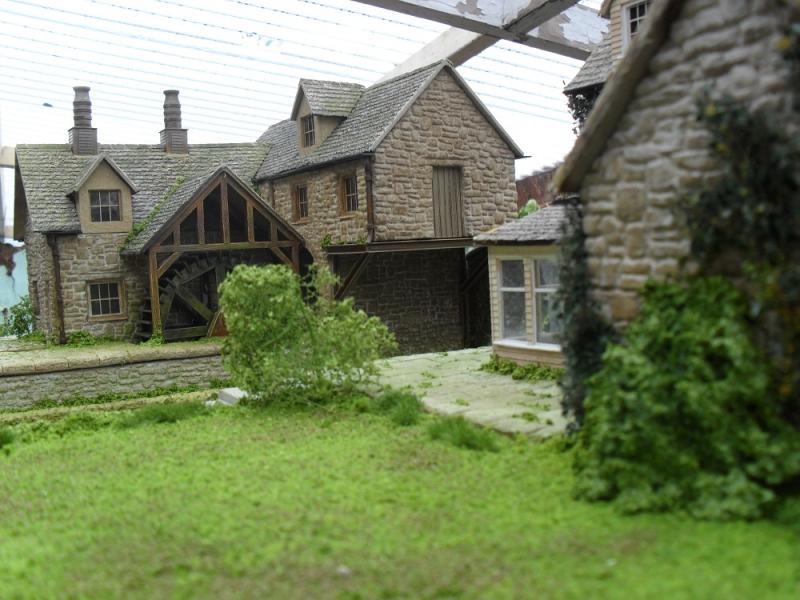
Water is several coats of neat PVA stippled over a black/dark green
river bed and finished with a coat of varnish.
There are 1,000,000 six hundred and ninety two scenic products - I know this as I have counted them all… - and all I used here was three - Noch spring green leaves, Hornby mid ground foam, and "Mini Natur" wall ivy.
Well that brings this mini saga to an end and I hope that you might have found it usefull.
Cheers.
Allan.

Posted

Inactive Member

Max
Port Elderley
Port Elderley
Posted
Legacy Member
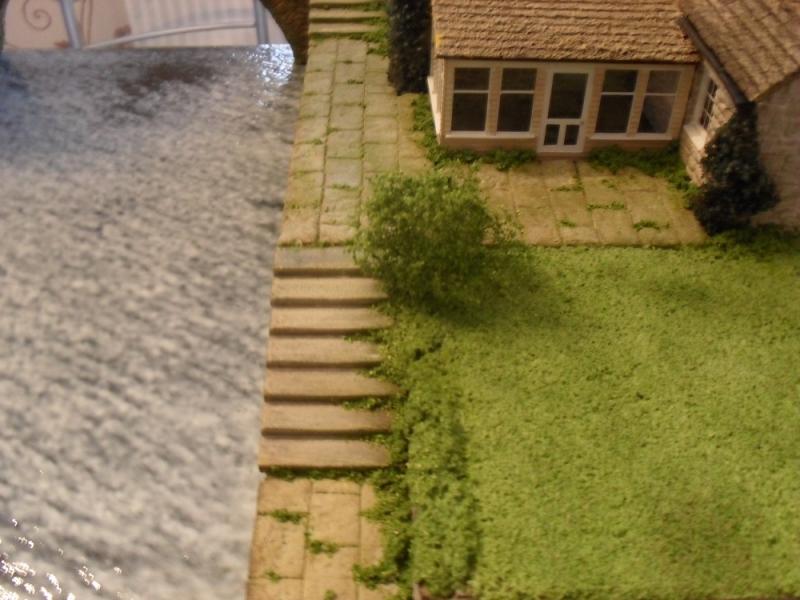
Love the rain gully Allan,that really looks the part.
Actualy, the rain gully was a cheap shot at disguising the joint between two sections of paving.
The paving had to be made in two sections so as to fit in the microwave and, in fact, when working with fire cement where it has to be baked if it's ever going to set hard, you have to more or less design your building to fit into the microwave !
Cheers.
Allan
Posted
Legacy Member
Actualy, I meant to show you this before - bolt heads.
All you need do is slice up pieces of evergreen hexagonal moulding strip and there you have it - and it comes in different sizes and apart from which I never did know what it was really for !
Cheers.
Allan

Not very regular are they?!
 Last edit: by allan downes
Posted
Inactive Member
It's the little things like that which make the difference, Allan.
Max
Port Elderley
Port Elderley
Posted
Legacy Member
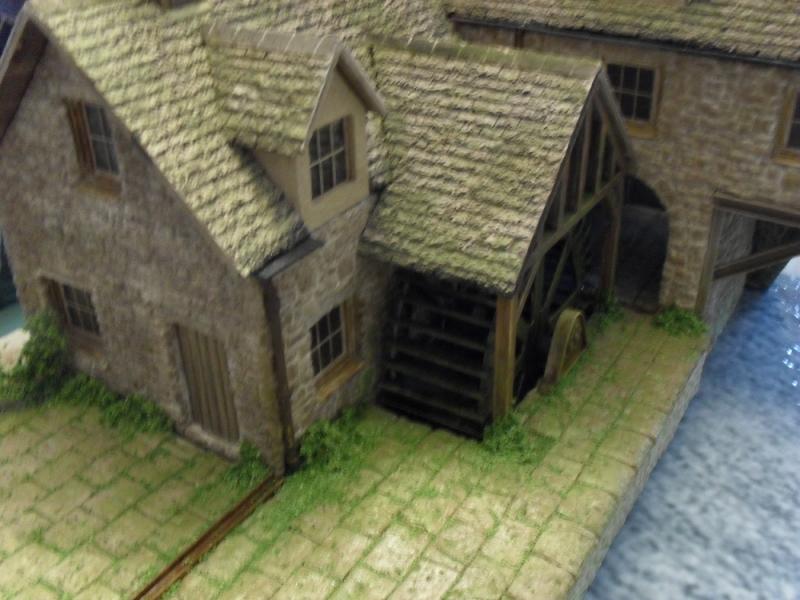
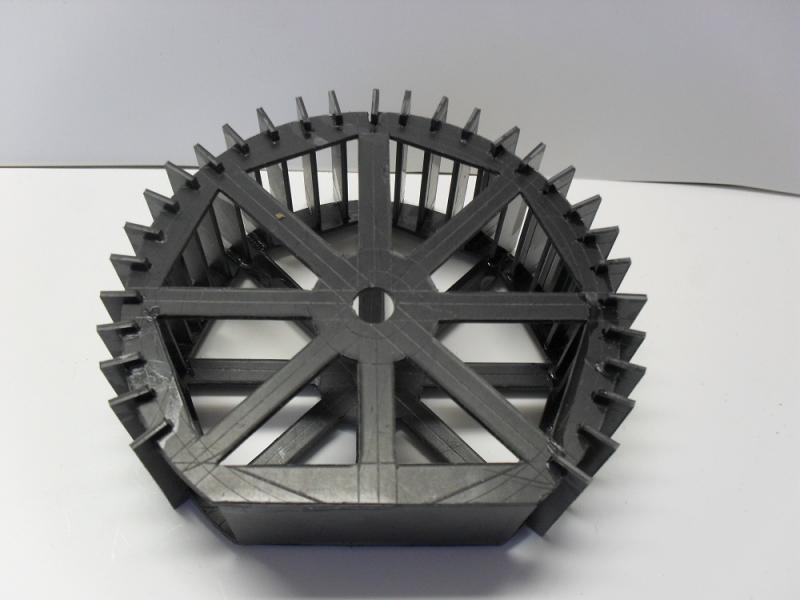
Anyway, here's another little tip that might come in usefull should anyone want to build a waterweheel - cutting out the paddle location slots.
The paddles are made from 1mm styrene which is the same thickness as a normal tenon saw blade so that what I used - every slot exactly the same and providing a good tight fit.
However, to guarantee perfect alignment of the two sides, cut the slots as a pair and mark each side where the first paddle will be fitted.
Again, here are the unassembled parts.

Last edit: by allan downes
Posted

Site staff
Regards
Alan
Born beside the mighty GWR.
Alan
Born beside the mighty GWR.
Posted
Legacy Member
I thought that waterwheel was a kit.:oops: I think you might have done this before.:thumbs
Had it been a kit Alan, and it was I that was putting it together, I can assure you it wouldn't have looked anything like that - with ALL the paddles in place and none left over !
Cheers.
Allan
Posted
Full Member
Is it a ficticious building, if so how do you go about working out sizes etc.
Thanks,Roy.
Posted
Legacy Member
Brilliant as always!!
Is it a ficticious building, if so how do you go about working out sizes etc.
Thanks,Roy.
Hi Roy.
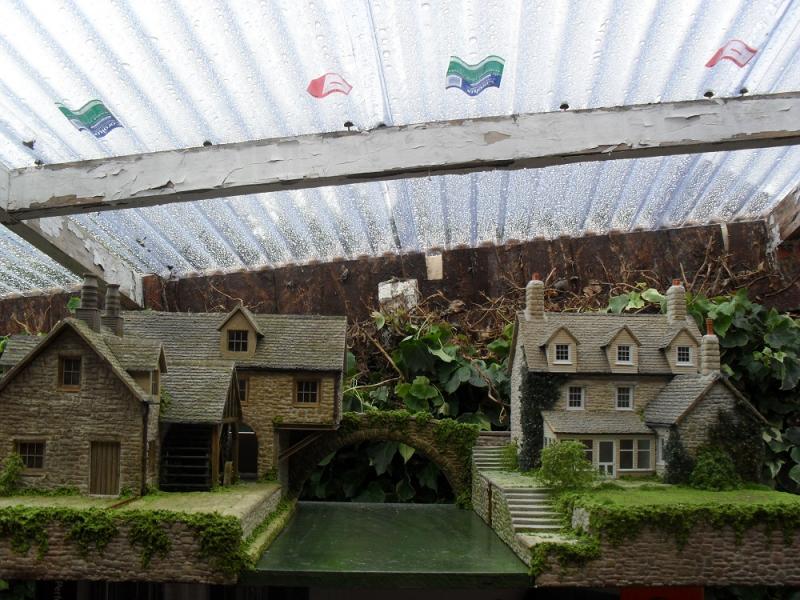
Maybe you wouldn't thinks so at a casual glance, but most old cottages were more or less standard by dimension where if you didn't duck as you walked in you would bang your head on the first beam or doorway you encountered and the only explanation I can give is that people were much shorter then !
So I usually aim for 7ft high ceilings - and that's being generous, 6ft doors and more generous still, and rooms about 12'x 15' square.
The mill cottage on the scene for example - and here we're talking 7mm to the foot - is 220mm wide x 140mm deep.The hieght from ground to eaves takes in two floors at 50mm plus ceiling, say 10 mm totalling 110 overall.
These dimensions are pretty 'loose' though and if room is short, you can always 'tighten' them up.
When I built this scene I wanted to build the cottage with a wider frontage but room restriction dictated the size of everything in the end and I had to cut back on dimensions quite drastically and hopefully without loosing the effect.
The trick is when building something like this is to get the proportion over ballance right as opposed to exact dimensions - you'd be suprised what you can get away with in the model world and a lot more suprised at what they got away with in the real one !
Cheers.
Allan
Last edit: by allan downes
Posted
Site staff
Regards
Alan
Born beside the mighty GWR.
Alan
Born beside the mighty GWR.
Posted
Full Member
Roy.
Posted
Legacy Member
I never use ply Alan, no matter how many coats of PVA you use, even it it's painted first, the grain will show through so I always use MDF.Just out of interest Allan what was your water painted onto,it looks like ply?.
Cheers
Allan
Posted
Legacy Member
Thanks Allan for the info, I am hoping to have some sort of water mill on my new Narrow Gauge Layout, so all ideas helpful.
Roy.
Any help you might need Roy, just give me a shout.
Cheers.
Allan.
Posted
Inactive Member
[user=1033]Spurno[/user] wrote:I thought that waterwheel was a kit.:oops: I think you might have done this before.:thumbs
Had it been a kit Alan, and it was I that was putting it together, I can assure you it wouldn't have looked anything like that - with ALL the paddles in place and none left over !
Cheers.
Allan
:)With you on the kit building business Alan.
I always found it easier to scratch build, At least one knew where the parts you built were supposed to go.
Kits are a bit like a jigsaw puzzle, You spend more time trying to identify parts and seeing where they might fit than building the model.
Great thread this.
regards,
Derek.
Last edit: by shunter1
Posted

Inactive Member
I am slowly going bankrupt


I used to be normal until my grandson discovered model railways
1 guest and 0 members have just viewed this.