Hornby RailRoad Class 31
Posted

Full Member
Improving RTR Locomotive
WeatheringAs this is a long process, I will upload it a few steps at a time as I do them
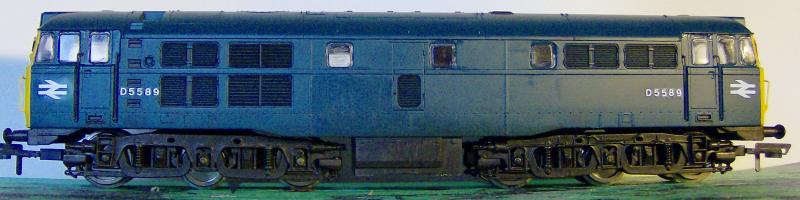
Here is the initial loco, I will be working from the photos linked to in the research post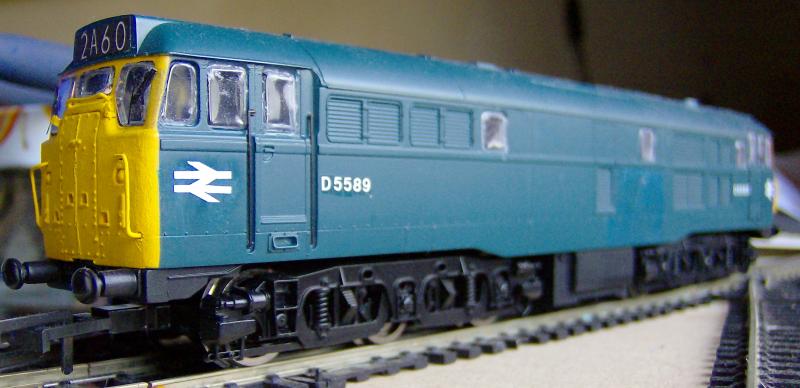
I firstly take some black acrylic paint, and with a wetted brush I apply this to the grills in the body side, I then remove the excess paint with a cloth by wiping in a downward motion, this way it leaves paint in the deep recesses of the grills, and any paint that smudges, doses so in the way dirt would be washed down the body side.
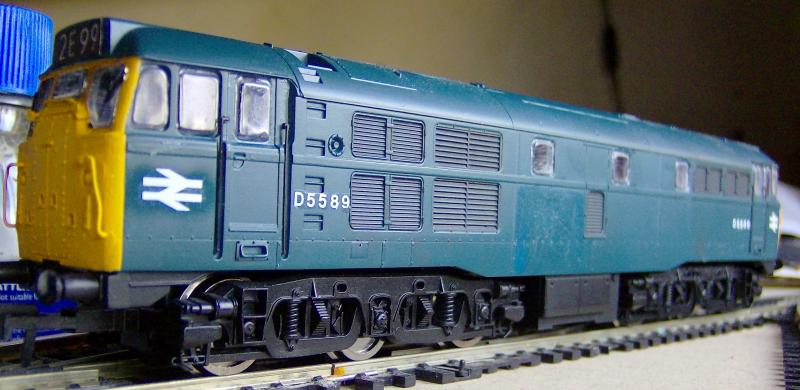
I then added yellow paint to the axle box caps with a very small brush.

this now leaves with a 'pristine' loco awaiting some proper dirt, I will update this thread as the project goes on
TO BE CONTINUED…..
 Last edit: by new04db

Posted
Guest user
I'll look forward to the next instalment.
Cheers
Toto.
Posted

Site staff
OK Aaron, I've turned and I didn't have to buy a tin of green paint ;-)Thanks for the comments,
- Ed - You know you want to turn to the darkside and have a few dirty diesels about on your layout, Green paint should be easily picked up from somewhere.

Ed
Posted
Full Member
Posted
Full Member
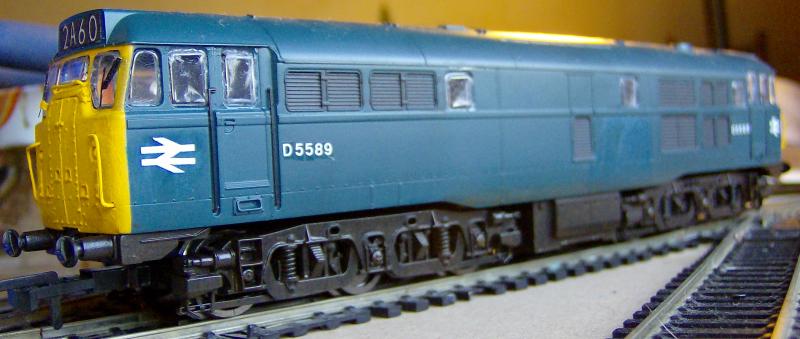
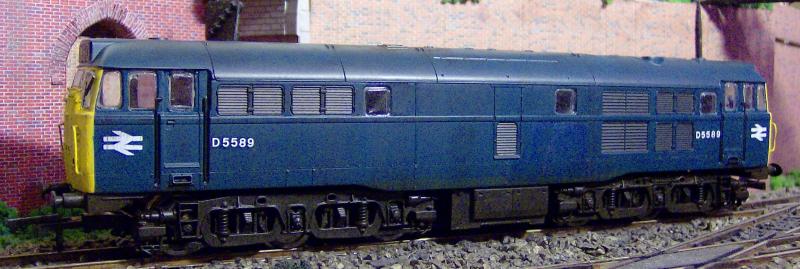
I then added addition black dirt to the foot steps and the roof ladder steps using black acrylics and a small brush, and removing excess paint with a cloth, wiping in a downward motion.
still lots to do, so, still to be continued….
Posted

Full Member
Loving the blow by blow (or should I say brush) account
Regards
Stephen
Acording to a recent visit to a supermarket at check out time, I an not loosing my memory it has been downgraded which means i am not stupid afterall - Sorted! - What a relief
Posted
Site staff
Yes, an old Triang one in green.
Once I get it working properly I'll try and follow what your doing to improve it a bit.
Ed
Posted
Full Member
if you find a supplier for the motor brushes let me know, it would be nice to get the old beast running again, its just one of the many things I have just never got round to doing.Hi Aaron
Yes, an old Triang one in green.
Once I get it working properly I'll try and follow what your doing to improve it a bit.
Ed
Posted
Site staff
I looked on 'the bay' for Triang X67 brushes when I wanted some and this was the cheapest I could find.
http://www.ebay.co.uk/itm/HORNBY-TRIANG-MOTOR-SPARES-NEW-X67-MOTOR-BRUSHES-X-2-VARIOUS-APPLICATIONS-10-/290980835748?pt=UK_Trains_Railway_Models&hash=item43bfcf31a4
(Normal disclaimer)
Ed
Posted
Full Member
Last edit: by new04db
Posted
Full Member
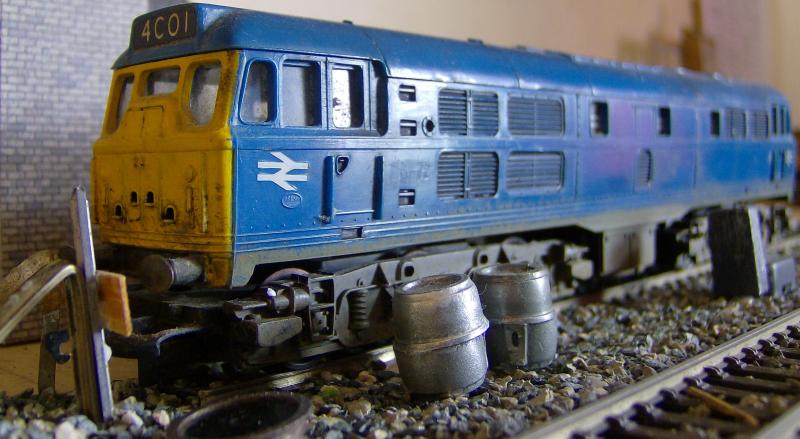
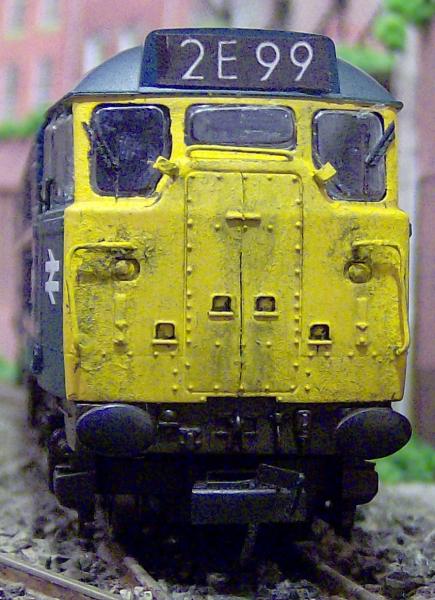
to finish the loco I did a number of things, but all involved black acrylics,
- building up soot around the two roof exhausts by dry brushing around them and in the directions soot would build up as the loco moved
- with a black wash, I washed the nose end of the loco and then removed the excess paint, leaving paint in the recesses, removing paint in a downward motion.
- with very little paint on the brush dry brush in a downward motion all over the locos roof and body sides, creating random streaks, pay attention to how the rain would run off the loco
- add a little black to the axle caps to represent grease
- dry brush the bogies to break up the consistence of the track dirt
Posted
Guest user
Looks fantastic, nice and used looking. Like the dirty nose. Ha ha.
Well done
Toto
Posted
Full Member
Posted

Full Member
Jeff Lynn,
Amateur layabout, Professional Lurker, Thread hijacker extraordinaire
Amateur layabout, Professional Lurker, Thread hijacker extraordinaire
Posted
Site staff
Now I say, you can never have enough Class 31s.
Ed
(Didn't I just say that about tools :???:, am I repeating myself :shock: )
Posted
Full Member
Class 31's were quite common across most regions if I'm correct, so you can easily get away with more than one,Before I went to the Dark Side, I used to say you can never have enough Pugs.
Now I say, you can never have enough Class 31s.
Ed
(Didn't I just say that about tools :???:, am I repeating myself :shock: )
I'm glad the price has just dropped as I have been looking at the Hornby class 31 'Skinheads' on olivias trains, But i Cannot justify £160 for one, If I can redo this project, I know I can get a passable class 31 for half that, maybe less as i think I might have a few left overs from the previous project back at the family home.
Last edit: by new04db
Posted
Site staff
I've pictures of Class 31s and Class 37s working the West Anglia main line and even on the Bishops Stortford to Braintree branch, before it shut.
Class 55s worked out of Kings X until replaced by HSTs and my Class 86s are totally modellers license

You can't really go wrong for £42.
If I hadn't just bought a Railroad Gronk partly with some vouchers I got for Christmas, I'd be asking where you get one.
Ed
Posted
Full Member
1 guest and 0 members have just viewed this.