Painting Dapol 00 scale figures - Part 2
Posted
#7892
(In Topic #848)

Full Member


I will continue to block in base colours. Then I plan to mix darker shades to create shadow and lighter colours for highlights. We will see how it works out. To be continued…
Bob(K)

Posted
Guest user
I'm going to enjoy following this one too.
Mike
Posted
Guest user
Two questions … are these figures still available :?: I couldn't find any on the Dapol shelf of the local shop.
And … what colour are you using for flesh i.e. make and correct name.
I checked out the "Games Workshop" acrylic Flesh, but without opening it, I'm not convinced.
Cheers :!: :!:
Posted
Guest user
If you just fancy your hand at the half a dozen or so that Bob has in his Photos I can probably let you have some spares I think I have knocking about here.
BLG
Posted

Full Member
Phill
Posted

Legacy Member
Posted
Full Member
Gwent Rail said
Can't wait for the next installment and will certainly have a go when you finish your thread :!:
Two questions … are these figures still available :?: I couldn't find any on the Dapol shelf of the local shop.
And … what colour are you using for flesh i.e. make and correct name.
I checked out the "Games Workshop" acrylic Flesh, but without opening it, I'm not convinced.
Cheers :!: :!:
Jeff
i think Bob (FC) answered the first question and as far as I am aware they are still freely available in many model shops. With regards to the flesh colour I am using Games Workshop "Dwarf Flesh". It is far too red to be used as a final colour but as a base coat it is fine. I will later add brown, yellow and white to the colour to give light and shade.
You can make flesh yourself by mixing a small amount of yellow, a tiny amount of red to white, with a little bit of mid brown - depending upon desired skin tone. But I just use the commercial stuff and add colours as needed.
Bob(K)
Posted
Guest user
Posted
Legacy Member
Posted
Guest user
Bryan said
Jeff
If you just fancy your hand at the half a dozen or so that Bob has in his Photos I can probably let you have some spares I think I have knocking about here.
BLG
Excellent offer mate, I'll PM you if I can't find any locally and give them a try.
Thanks
Posted
Inactive Member
People are very important in a layout but they have to be right for the period. Have you come across any where they depict firemen leaning out of the cab as they often did as the loco trundles along, or the ubiquitous trainspotters of old who used to frequent every platform end, notebook in hand? :?
Les
Devon Junction
Kernow Junction
Kernow Junction
Posted
Legacy Member
Posted
Full Member
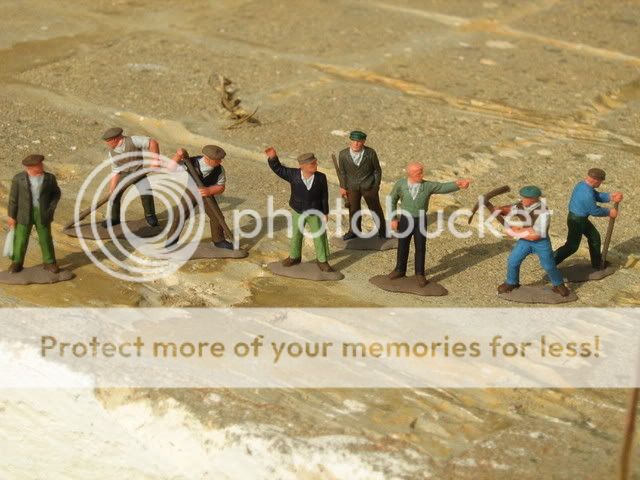
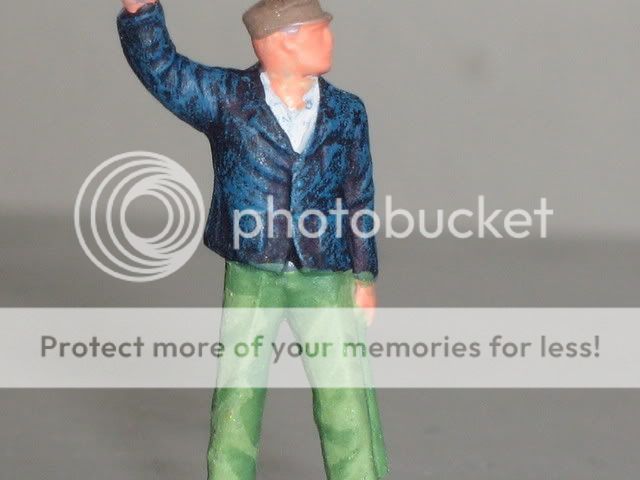
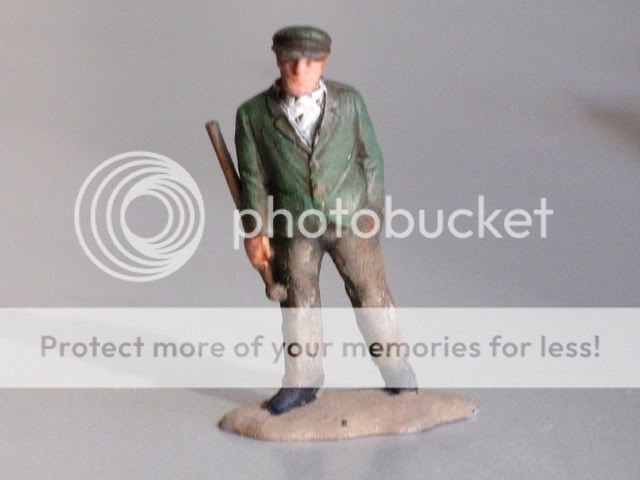
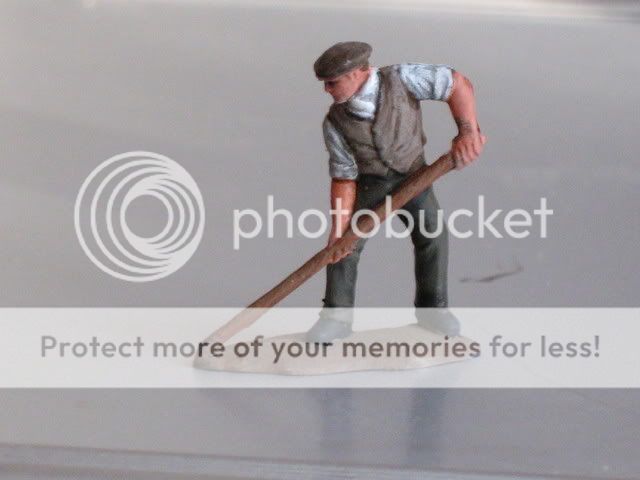
So the task now is to make them look more realistic. I should add that I have deliberately used some brighter colours than I would normally use, for the purpose of demonstrating shading and highlights. Also, following the question from Bob(FC) concerning the cheapo paints from bookshops, apart from flesh and a bit of silver all of the colours I used came from a 4.99 pound box of acrylics. I was very pleased with the coverage and ease of application of these paints. I kept a record of the colours and colour mixes used so that when I applied shading and light I was able to use the original colour, with either dark or light tones added. The next task then is to apply shading. I added a darker shade to the base colour, using dark brown, blue, green and black and applied this to creases, folds and areas in the shade, eg under arms, between legs etc:
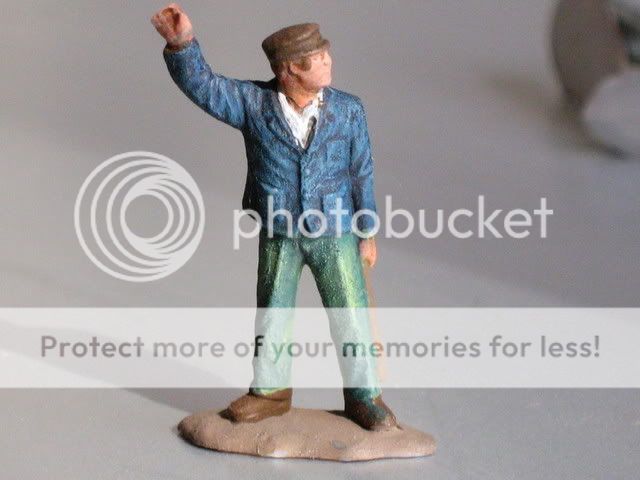
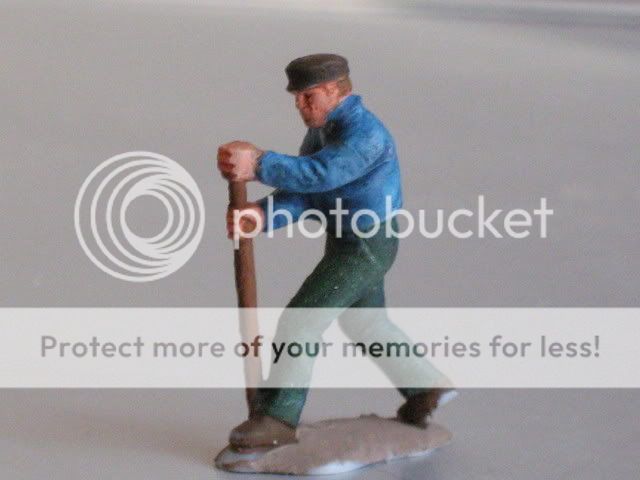
Once this was dry I tried to add lighter highlights to the raised areas. This is a technique I have used with enamels; however, as the acrylics dry so fast it is difficult to get the colours to blend. I ended up with a load of stripes on the figure:
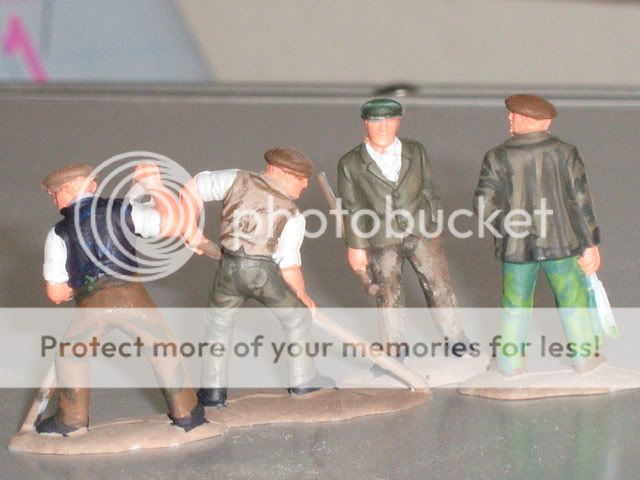
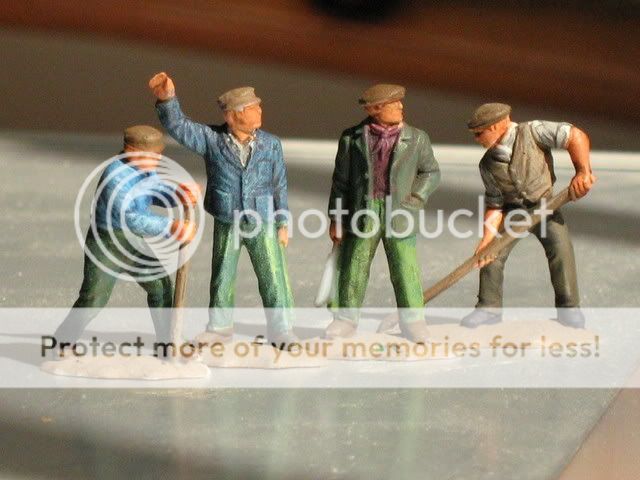
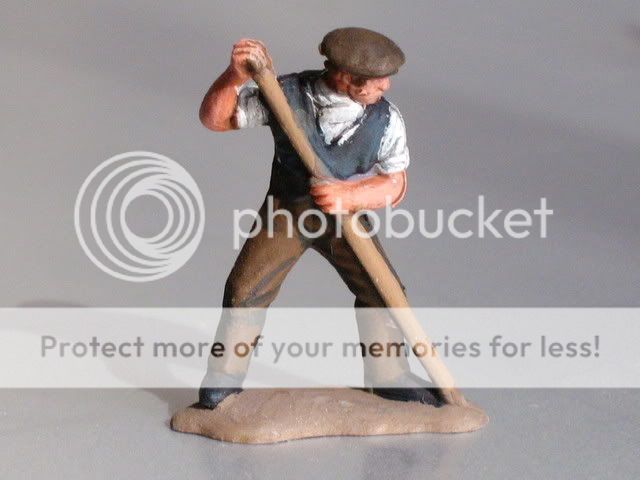
So another method was needed and I reverted to dry brushing. By adding a little white to the base colour rapidly brush over the area. The brush will pick out the raised areas on the figure:
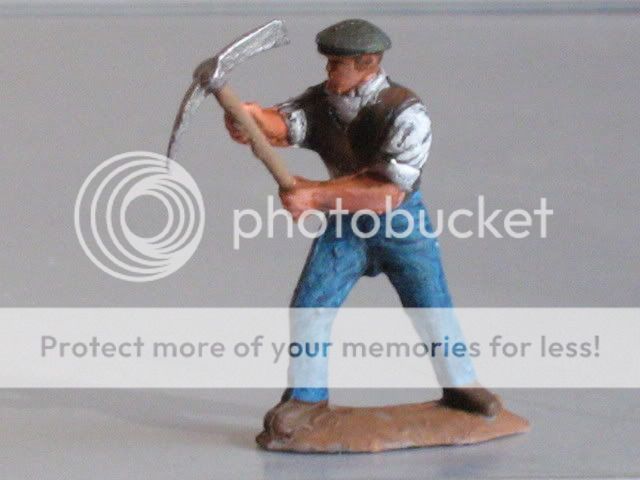
I found that I had to repeat this part of the painting a few times using a variety of shades until I had built up the depth of colour I was looking for. Slowly this work begins to take effect:
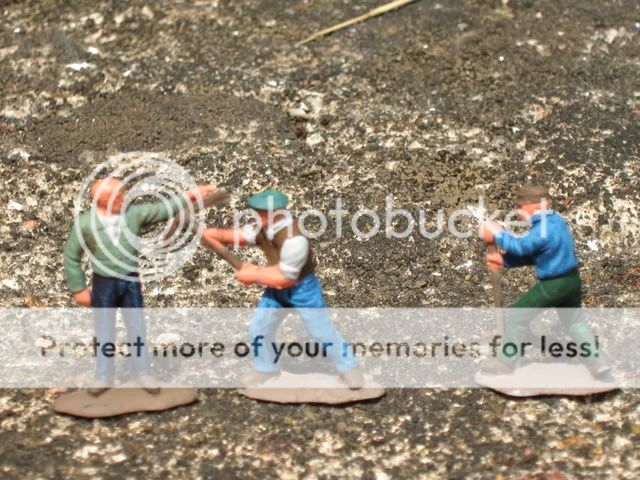
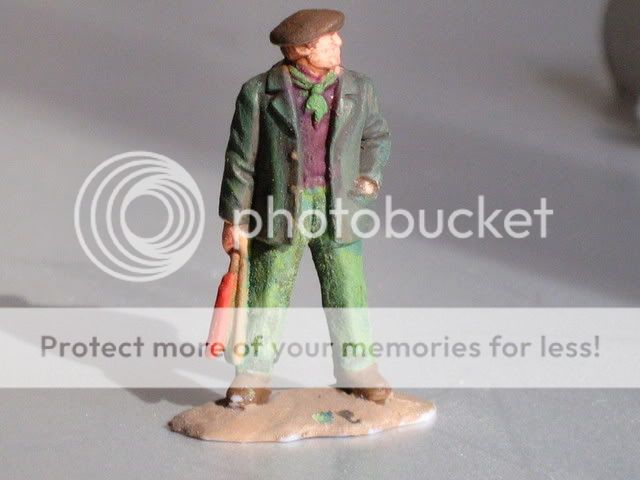
The next stage is to add some shade to the flesh areas. For this I used some thinned dark brown. This runs into all the crevices in the skin:
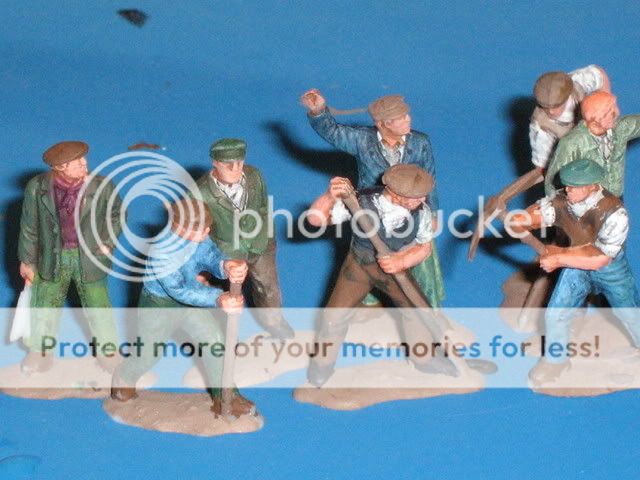
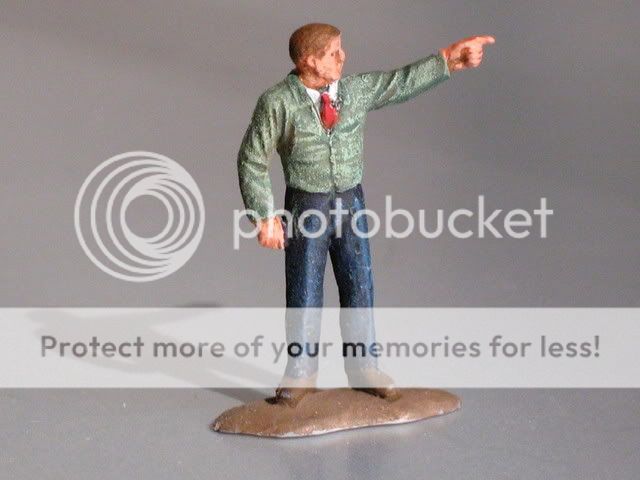
Once dry I added more flesh with a little white and or yellow added. This picks out raised areas like cheeks, nose and chin. I used a coat of light brown for the hair, which I covered with a wash of dark brown – and here is the end result:
Pictures of the other completed figures to follow. All in all I was quite pleased with the results, but I had to adapt as I proceeded with the project. I thought the cheap paints were as good as the more expensive modeling acrylics and this method is as good as method 1, although I think more time consuming. In all about 6 hours work for 8 figures.
Bob(K)
Posted
Full Member
Bob(K)
Posted
Guest user
They look as good as anything that can be bought (even the premium priced Preiser HO figures) and at a fraction of the price :!:
Another job that I've never done, but intend to try in the future.
Posted
Guest user
 Look forward to having a go myself 1 day :wink: Sue
Posted

Full Member
Great Talent Bob(K)!
Wayne
Posted
Full Member
Les said
Excellent Bob, I'll follow this one as well and await the results so that I can get cracking. :D :D
. Have you come across any where they depict firemen leaning out of the cab as they often did as the loco trundles along, or the ubiquitous trainspotters of old who used to frequent every platform end, notebook in hand? :?
Les
Les
I have been looking through my tin of Dapol figures and have found 3, that with a bit chopping might do the trick. When I get time I will give it a go and report back. The main problem is that I don't have a loco here to test them in. Might have to mock something up :)
I know some of the metal figure range produce drivers and firemen, but I don't know of any in plastic.
I think Preiser do train spotter figures, but I am not sure.
Bob(K)
Posted
Guest user
Bob - lovely job on those figures :!:
Mike
Posted
Full Member
Once this was dry I tried to add lighter highlights to the raised areas. This is a technique I have used with enamels; however, as the acrylics dry so fast it is difficult to get the colours to blend. I ended up with a load of stripes on the figure:
I just ran across a bottle of "Blending Gel" made by FolkArt. It's primary use is to extend the drying time of acrylic paints for blendability!
Directions on the bottle:
Shake Well
Dampen brush with gel
Blot on paper towel
Pick up color and paint
Pick up gel as needed to extend drying time
Clean up while wet with soap and water.
Ref: www.plaidonline.com
Maybe this will help you!
Wayne
1 guest and 0 members have just viewed this.