John's Workbench
Posted
#140402
(In Topic #7568)

Full Member
Some recent projects
I've been busy lately.First I took part in a group build of an etched wagon kit (on Model Rail Forum). This is a Bill Bedford etched kit of a GWR diagram P4 ballast wagon - dating back to the late 19th century. Mine was done in a BR era appearance:


Not the easiest to do but I got it together and it even goes. The wheels are sprung.
My other project is another Bill Bedford kit - Conflat L. I wanted a runner for 03 shunter.

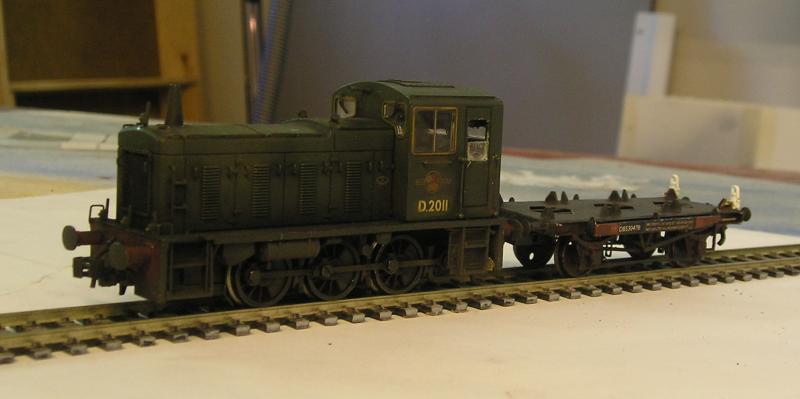
There's a red and white lamp on the wagon buffer beam, denoting station pilot. The loco would have this too, but it has electric lights. Yes, before anyone says anything, the door window needs work.
Transfers for the two wagons are homemade - what a faff!
Details of the build can be found in the blogspot link below.
The other thing I did was to detail my set of Birds Eye containers. This is the limited edition set from TMC:
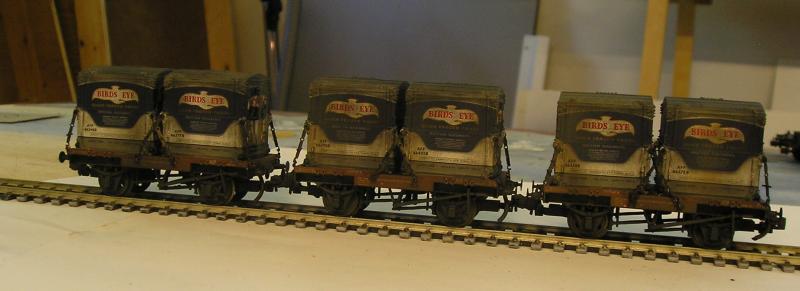
The Conflat L kit came with etched shackles so I decided to use them here. The wagons and containers are excellent as usual, I was impressed that everything has a different number. I also added vacuum pipes (Romford wire wound) and weathered.
John
John

Posted

Site staff
Ron
NCE DCC ; 00 scale UK outline.
NCE DCC ; 00 scale UK outline.
Posted
Full Member
John
John
Posted
Site staff
Ron
NCE DCC ; 00 scale UK outline.
NCE DCC ; 00 scale UK outline.
Posted

Full Member
Posted
Full Member

Here it is paired with its' mate. Pictures that I have seen show that lettering and numbering was somewhat ad hoc so that's what I tried to replicate. It took me about 8 hours to assemble the kit.
John
John
Posted

Full Member
The weathering is excellent. :pathead
Are they both Bill Bedford kits ?
'Petermac
Posted
Full Member
John
John
Posted
Full Member
Posted
Full Member
John
John
Posted
Full Member
Posted
Full Member
John
Posted

Full Member
Jimmy
Posted
Full Member
John
John
Posted
Full Member

The Bachmann 3 pack of PO wagons in the 50s or early 60s (they disappeared pretty quickly as the 60s wore on). I was impressed with the distressing but the factory weathering left something to be desired. I painted the white stripe on the 2 wagons with end doors and the brake handles white. Additional weathering was done using an airbrush followed by powders.
John
John
Posted
Full Member
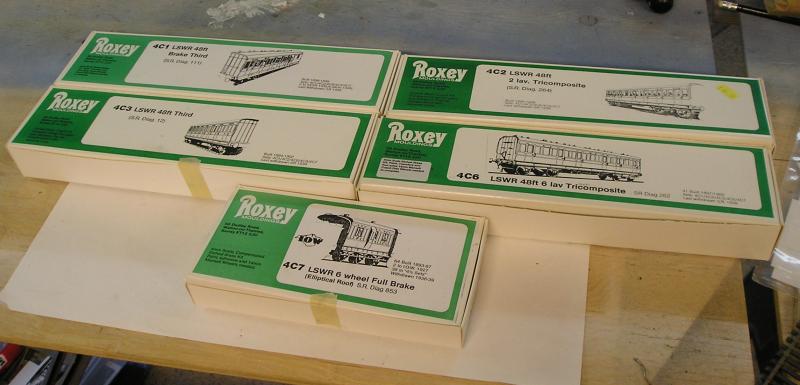
The kit contents:

Today's progress on the first underframe:
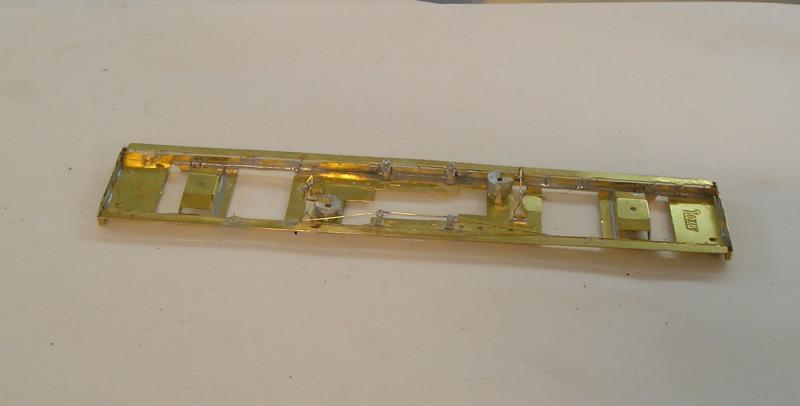
More details at the blogspot link below.
John
John
Posted
Full Member

The ride height will need raising so that the bogies swing freely.
John
John
Posted
Full Member
Is the floor frame where it's supposed to be on the kit ? As you say, it will cartainly need a higher ride height but as is, it has very clean sleek lines ……
'Petermac
Posted
Full Member
John
John
Posted
Full Member
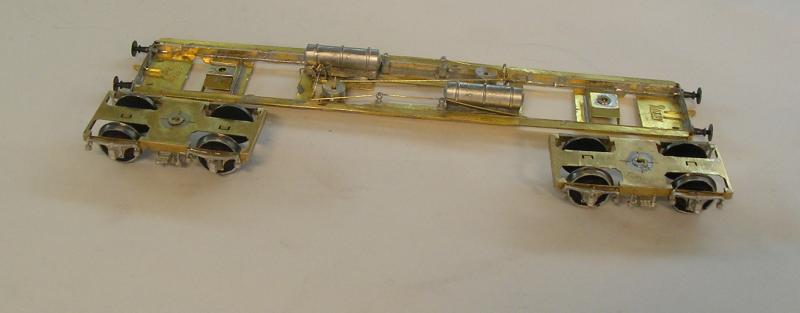
Note the two pieces of 0.032" wire on the left most bolster - this prevents the coach from rocking.
I took it to the club layout this evening and I'm happy to report that it took even the most challenging double curve crossover with ease. It's a keeper.
I also started work on the body:
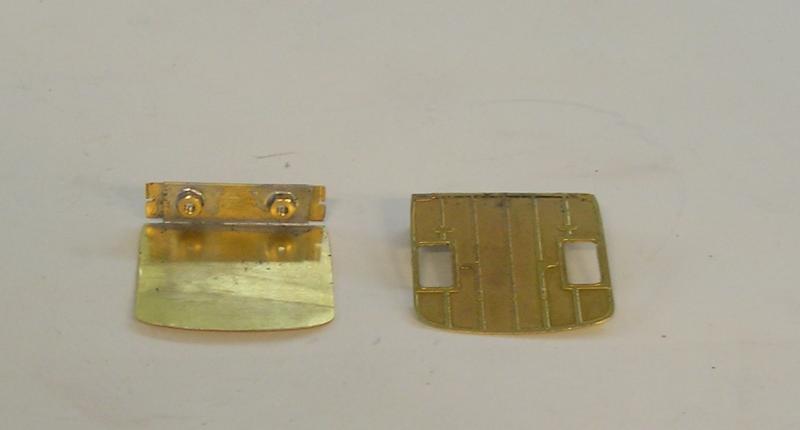
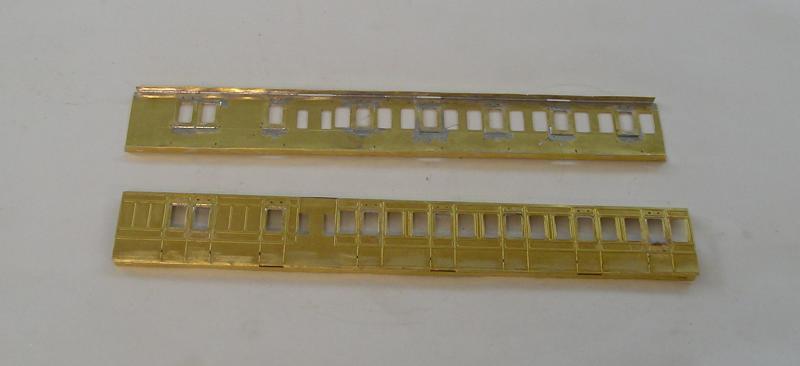
The droplights were a challenge because there are few cues to aid location from the inside.
John
John
1 guest and 0 members have just viewed this.