Members Monthly Project - July 2012
Posted

Full Member
I'll have a look at the Scalescenes "window" download - I do like those "on end" bricks. They'd also make excellent lintels because you often saw that construction, slightly arched, over windows and doors.
'Petermac

Posted

Full Member
Regards
Rhiwderin_Ray
Rhiwderin_Ray
Posted
Full Member
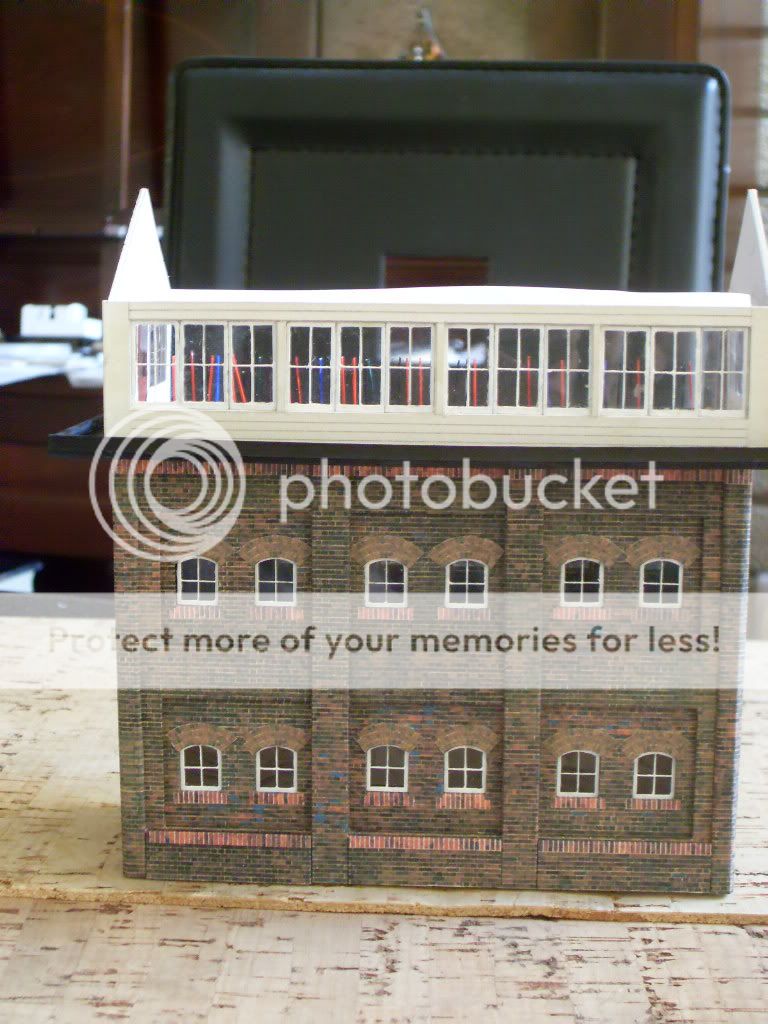
The base was simply glued together using card formers at bottom, centre and top with interior partitions (painted black) also for strengthening.
Note this pic has the wrong shaped lintels which were changed afterwards.
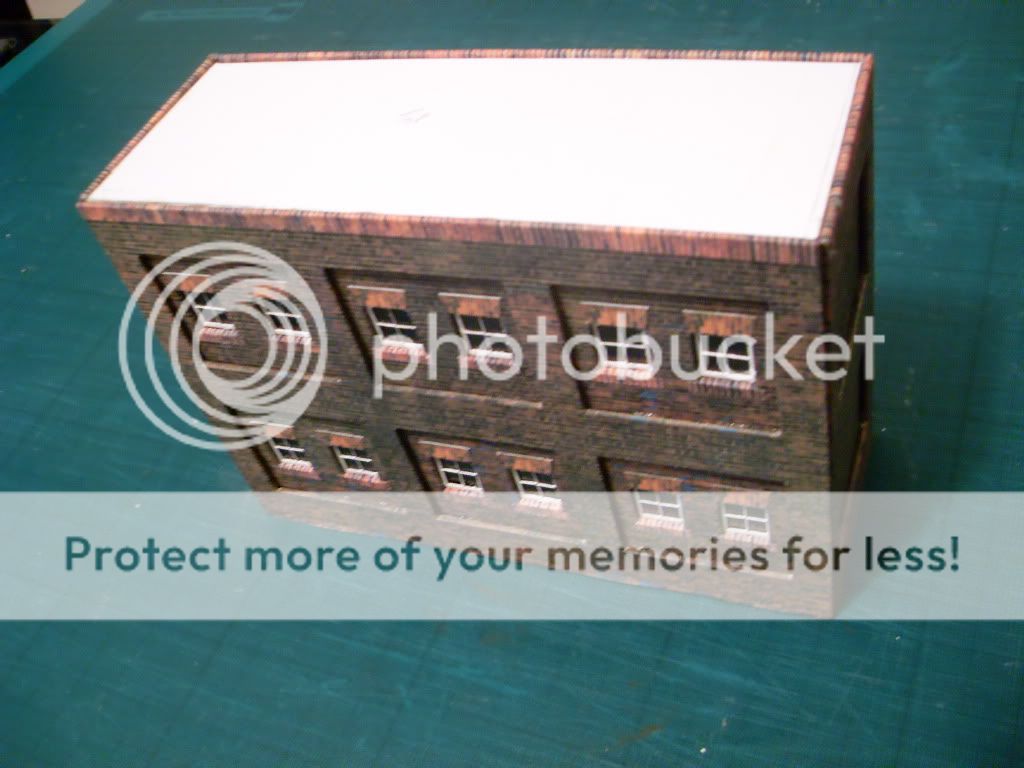
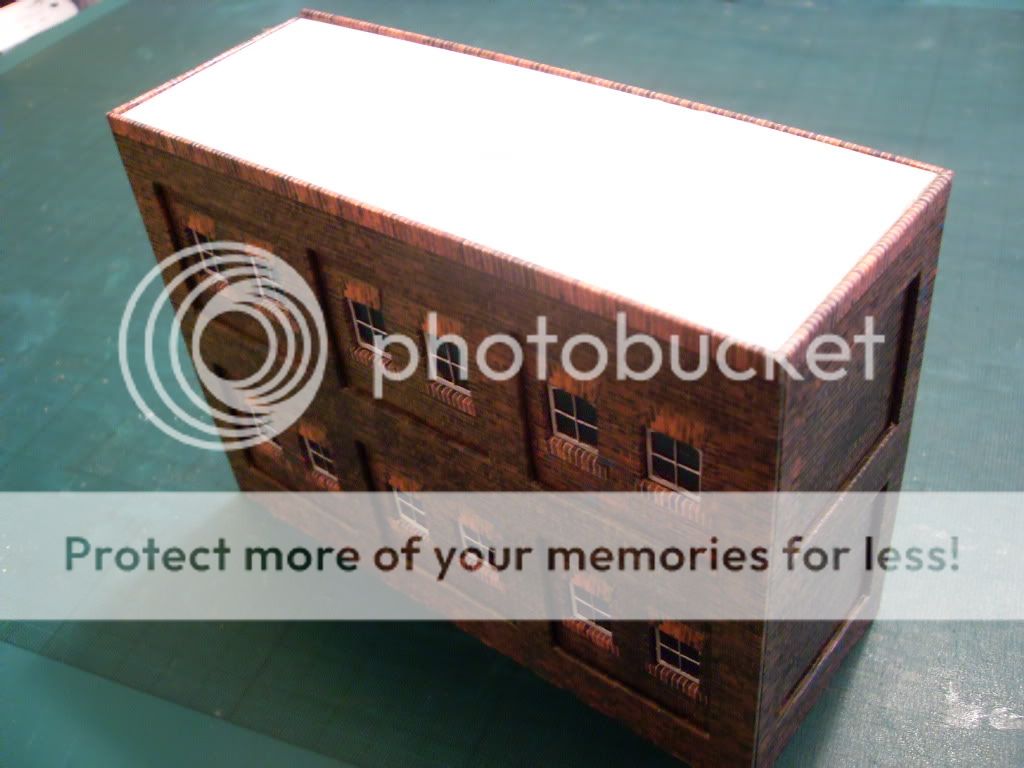
The top balcony is just a card "tray" - a rectangle with some low card sides added.

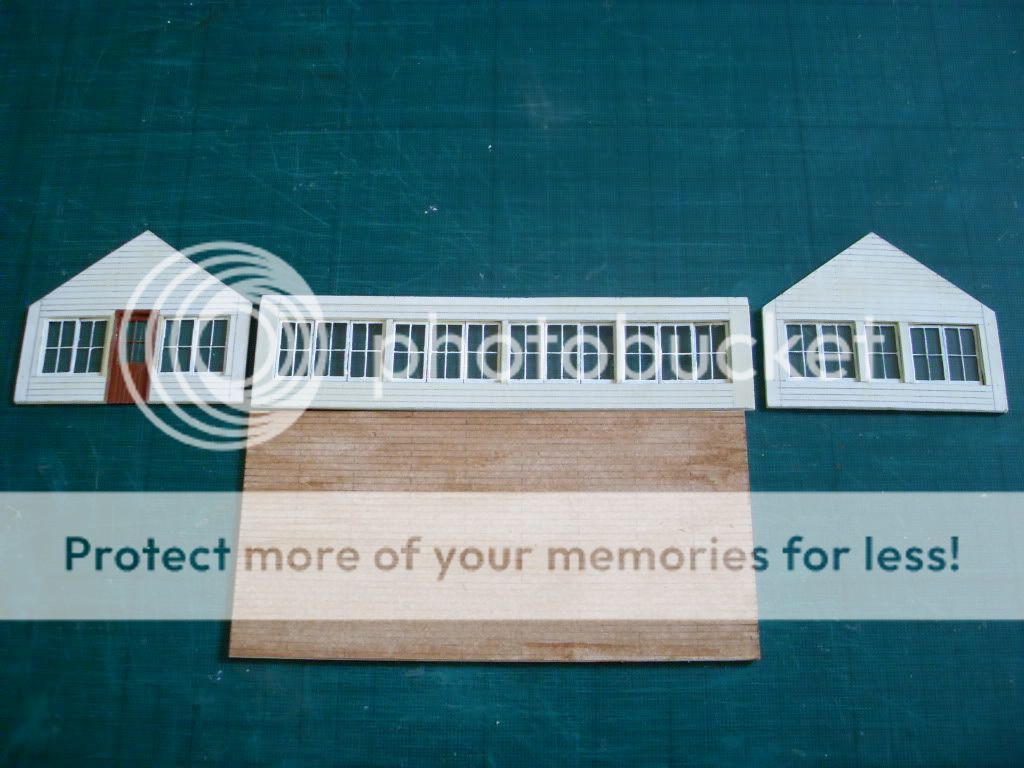
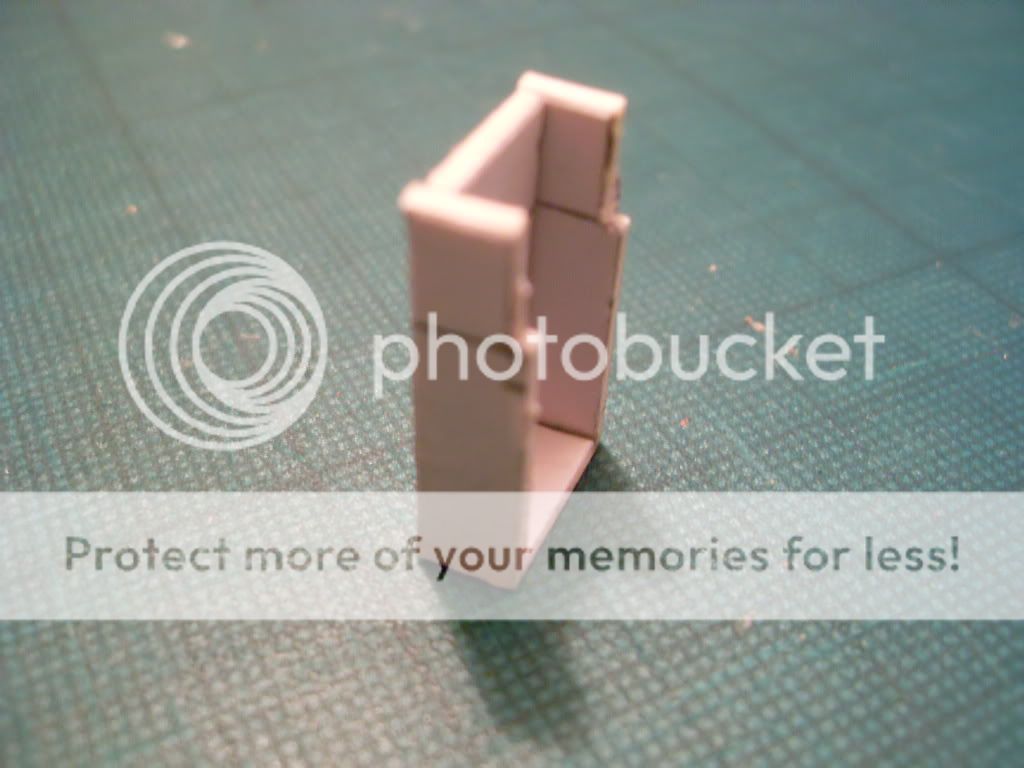
Next the Cabin sides are cut out, together with a floor strengthener.
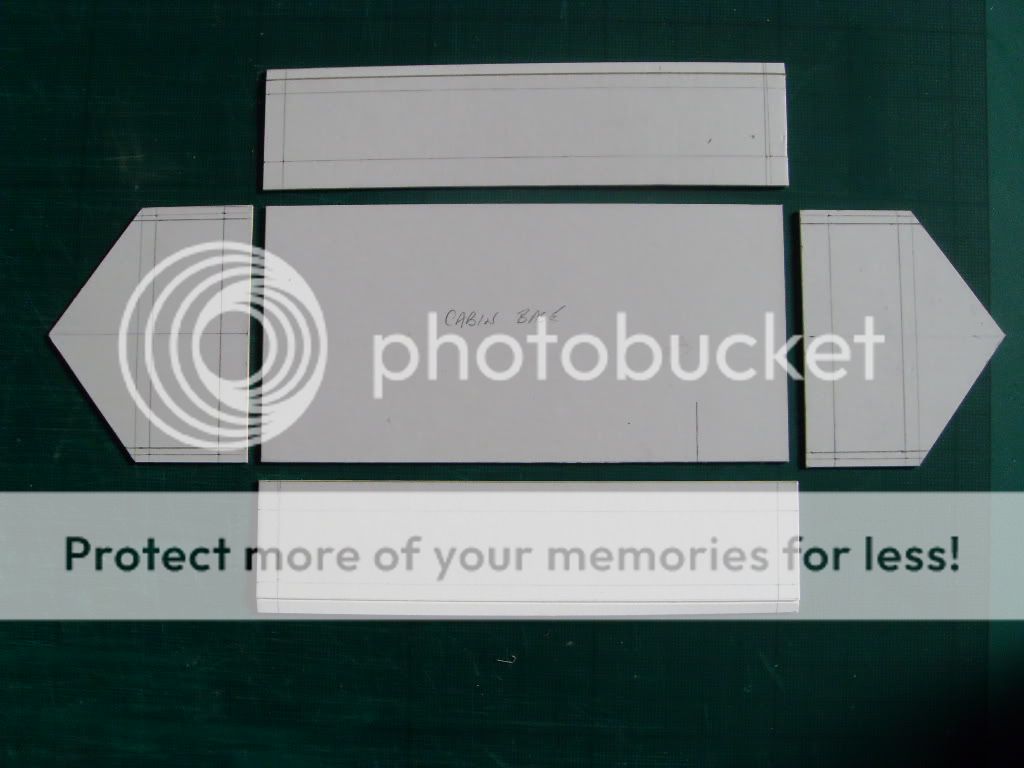
Planking and apertures were drawn on the cabin sides. The front and rear sides have an angled "tab" for attaching the roof.
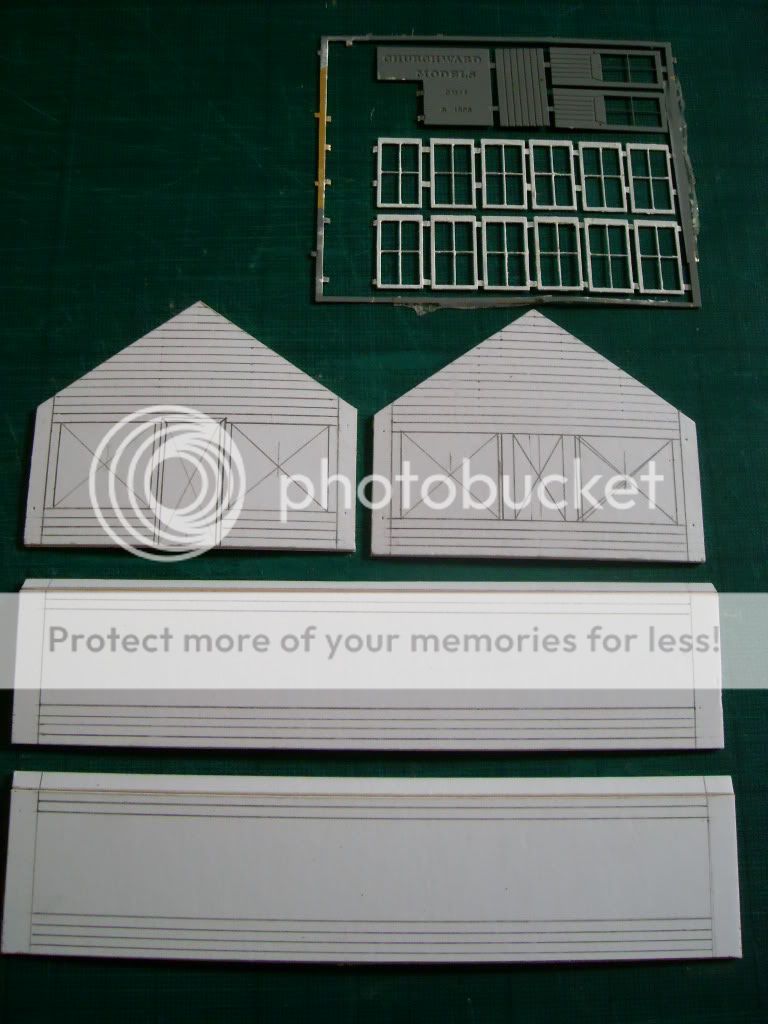
It is quite tricky to put the windows in place correctly. I also wanted some to overlap as sliding frames. This pic shows horrible gaps but this is extreme close up! From a distance they look ok.
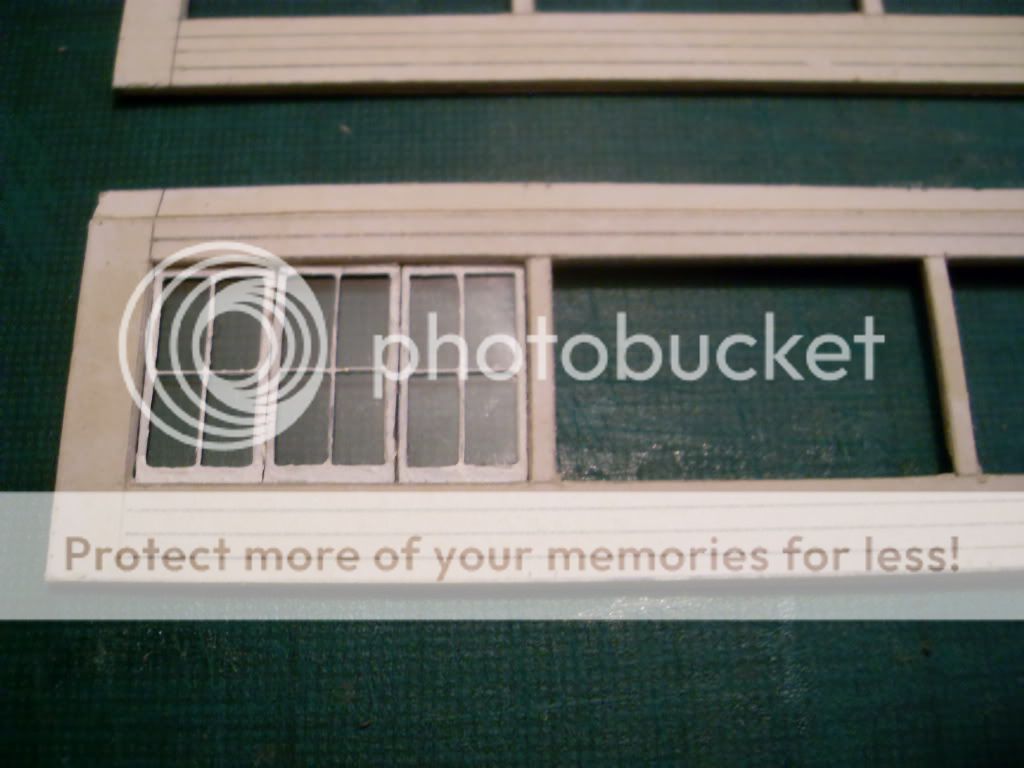
Three sides and a painted floor with scribed planking.
Interior next!
To be continued….
Regards
Rhiwderin_Ray
Rhiwderin_Ray
Posted
Full Member
Step one was to make a load of levers from plastic strip and paint them in various lever colours. The put in a long painted balsa base as the bottom of the frame. The signalmen are old Airfix platelayers (promoted!)
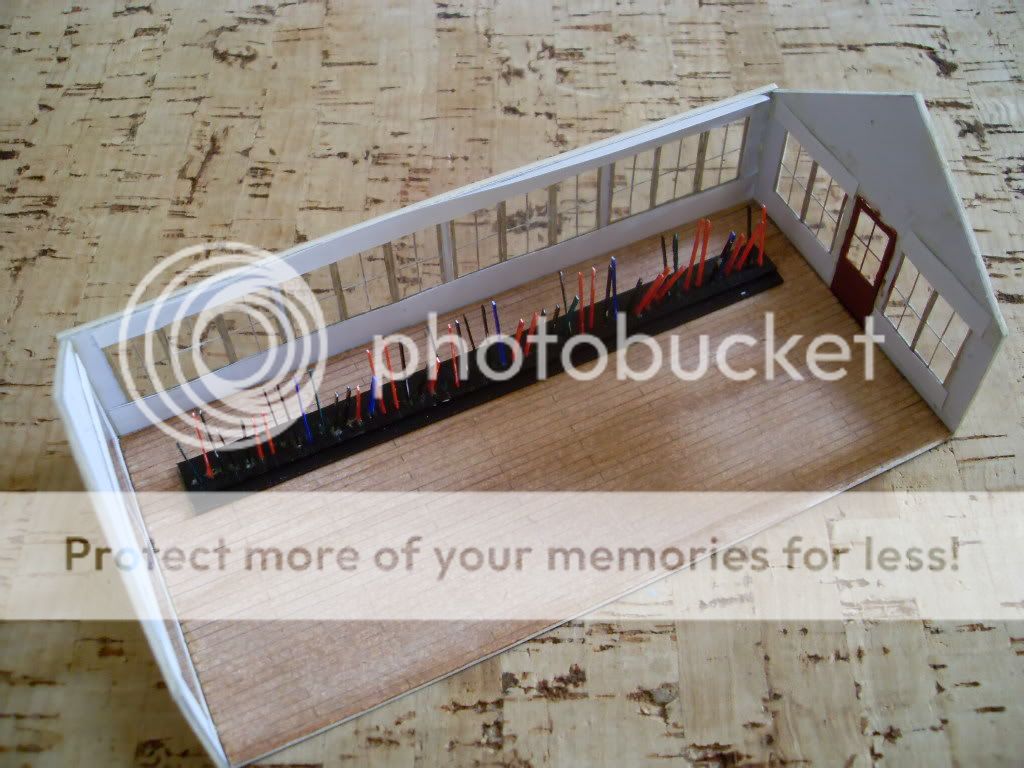
A stove was made up from pits of card and plastic rod.

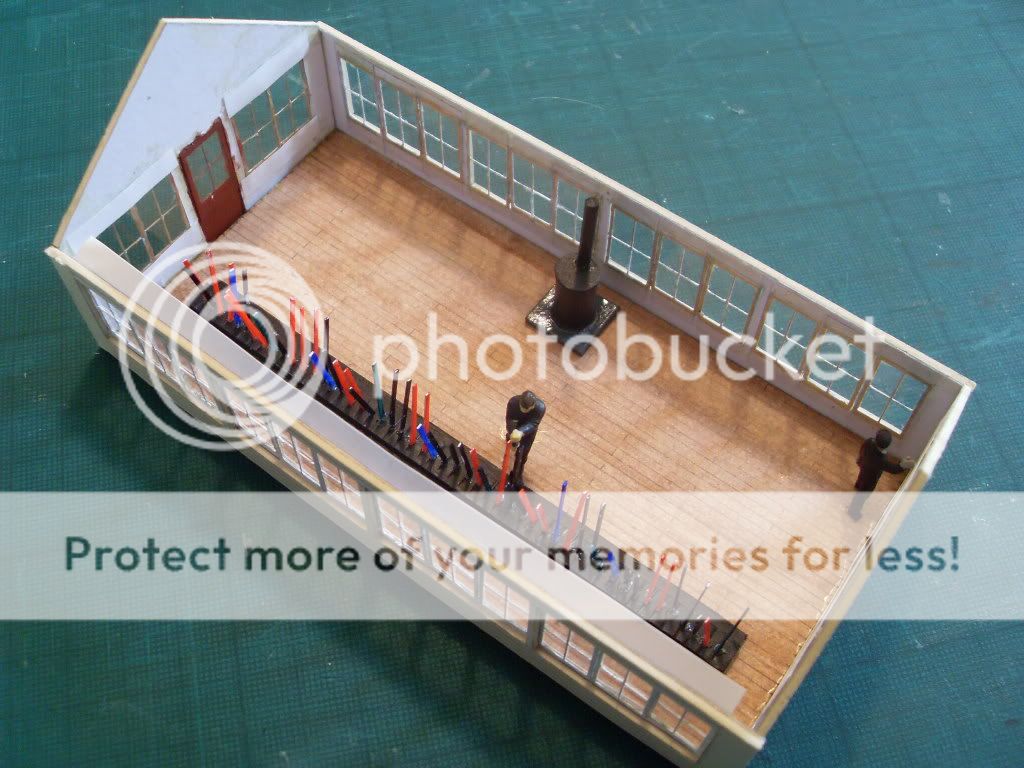
I also made up a shelf over the frame with some dummy block instruments made from balsa. (not illustrated)
The cabin was then glued onto the "balcony"
Roofing next!
To be continued …
Regards
Rhiwderin_Ray
Rhiwderin_Ray
Posted
Full Member
I like the lever frame. :thumbs
'Petermac
Posted
Full Member
Regards
Rhiwderin_Ray
Rhiwderin_Ray
Posted
Full Member
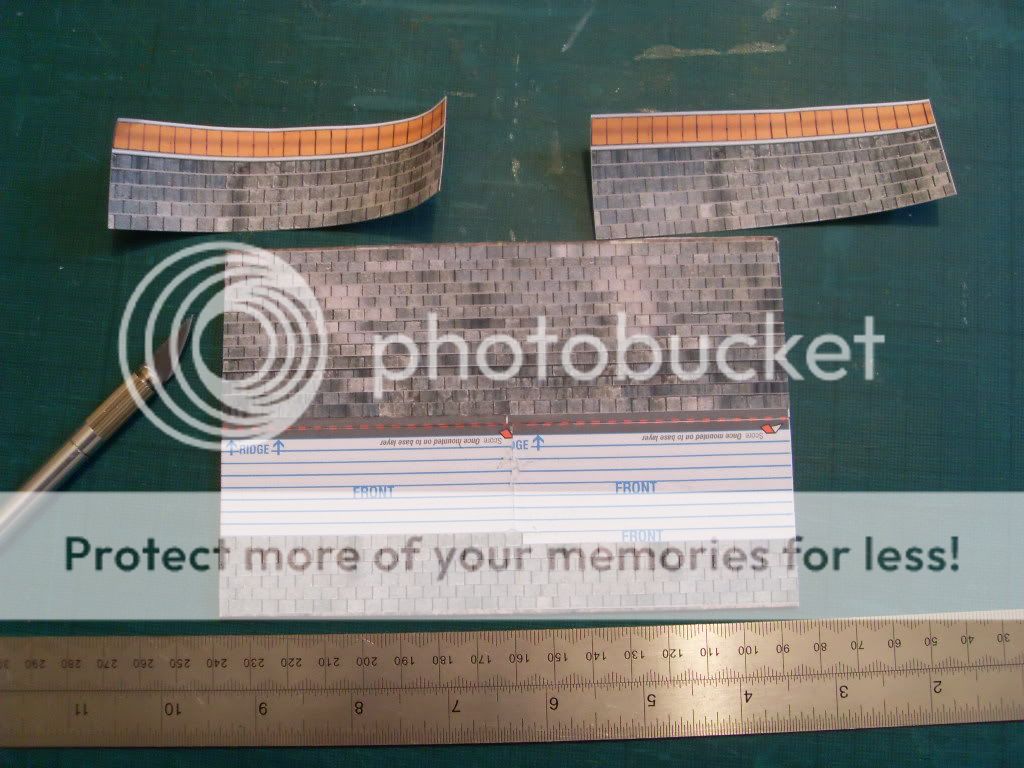
I glued the lined under surface to the roof, joined in the middle as it is smaller.
Then cut out the tiles in Double strips.
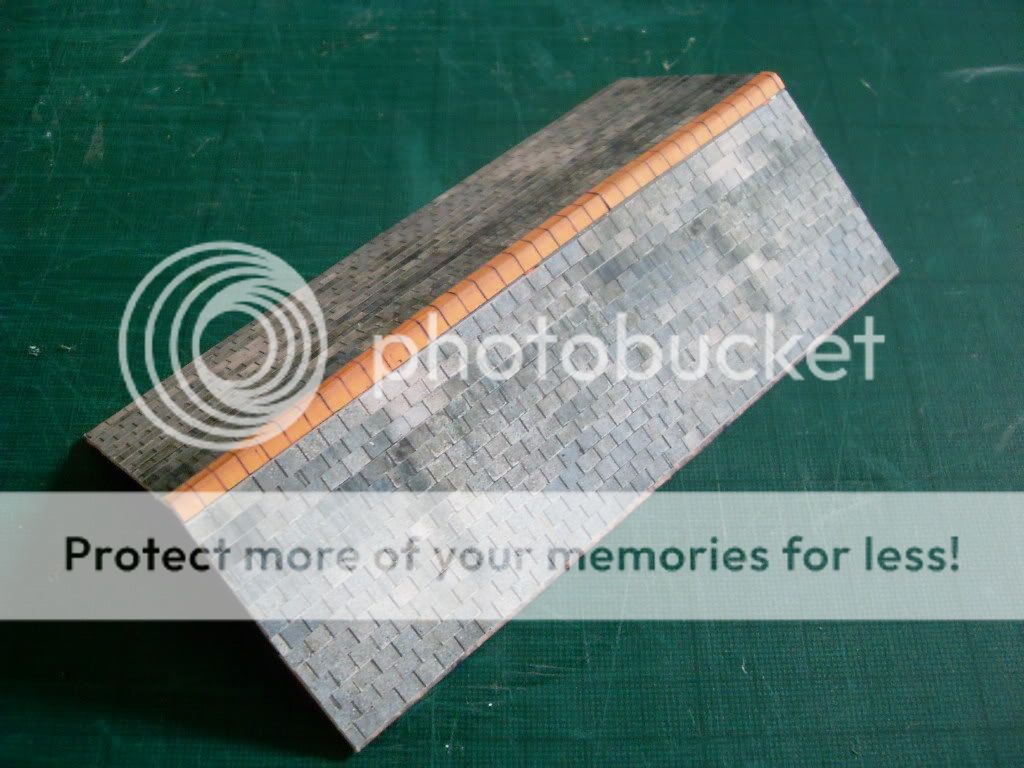
Starting from the gutter edge lay and glue the double tile strips across the roof.
Apply the next strip of tiles but overlap one row of tiles to obtain a 3D effect.
Continue to the apex and repeat for the other side of the roof.
When all tiles are laid, fold the ridge tiles and apply to the folded roof.
To add a chimney, I used some bits of cut rod painted black.

Finished roof
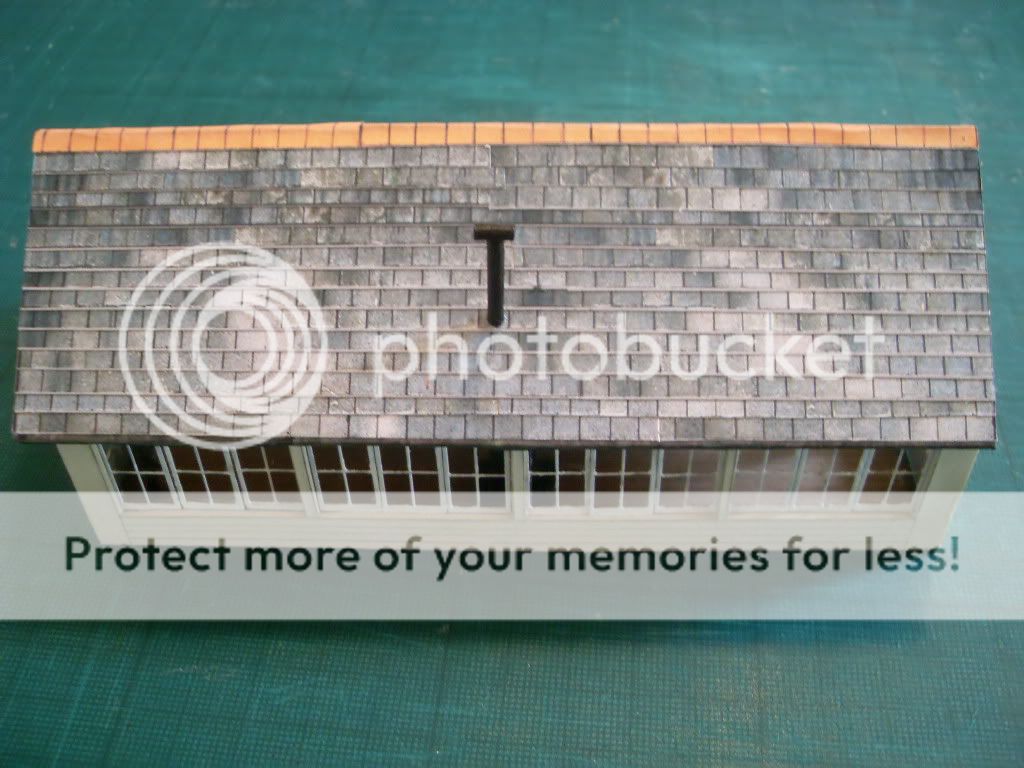
Next I added painted bargeboards (card strip) and cabin corner capping. (I fixed the tilted chimney!!)

Next time I will tackle the tricky topic of the handrails!!
Regards
Rhiwderin_Ray
Rhiwderin_Ray
Posted
Full Member
Not only are single strips awkward to handle but any stray glue (and I get lots ……:oops:), tends to stick the next row right down to the lower edge thus negating any attempt at an overlap.
'Petermac
Posted
Full Member
First step was to make up some tall frames that are spaced around the balcony. Made from plastic strip jointed with mek-pek.

Some fine wire was laid across the frames and glued in place with evo-stick.
In order to hold the wires against the frame I made this little gizmo from card to press between the wire and the side of the cabin.
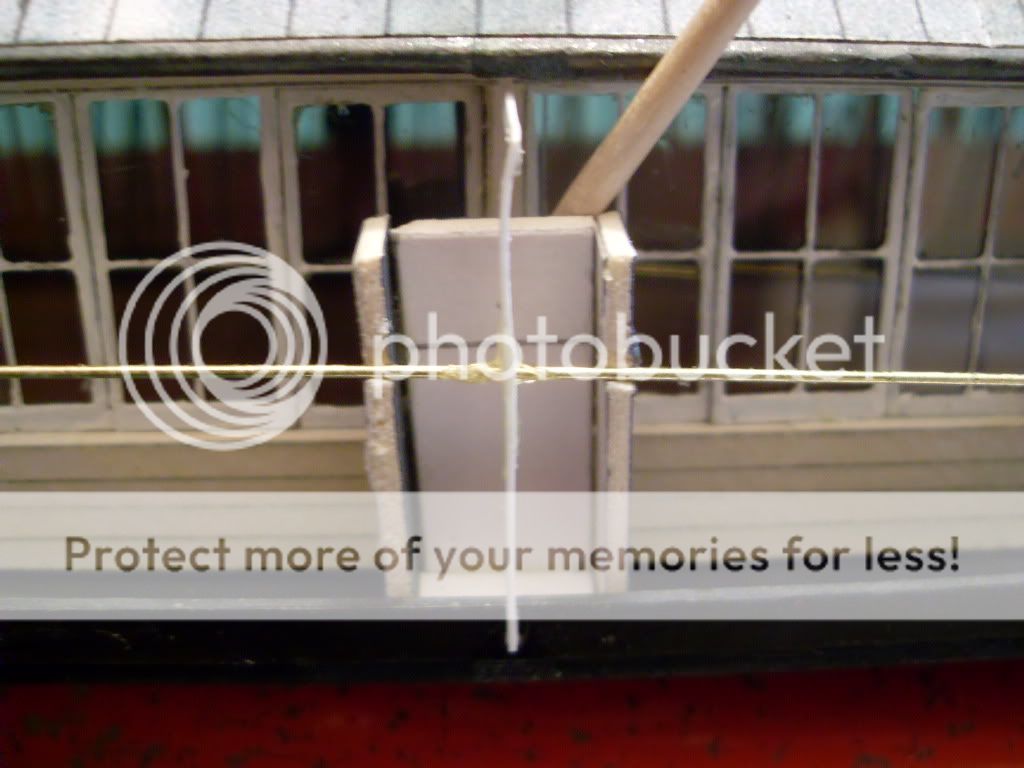
One wire completed.
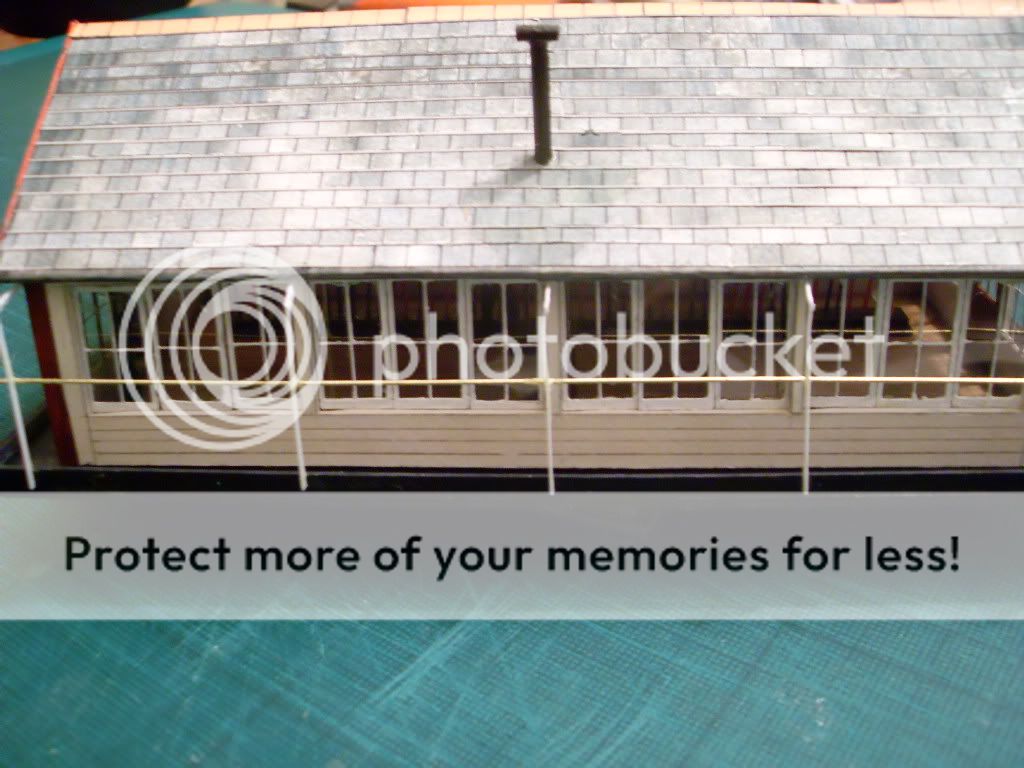
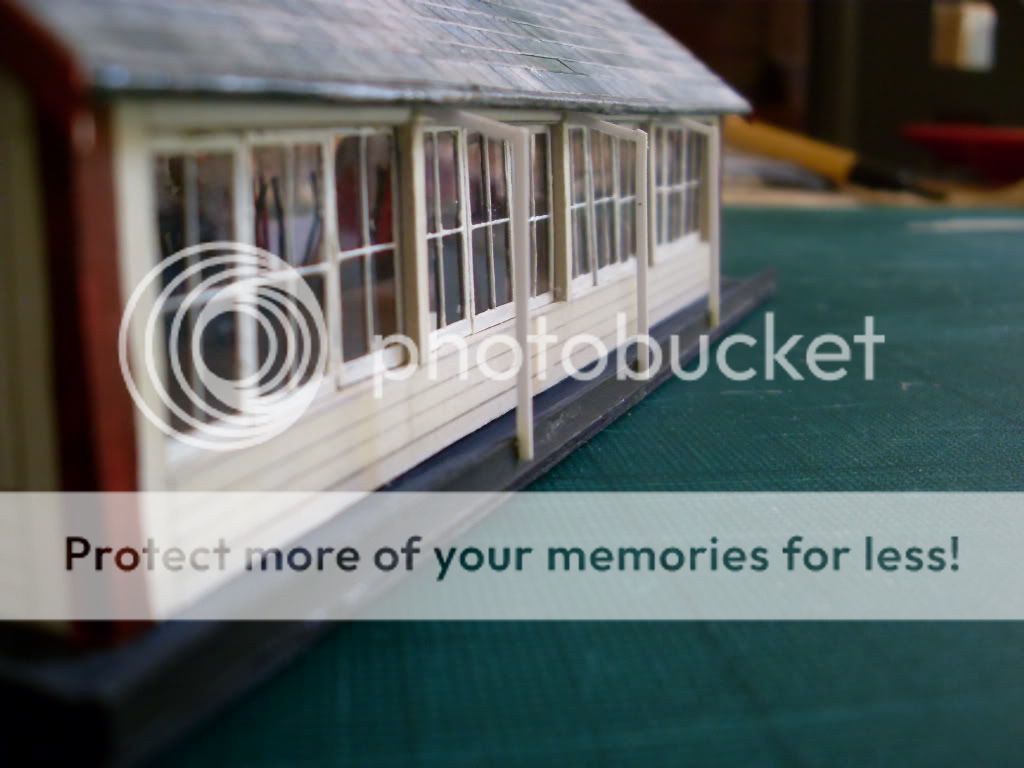
This is the cabin completed.

I haven't done the access stairway yet as it will have to be specific to the location of the box, but it is just a standard stairway.
I have also started a Gantry-type signal box which is just a cut-down Scalescenes box sitting on top of some plastic gantry strip from a couple of Ratio Signal gantries!
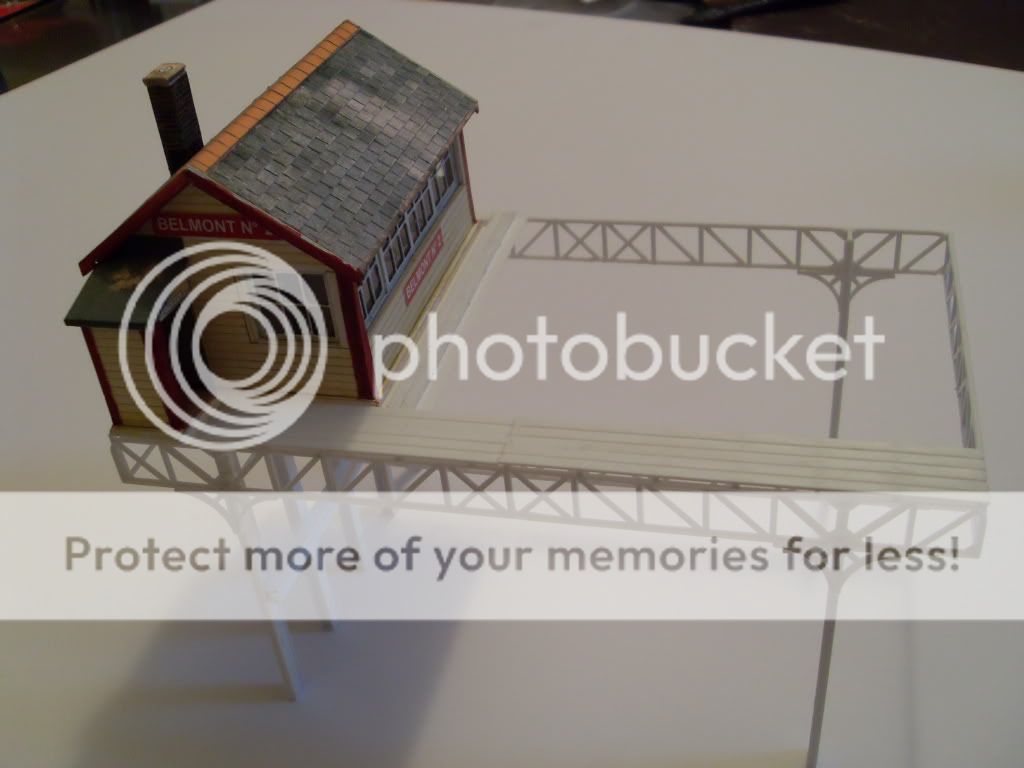
More work to do but I haven't the time at the moment!
 Last edit: by rhiwderin_ray
Regards
Rhiwderin_Ray
Rhiwderin_Ray
Posted
Full Member
 thumbs
'Petermac
Posted

Full Member
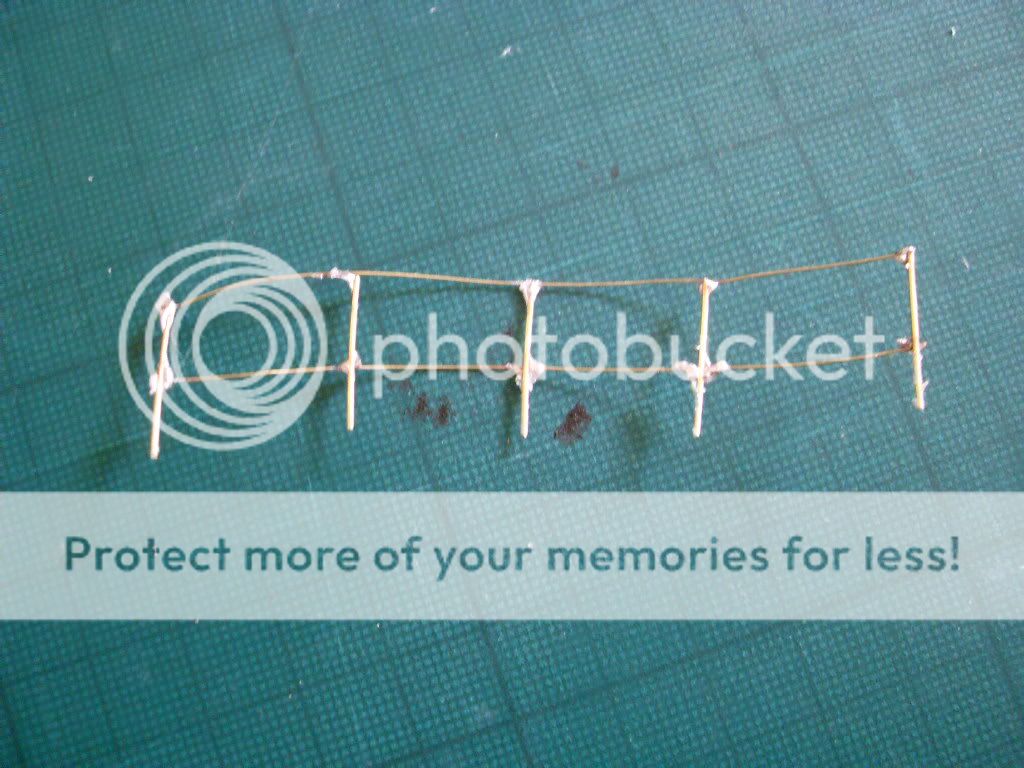
1) Materials
Hard, straight brass wire. I'd use 0.032" for the uprights and 0.020" for the cross pieces. I get mine at my local hobby shop but I'm sure the likes of Eileens have it.
Drawing pins
2) Soldering
For brass, I use Carrs 145C solder and Green label flux (dilute phosphoric acid). The solder available from DCC Concepts is reckoned to be better but I haven't tried it.
3) Method
a) Draw your pattern on some paper.
b) Lay uprights and crosspieces over your pattern and secure with the drawing pins. Don't try to get the lengths exact.
c) Apply solder to the joints
d) Remove the railing from the pattern and trim the excess.
e) Wash the acid off.
f) Spray the railing with flat white
g) Install
John
John
Posted

Legacy Member
1 guest and 0 members have just viewed this.