The Viaduct
Posted

Full Member
Perry
Due to cutbacks, the light at the end of the tunnel has been switched off.

Posted
Guest user
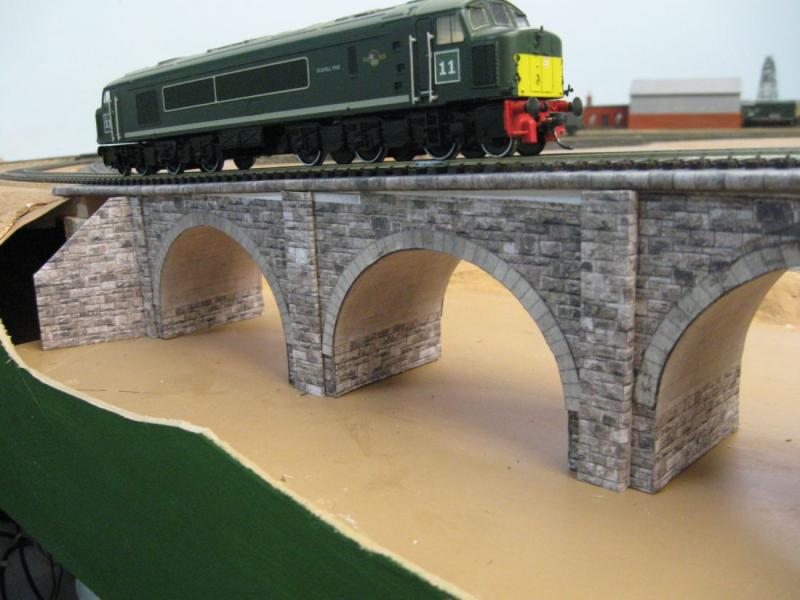
Here we are Peter, 3 shots of underneath, they represent the finished stonework.Very tasty Sol. :thumbs
What is the covering under the arches - above where the stone piers stop.?
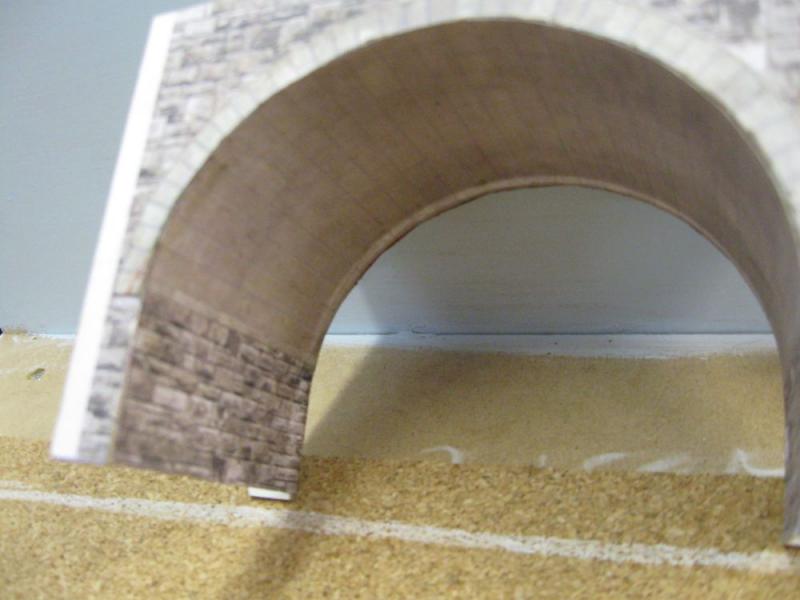
The first one shows a slight lip on the far side, not easy keeping it straight as it is only paper thickness joining the arch to the outer wall edge but anyone who can get their down to see, good luck to them.
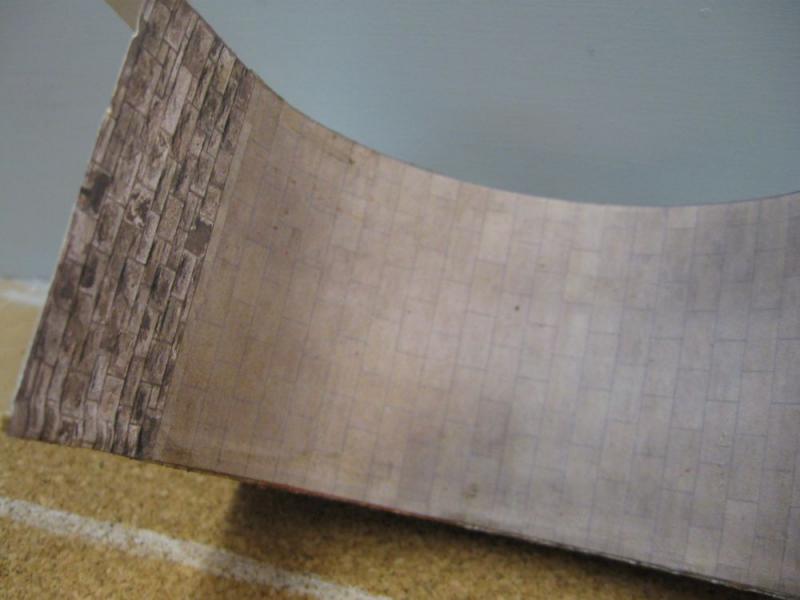
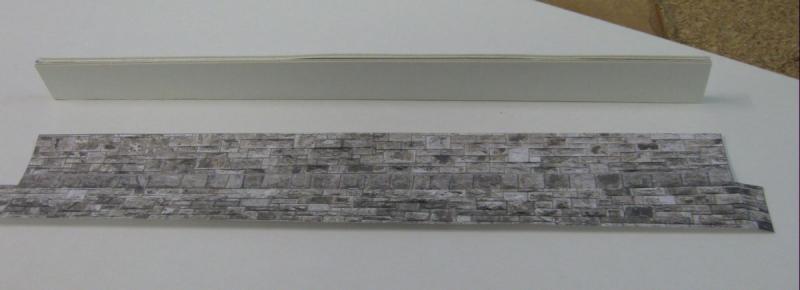
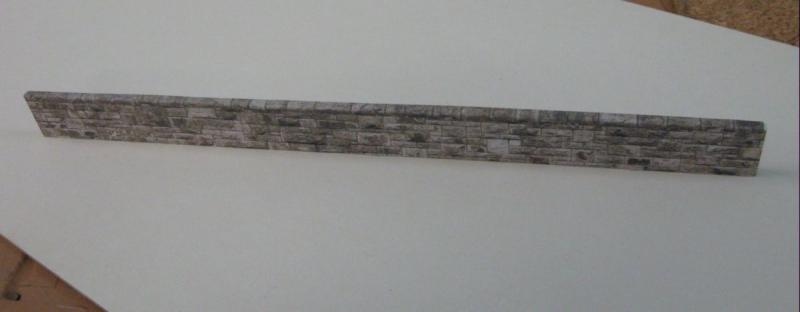
A closeup of the printed paper-
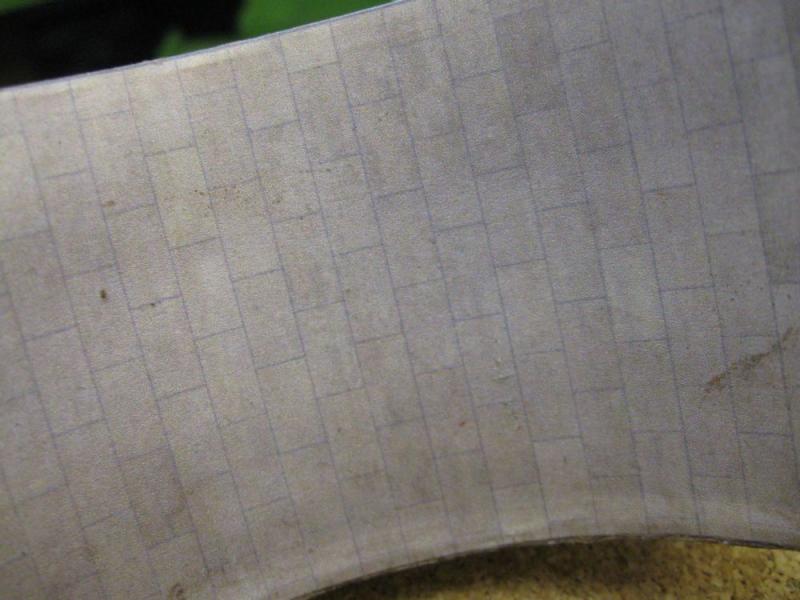
Brown marks are off my fingers as I weathered the edges with weathering powders.
Posted
Guest user
I#ll be watching this Ron, i have bought the viaduct to be the entry to the fiddle yard. I just hope a double track will go under an arch, the top will be a roadway.
Regards
Pete
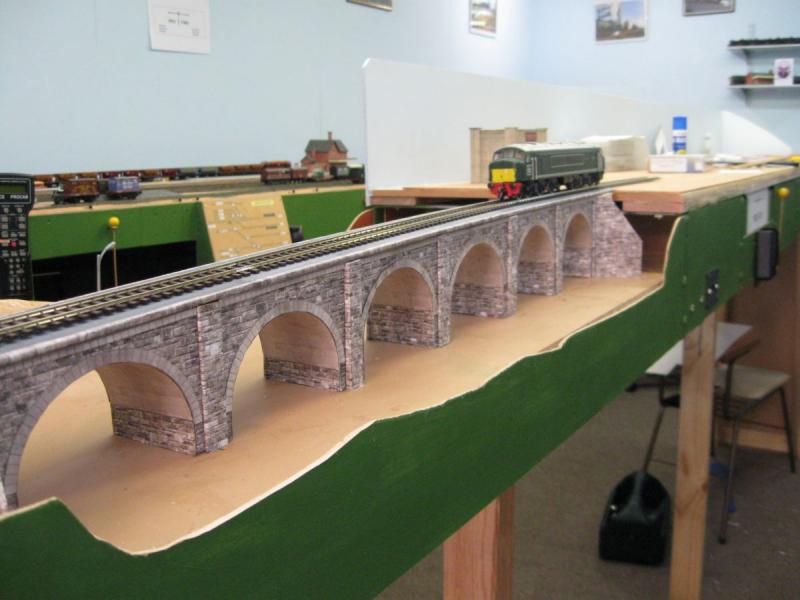
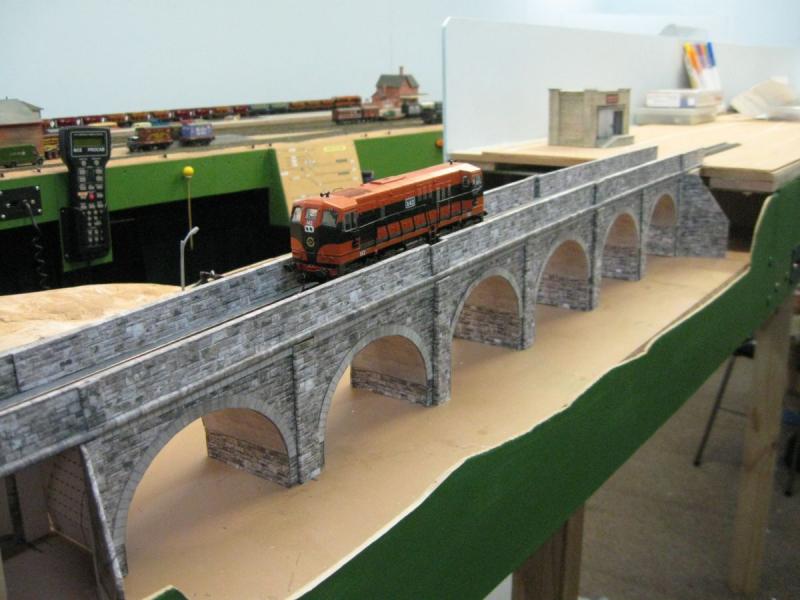
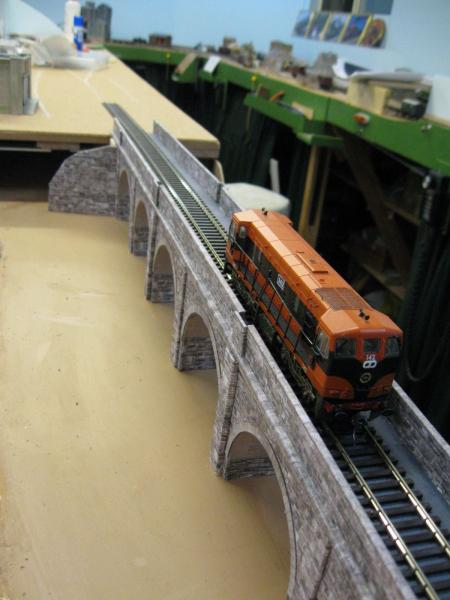
Pete, I thought this photo ( yes slightly out of focus) will give you the idea of space for double tracks.
I set the tracks with 6ft way between centre rails = 24mm so centre- centre is 40mm & a bit close on each arch side
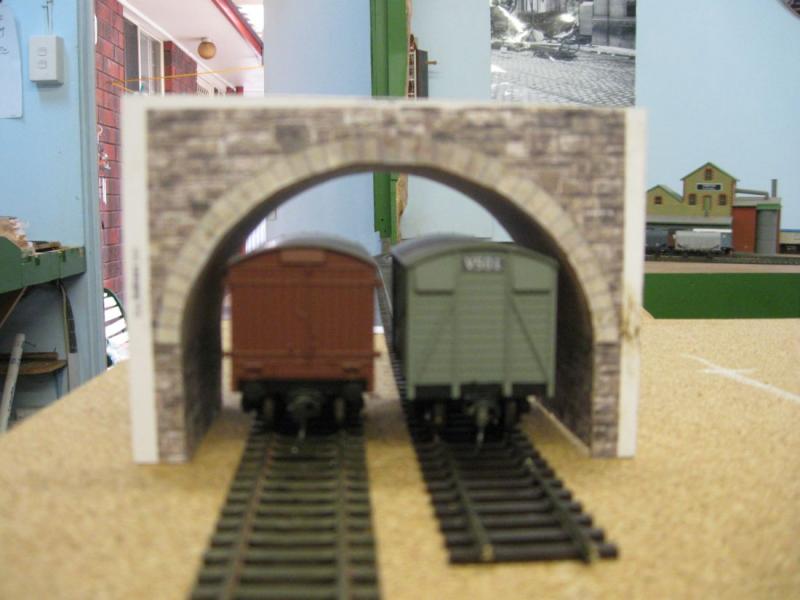
With some minor effort & time, you could add say another 1/2"/ 12mm in width to the top of the arch .
Posted
Guest user
I made a mistake when I first cut the MDF for the base - I made it 4mm too narrow so some buttresses are only one thickness, not the two but all will work out OK ( I hope)
Posted

Full Member
I think you made a good choice in the random stone. :thumbs
'Petermac
Posted
Guest user
Posted

Full Member
Pete, I thought this photo ( yes slightly out of focus) will give you the idea of space for double tracks.
I set the tracks with 6ft way between centre rails = 24mm so centre- centre is 40mm & a bit close on each arch side
With some minor effort & time, you could add say another 1/2"/ 12mm in width to the top of the arch .
Cheers for checking Ron it is a bit tight which is a shame, i was sat on a plate girder bridge the other day so plan B, Plate girder spanning the rails and the viaduct arches either side. I need the arches cos one side is having a garage on a street scene not original i know.
Still watching your mini Ribbleshead
:thumbs
 Last edit: by wogga
Regards
Pete.
ECOS2 with RR&Co Traincontroller and a load of other electronics so i can sit back and watch the trains go by.
Pete.
ECOS2 with RR&Co Traincontroller and a load of other electronics so i can sit back and watch the trains go by.
Posted
Guest user
Now to start on the top part.
Posted

Inactive Member
Max
Port Elderley
Port Elderley
Posted
Guest user
Posted
Guest user
Not yet, it has to be anchored & rails cut as it goes onto top station area, then painted then ballasted.Excellent. :thumbs Is the track ballasted in?
Posted
Guest user
Posted
Full Member
Regards
Pete.
ECOS2 with RR&Co Traincontroller and a load of other electronics so i can sit back and watch the trains go by.
Pete.
ECOS2 with RR&Co Traincontroller and a load of other electronics so i can sit back and watch the trains go by.
Posted
Guest user
Posted

Full Member
The fact that I made the deck 4mm too narrow will create a small problem but I think it will come out OK as long as anyone who gets caught on the bridge & has to take shelter in refuges is only 1 ft fat, they will be OK ! When I go to glue things on, I will take some more Box Brownie shots.
Iam afraid I do that. I find I fret a lot about it at the time but once the section is completed the implausible bit can hardly be seen (fortunately)…………..the viaduct is so good Ron nobody will ever notice the diet requirements and you will forget!
Like Pete I love the wall
Posted
Guest user
Especially if I have some young people cavorting around in the fields/water I plan to have below the arches, they should take any viewers eyes away from any mistakes
…the viaduct is so good Ron nobody will ever notice the diet requirements and you will forget!
 ( the same principle another YMRer uses on his beach I think :pedal)
Posted
Guest user
Posted
Full Member
All stressed out, got addled brains?
Ride your bike or play with trains!
Ride your bike or play with trains!
Posted
Guest user
Yes the paper is not 3D but effective & I use an EPSON NX220 printer.
Posted
Full Member
 thumbs
I don't think I'd have any problems with those refuges ………………..:roll::roll::roll::roll::roll:
The stone makes it somehow appear more of an imprssive structure to me than with brick. I love the random ashlar.:cheers
'Petermac
1 guest and 0 members have just viewed this.