00 Gauge - Jeff Lynn / SRman's New Layout
Posted

Full Member
Progress (or otherwise) on Jeff's new layout
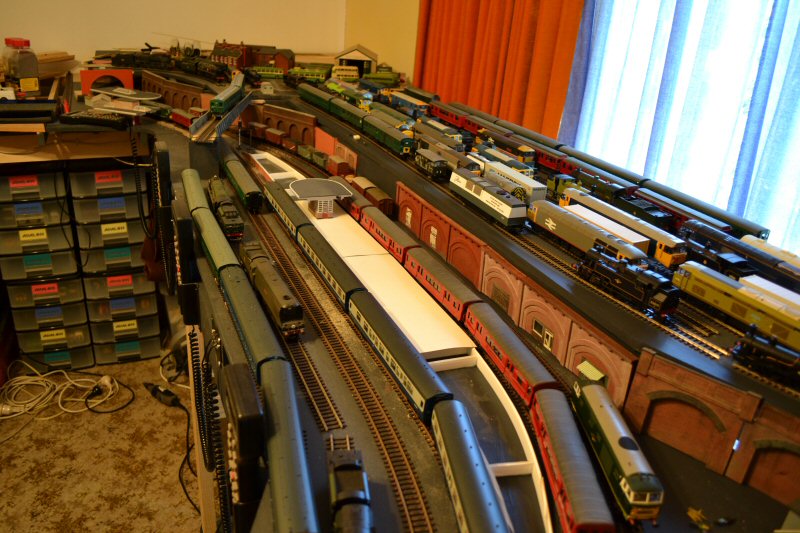
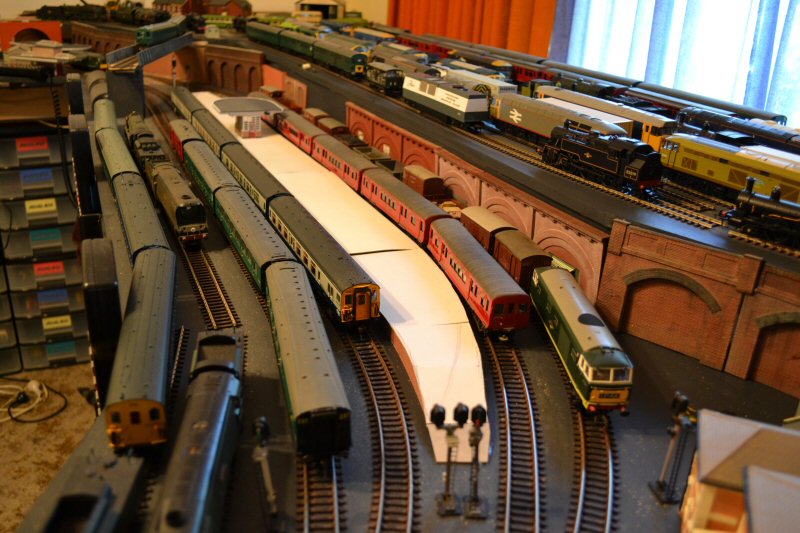
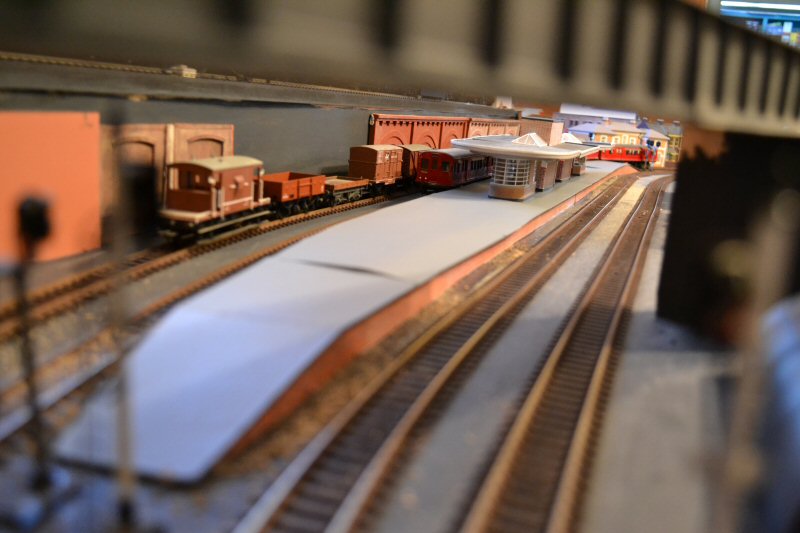
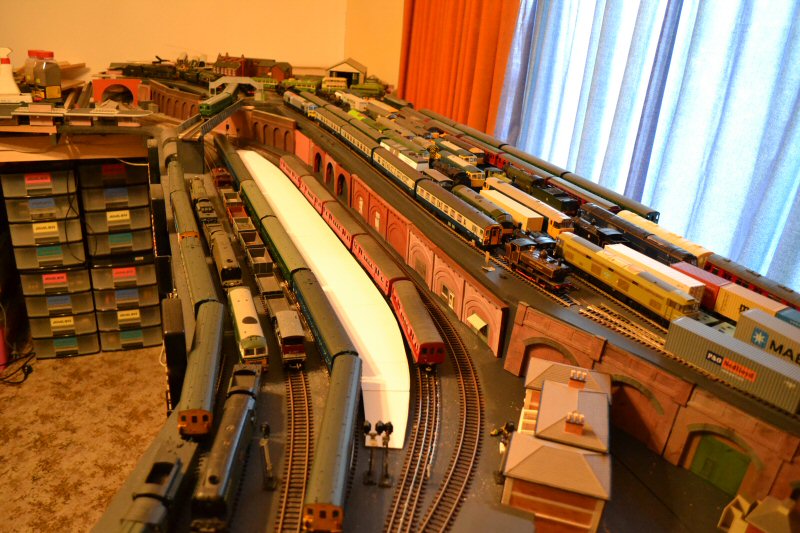
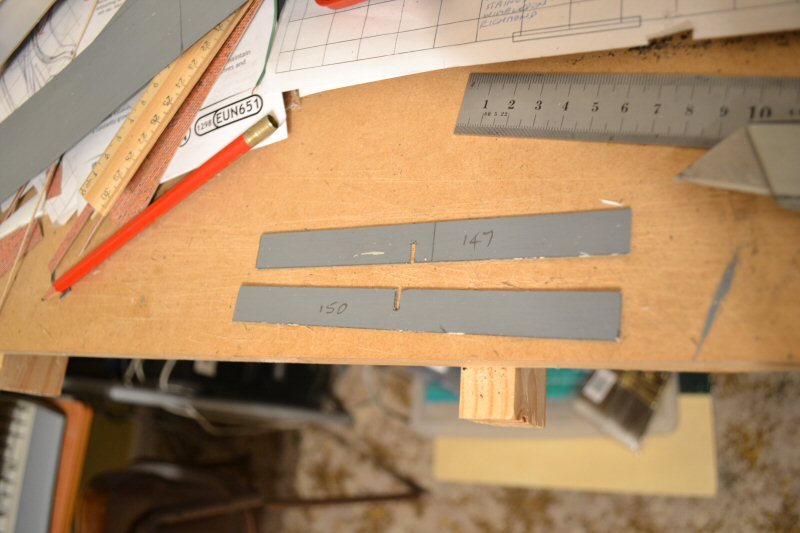
With a few days off over Christmas and New Year, I have started on the London Transport island platform. I have some light plastic board formed from two layers of thin plasticard with a series of lengthwise plastic cross braces and thought this would make a light but strong framework for the platform.To face the side pieces, I am using some embossed card brickwork from Vollmer, the first few of which are shown in a couple of the pics. Although it was labelled for N scale, I think the brick card is much closer to OO/HO scale in appearance. I have set the sides 15mm high, and am cutting more of the card just two brick courses deep with the intention of adding them along the tops of the platform sides to form a projecting ledge for the card platform top surfaces to sit on. I have used some extra strips as cross supports but will also use some strips of the card intended for the top surfaces as well.
The brickwork is much too pristine at the moment but I will weather it down a bit later.
These photos show the intermediate stage to the point where I stopped work for the night. More to follow as I progress further. Modern heavy diesel models (plus a Wrenn/Hornby Dublo West Country steamer used earlier!) make very good weights to hold things in place while the glue sets!


Jeff Lynn,
Amateur layabout, Professional Lurker, Thread hijacker extraordinaire
Amateur layabout, Professional Lurker, Thread hijacker extraordinaire

Posted

Full Member
Wayne
Posted
Full Member
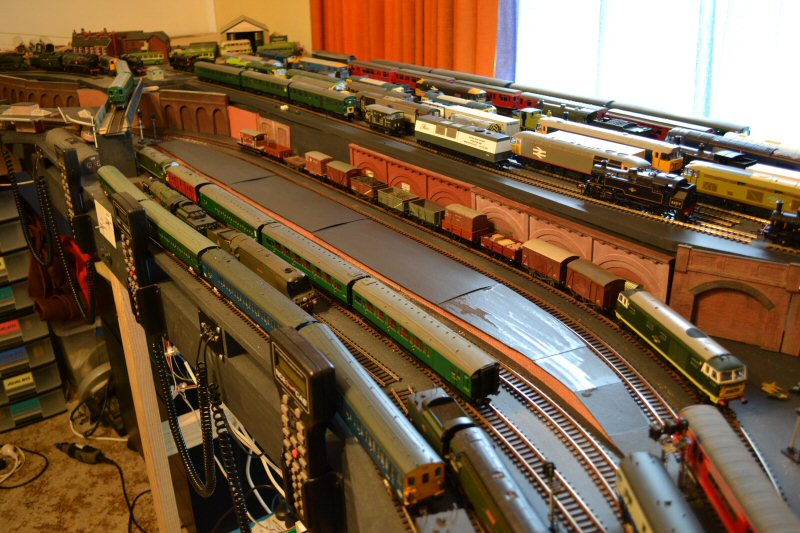
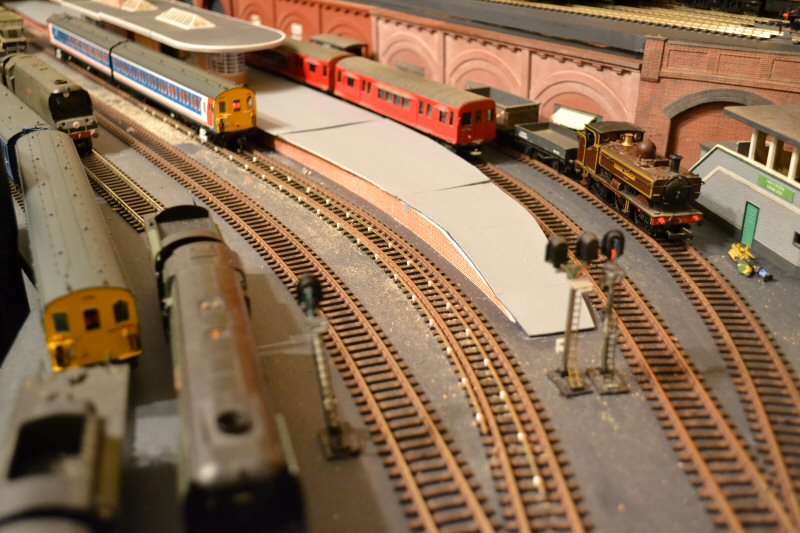
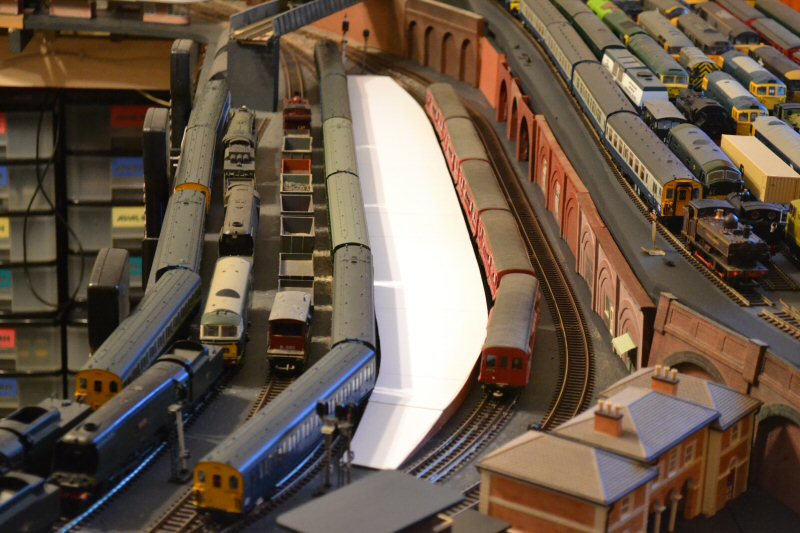
Here are more photos showing the progress since yesterday. The top surfaces still need a little trimming and cleaning up and also clearances for longer stock checked before gluing down so are still loose at this stage.


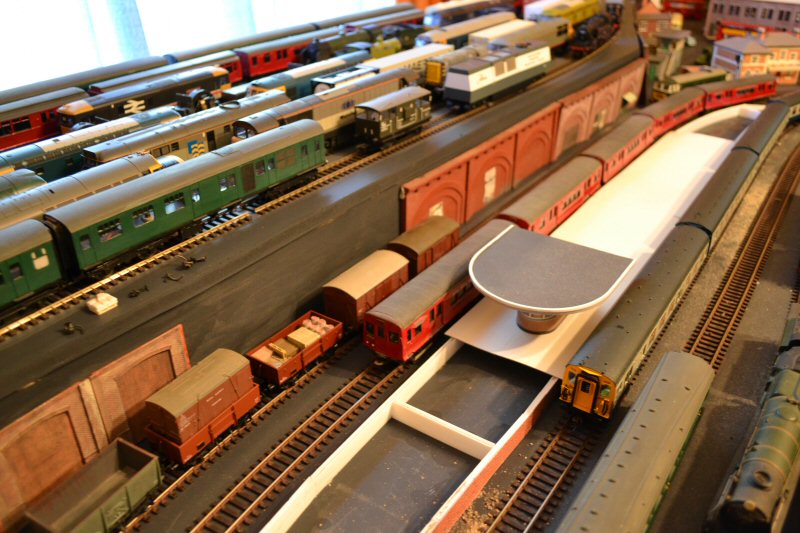
I'll be pre-painting the platform surfaces on both sides with the dark grey colour before sticking them down. Later on I'll do the 'proper' textures and finishes for the upper surfaces.
Jeff Lynn,
Amateur layabout, Professional Lurker, Thread hijacker extraordinaire
Amateur layabout, Professional Lurker, Thread hijacker extraordinaire
Posted

Legacy Member
Posted
Full Member
I intend running longer trains on the upper level main lines so, if I have a station on those, the platforms will be even longer.
I have now, this morning, painted the platform surfaces and taken a couple of photos but haven't uploaded them yet. I'll post them a little later today.
Jeff Lynn,
Amateur layabout, Professional Lurker, Thread hijacker extraordinaire
Amateur layabout, Professional Lurker, Thread hijacker extraordinaire
Posted
Full Member
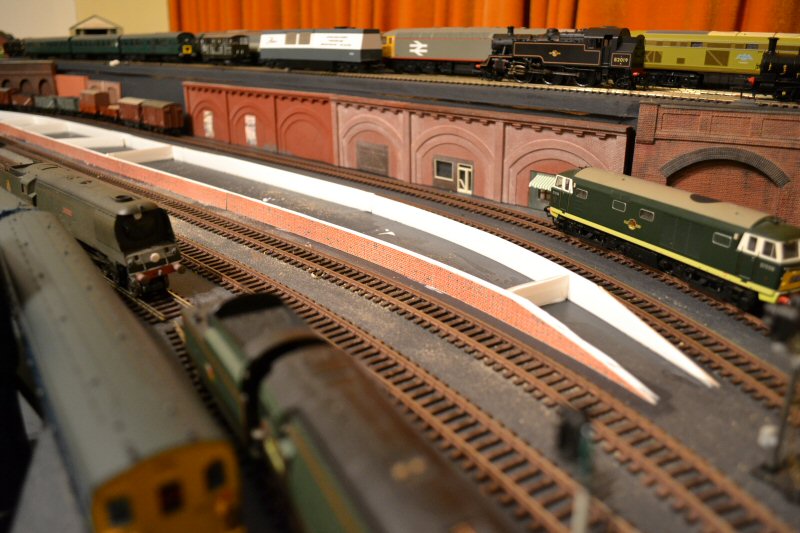
I then added some white paint into the remnants of my first tub of 'Hurricane' grey to produce this lighter grey.

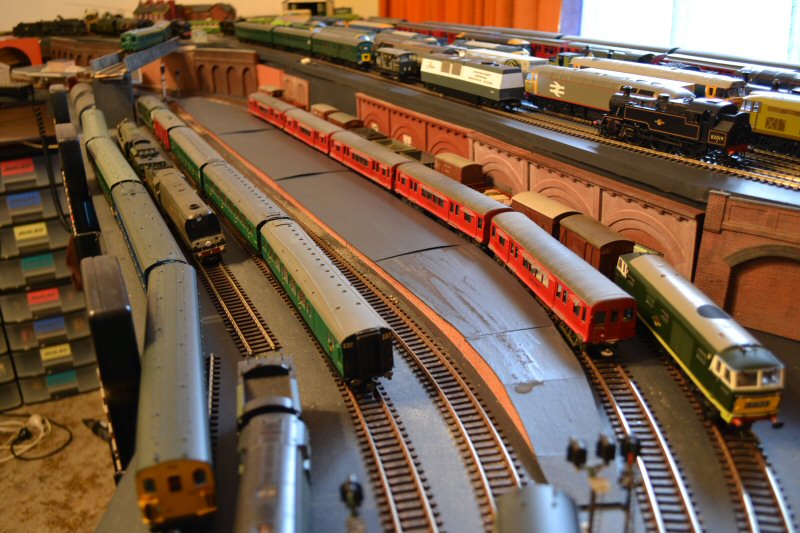
The platform buildings are perched loosely here. I subsequently added some more cross-bracing but the buildings won't sit entirely straight until I actually glue the top surfaces down. That's not going to happen until I can get hold of some more Vollmer embossed brick paper to complete the brickwork on the hidden side.
The next one was taken after adding some of the extra cross-bracing underneath (more to go, though). The buildings are sitting a little straighter now!
Jeff Lynn,
Amateur layabout, Professional Lurker, Thread hijacker extraordinaire
Amateur layabout, Professional Lurker, Thread hijacker extraordinaire
Posted
Full Member
Good decision on the grey paint, I like that much better.
wayne
Posted
Full Member
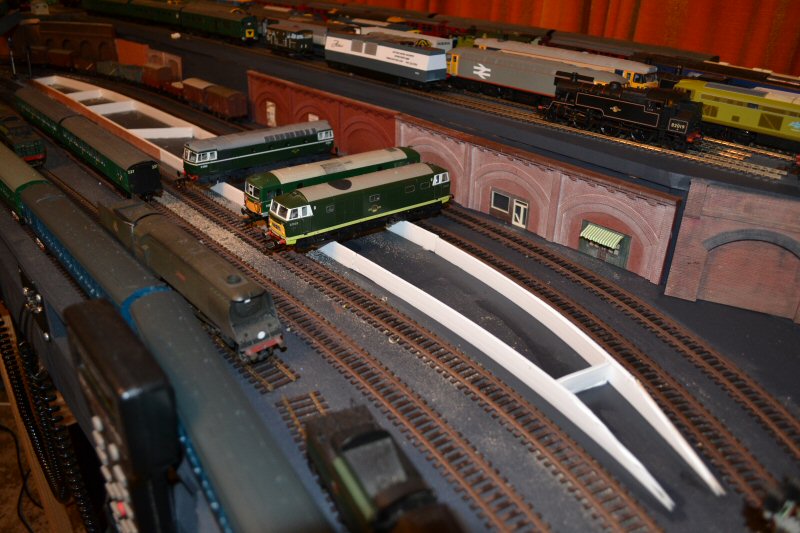
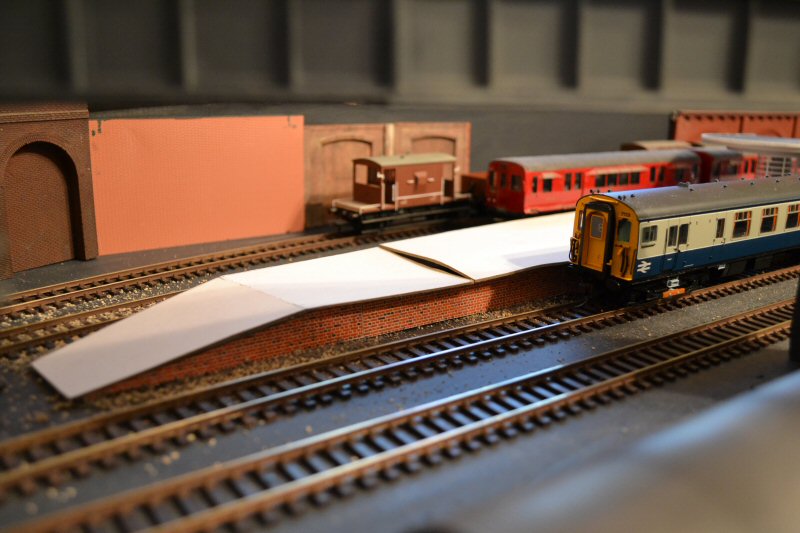
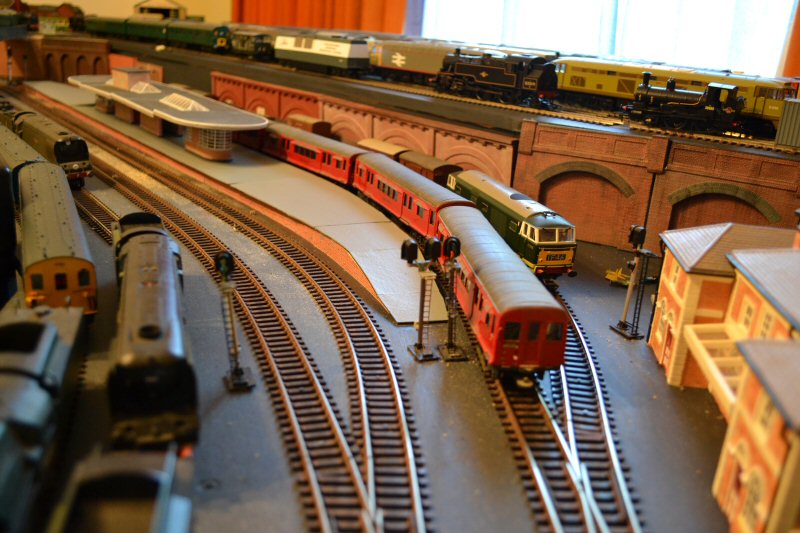
I tested a TurboStar (long overhangs and wide footsteps) and a Networker Turbo unit (long overhangs and the widest stock I own!) and had to slightly trim only one short curved section of the platform at the right-hand end in the photos. I had to take only about 1mm off the edge for around 3 or 4cm length. Not bad considering I was guessing the clearances to start with!
Wishing everyone a Happy New Year. I'll be back with more soon.
:cheers :cheers :cheers
Jeff Lynn,
Amateur layabout, Professional Lurker, Thread hijacker extraordinaire
Amateur layabout, Professional Lurker, Thread hijacker extraordinaire
Posted
Inactive Member
I like your platform and latest building work.
Happy New Year to You and Toby.
Regards,
Derek
Posted
Full Member
I will finish the platform properly as soon as I get hold of more of the Vollmer brick cards.
Jeff Lynn,
Amateur layabout, Professional Lurker, Thread hijacker extraordinaire
Amateur layabout, Professional Lurker, Thread hijacker extraordinaire
Posted
Full Member
For the platforms, I have now decided to go for the plasticard top surfaces for more rigidity, so I bought some Evergreen 40 thou plasticard for the purpose. The centre section of the platform will have paving slabs, under the buildings and canopies but the rest will have a different texture. While in Brunel Models, I saw some textures spray paints that would give an effective bituminous finish to the platforms (or roads), which i may experiment with in the near future.
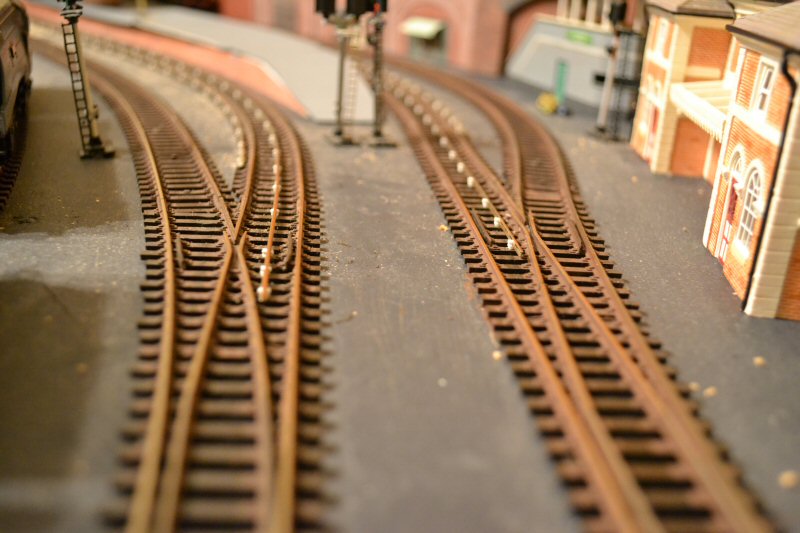
I have laid a short test section of third and fourth rail using the Peco third rail chairs (pots). From this, I know I will have to countersink the bases of the pots slightly as the rails are slightly higher than the running rails. While this is correct for the prototype, I want to have them all level to ease track cleaning. For this section, I haven't glued anything down, nor have I created any end ramps. I have some ScaleFour castings for the end ramps and will be using those for the LT lines but I will only bend the ends of the third rail sections down slightly for the main lines to give a different appearance to the two sets of lines.
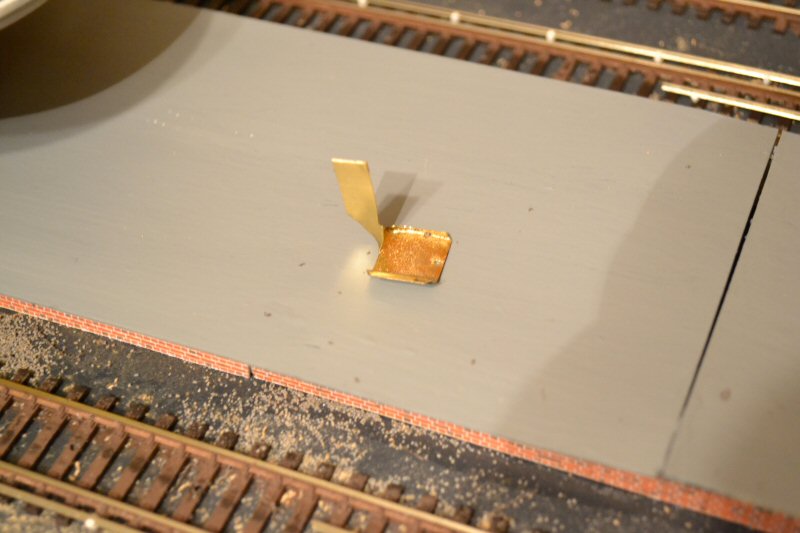
I made a template out of card to drill the holes in the centre of each of the relevant sleepers. This worked well but is not very durable so, having proved the concept, I'll make a better one out of some brass strip.

I already have a sore finger from sliding 44 of the pots on to the rails; I'm not sure how I'll cope with doing this for another 80ft of track (the code 60 rail comes in 2ft lengths and I have only done two of them here!!).
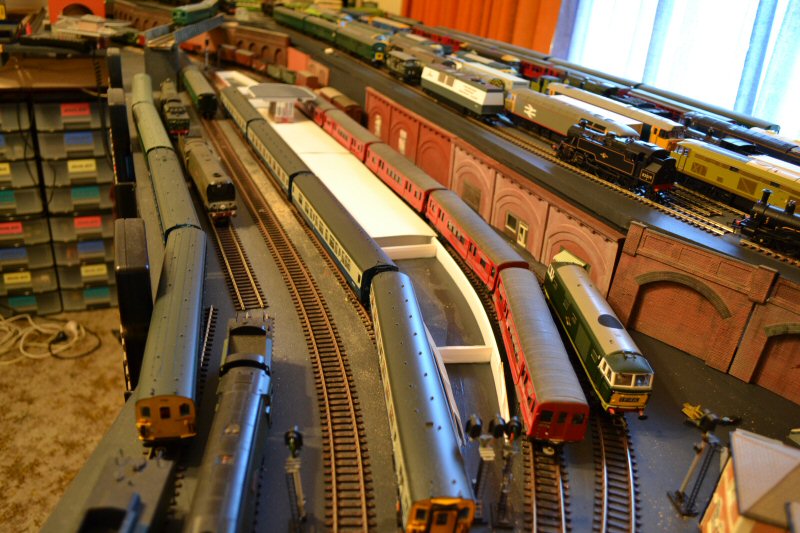
Also in the pics, you can see my latest acquisition, the Bachmann Collectors' Club Network SouthEast liveried 2EPB unit.
 Last edit: by SRman
Jeff Lynn,
Amateur layabout, Professional Lurker, Thread hijacker extraordinaire
Amateur layabout, Professional Lurker, Thread hijacker extraordinaire
Posted
Full Member
The track on the right was laid using the template. That on the left has also had further work done to lower it slightly. This was achieved by simply drilling out the top part of the mounting hole to a size that matched the diameter of the third rail pot. The rails are still not quite level with each other but I am not far off achieving what I want, now. At this stage, everything is still just a firm push-fit. When I am satisfied I will glue it all down - after ballasting.

Last edit: by SRman
Jeff Lynn,
Amateur layabout, Professional Lurker, Thread hijacker extraordinaire
Amateur layabout, Professional Lurker, Thread hijacker extraordinaire
Posted
Full Member
All five of my 2EPB units have Lenz Silver 21-pin decoders fitted.
Last edit: by SRman
Jeff Lynn,
Amateur layabout, Professional Lurker, Thread hijacker extraordinaire
Amateur layabout, Professional Lurker, Thread hijacker extraordinaire
Posted
Full Member
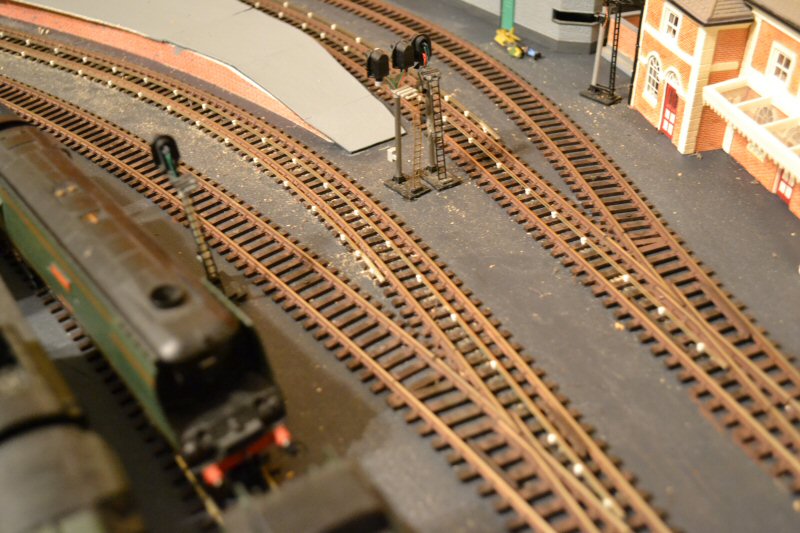
I have decided to compromise a little further and reduce the radius of the siding curves to allow a little more length for train storage. The radius is still slightly over 2nd radius but less than 3rd - at its tightest it equals 2nd radius. While it looks a little tight for the 4CEP unit in the pics, it actually suits the shorter LT stock somewhat better. There is now room for a six car LT unit with room to spare.
The second photo shows the new position for the buffer stop.
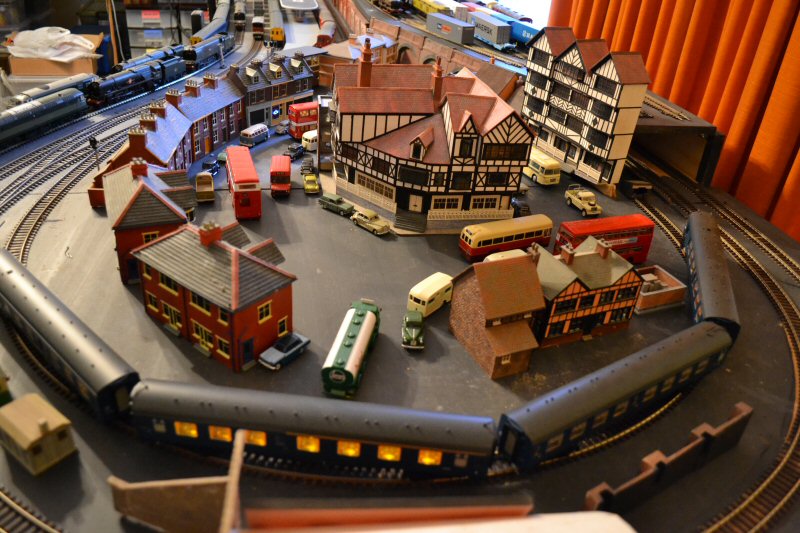
I haven't fully tidied up yet - the track pins are not yet hammered fully down to allow me to adjust the alignment more easily if needed and there are still a few track pins floating loose beside the track. Buildings have been rearranged but this is still definitely not the final arrangement, even allowing for the fact that the whole lot will be on a rising slope towards the rear.
I have slightly modified and repainted my Hornby Dublo signal box, inspired by a picture on Radley Models' site (http://www.radleymodels.com/page/l_t_stations_depot_and_track_side_items). Mine still requires glazing and some sort of interior. The pics show both sides of it. I have added a little Slaters brick plasticard to blank off some of the windows on the back of the cabin, just as Phil Radley has done for his model.
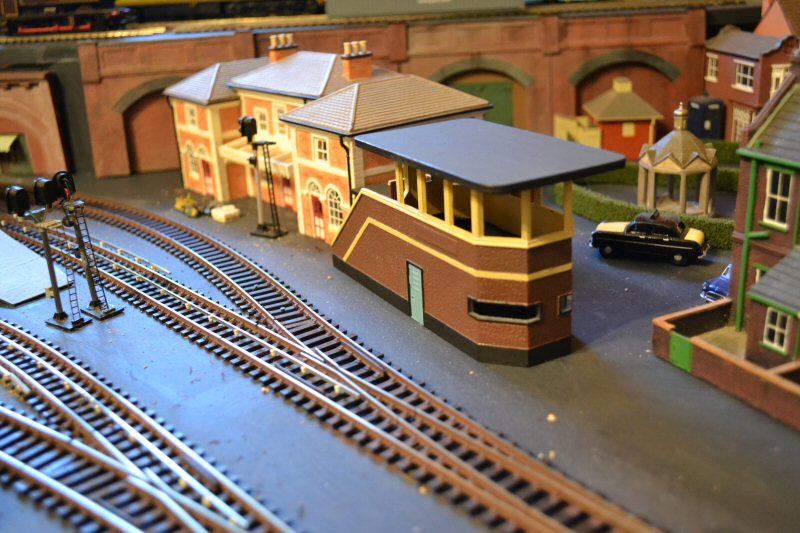
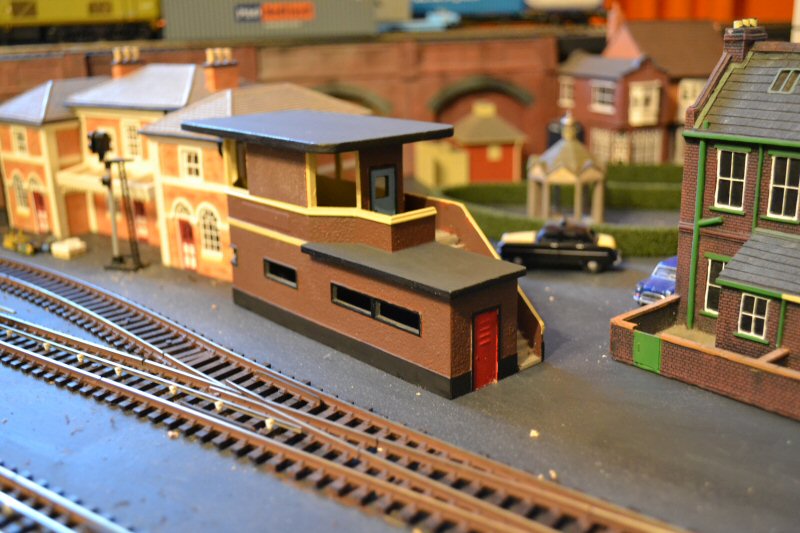
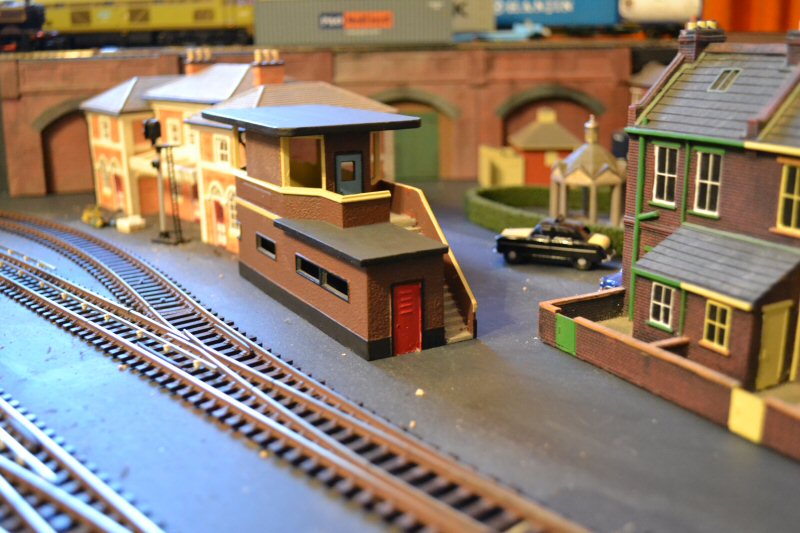
I wasn't sure what colour to paint the doors; I chose a light blue for two of them and red for one that I thought might be entry to a restricted area.
Jeff Lynn,
Amateur layabout, Professional Lurker, Thread hijacker extraordinaire
Amateur layabout, Professional Lurker, Thread hijacker extraordinaire
Posted

Full Member
Posted
Full Member
Jeff Lynn,
Amateur layabout, Professional Lurker, Thread hijacker extraordinaire
Amateur layabout, Professional Lurker, Thread hijacker extraordinaire
Posted
Full Member

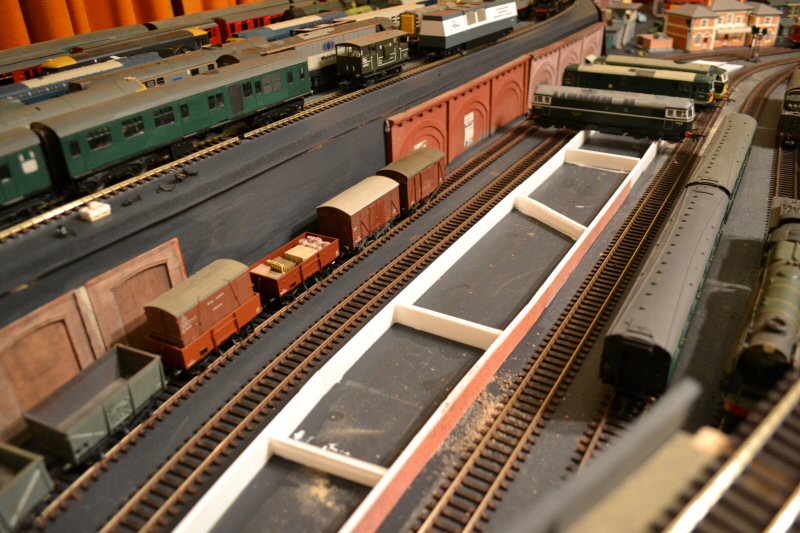
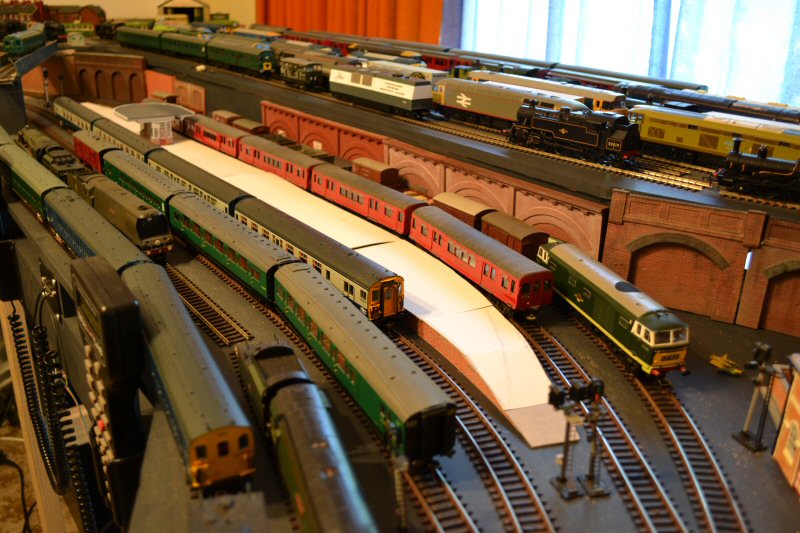
I have also now reused the old surface card, cut into strips, as extra cross-bracing. It was all fairly crudely cut to interlock, then glued into place.

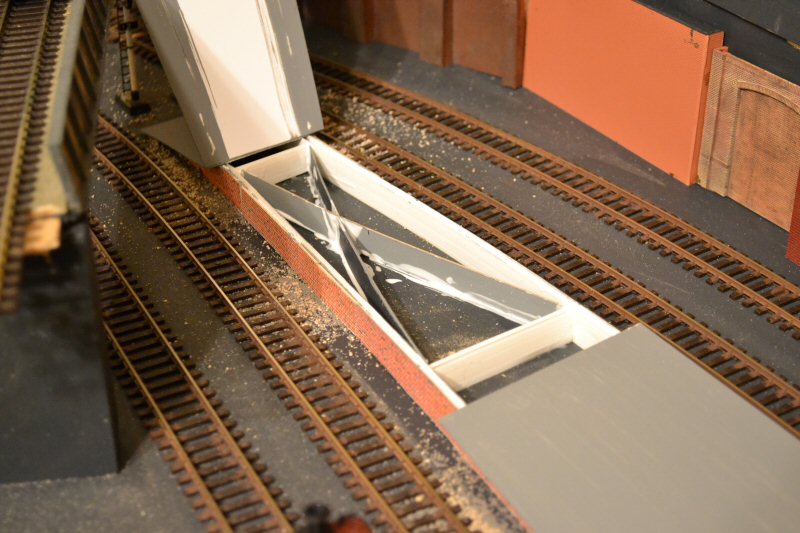
And finally, the plasticard surface roughly painted (first coat only), but not glued down pending further clearance tests.
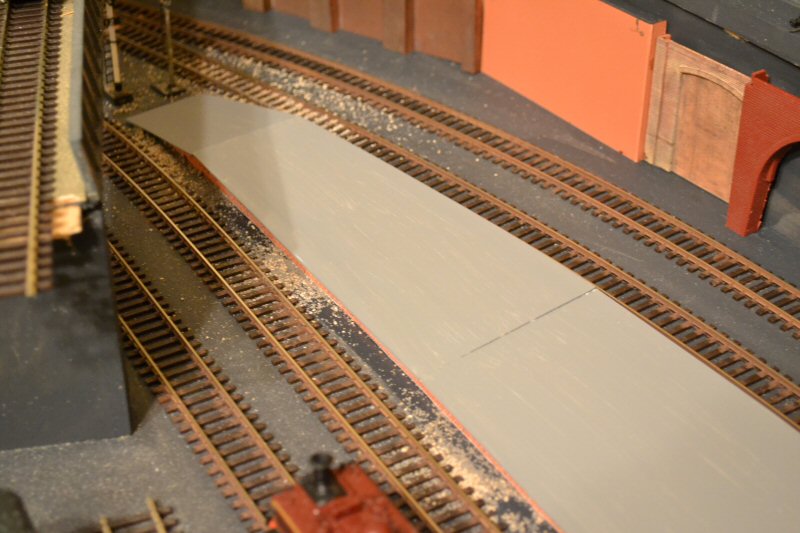
Next stage: glue the surfaces down then add strips of the brick (two bricks high) as corbels under the edges of the platform overhangs. These will also hide any gaps, with luck!
Last edit: by SRman
Jeff Lynn,
Amateur layabout, Professional Lurker, Thread hijacker extraordinaire
Amateur layabout, Professional Lurker, Thread hijacker extraordinaire
Posted
Full Member
I like the way you have designed the platform. Simple yet functional. It should be real easy to trim a little more clearance where needed too.
I think you made the right decision on going to the 40 thousands thick styrene, but you should still be careful when leaning on it near the outside edges. Once that material is bent, while you can bend it back, the crease still shows up.
Ask me how I know this? :pedal
Wayne
Posted
Full Member
I hope no one minds me doing a 'blow by blow' account but I thought it might benefit someone else who is also building a layout or new platforms. The principle is based on the old Superquick card platforms which are very strong when finished - I know because they formed the basis of my platforms on the old layout.
Jeff Lynn,
Amateur layabout, Professional Lurker, Thread hijacker extraordinaire
Amateur layabout, Professional Lurker, Thread hijacker extraordinaire
Posted

Site staff
I hope no one minds me doing a 'blow by blow' account but I thought it might benefit someone else who is also building a layout or new platforms.
I won't complain Jeff - that is how we all learn from such postings , what to do or not do , as the case may be.
Ron
NCE DCC ; 00 scale UK outline.
NCE DCC ; 00 scale UK outline.
1 guest and 0 members have just viewed this.