00 Gauge - Devan and Summersett V4
Posted

Inactive Member
Max
Port Elderley
Port Elderley

Posted
Guest user
Time will tell once I get it motorised late Nov/early Dec. Anyway, gaping holes on the ground is the going thing now. ;-)Are you sure you know what you're doing, Sol? That looks like a very big hole. :shock:
Posted

Full Member
Just let me have the dimensions next time and I'll send it Airmail.
Posted
Guest user
Warning: Some posts may contain humour
**********************************************
Please send me an assortment of holes, those not suitable will be returned.
Posted
Full Member
I have some very nice black holes (including the Studio at the moment where I had sudden instructions to clear the kitchen table).
Posted
Guest user
Do these holes, of varying dimensions, come with "sky-hooks" attached to help retain said holes in-situ and is there a recommended number of "sky-hooks" per hole and are the "sky-hooks" re-usable after the holes are filled-in? Just asking,
Kind Regards,
Michael Thornberry.
PS:- Do these "sky-hooks" also vary, in size, dependant on hole-size?

Posted
Guest user
Posted
Guest user
Wiring now back to panel which will need some mods. ( splitting time between this & centre peninsula)
Posted
Guest user
The microswitch you are using is that a standard one bought from an eletronic bits supplier?
Brian
Posted
Guest user
I assume all your points are electrofrog Ron Yes
The microswitch you are using is that a standard one bought from an eletronic bits supplier? like this one
I am using live frog as I connect a LED across it to indicate track selected is powered as mentioned in other posts of mine.
Posted
Full Member
In your last post you indicated
I am using live frog as I connect a LED across it to indicate track selected is powered as mentioned in other posts of mine.
Do you have a post link for this and have you included a wiring diagram
CC Weathering Services: https://ccgwr1.wixsite.com/ccweatheringservices/
CC Weathering Services Facebook Page: https://www.facebook.com/ccweatheringservices/
CC Weathering Services Facebook Page: https://www.facebook.com/ccweatheringservices/
Posted
Guest user
Posted
Guest user
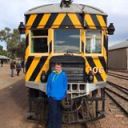
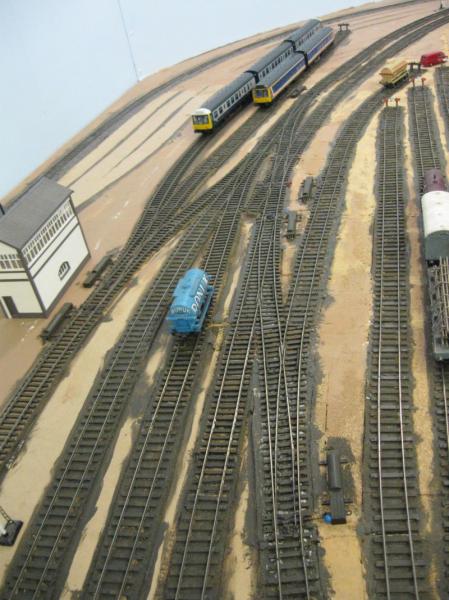
Four points, one single slip & two 3-way and are operated via slide switches
Because these points are not easily seen in how they are set, I added some LEDs into the tracks but they still cause confusion especially the two 3-way points for the operators who only work on the layout fortnightly ( OK for me coz I use them, most days) so after another Op session today, it does seem that I will have to motorise the points & provide an additional panel with push buttons with LEDs in the panel instead of in the tracks.
Two points - hand made , will need to be replaced with Peco to provide tiebar locking.
In fact some simplification is possible.
Posted
Guest user
Sounds a bit drastic Ron. Couldn't you use SEEP PM4 solenoids or Tortoise/Cobalt/Fulgarex/Lemarco motors that self latch?… Two points - hand made , will need to be replaced with Peco to provide tiebar locking. …
Cheers
Dave
Posted
Guest user
Posted

Legacy Member
The furthest reach into my corners is about 28"and that's far enough.
Posted
Guest user
Posted
Legacy Member
Posted
Guest user
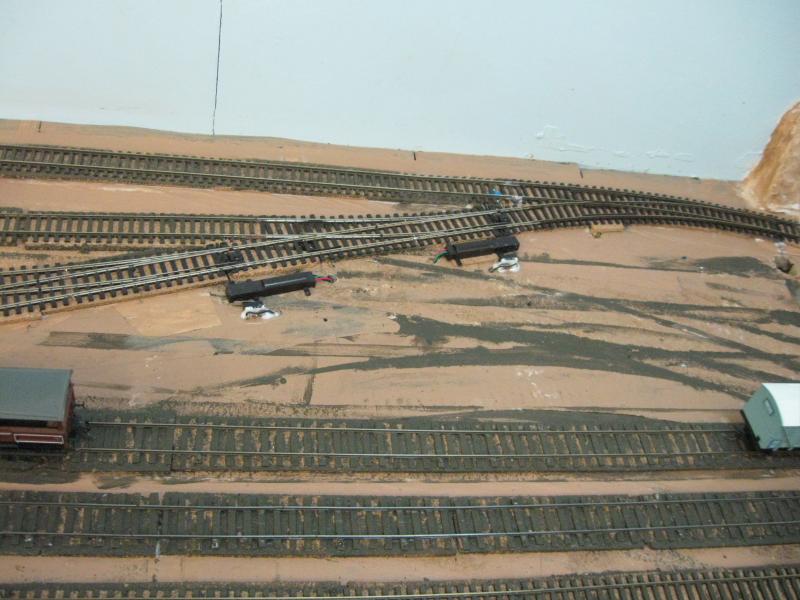
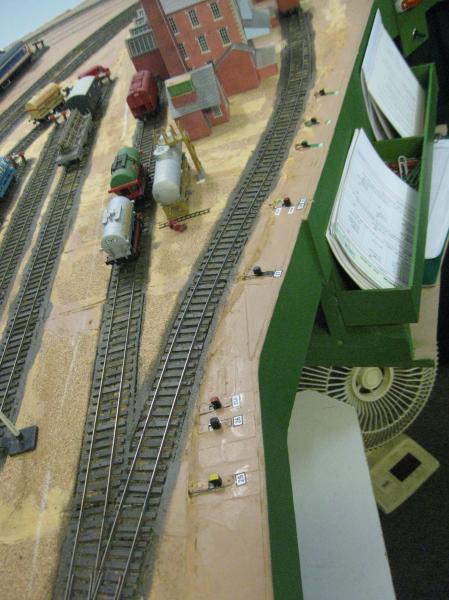
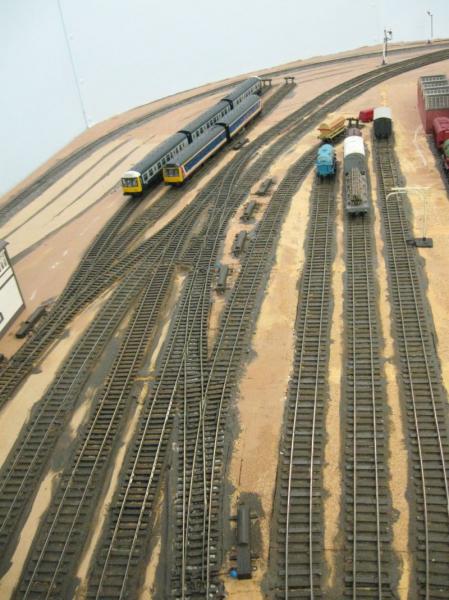
Started now, replaced two hand made units with Peco & motorised them. Removed one point where the tanker is sitting & made the single slip into a conventional point - pinned one set of blades across & the modified slip now works in parallel with the entry point also now motorised. Couple more motors & a panel ( which is half built to go.
The DMU tracks will be moved further apart to allow for a fuelling platform similar to what I have seen on another forum / Bachmann unit http://www.ehattons.com/StockDetail.aspx?SID=24629
Posted
Guest user
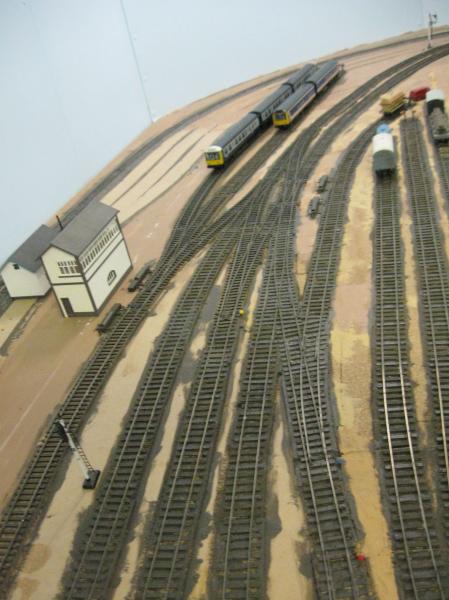
I was going to operate using pushbuttons & diode matrix but had the problem of frog switching for the two 3- way points so I use Masterswitch V1 units which provide a pulse of power but are activated via a toggle switch so the other half of the toggle does the frog switching. This is the panel
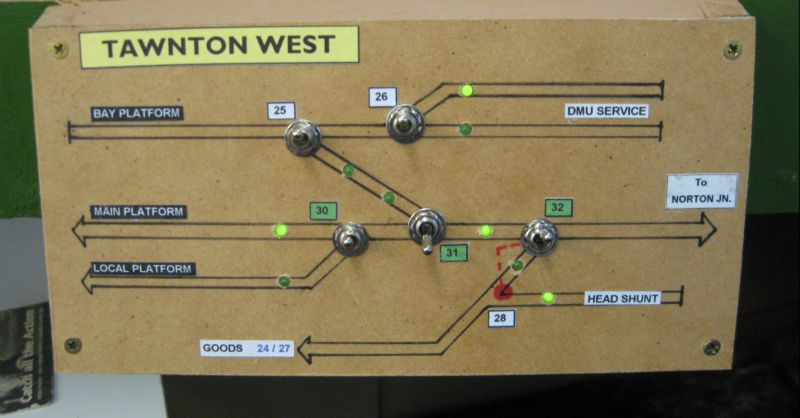
The LEDs are connected across the track & DCC power is used. Point 28 is operated as a crossover with 32 so only one switch required as 28 has a dead frog.
Back to an operating session next week.
1 guest and 0 members have just viewed this.