Watchit
Posted
Guest user
Small station on the Devan & Summersett
Dirty red - Humbrol #153 Insignia Red - Matt - dullcoated which helps to hide the paper number, etc joins on plastic ( camera close ups don't hide faults though), then some black & rust weathering powder fingered on.4 wheelers require a bit of weight & good track - bogie vehicles are more tolerant of iffy track.
Posted
Guest user
I'm also having some trouble getting weathering powders locally. Where you you source yours?
Posted

Full Member
'Petermac

Posted
Guest user
one lot from USA
http://www.bragdonent.com/weather.htm
another lot available in Melbourne
http://www.brunelhobbies.com.au/AIM/AIM.htm
or from Perth
http://www.dccconcepts.com/index_files/DCCflocks.htm
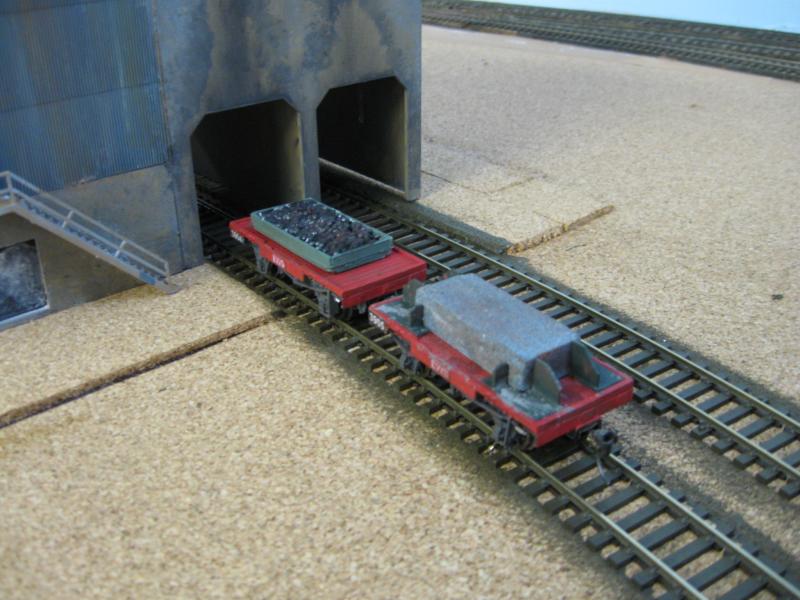
Petermac- they are Bachmann Conflats

pic courtesy of KMRC
Posted
Guest user
Weight is half a blade sharpening block, gives weight & looks like a concrete block & to hold it in place, I made some steel frames ( .75mm styrene)
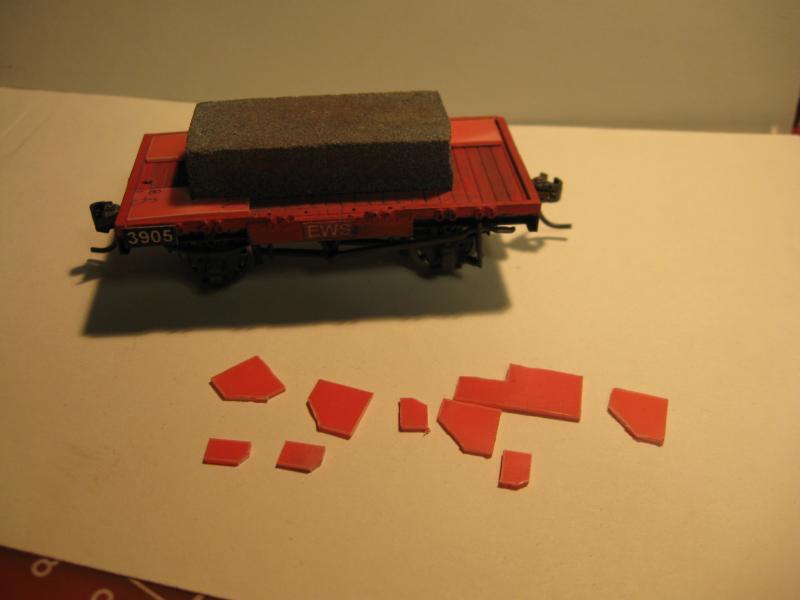
glued to shapes
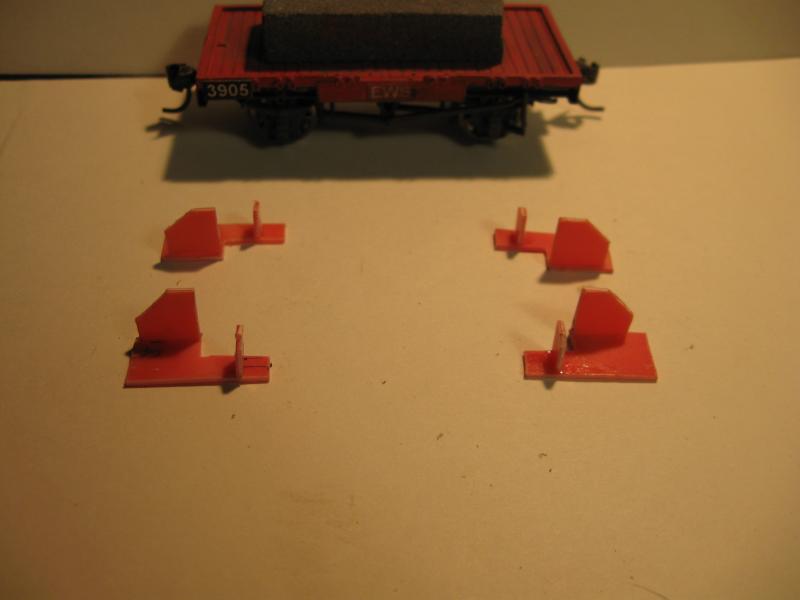
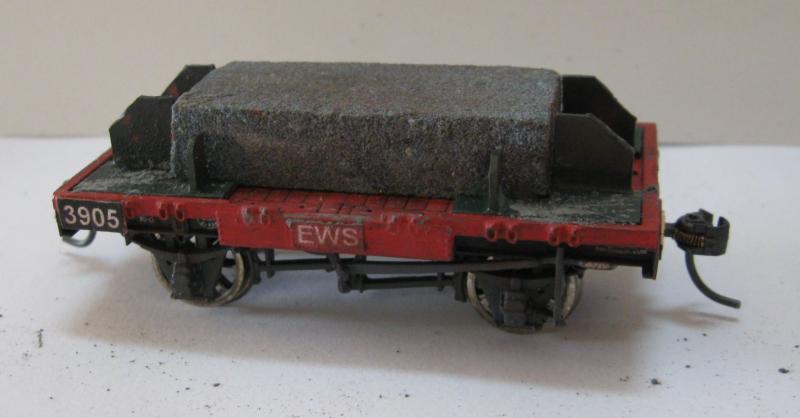
Painted, glued in & dirtied
Posted
Guest user

no doubt in time, they will get weathered more.
Posted

Full Member
A useful and interesting addition to an operating session.
Do they live in a siding near the gravel plant or do they travel around with the train?
Posted
Guest user
Brian
Posted

Full Member
I notice the buffers are gone, is that for operating reasons or have I missed something?
Posted

Inactive Member

Nice work.
Max
Port Elderley
Port Elderley
Posted
Guest user
Mike
Posted
Guest user
first answer for Marty:- they will live where I have spotted them for the photo - part of the gravel loading area. All my wagon numbers are bigger so we can see which ones get dropped off/picked up but in this case, they will stay at Watchit.
second answer for HP - the weight - actually less than I normally use, eg, my vans are 60gm/ 2 oz whereas Barrier 3904 is 50gm/1.75 oz & 3905 ( the block) is 45 gm/1.5 oz. I needed more weight than just a plain conflat as they will be pushing 4 bogie hoppers that will weigh in total over 8 ozs.
third answer for ddolfelin :- buffers removed as my rail empire is going to all air brakes & knuckles couplers, so buffers are redundant ( slowly). It saves about 4-5mm per coupled pair of stock so over a 20 wagon train, saves 40-50 mm. The models stil;l have to have axle box rods installed. In fact the South Australian Railways did that many many years ago when they changed from chain & hooks to knuckle couplings. I had mentioned this on my layout thread http://yourmodelrailway.net/view_topic.php?id=5948&forum_id=21&page=2
and this photo
Plus this http://yourmodelrailway.net/view_topic.php?id=5533&forum_id=52
Posted
Full Member
I knew I'd missed something.
Posted
Full Member
 thumbs
'Petermac
Posted
Guest user
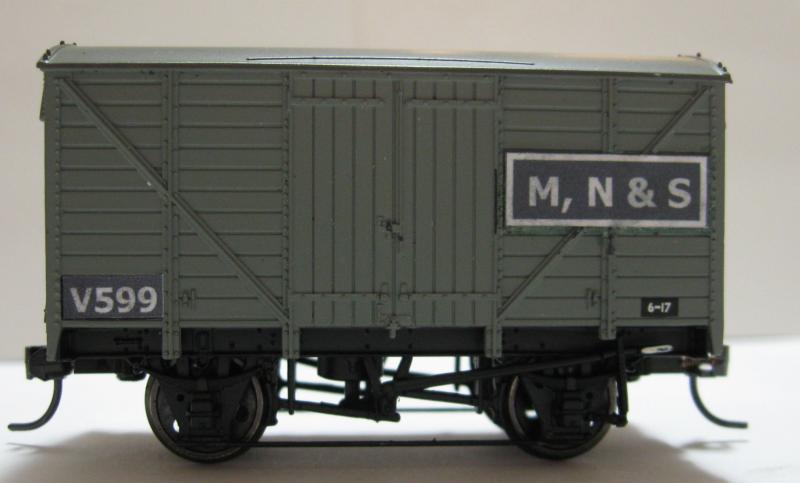
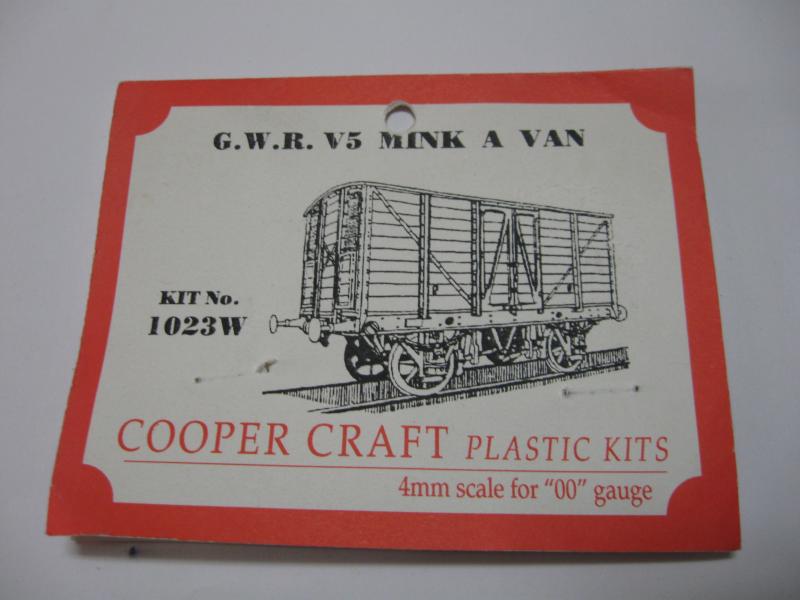
Started life as a Cooper craft Mink Van of the GWR
Building the kit is relatively easy - the main hiccup is placing the axle box Assembly in as per instructions, does not really give much slop in the wheels to give free running. I had to angle the axle boxes out wards. ( The next kit, they will be altered slightly). The roof was covered with canvas as per the original vans so I used masking tape. Looks OK I think!
The colour scheme is blue roof, & white/cream sides & ends. This pic shows the roof colour & a base coat on the sides.
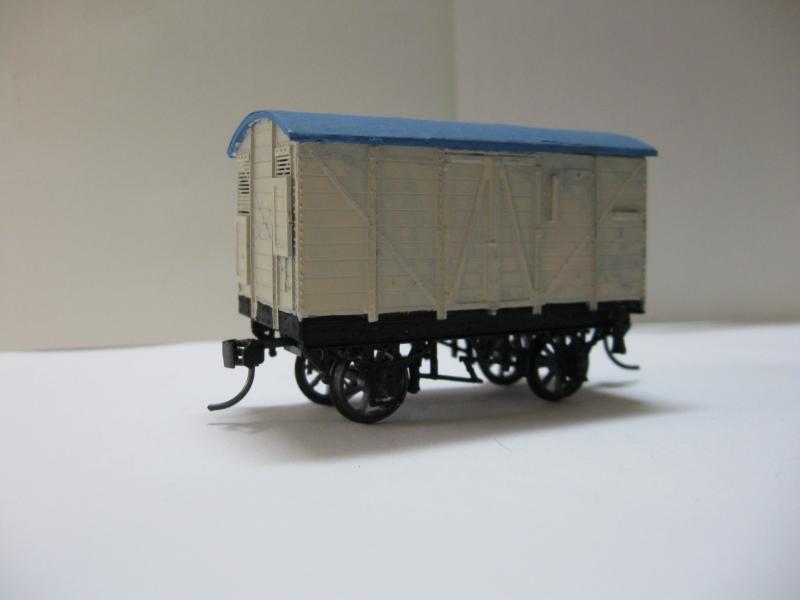
As per D&S railway rules- knuckle couplings & no buffers are the flavour of the month.
Sides now coated with white paint- Owner panel added & running number- Dullcoated giving a slightly worn look. I think may need to obtain a new can of white paint.
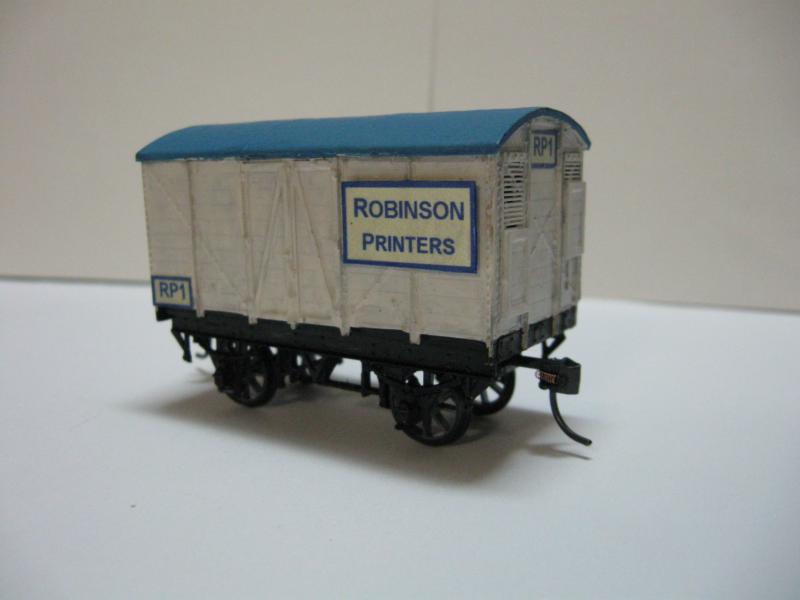
I have one more to build then the fleet will be extended using white Bachmann vans.
Posted
Inactive Member
Max
Port Elderley
Port Elderley
Posted
Guest user
:doublethumb
:cool:
Posted

Inactive Member
Craig SR
Posted
Guest user
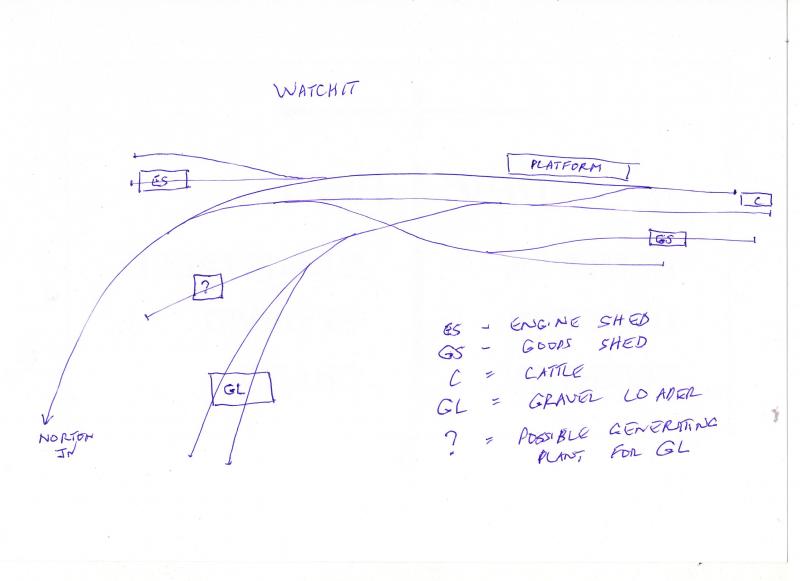
with a photo showing some of the some of the trackage
Since that was done, there was an additional siding between the platform & engine shed lines ( photo below has it going to the right next to the Container) but recent Op sessons showed that the loops available mainly on the secondary line was too small so I altered in the last two days by shifting the crossover a further 11" (280mm) closer to the camera.
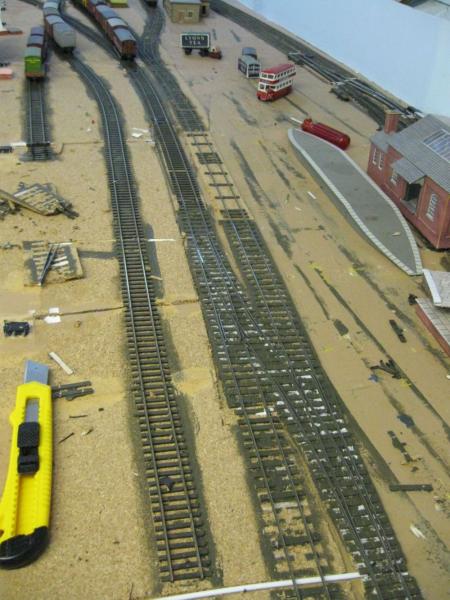
Bit messy but it shows the extensions to the tracks - not fully sleepered. Point rodding had to be moved as well. What also made it interesting is that the crossover is a complete unit of the two points so both moved at the same time.
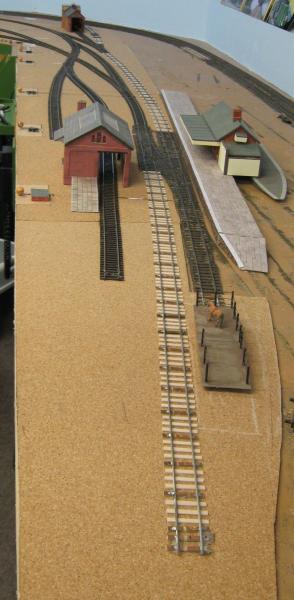
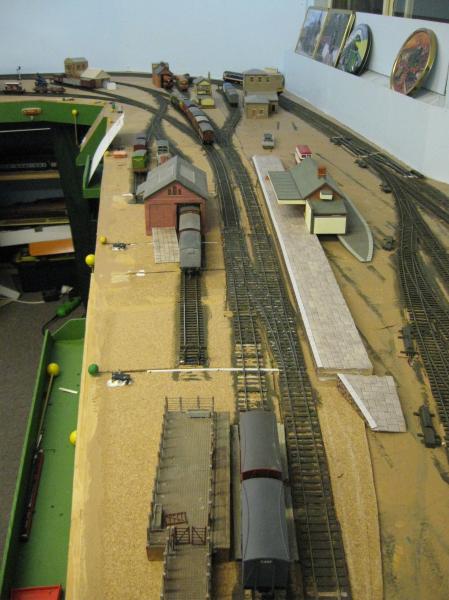
Finally got it tidied up. The platform is what I had built for an earlier version of Barnstable - slight modification & it will do for Watchit
Posted
Guest user
1 guest and 0 members have just viewed this.