Diesel Refuelling Point
Another quart in a pint pot!
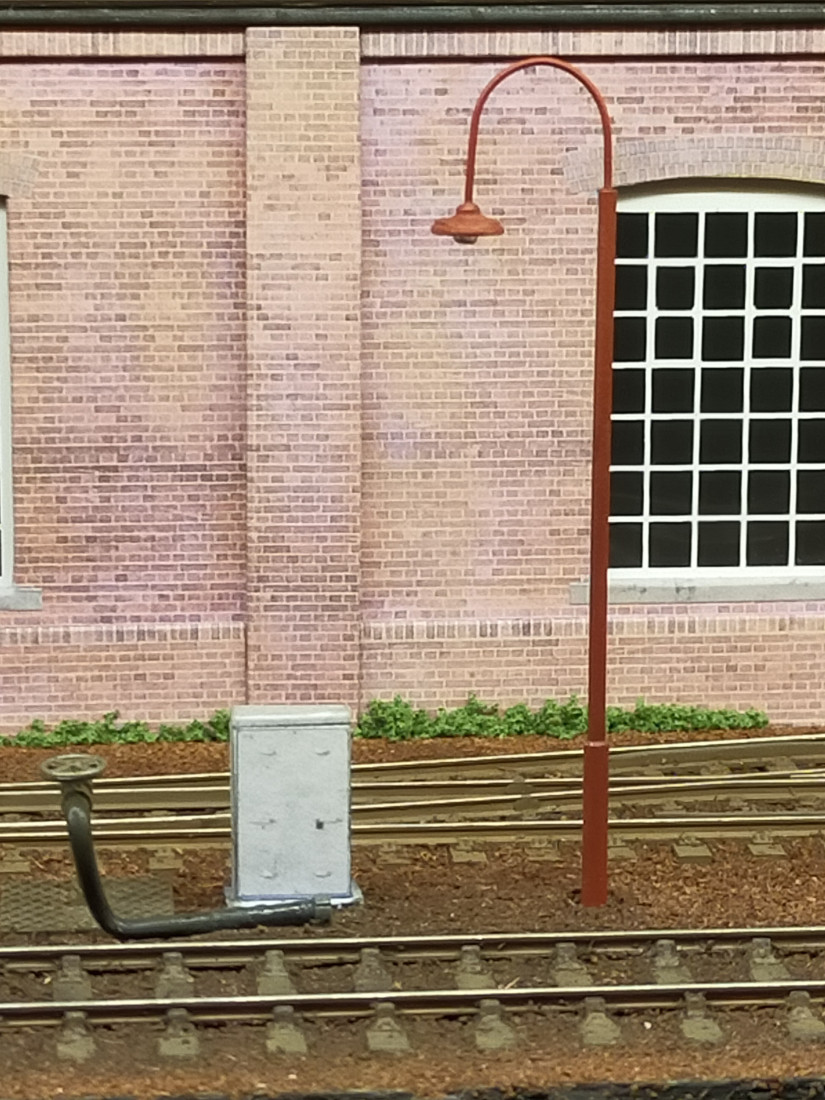
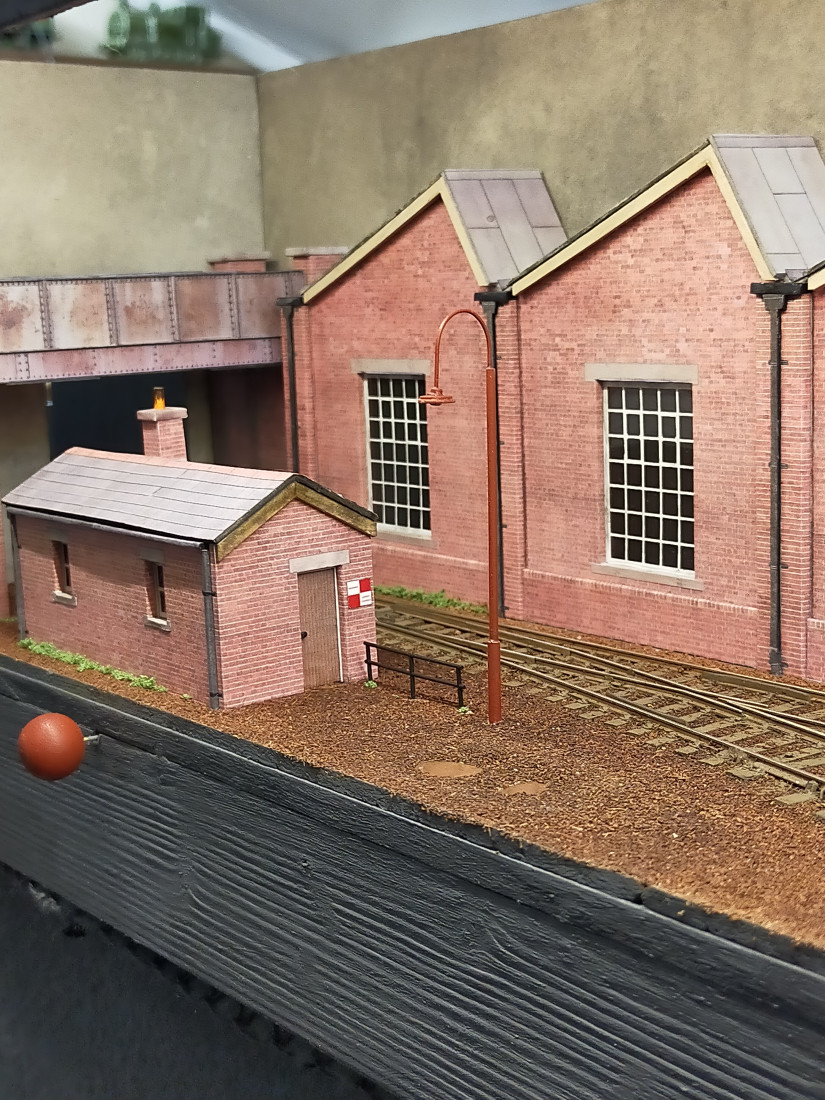
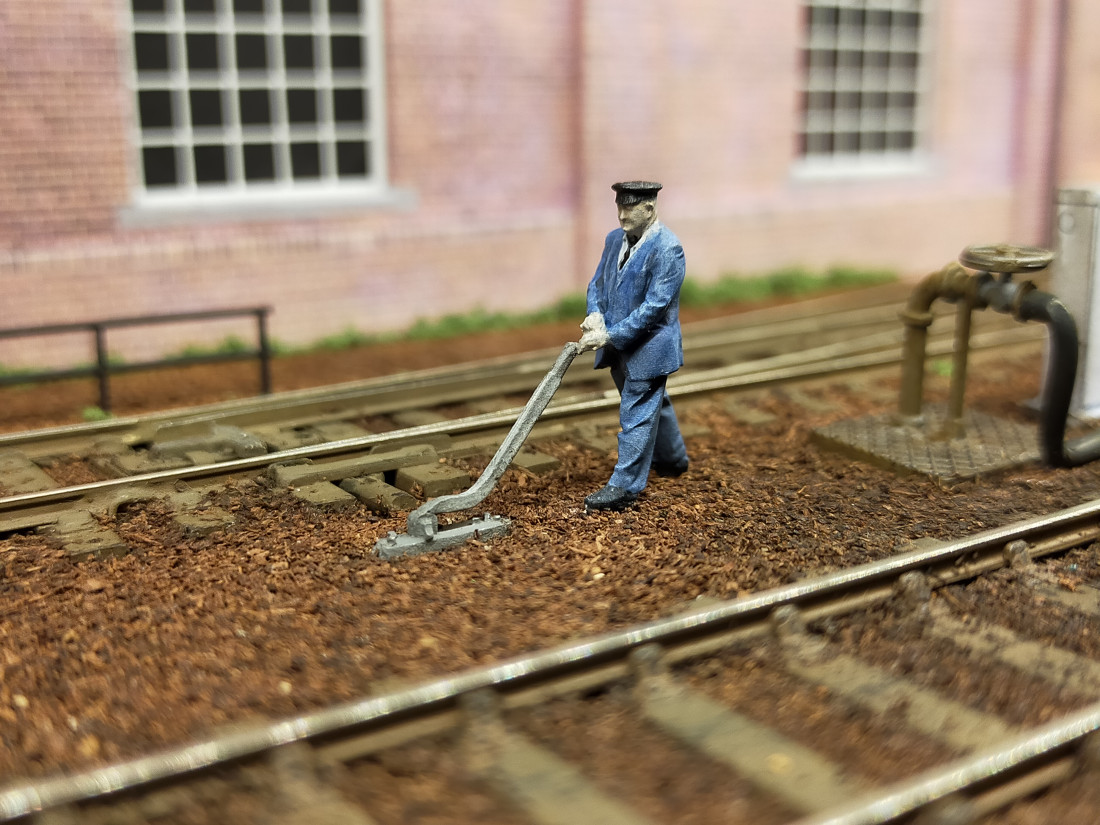
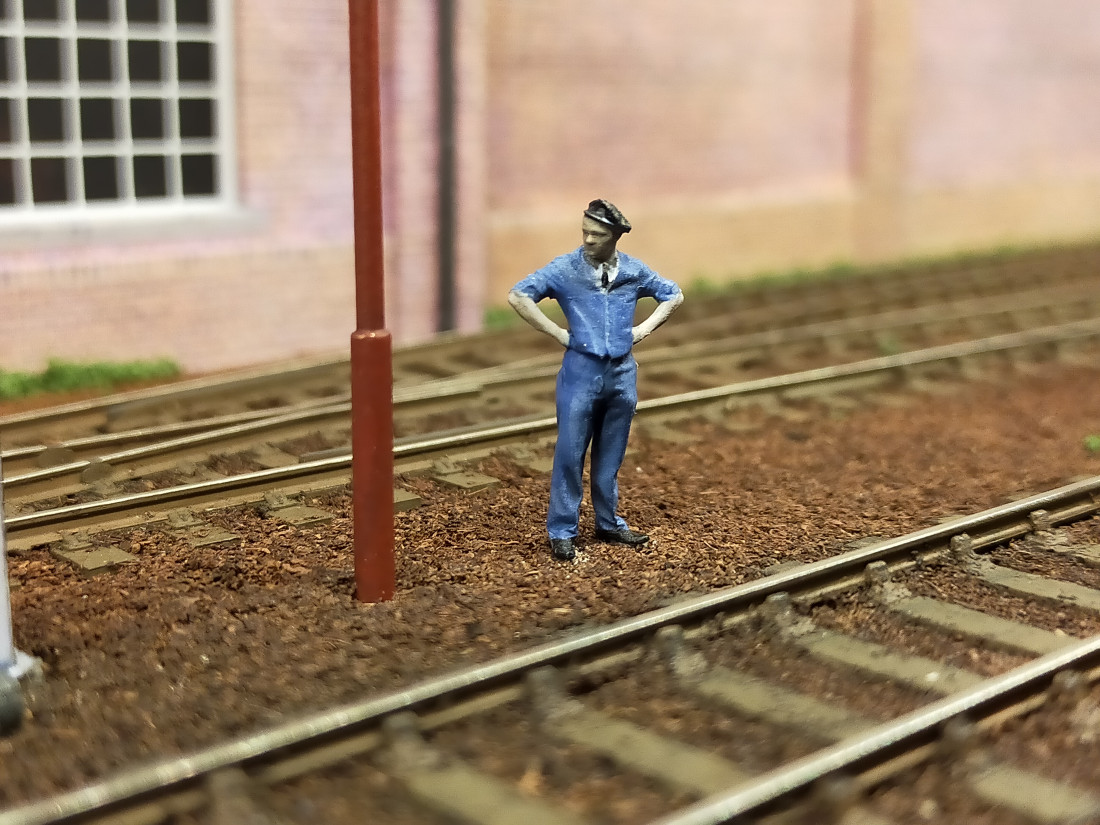
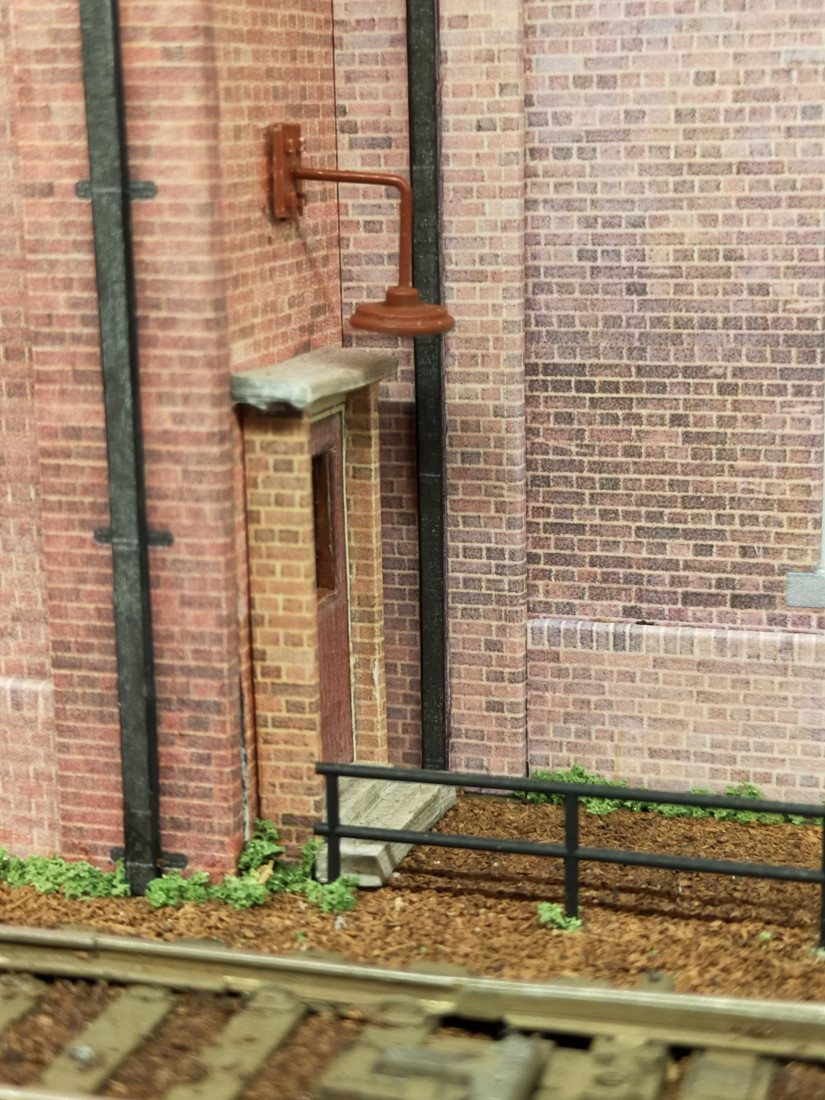
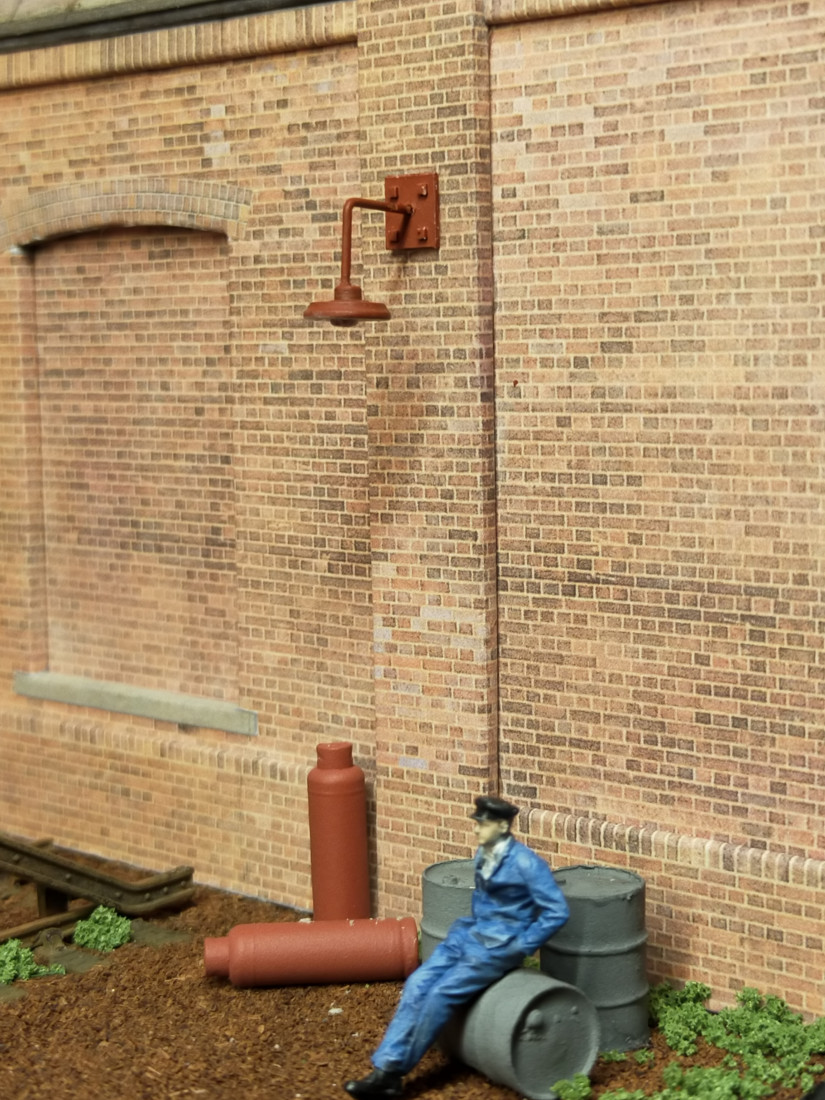
The lampposts were given a coat of Halfords' red primer. The underside of the lamp housing was painted white. To finish the model a small bead was glued beneath the lamp housing to represent the lamp. This is how they look situated on the layout..The two lamps destined to be attached to the walls require some extra detailing which I hope to complete shortly. Then I shall turn my attention to populating the layout.
Terry
Impressive, and very simple looking lamps. I say "simple" but of course, one has to have the soldering skills to churn out more than a silver coloured blob …………
My original quest regarding lamps, in particular, wall mounted lamps, was for working ones but, as I doubt there will be much night time running, it may make more sense to make some dummy ones like yours.
I can't understand this need to put working lights on a layout, unless one enjoys groping about in a darkened room. One result of being able to purchase working lights, (there were two such traders at a recently attended show), is that the layout operator feels compelled to switch them all on. This gives rise to the often seen anomaly of all station lights blazing away during the supposed daytime! I can't recall ever seeing a prototype station with all lights on during daylight hours. Common sense dictates the company would be incurring unnecessary costs. But railway modellers continue to do it anyway because they have paid for working lights, and light they must! Just another nail in the reality coffin, along with shiny clad people and gaps under buildings. And don't get me started on the model church with a wedding taking place at the front, and a funeral at the rear! Of course, we have all seen that in real life, haven't we? Rant over.
Terry


Ed
Thanks Ed.Ed said
Terry
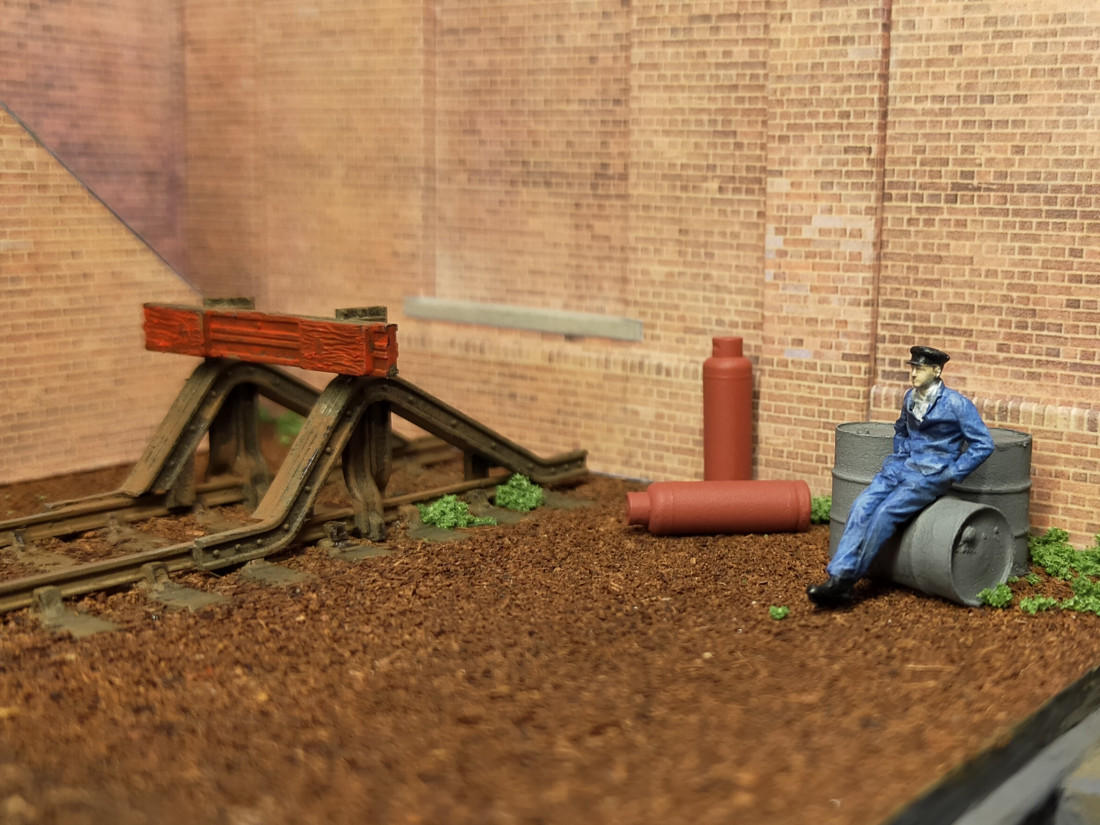
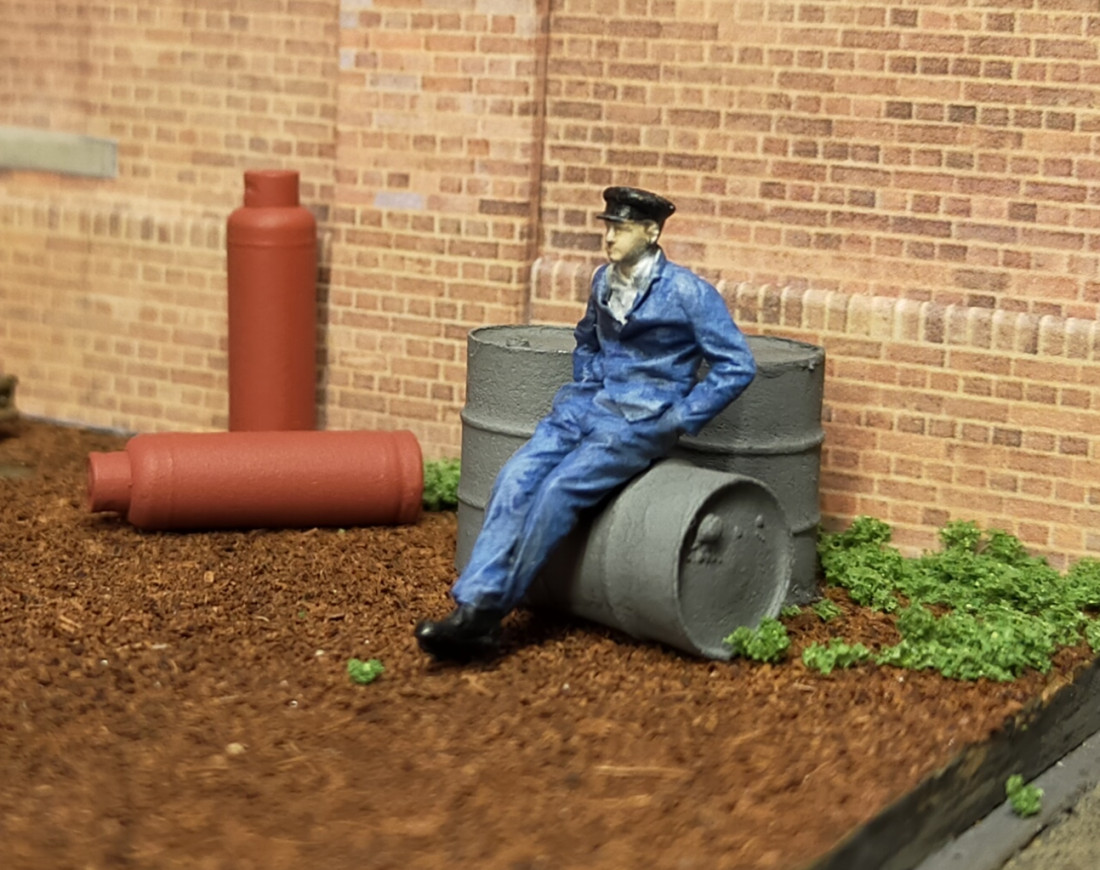
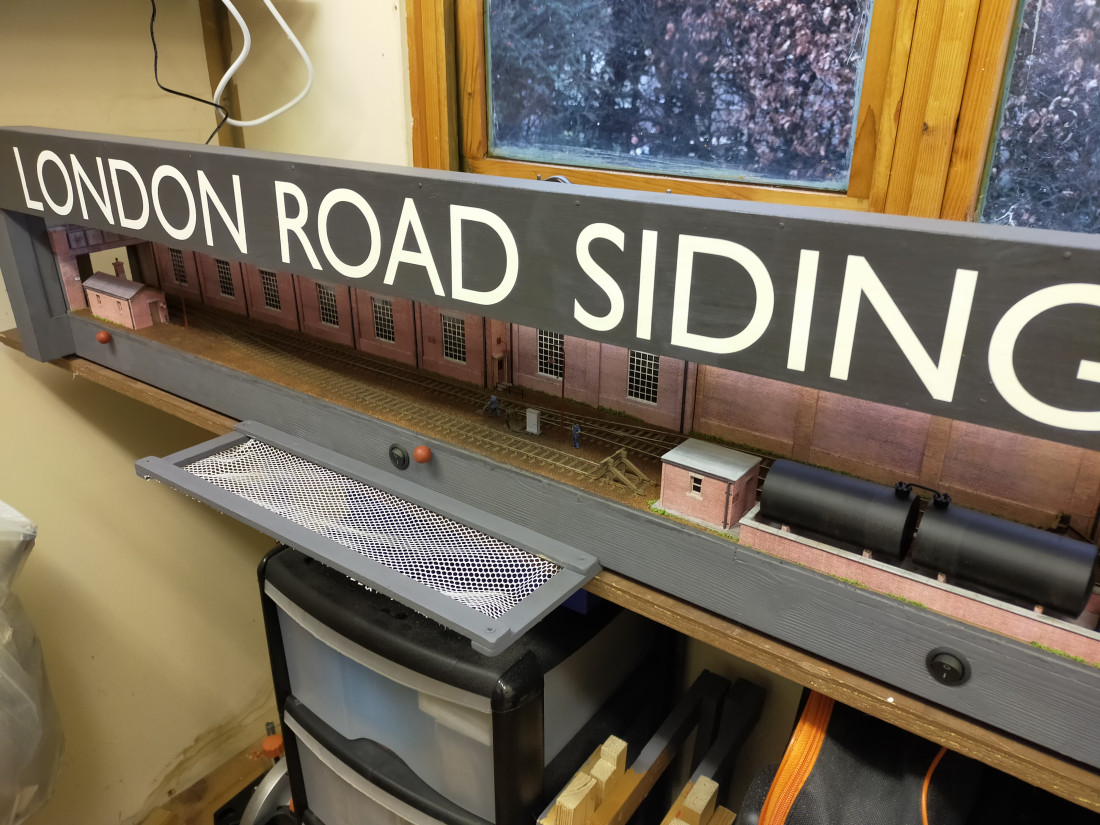
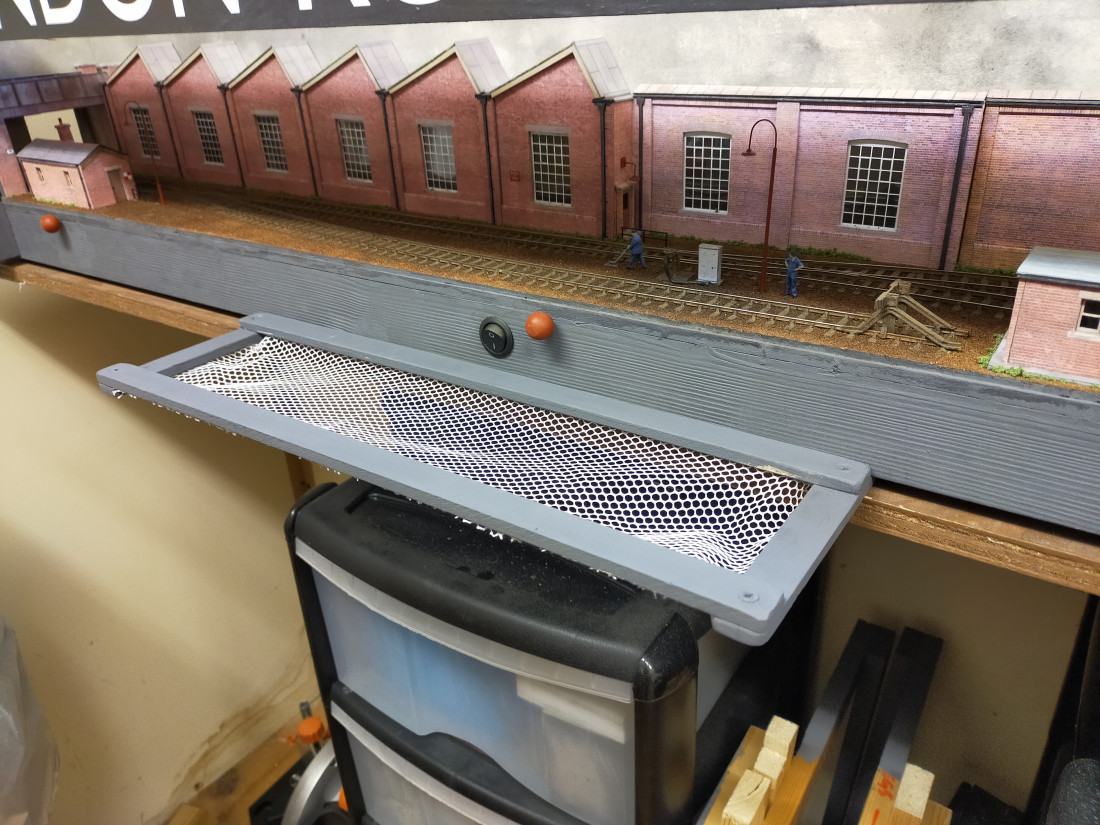
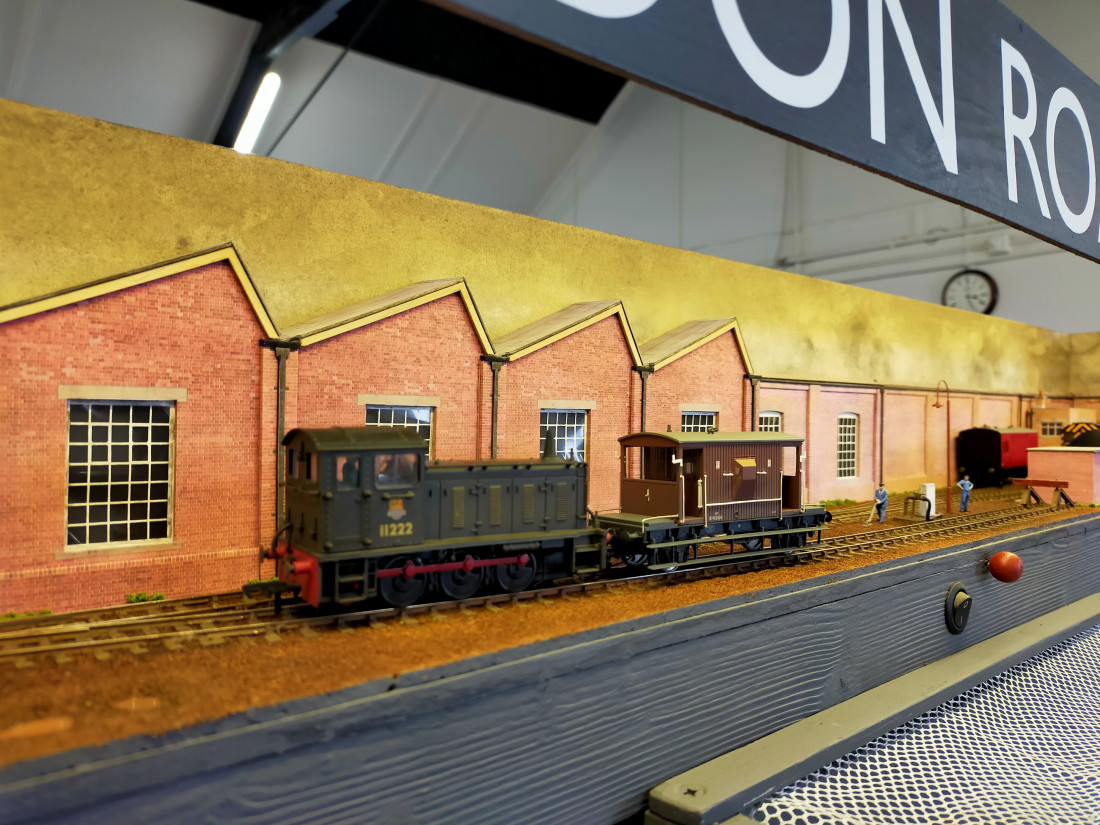
Having looked at that last photo again, I realised that a spot of weathering was required on the oil drums and gas cylinders. This has now been taken care of. I have been getting concerned of late that a derailment on the front siding might send one of my locos on a five feet, one-way journey to Mother Earth. Having mulled over the options to prevent this, I could only think of two solutions. Solution 1 is the usual 'shove a piece of perspex along the front of the layout'. I hate viewing layouts through a perspex screen. It somehow detaches me from the live action. Enter Solution 2 - attach a safety net in front of and below the siding at the front of the baseboard. I can't say that I have ever seen this spectacle on any layout, but then I'm not one to slavishly follow the norm. I mean, who in their right mind would build a layout on a 5.5 inch wide piece of mdf, not to mention covering it with tea leaves? I established that the safety net would need to be about sixteen inches long, and I set about making the wooden frame last night. I needed a suitable net with a reasonably fine mesh and the love of my life produced the very same from under the kitchen sink. It's a netting bag apparently used to hold delicate things in the washing machine. Don't ask any further questions, I haven't a clue! Anyway, if the bag is cut along the edges and opened out, it should provide enough material for my purpose. I guess that when attached to the frame the net would require enough sag to prevent it behaving like a trampoline. The last thing I want is to see is my cherished Class 08 shunter disappearing over the heads of any nearby visitors or layout operators! Or maybe I should just position people to catch my locos when they start bouncing around the exhibition hall! Of course, a safety net protruding from the front of the layout now becomes a hazard to passers-by. This is easily overcome by just pushing the layout back about 5.5 inches on the supporting hall table, until the safety net is in line with the front edge of the table.
Hopefully photos to follow soon. Of course, someone will now come up with Solution 3 which will make Solution 2 a complete waste of time!
Terry


The only alternative I could think of is to extend the front of the baseboard out a bit, just the top so it would be like a shelf above the point control knobs.
Ed
That's an interesting suggestion Ed, and of course, one I didn't think of. Still, at least my idea will have novelty value!Ed said
Sounds like a plan Terry
The only alternative I could think of is to extend the front of the baseboard out a bit, just the top so it would be like a shelf above the point control knobs.
Ed
From “Post #289,834”, 2nd March 2024, 3:54 PM
Terry
Terry
 Last edit: by col.stephens

Ed

Have you tested it yet Terry? Maybe put a mattress underneath during testing…
Terry
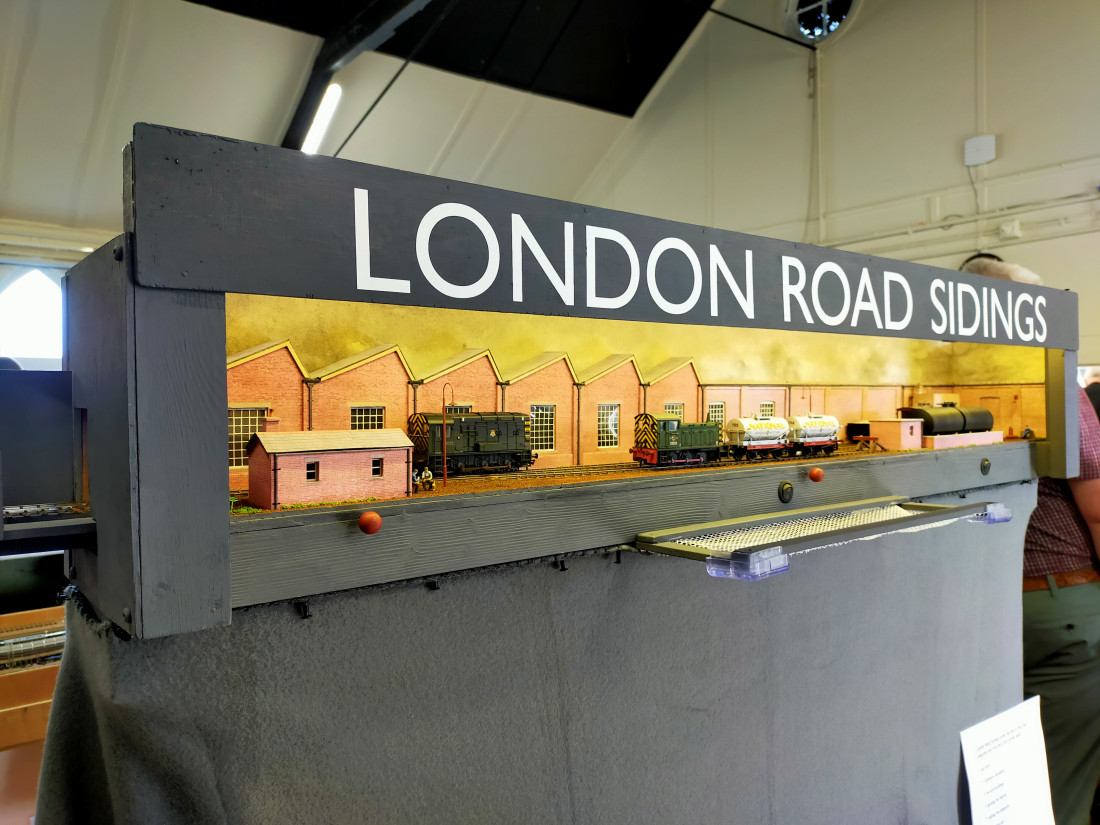
It proved to be quite enjoyable to shunt various wagons around the layout, the show being the first real opportunity for me to do so. However, I was a bit liberal in handing the controller to anybody watching and I found myself unemployed for considerable periods of time throughout the exhibition. People seemed reluctant to return the layout to its builder! After twenty seconds of instruction, it appeared that everybody was a better shunter than me, including the young lad who had to be prised off the controller by his mother fifteen minutes after the show had actually closed!
A very enjoyable weekend. I had a couple of tentative enquiries regarding exhibiting the layout at future shows. I'm open to offers so please contact me if you are interested.
Terry
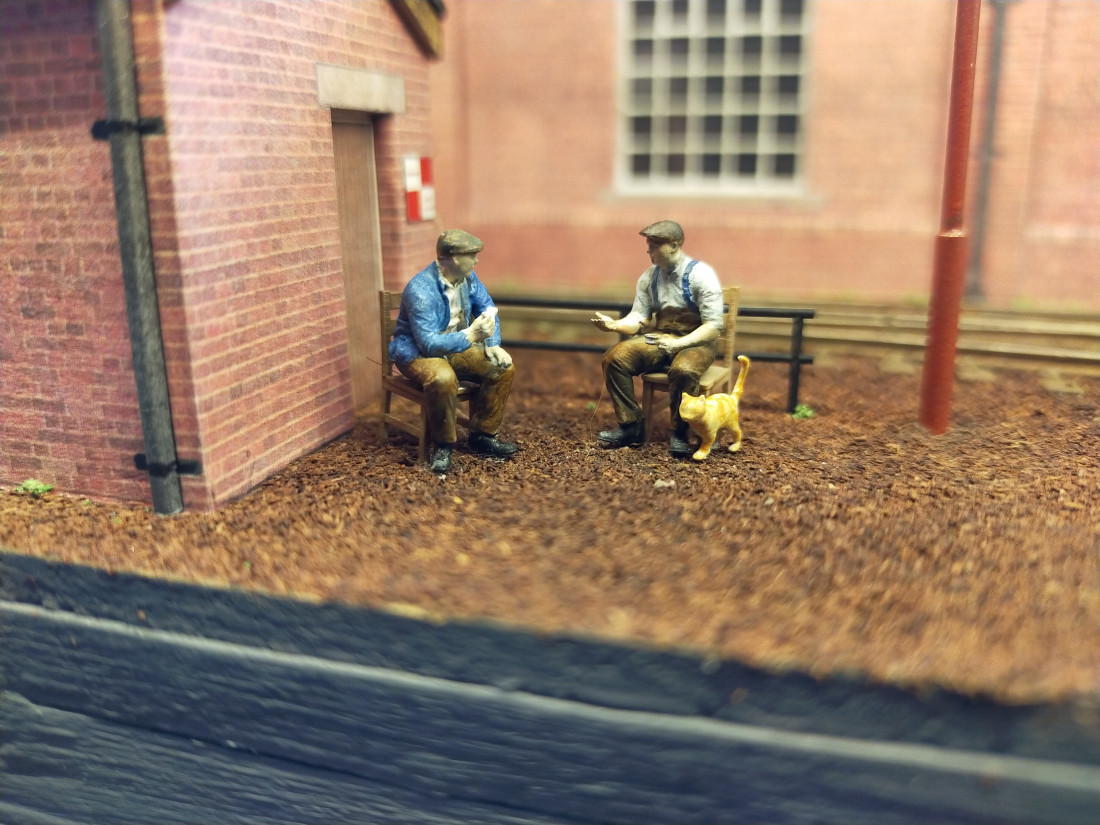
This little scene was added a couple of days before the show..


Remind me, what method are you using for uncoupling?
Ed

