Connoisseur Models LNER J79 Tank Loco
Posted
#231094
(In Topic #12647)

Full Member
LNER J79/NER H2
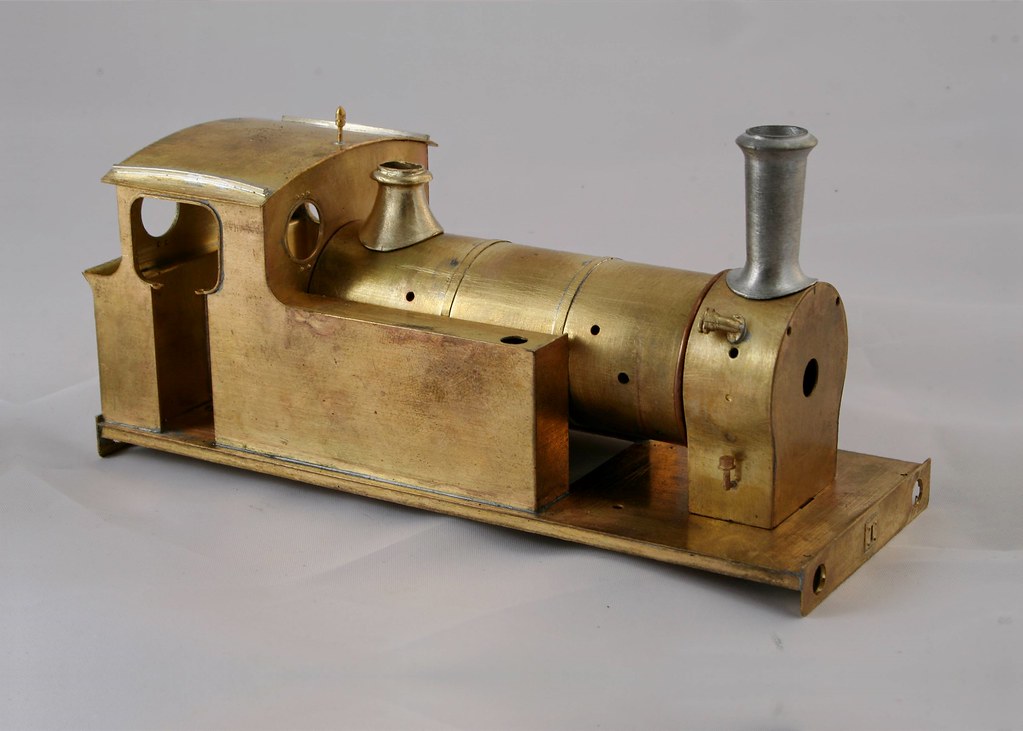
Now that the B16/1 is finished I thought I would share with a you a little distraction that I had a couple of weeks ago. I had a few days off after my birthday and wanted to spend it working on something for me. I really should have spent the time working on my MOK 8F kit but I didn't instead I made a good start on the J79.Jim's kits are great in that you can build them as supplied and have a lovely model or you can go to town and have an even better model. I chose to not only raid the spares box but to do some scratch building as well.
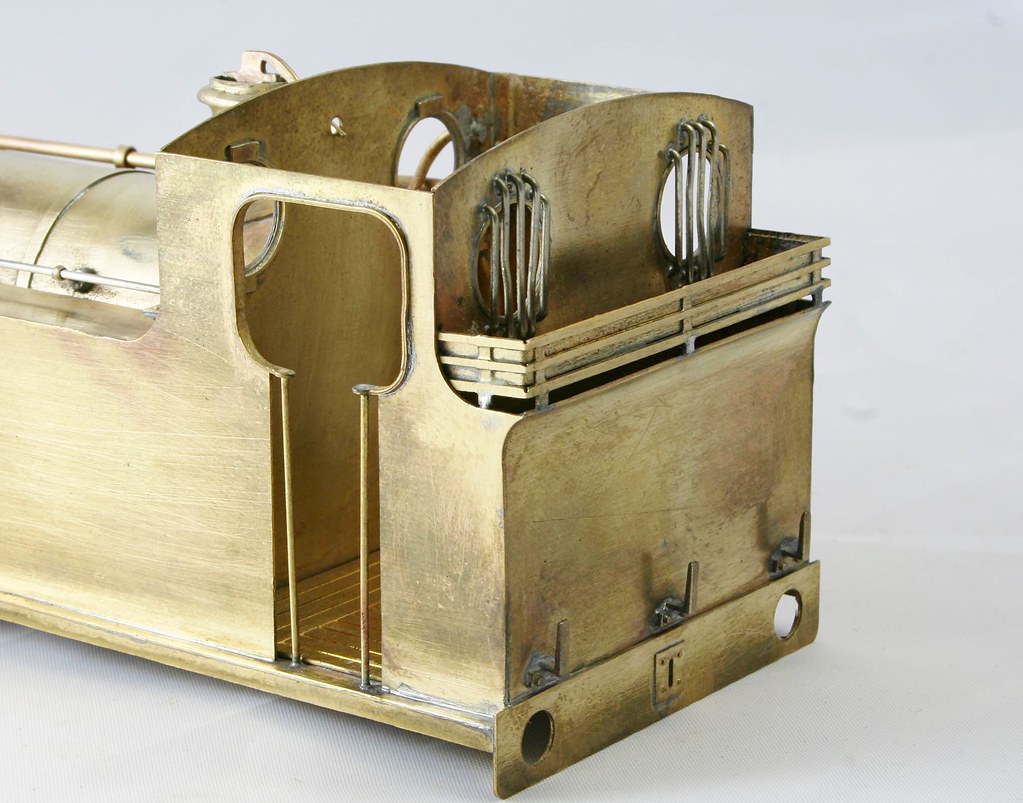
This is where I got to during the 4 days that I spent on it.
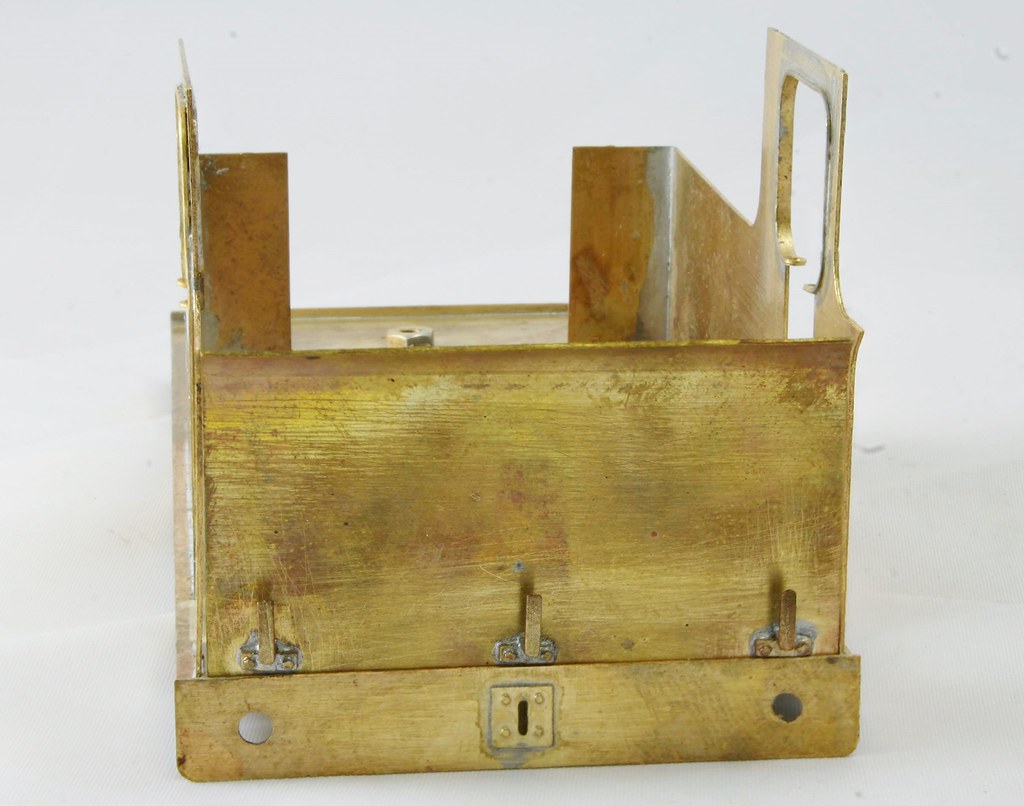
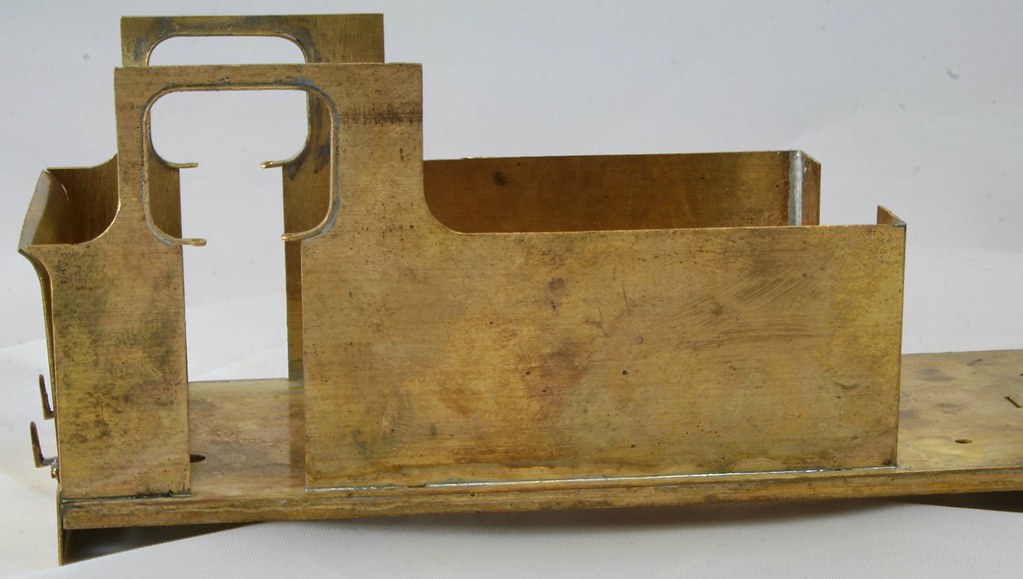
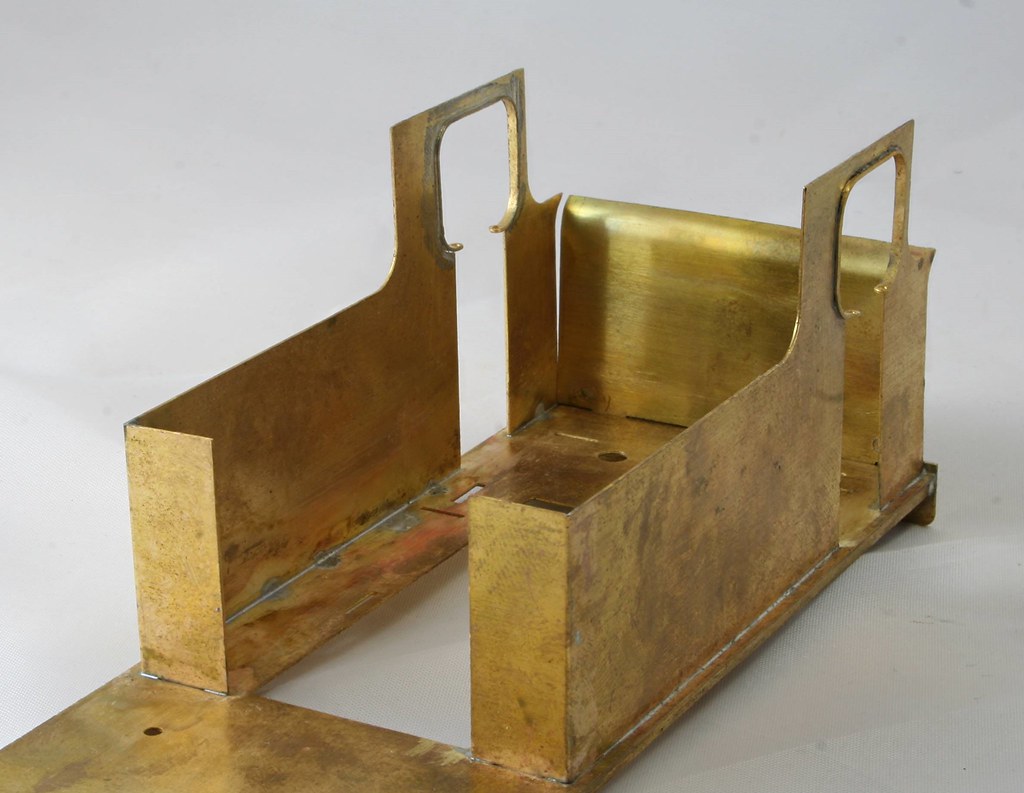
First of all I built the chassis. I decided I wanted something a little more 3D for the loco springs and after raiding a few of my kit stock to see if I could borrow anything that might be suitable I ended up making some from scrap etch, nickel rod and some 12ba nuts

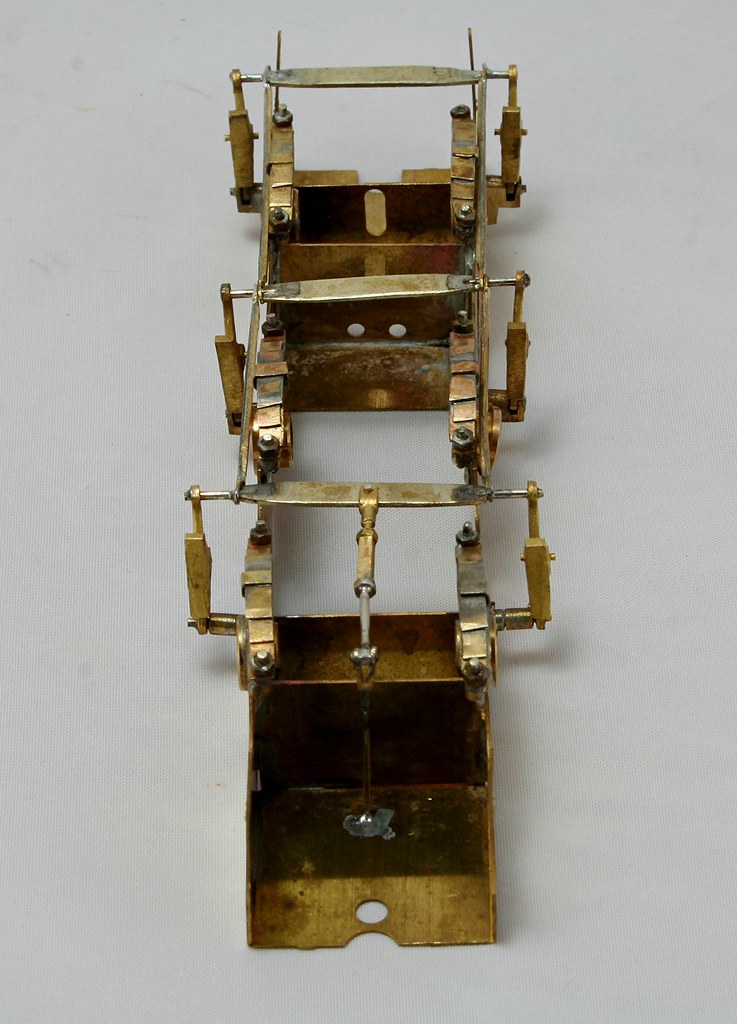
The centre axle holes have been elongated downwards and sprung with a piece of 0.8mm piano wire which sits into a dimple drilled in the bearing.
The lovely brake castings are from Ragstone Models and were bought originally for my A3 but there wasn't enough clearance to use them so they were sat in the spares box and matched the etches perfectly so it made sense to use them.

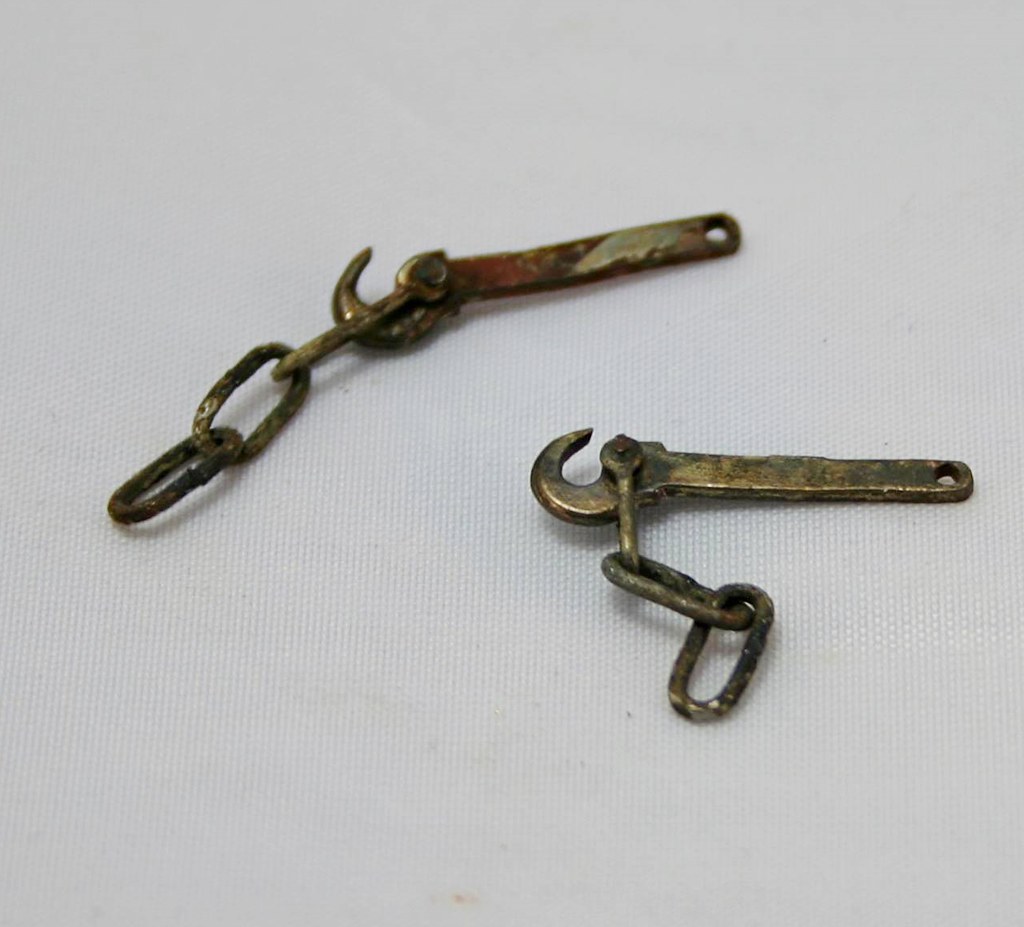
The J79 (NER H2) has quite distinctive couplings which again are made up from bits in the spares box
While at Guildex was enquiring as to the availability of coupling rods for the N2 etches that I picked up from the E&T and noted that they had a table at the side of the stand which had boxes of castings of various descriptions at quite silly prices. Apparently they had cleared out their workshop and they were all part used sprues of lost wax castings most were at £1 or £2 per bag and I got quite a few for about £12 in total. Some of these were lamp Irons.
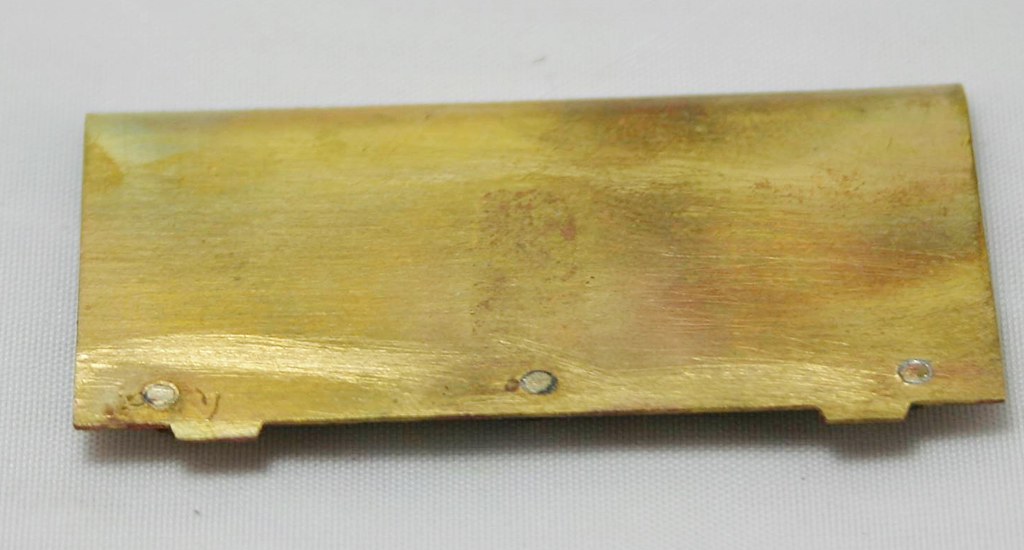
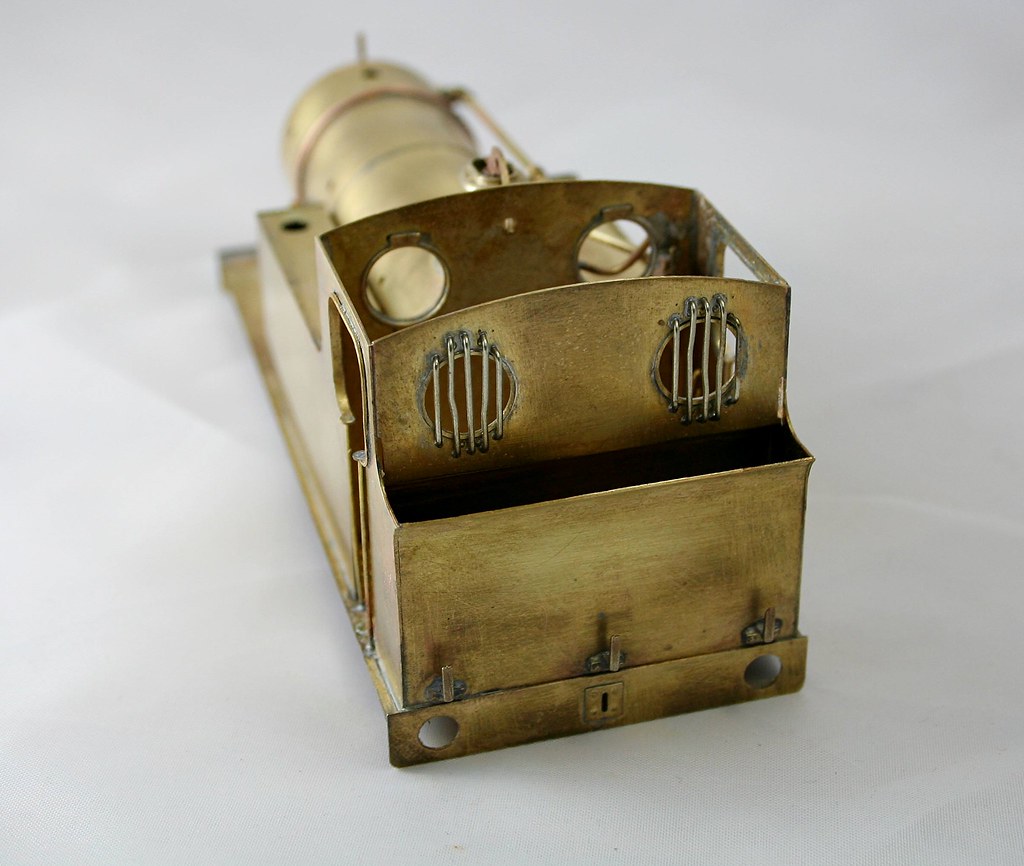
I made use of them on the bunker rear

To make them even more secure I drilled through and attached them via the spigots too.
The coupling rods in this kit are brass etches and Jim helpfully suggests tinning them to make them look like dirty steel rods. I have used this tactic in the past and it does work.
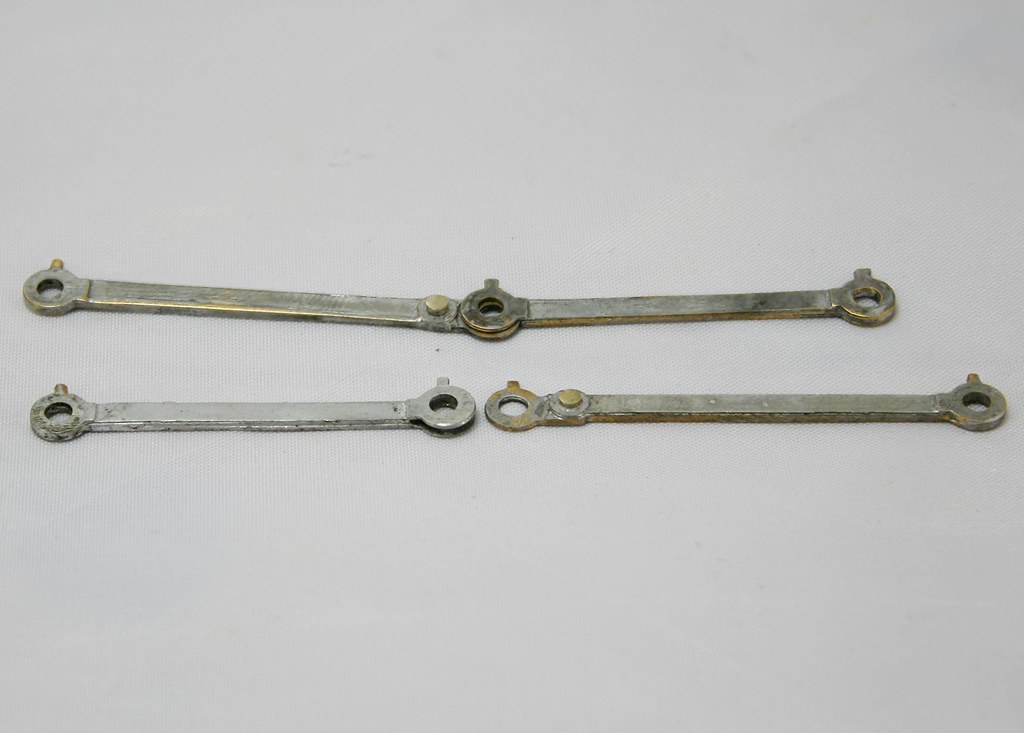
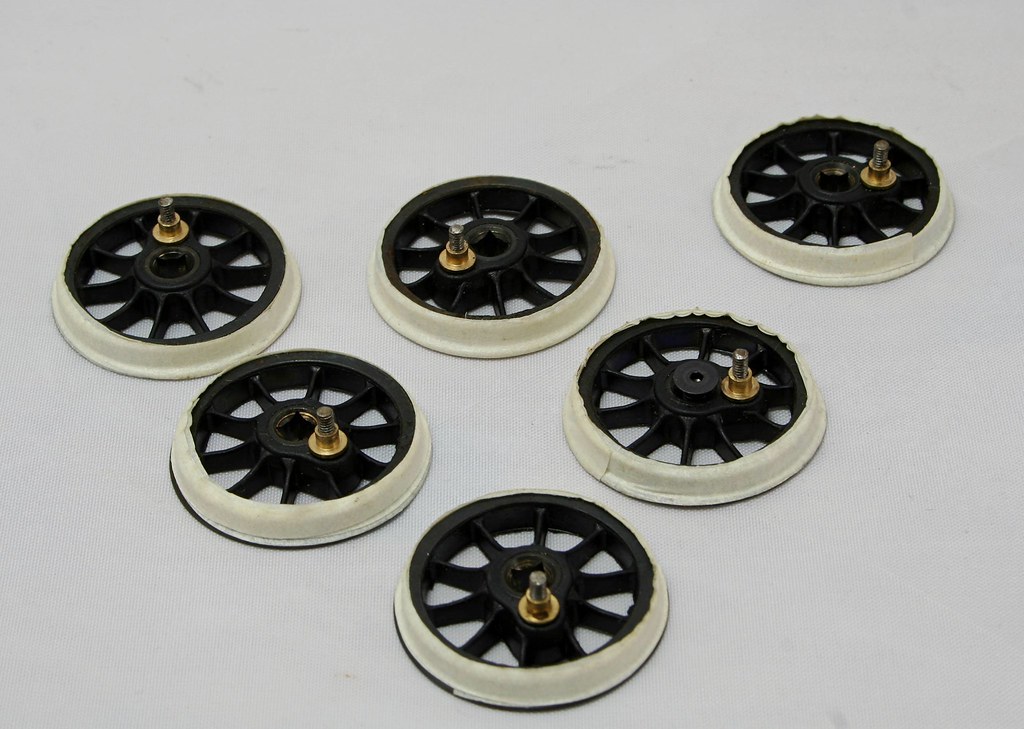
Finally I blackened the wheels, tapped the crank pin bushes 10ba and fitted 10ba steel Counter Sunk screws to the wheels.
 Last edit: by Rob Pulham
Regards Rob

Posted

Full Member
LNER Encyclopedia: The W. Worsdell J79 (NER Class H2) 0-6-0 Tank Engines
A rare prototype (3 built) withdrawn from LNER service in the mid 30s but they soldiered on in industrial service until the late 40s/mid 50s.
John
John
Posted
Full Member
Mine will represent one of the longest lived in LNER Service . LNER 1662 It's also remarkable what subtle differences the three had between them. Photos are essential. Luckily for me and for what is probably my first time ever, I have photos of both sides of 1662 in LNER livery
Regards Rob
Posted
Full Member
I then looked to fit the bunker rear and found that there is a slight gap at one side so I am probably going to have to adjust the left hand side as you view it from the rear. that may mean that I need to fill a small gap in the footplate top time will tell.
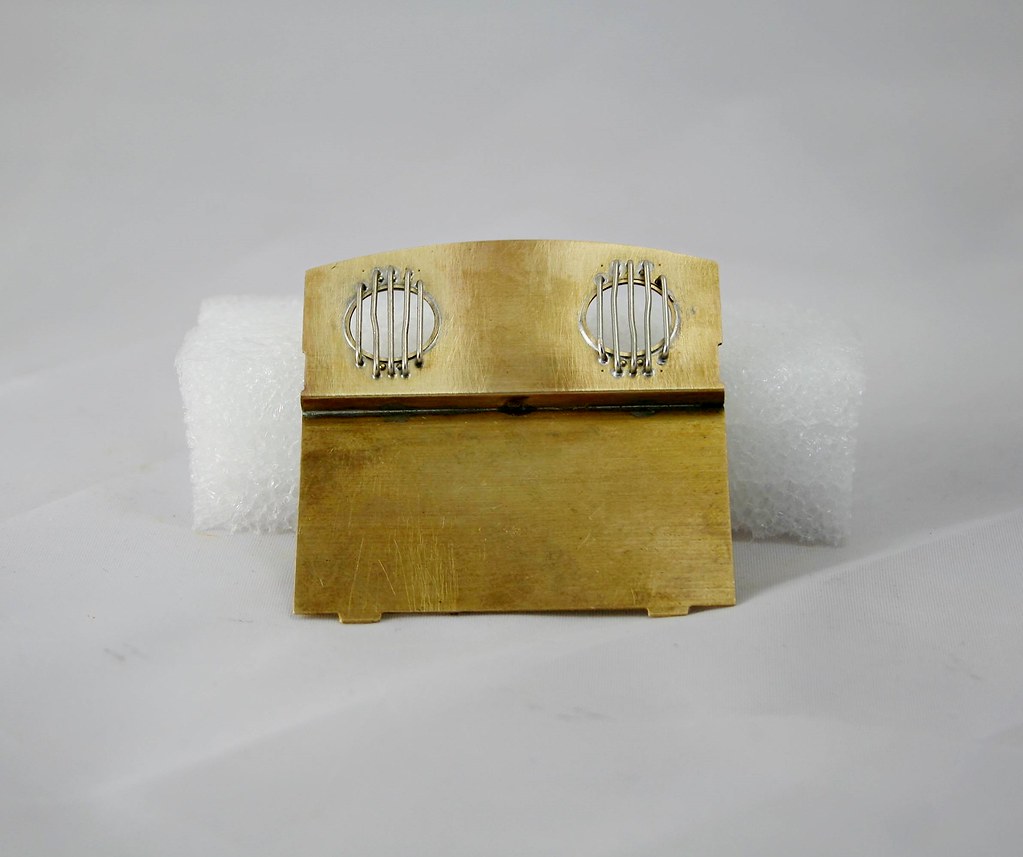
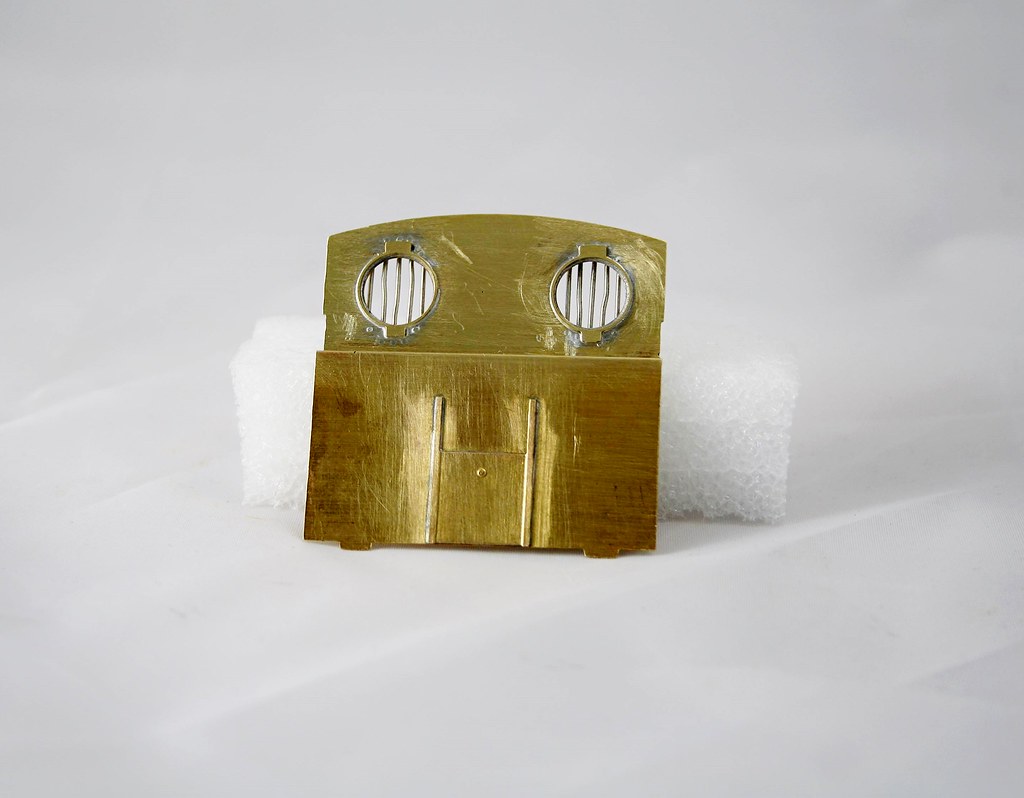
It was getting late by the time I discovered that so I moved onto something a little easier for my last 15 minutes or so. Namely the cab roof. I am quite impressed by Jim's design for this because it's usually a bit of a fiddle to get it to sit square and be retained in the cab. Jim's answer is a nifty fold up etch.
A note to anyone building one of these, there are half etched curves in the roof for locating the rain strips (the idea is that you solder in a length of thin wire and it becomes a half round rain strip). when rolling, the roof has a tendency to fold rather than roll smoothly. Backing it with a bit of card as it goes through the rollers would probably help with this.
Having none to hand I didn't bother, I just stopped passing it through the rollers right to the ends of the roof and effectively just rolled the middle section. I also replaced the wire with some small square section rod that I had in stock.
Lastly in true Blue Peter fashion, here's a bit that I did earlier. I had previously added the spacers and the boiler bands to the boiler but had popped it back in the kit box so missed taking any photos of it when I took the photos that I shared the other day.
Regards Rob
Posted
Full Member
John
John
Posted
Full Member
I have a weekend at home this weekend so I hope to really crack on with it. It's only little after all……
Regards Rob
Posted
Full Member
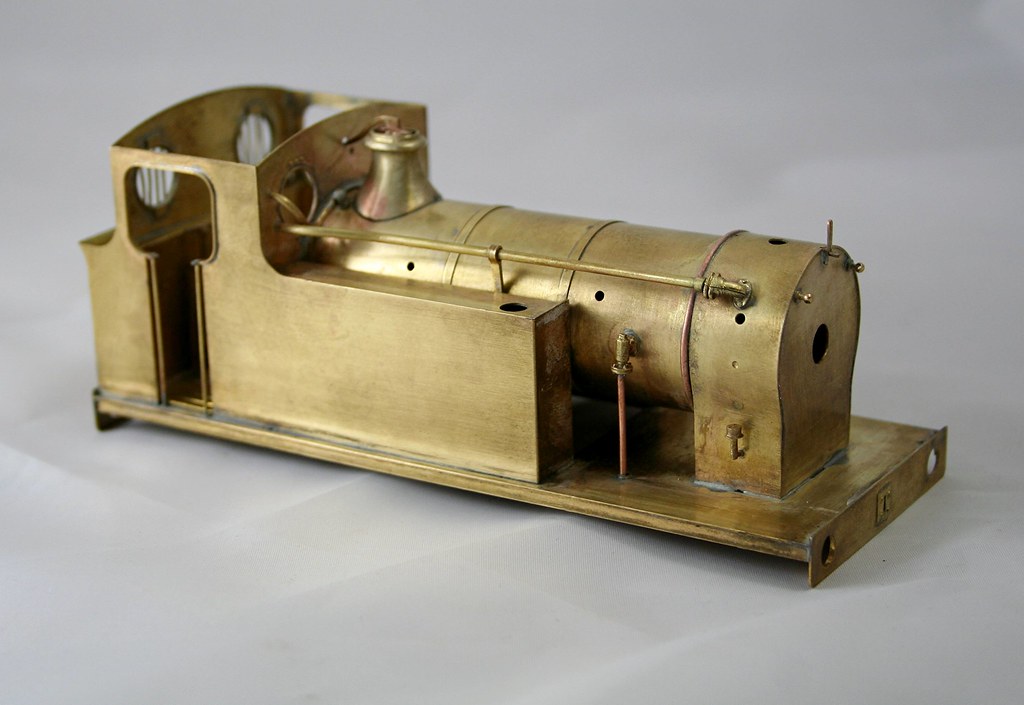
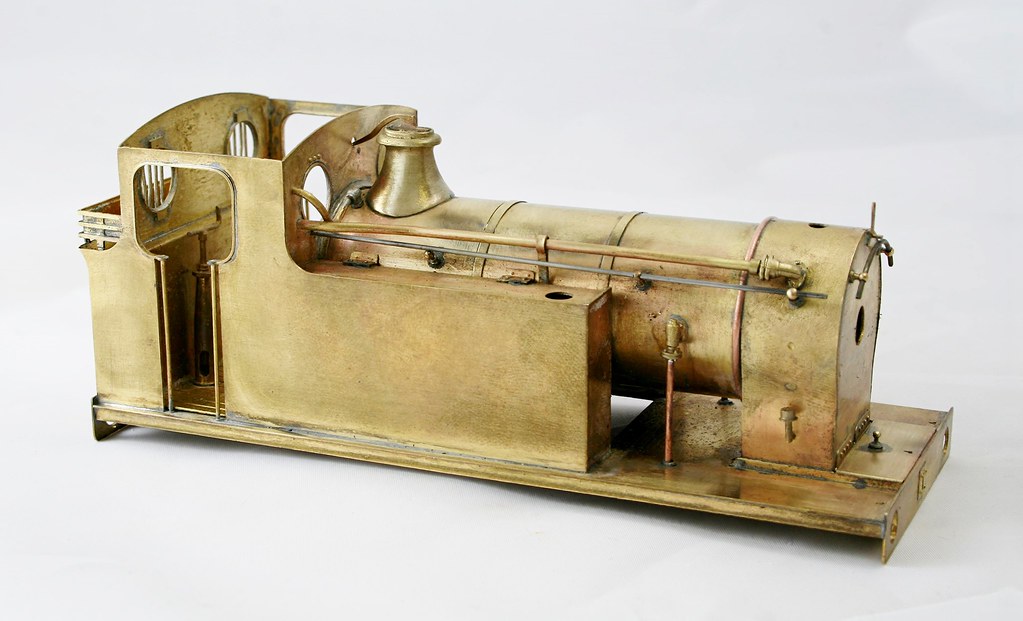
The chimney and safety valve cover are just posed for the photo I want add more detail before fixing them in place.
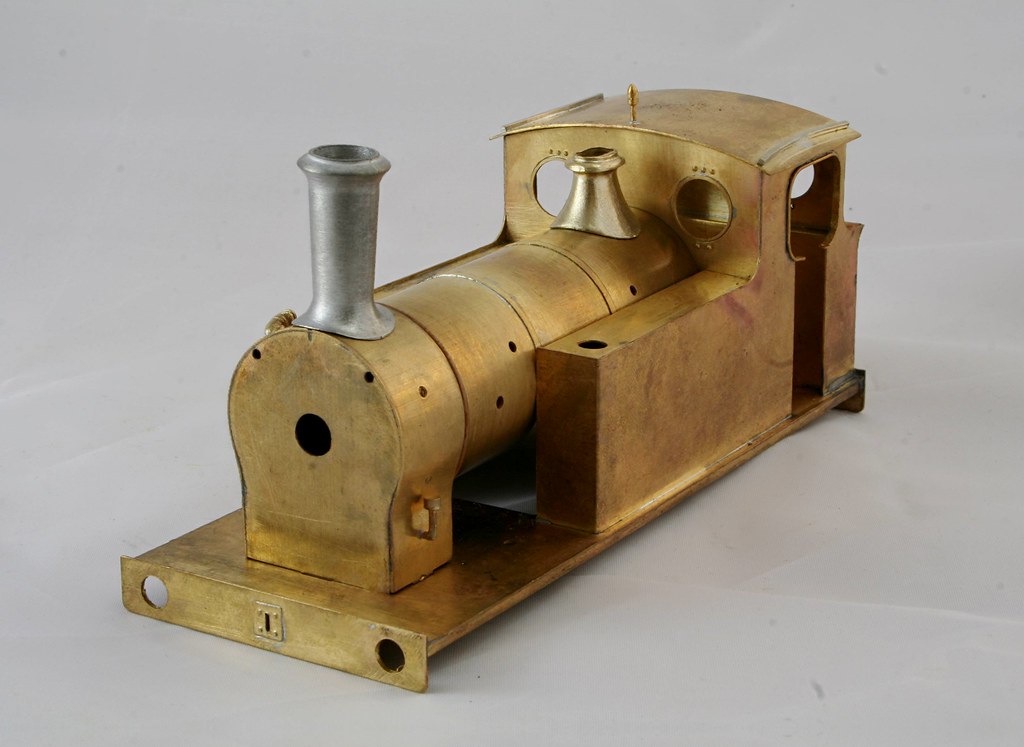
The cab is still loose at this point too.
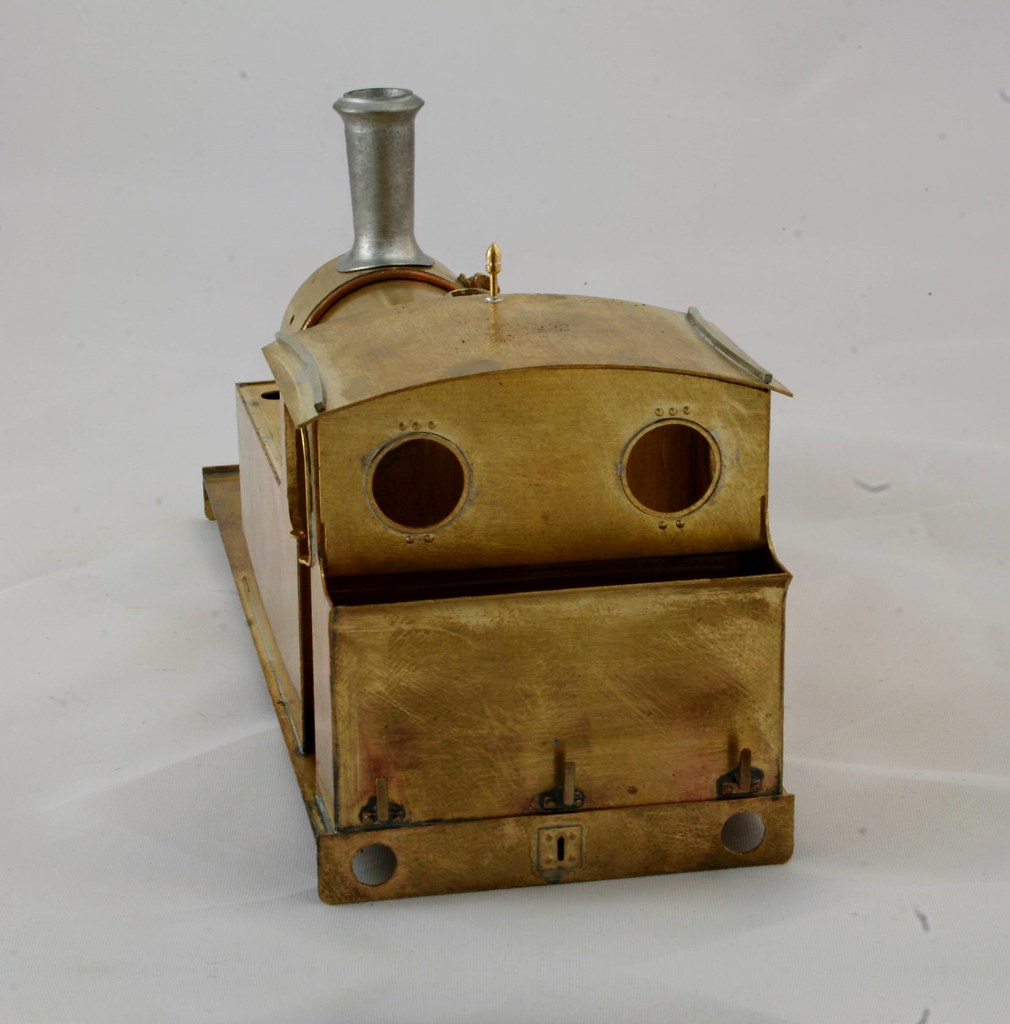
This is the reason that it's still loose, although at an oblique angle one of the photos that I have seems to show bars on over the rear windows which I have added - suitably distressed too.
Since taking this shot on Sunday morning I have made up the vacuum ejector pipe and soldered the rear of the cab in place.
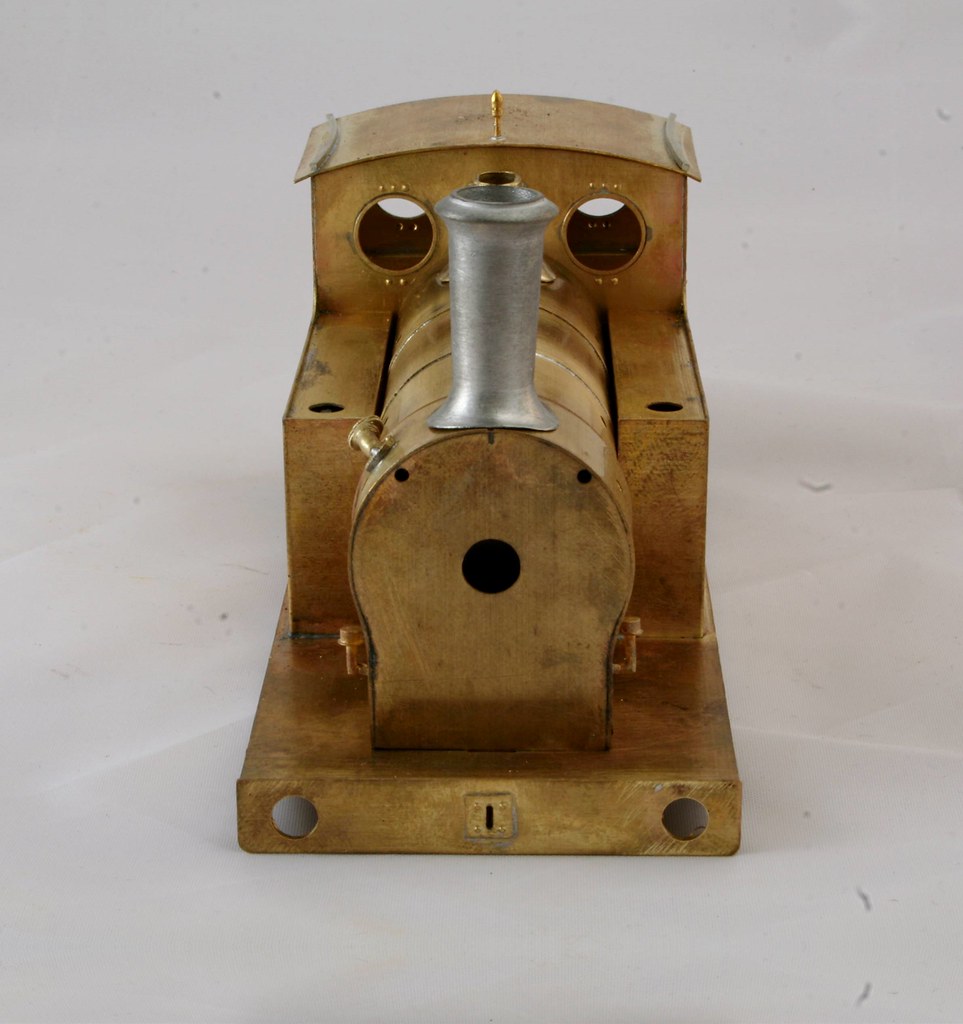
There is a lot going on for such a diminutive little loco
Last edit: by Rob Pulham
Regards Rob
Posted
Full Member
John
John
Posted
Full Member
Hi John,Good to see such a lot of progress Rob. The window bars immediately caught my eye as being wonky, glad you explained that.
John
As you might imagine they were straight when I put them on but most photos that I have seen have then bent in some form or another, when suitably weathered they should fade into the background.
Regards Rob
Posted
Full Member
It now sports Clack valves, the safety valve bonnet, a front lamp iron on the smokebox and finally a connection and pipe to the tops of the firebox. I am not certain what this is exactly but noticed it on a recent photo posted by Mick Roffe of the preserved J72 too.


In the box were a nice pair of brass brake standards, one for the loco one for the spares box - the spares box has been heavily raided for this build.

Last edit: by Rob Pulham
Regards Rob
Posted
Full Member
Manifestly it is better to use simple tools expertly than to possess a bewildering assortment of complicated gadgets and either neglect or use them incompetently. ( L.T.C.Rolt)
Posted
Full Member
It does help having a light tent and proper lights for the job - £60 well spent a couple of years ago.
Regards Rob
Posted
Full Member
The coal rails were fitted and a plated infill added. My reading on the subject has revealed that they were plated over right from being built. Jim supplies them as open rails. A piece of scrap etch provided the infill.
Handrails both sides were fitted but they needed bushing with a bit of tube over the base of the handrail knob to fill the slightly oversized holes - of course I then had to enlarge the holes again to get them to fit with the tube in place.
In the instructions (like many of his kits) Jim suggests the use of split pins instead of handrail knobs. For the J79, looking at the photos I have, it seems that handrail knobs are a better fit to the real thing than split pins would be.
Finally the piano front was fitted after filing a piece of rod in the Dremel to make the quite visible knob for it.
Regards Rob
Posted
Full Member
John
John
Posted
Full Member
Regards Rob
Posted

Full Member
Hi John,Nice. Plating over coal rails seems to have been an LNER thing. J50s had the same treatment.
John
the grouping in 1922. Most broad gauge locomotives did not have them (just a mountain of coal with that ample width), only the convertibles seemed to start life with rails.
©Nigel C. Phillips
Posted
Full Member
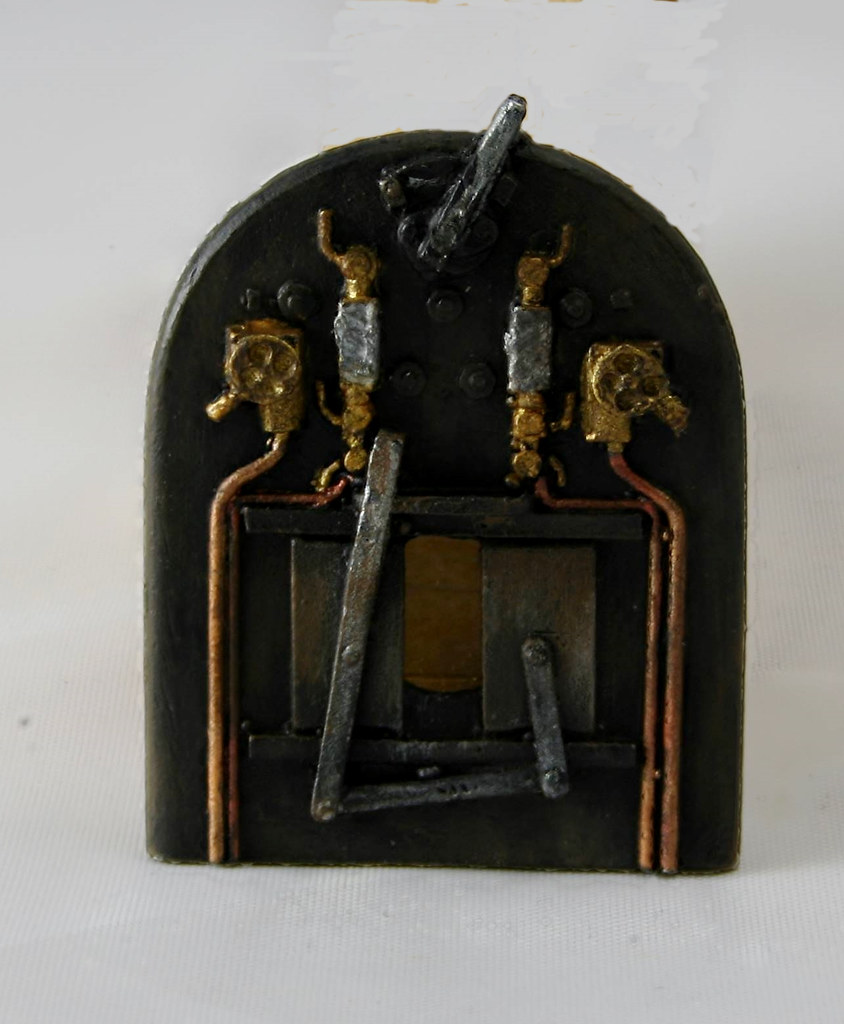
Although I am not sure that the photos do the quality of Jim's little backhead for this loco, justice - what you see is all cast on the backhead with no additional pipework or castings. I was so impressed that I thought it would pass muster inside a closed cab without resorting to removing and re-adding details as I might have done with other backhead castings.
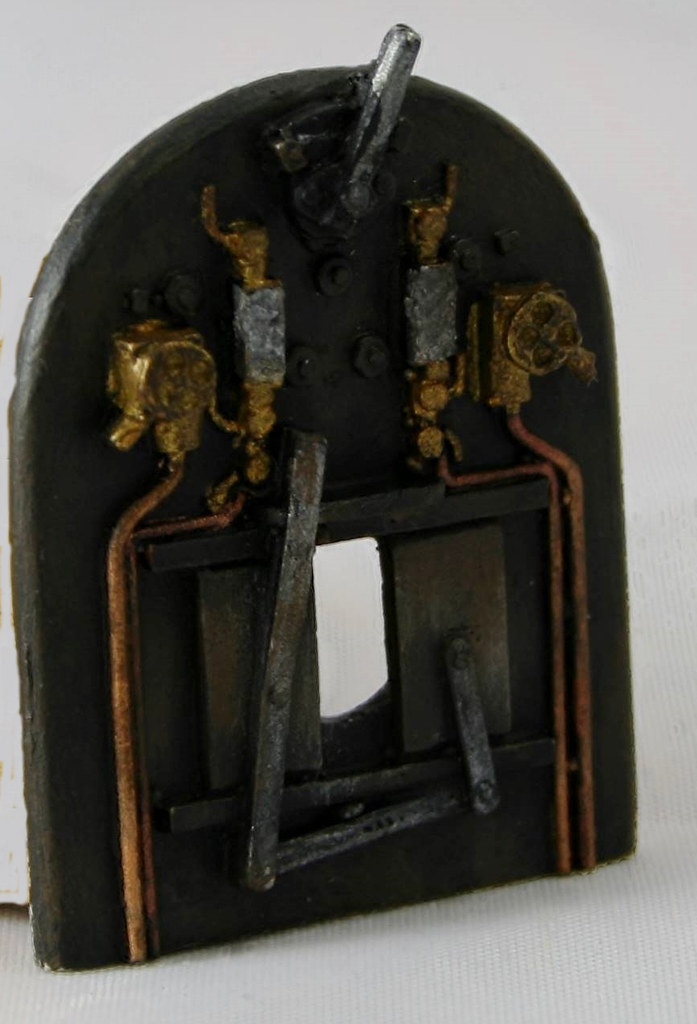
Regards Rob
Posted
Full Member
 Looks a lot like the J79 and was mostly withdrawn before nationalization. Last one gone by 1962. A stretch for me but I'm sure I can rationalize it.
John
John
Posted
Full Member
I have a Connoisseur kit for a J69 in the stash - oddly although not a GER modeller, I seem to have acquired kit's for the GER/LNER F3, F5, and J69.
Regards Rob
Posted
Full Member
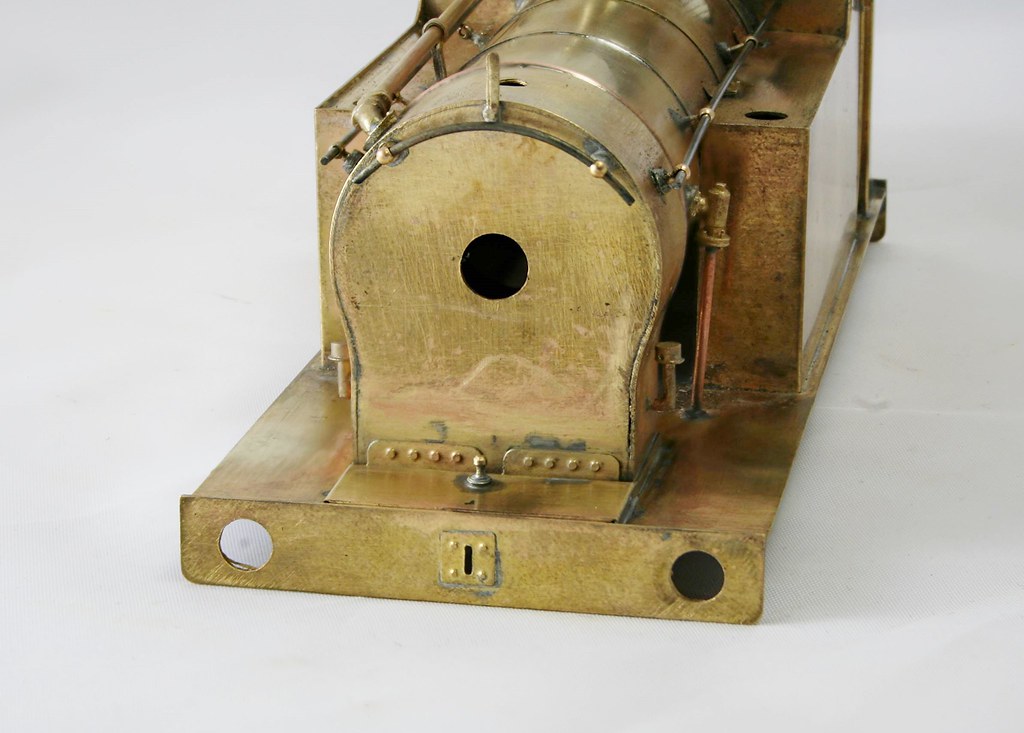
The buffers all needed drilling out for the bolt heads - because I had them I used some of the rather nice Scale Hardware items
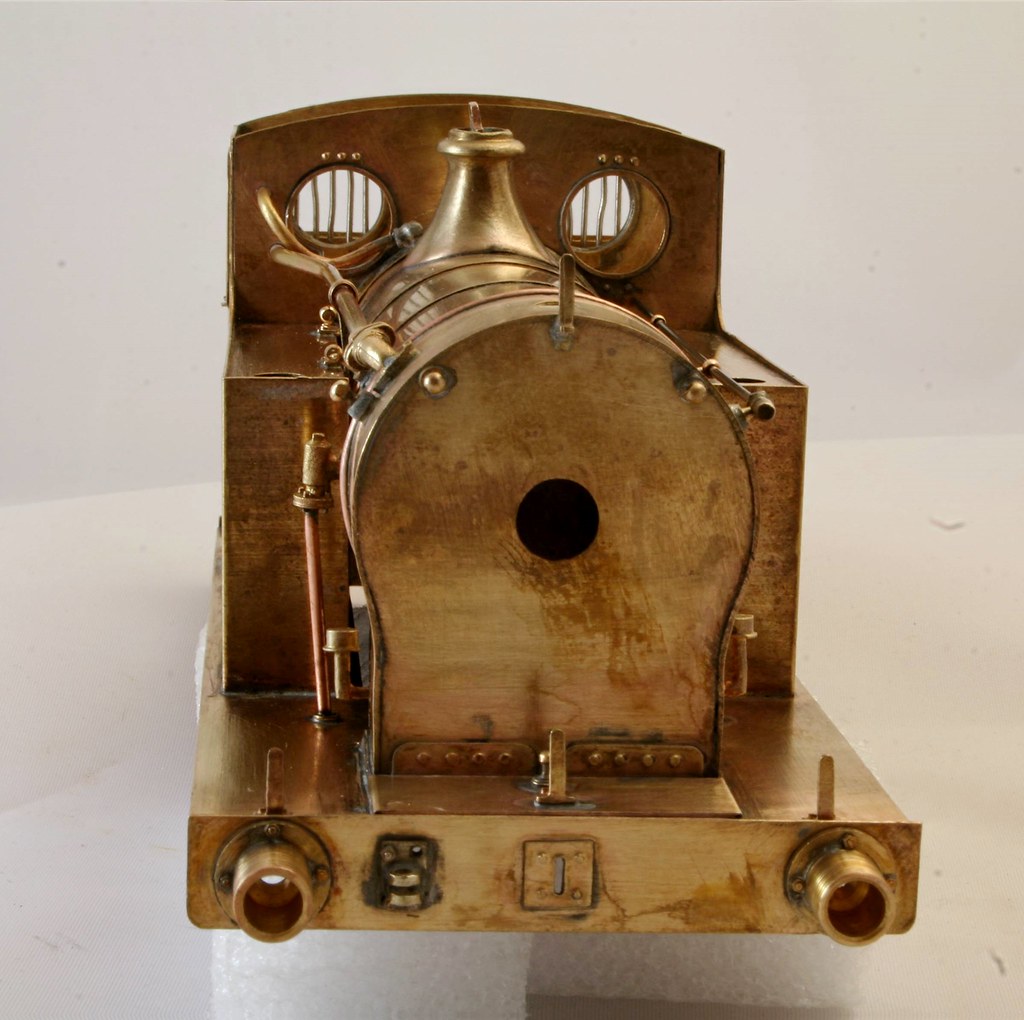
I also added the front lamp irons (Laurie Griffin castings) and the bracket on the front buffer plank which is visible in the photos that I have and Yeadon speculates that it was used for shunting locos/tenders when separated from each other.
This was made from scrap nickel etch soldered together with 295 degree solder so it stayed together when I used 145 to add it to the buffer plank. - again a few more Scale Hardware items to finish it. - The eagle eyed amongst you will note that one went missing while washing it too…
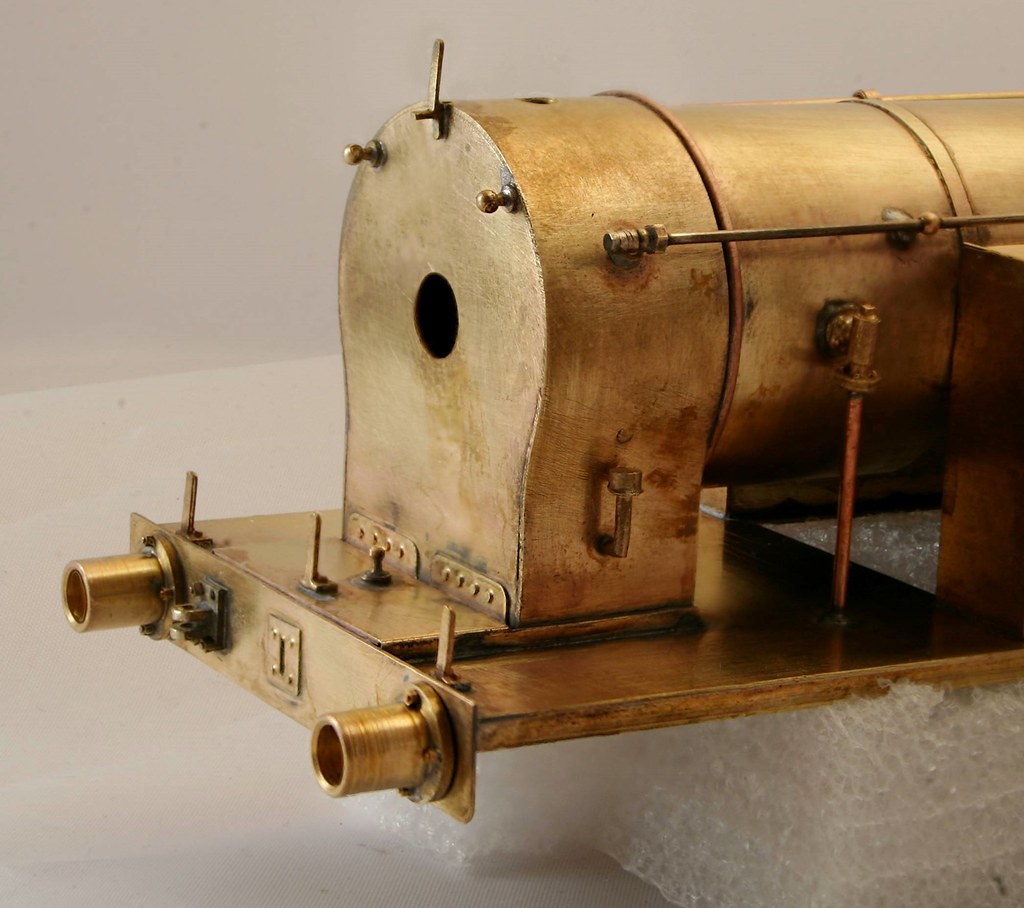
The hand rail on the fireman's side has a fitting that incorporates the support for the end of the handrail on the smokebox this was made up using some small bore tube, a disk of scrap etch and a 14BA nut. The tube sealed with the scrap etch was slid onto a stub of handrail protruding forward of the hand rail knob with the nut at the other side and all soldered in place.
It's not strictly accurate but it will pass muster once painted and is better than just a plain handrail knob.
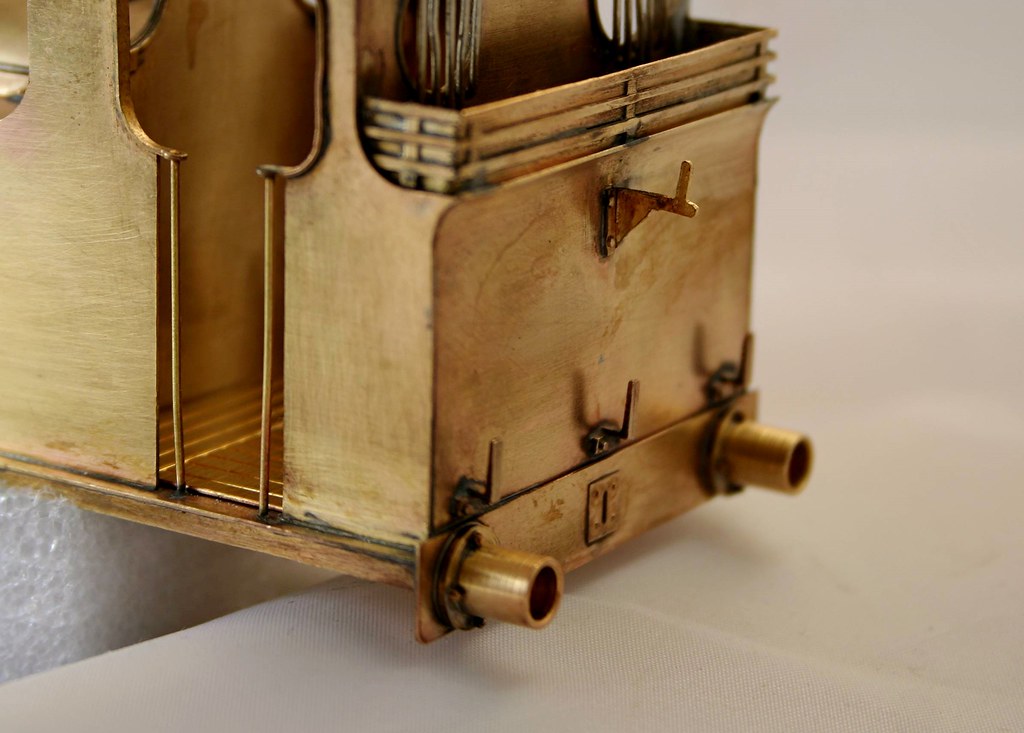
It was discretely pointed out that the coal rails were plated right to the bottom and it for me it was a wood and trees moment because all my photos show it but it hadn't sunk in.
Remedying it involved taking the rails off again because try as I might I couldn't get the extra strip to stay in place while I soldered it while it was in situ.
The same discussion concluded that being vacuum fitted it probably had an upper rear lamp iron too. Scrap etch to the rescue. This was the second attempt because having made a lovely job of the first which was made from conveniently shaped bit of etch I realised that I had the slope rising up above the horizontal rather than below it as it should be.
Last edit: by Rob Pulham
Regards Rob
1 guest and 0 members have just viewed this.