Teasel Bay
Posted
Full Member
Early construction of a simple 00 garage layout
Just out of interest what don't you like about the wiring? It seems to be working well with wiring knowledge exclam:
Posted

Site staff
But I may be wrong

Ed
Posted

Site staff
Regards
Alan
Born beside the mighty GWR.
Alan
Born beside the mighty GWR.
Posted
Full Member
Posted

Full Member
Scotchloks, love 'em or hate 'em. I like them, but only in humidity controlled environments. It's the usual issue of dissimilar metals -steel/zinc on copper. Add a bit of moisture and hey presto electrolytic corrosion and reduced conductance or a break in continuity with fine gauge wire (as in droppers). In going from large to small diameter wires (bus to dropper) you often need 2 (12 to 16 to 18 gauge for example). Terminal strips (chock-blocks) are a better bet if you don't want to solder.
Nigel
©Nigel C. Phillips
Posted
Full Member
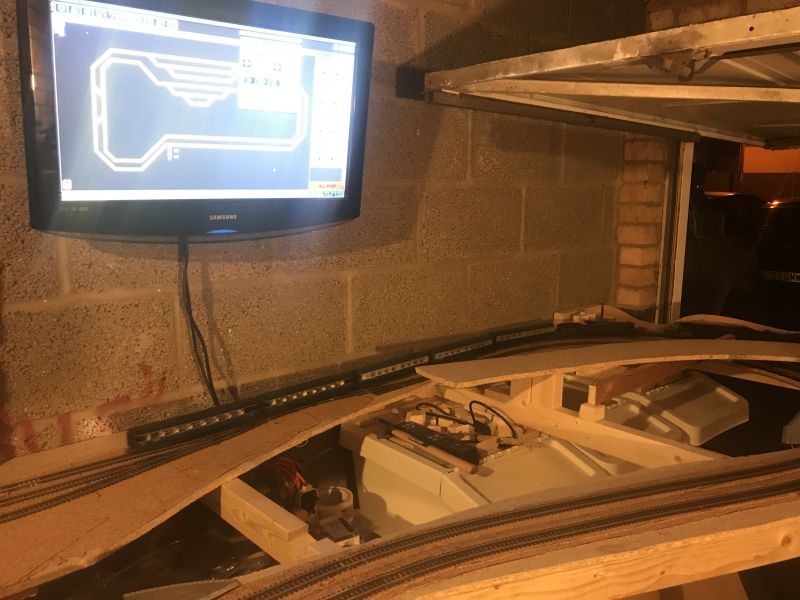
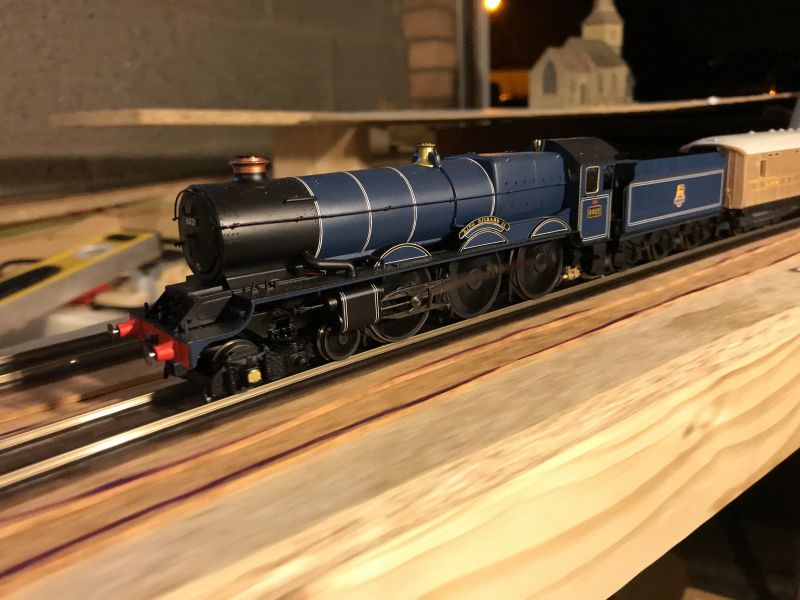
Also finally got the monitor mounted on the wall out of the way, showing the track diagram of the lower level while a Hornby Castle runs below. You can see in this photo how close the garage door is to the edge of the layout. There isn't much clearance here.
I decided to take up and preposition a good section of the inner track as the gap between was far too wide and unrealistic. This has been much improved, showing where eventually the seaside station will stand.
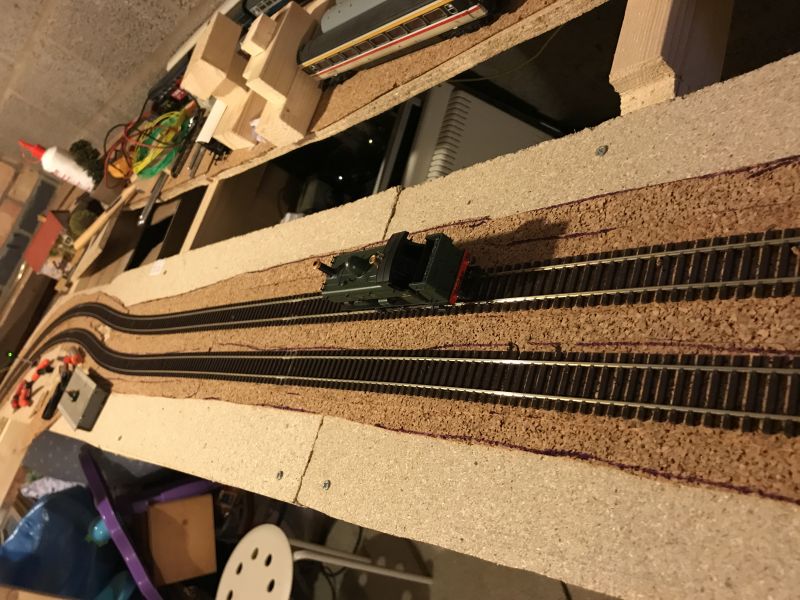
Hoping to get the inner track completed in the next few weeks.
Slow progress, but progress all the same :)
 Last edit: by TeaselBay
Posted
Full Member
Last edit: by TeaselBay
Posted
Full Member
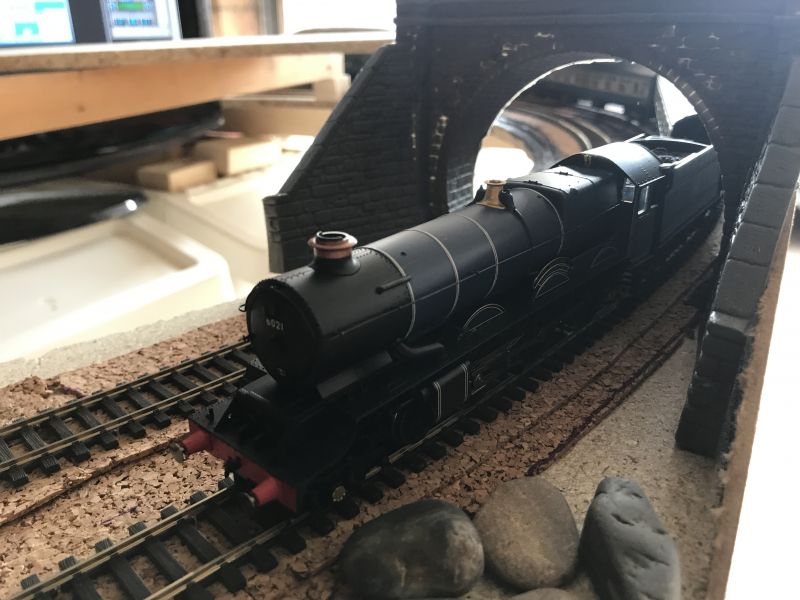
Slow progress is continuing on building Teasel Bay but finally moving from laying track to building scenery now the second loop is complete.
Attention now has moved to the cutting before the tunnel building up the structure to support a cutting
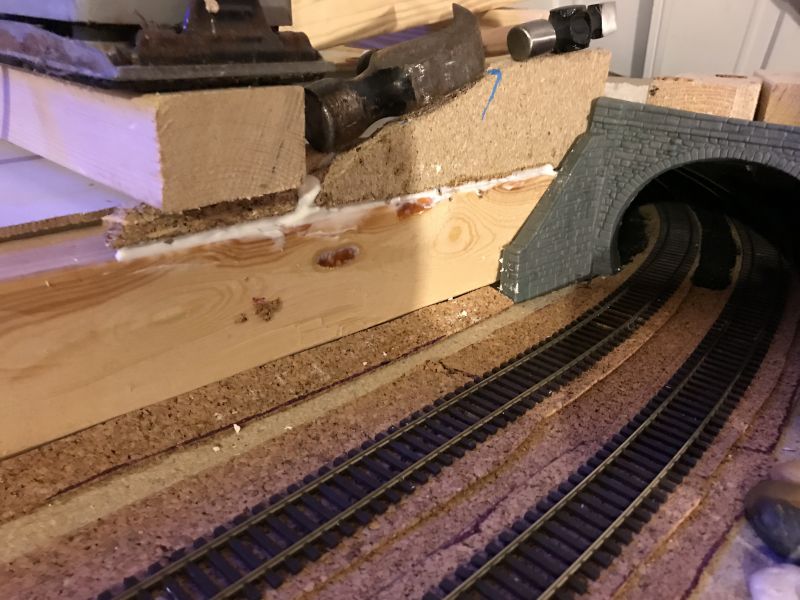
The rock faces molded using the Woodland Scenic's rock molds, resting on the structure to start piecing them together. Cutting and sanding where required.

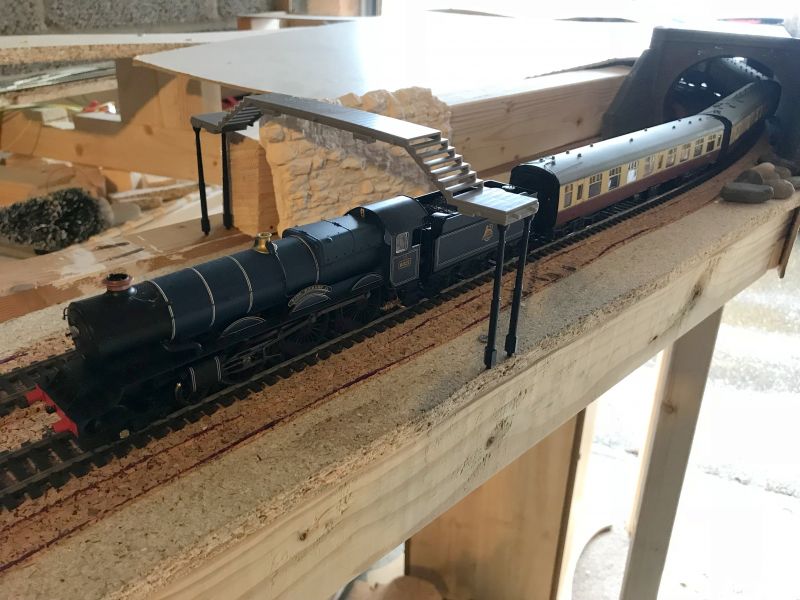
There will be a footbridge (standard Hornby) leading from the fields down to the sand dunes leading to the bay. The light "at the end of the tunnel" will be removed shortly once the terrain is built up on the removable sections over the track.
Last edit: by TeaselBay
Posted

Inactive Member
Max
Port Elderley
Port Elderley
Posted
Full Member
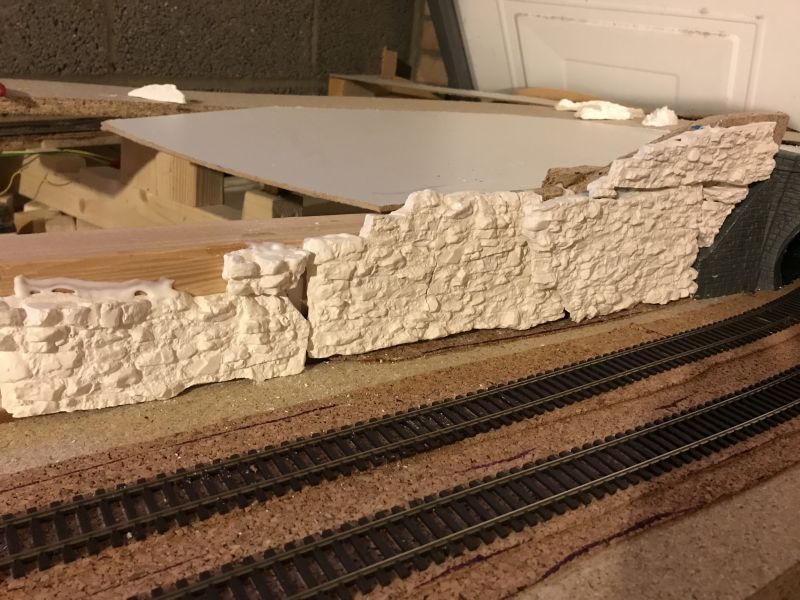
A little bit more work tonight to piece together the jigsaw and stick them down. Once dry I’ll fill in the gaps with a little more Plaster of Paris before painting.
Last edit: by TeaselBay
Posted

Full Member
'Petermac
Posted

Full Member
Posted
Full Member
I'm not 100% sure yet. I've seen some great examples on here. Penhayle is amazing, there is a good example I might follow on this thread: http://yourmodelrailway.net/view_topic.php?id=4454&forum_id=52&page=6I like those rock walls Chris. Looking forward to watching you paint them. Do you plan to use washes on them ?
I also really like this guy's technique: https://www.youtube.com/watch?v=dug-ffEhqZU&t=1264s but with a slightly darker base colour than slate gray.
Posted
Full Member
I bought a roll of cork underlay for flooring and cut to size, worked out very cheap compared to bought sections. It does make running nice and quiet and raises the track bed.Quite a lot of cork underlay used on your track - do you get nice quiet running?
Thanks for your interest
Posted

Full Member
I have had them on my layout for the past couple of years with no issues at all, in fact I have just ripped that layout up and am re-using the same connectors and again with no problems..I suspect Chris, it's that some people are rightly or wrongly rather adverse to using scotchlock type connectors for connecting droppers to the bus wires.
But I may be wrong
Ed
Shaun
Posted
Full Member
Nice, I've not had any problems yet and good to know they can be reliable. I find it a lot easier than soldering under the board! I prefer to spend my time above the board rather than under it….[user=1338]Ed[/user] wrote:I have had them on my layout for the past couple of years with no issues at all, in fact I have just ripped that layout up and am re-using the same connectors and again with no problems..I suspect Chris, it's that some people are rightly or wrongly rather adverse to using scotchlock type connectors for connecting droppers to the bus wires.
But I may be wrong
Ed
Shaun
Posted
Inactive Member
Max
Port Elderley
Port Elderley
Posted
Full Member
:new
I'm quite happy with them so lets leave it there and get back to the fun stuff.
Posted
Inactive Member
Max
Port Elderley
Port Elderley
Posted
Full Member
Apologies again
Shaun
1 guest and 0 members have just viewed this.