Gladiator B16/1 A North Eastern Workhorse
Posted

Full Member
The completion of the build of a 7mm scale B16/1
That all looks good to my eye Rob. Laminating is a PITA and I have dislodged things with my iron on more than one occasion. Still haven't really found an application for my mini torch. I better have a fire extinguisher on hand before I use it.I think I must spend a great deal of time cleaning up excess solder. It really needs doing, if the bare metal looks pleasing, everything else will be fine.
John
John

Posted

Full Member
Still haven't really found an application for my mini torch.
Hi John,
I must confess I use mine whenever I can, you can get away with so little solder it's saves a lot of cleaning up.
Regards Rob
Posted
Full Member
John
John
Posted
Full Member
Just remember that everything gets hot so always hold whatever you are soldering in pliers/tweezers etc. and use heat sinks to prevent bit's that you have already soldered from dropping off. - Sorry if this is Granny and Eggs :chicken
Regards Rob
Posted
Full Member
John
John
Posted
Full Member
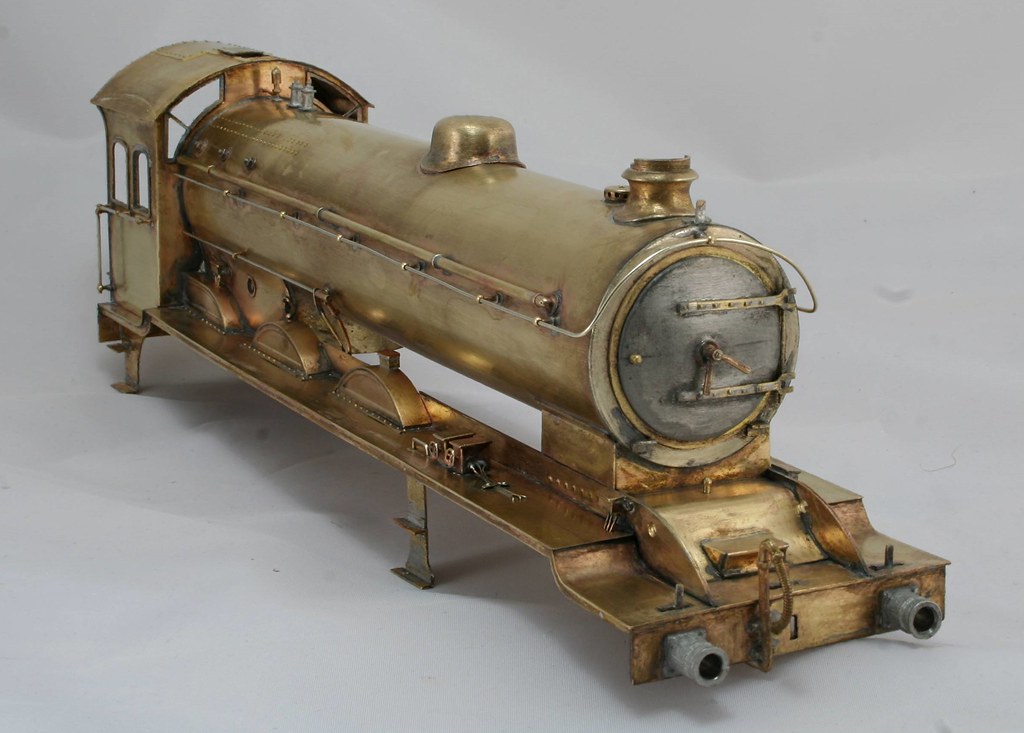
This is where I have got to so far -
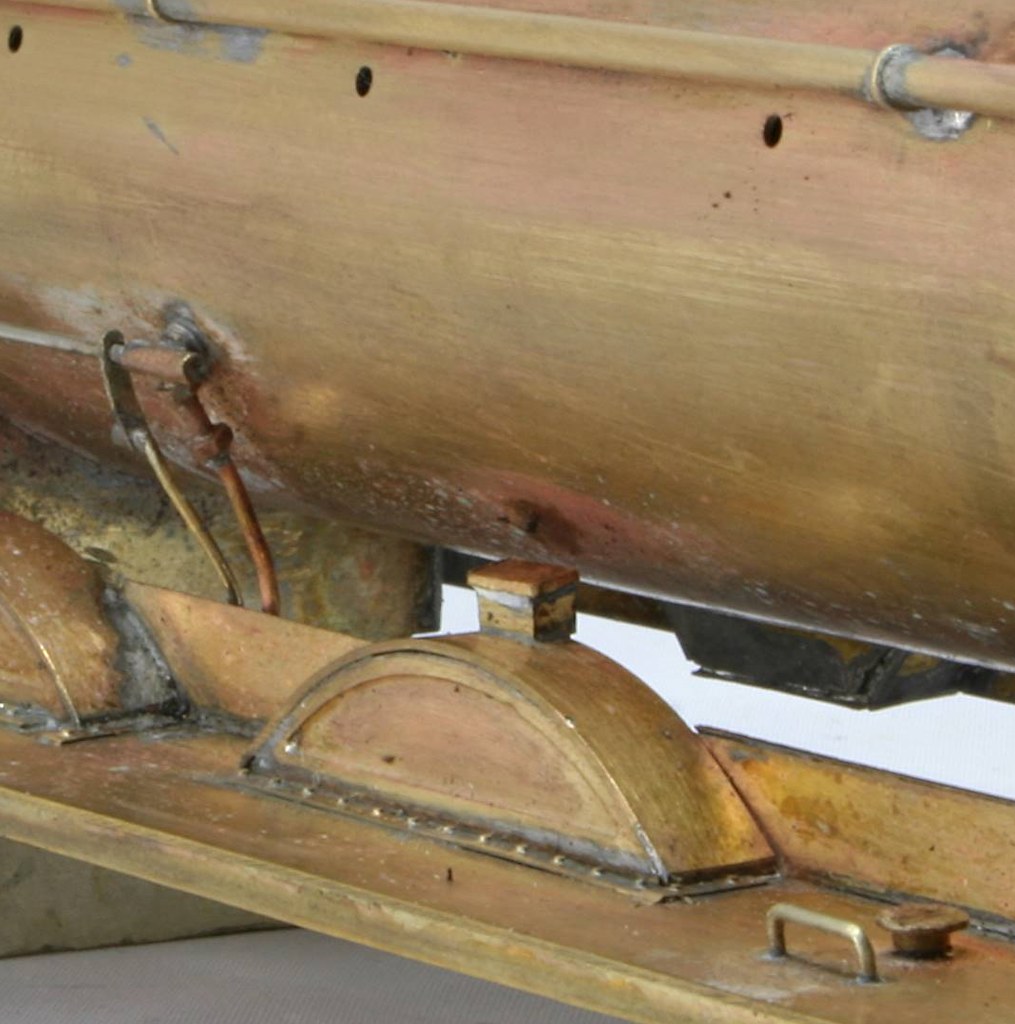
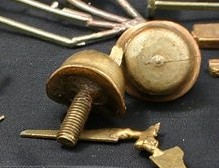
On to the frustrations, earlier I had made the oil boxes that sit on the front splasher tops, the first one on the right hand splasher too about 10 attempts to solder it on, I would get it positioned and then clamped with self locking tweezers but each time I reached for the soldering iron to solder it from the back the blessed thing either moved or fell off. Finally I got it soldered in place and decided to do the other one. This was even worse, after three failed attempts to solder it on, it flew off into space and despite a good grovel I couldn't find it. So I set to and made another, blow me if the same thing didn't happen again. A couple or three failed attempts then twang…..
With the third iteration I filed a slight hollow in the base front to back so that it sat better on the splasher top and I managed to solder it on first go.
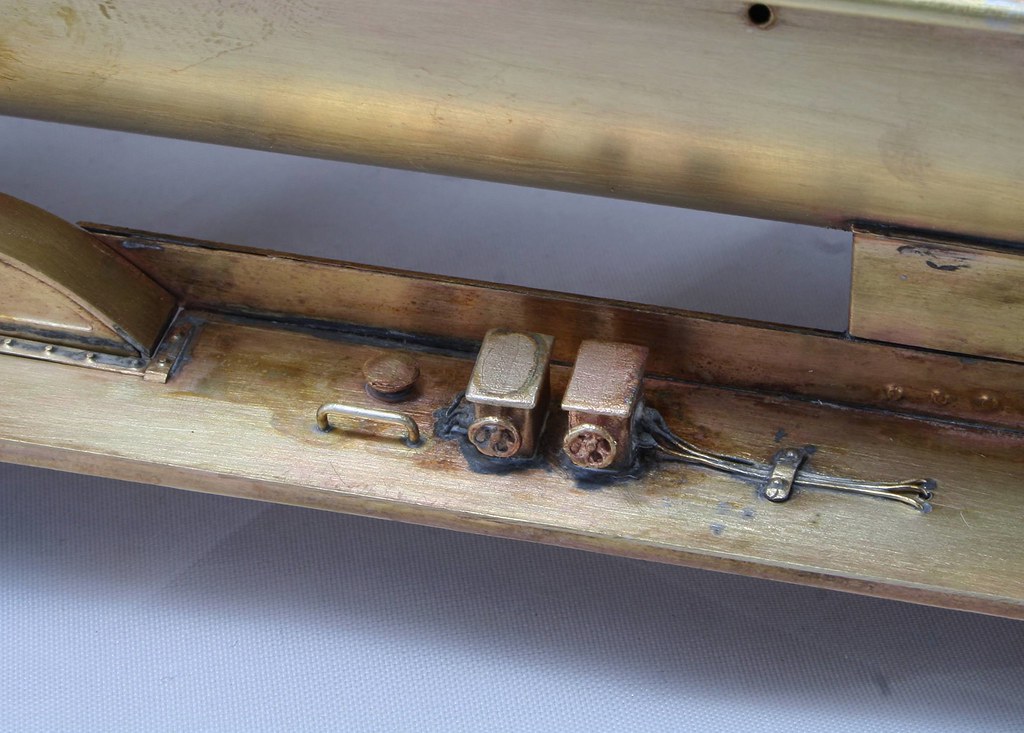
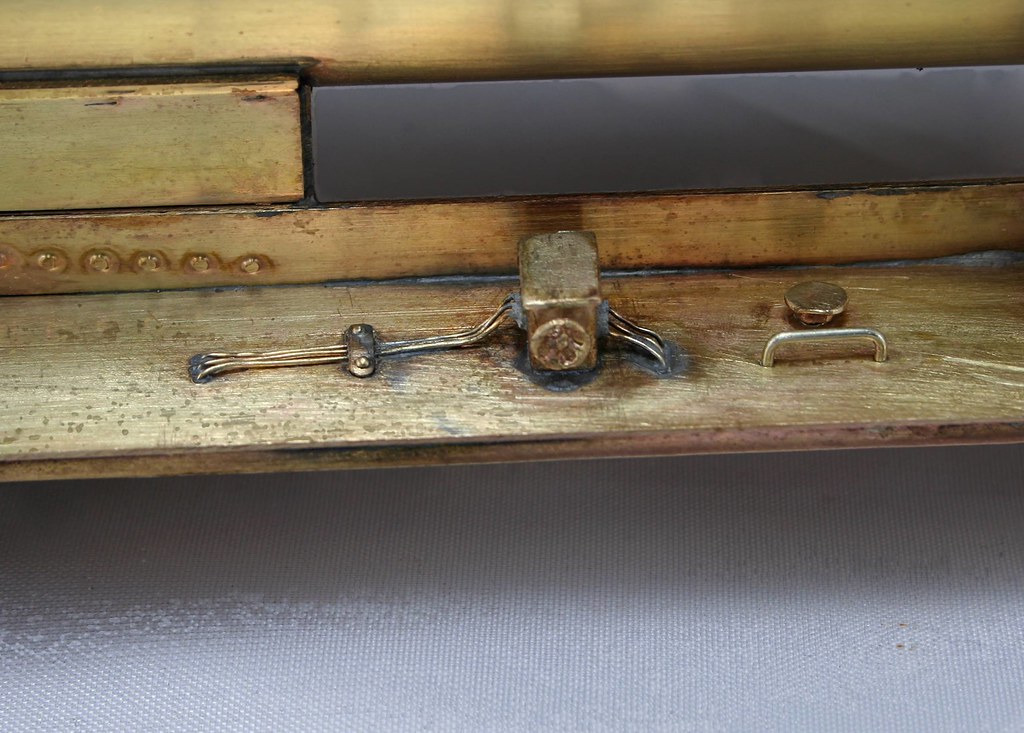
Next I made up and fitted the operating rod on the right hand side that was fitted to some locos. The casting was provided in the kit but I scratched the level from some scrap etch. This was all fairly straight forward as was drilling the foot plate and rear splashers and fitting the other oil boxes with the pipes. The boiler furniture again all went smoothly apart from the dome.
 ]
]
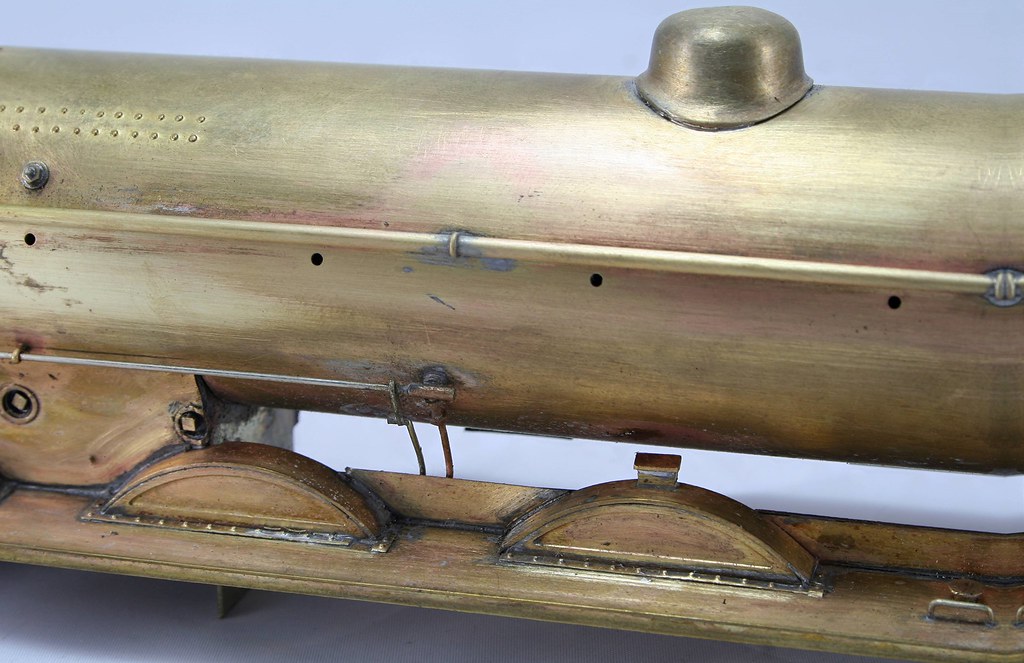
My dome casting was ever so slightly misshapen so that the oval of the dome when viewed from the top was at odds with the curvature of the boiler. As I said it was only marginally out but enough to make the dome sit slightly out of square (if a round object can sit square….) As it turns out it was a blessing in disguise because as designed the kit only caters for the earlier type of boiler. As I understand it the main visible difference between them being the position of the dome either astride a boiler band or between them. ]
To remedy the misshape I cut of the threaded spigot from the bottom and then using a ball shaped burr I ground out the remnants of it mounting and then I wrapped a strips of sanding belt around the boiler and twisting ever so slightly I rubbed away at the casting until it sat down 'squarely' the added bonus was that I was then able to move it back quite a way so that it only just covered the etched hole in the boiler. While ot 100% in the right place it's a lot better visually than had I just fitted it through the etched hole and moved on
 Last edit: by Rob Pulham
Regards Rob
Posted
Full Member
The lubricators are on and although you get plain castings I drilled them out to add the pipework inside some microbore tube that I picked up earlier in the year from Barry of MetalSmiths fame.
There was a thread on the Guild site discussing drilling brass castings and one of the suggestions (besides buying proper drill bits) was to heat to a cherry red heat and let the casting cool naturally. I have used this method before and it has to be said without much success. I decided to try again and I have come to the conclusion that previously I just didn't get it red enough - this time the cheapo Microbox type drills went through it like butter. I did you my Proxxon Mini Pillar drill though.
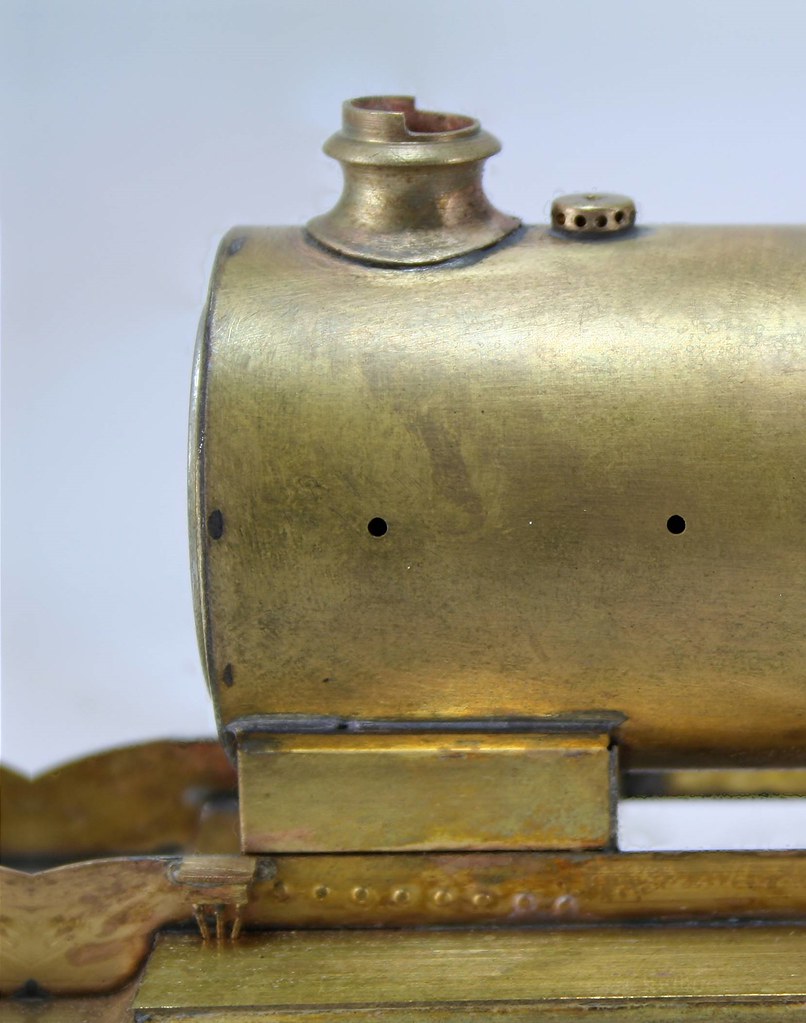
You know when something niggles at you that there's something not quite right? Well I had the feeling and finally pinned it down to the fact that the chimney was just not quite on square so I heated it up and attempted to nudge it. I must have been a bit vigorous because the next second it was on the floor. The good news is that in knocking it off I had spread the solder a little in the right direction and putting it on square was a simple matter of putting it in place and then heating it with the microflame until it sank down in the solder. A little cleaning up and I was happy
Last edit: by Rob Pulham
Regards Rob
Posted
Full Member
John
John
Posted
Full Member
I hadn't thought upon it but yes I suppose it is. This time I got them to a nice cherry red and what a difference it made.Those lost wax brass castings are really hard and the very devil to drill. Good tip about getting them hot, I guess that's annealing.
John
Previously I have even struggled to make a punch mark to drill some castings.
Regards Rob
Posted
Full Member
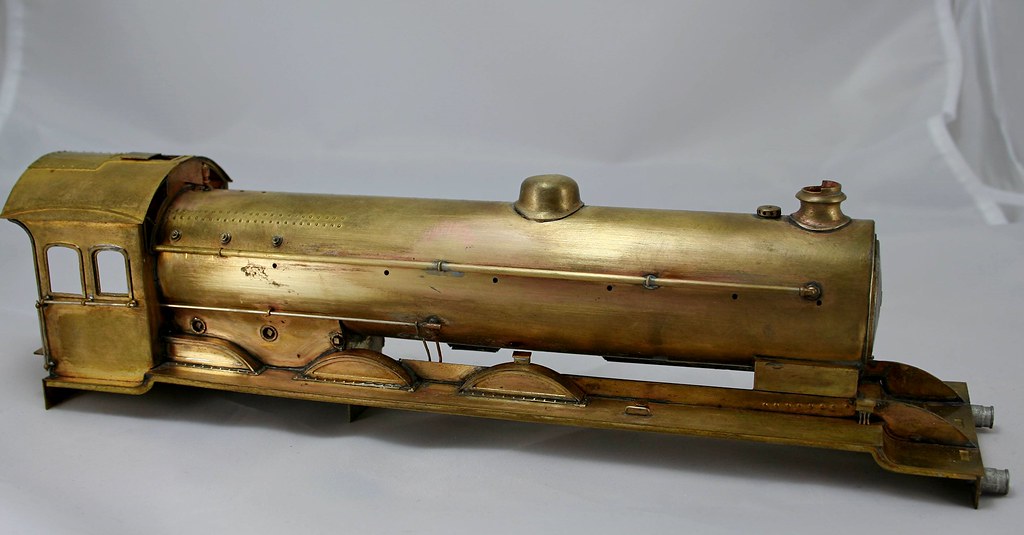
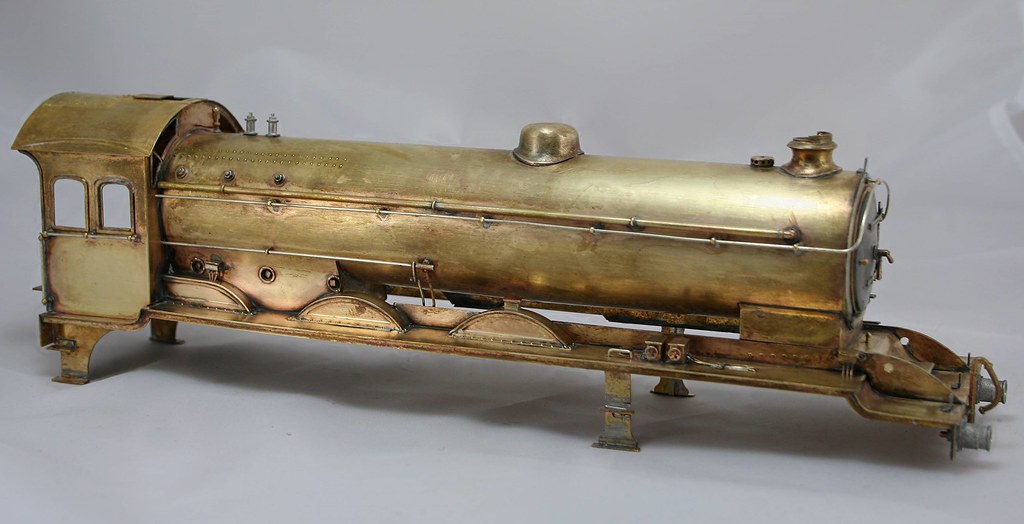
Unless something else jumps out at me while working on the chassis, the body is finished. Now it's onto the electrics plus the final details on the chassis. At this rate I may have to change plans and take it for a run on the test track at Shildon On Saturday afternoon.
While studying the one photo that I have of 61450, I noted that I had missed an oiler on the right rear splasher. I had made it but can't recall why I didn't fit it when I fitted the others but it's corrected now.
]
Regards Rob
Posted
Full Member
You'll be gutted to wave bye bye I expect.
John
Last edit: by Brossard
John
Posted
Full Member
Regards Rob
Posted
Full Member
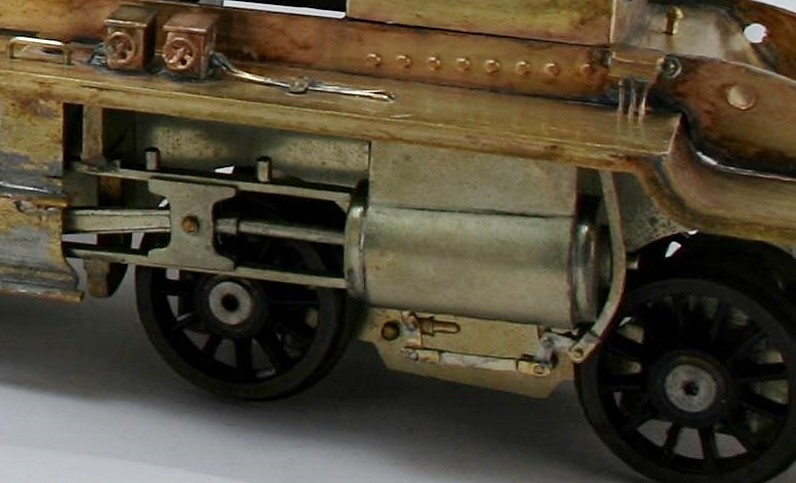
Sadly, the rigid chassis doesn't take well to my less than generous curves but it is alive and now just needs final detailing.
[yt]GS0lEnoHSXs[/yt]
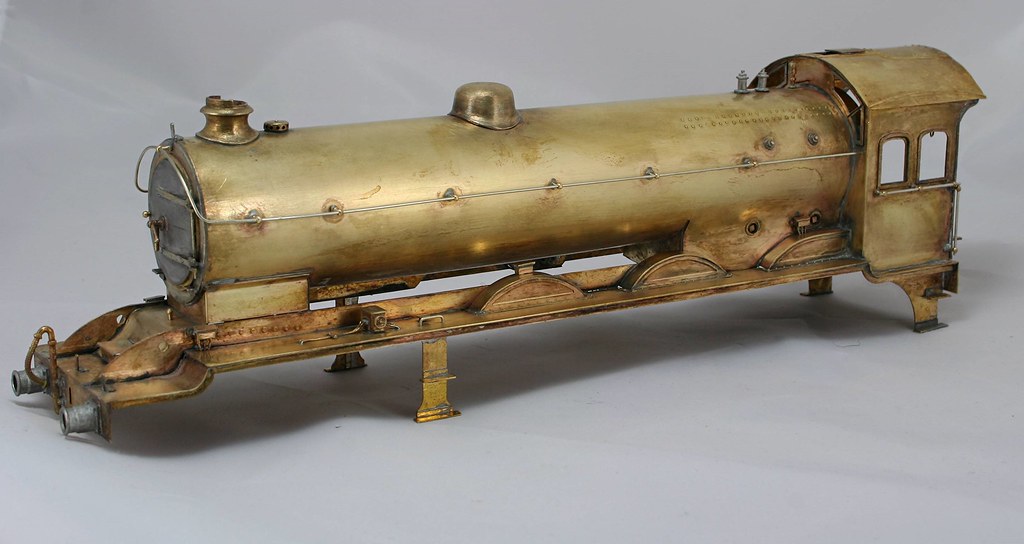
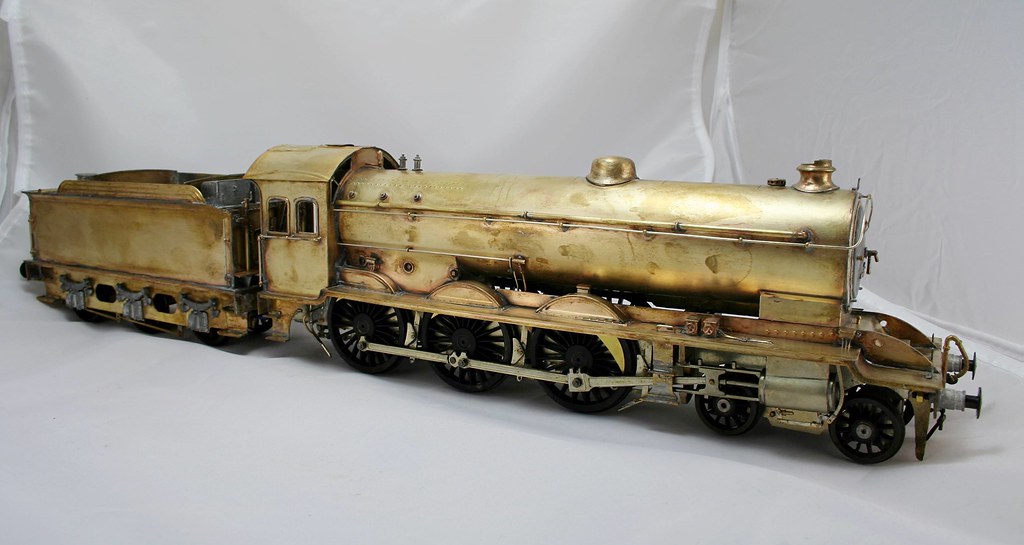
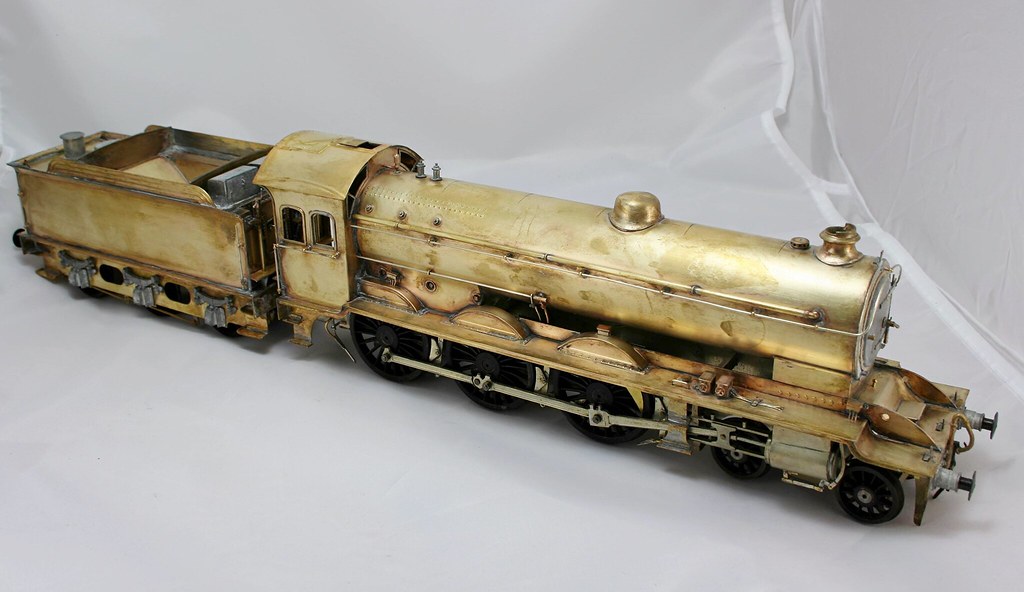
Chris also took a few photos of it in the sunshine. Just a few more details to add before it goes of to Warren for painting.

(Click to enlarge)
]

(Click to enlarge)
]
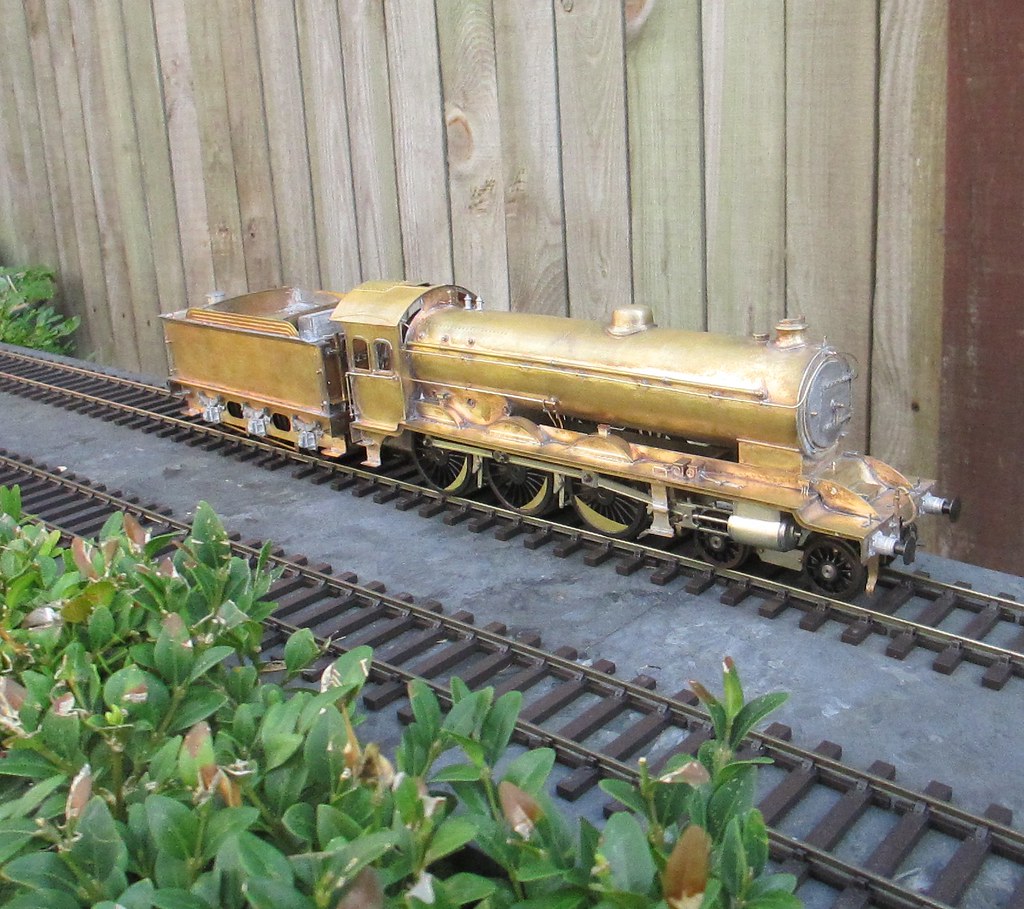
(Click to enlarge)
]
(Click to enlarge)
]
 ]
]
Regards Rob
Posted
Full Member
John
John
Posted
Full Member
Realistically bigger than 6' and more level than my outdoor track is. - the chassis is rigid with very little side play but that's how it came to me.
Regards Rob
Posted
Full Member

John
John
Posted
Full Member
More likely a big cabinet….Ah right, I expect you'll build yours with a bit more sideplay. Hope your customer has a lot of space.
John
Regards Rob
Posted
Full Member
John
John
Posted
Full Member

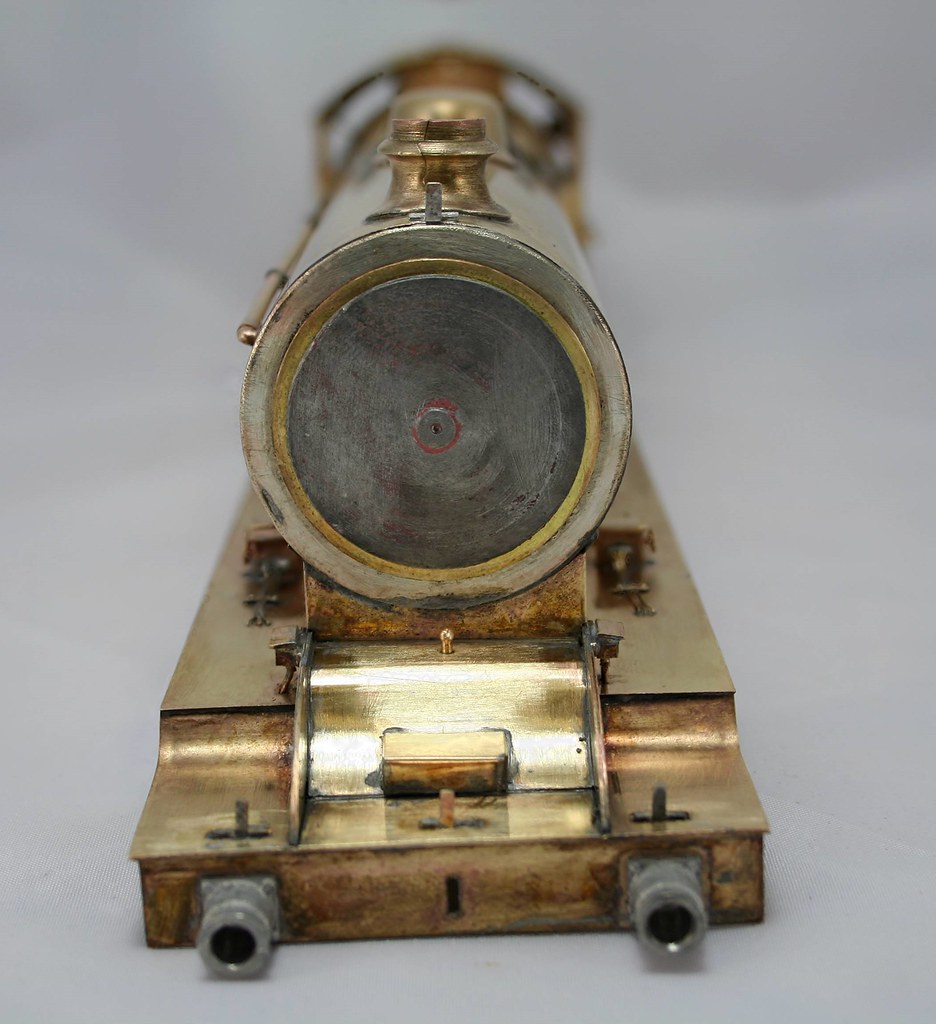
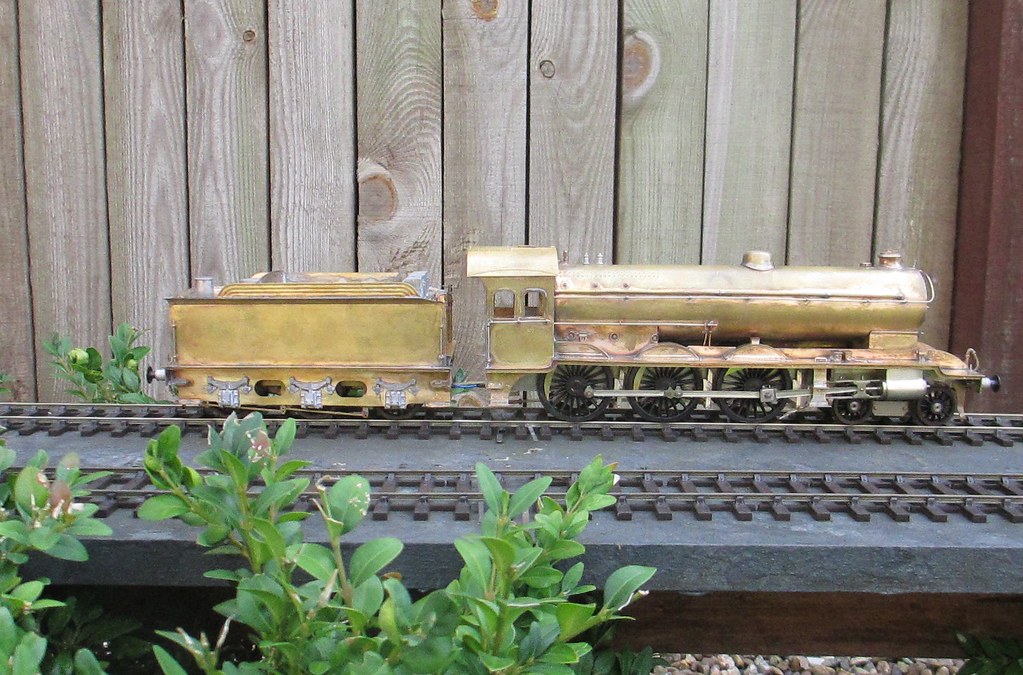
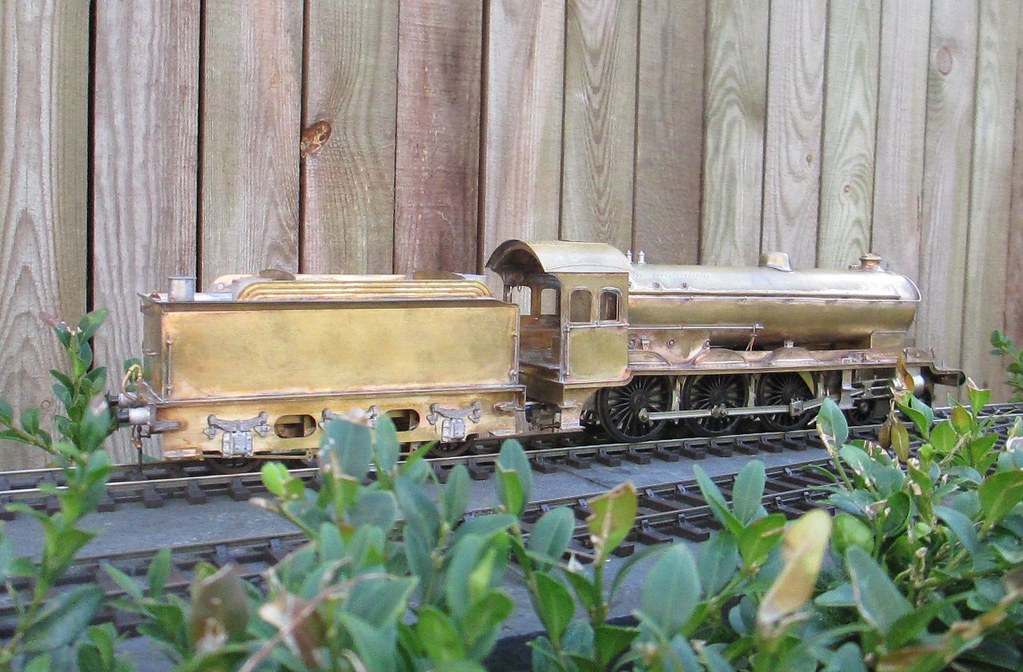
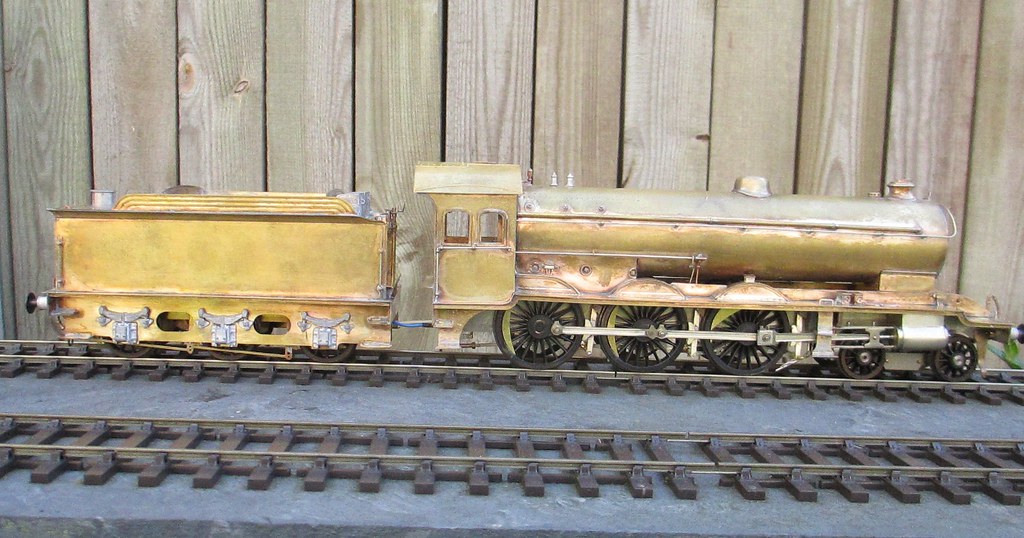
Tonight I reassembled it and took the following photos before dropping it off at Warren's for painting.

Plus a few arty shots to finish

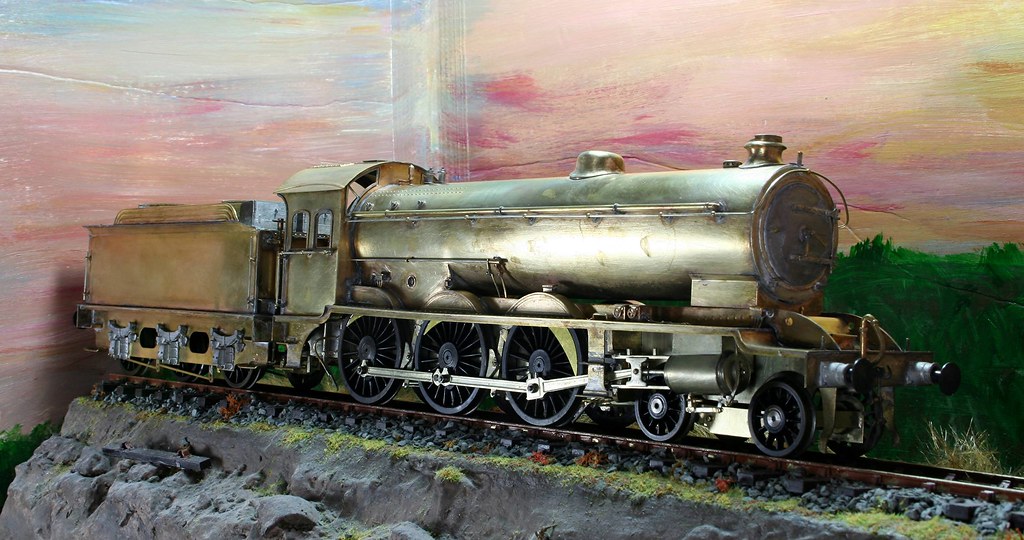

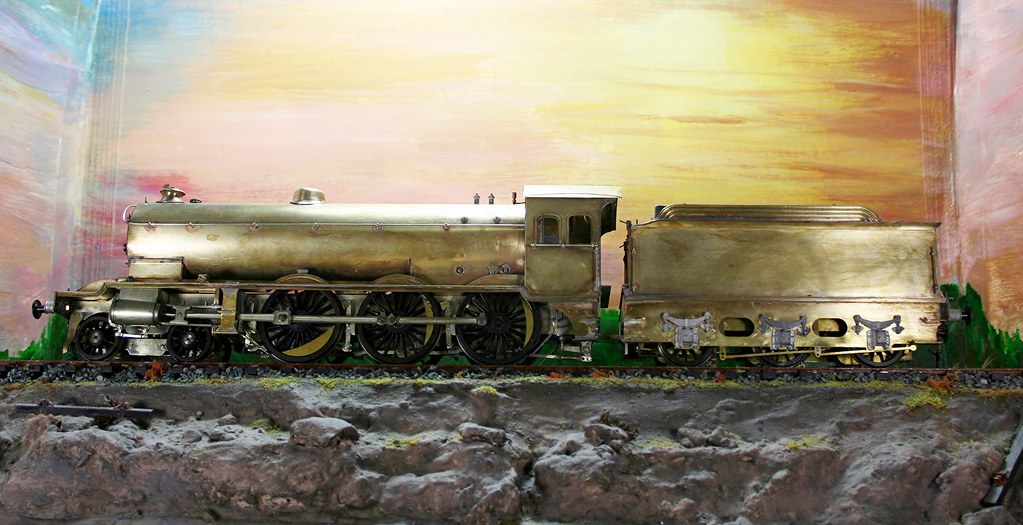

]
Regards Rob
1 guest and 0 members have just viewed this.