Rob P's Coaching Stock Workbench
Posted

Full Member
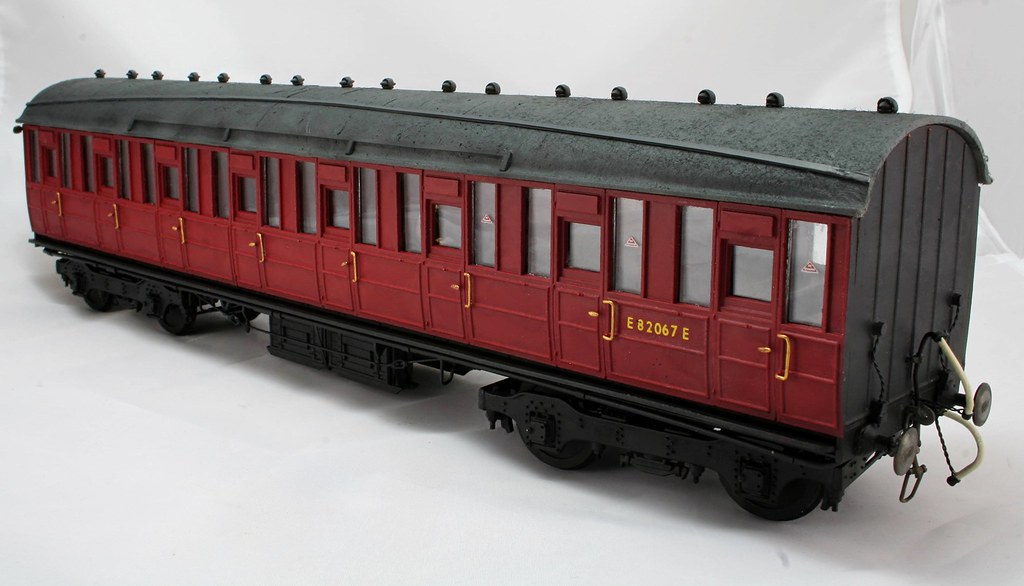
I left it on Sunday night with the glue in the glazing drying so unless I discover anything that I have missed I should have it all put together next weekend.
Regards Rob

Posted

Full Member
'Twor Mee Iday Doit' (Black Country Latin)
Posted
Full Member
Regards Rob
Posted

Inactive Member
I'm looking forward to the shots of the completed job. :thumbs
Max
Port Elderley
Port Elderley
Posted
Full Member
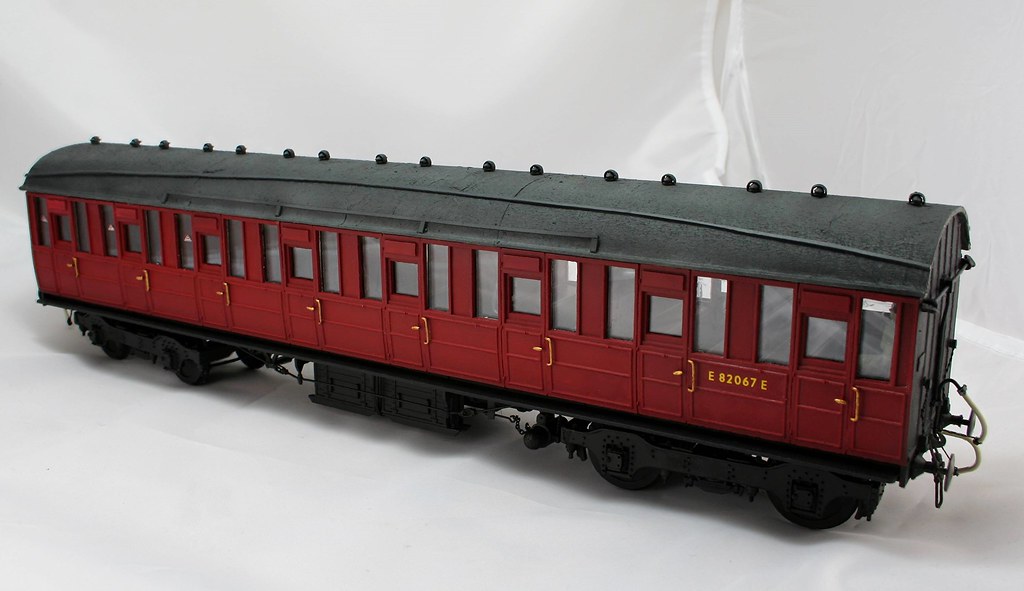
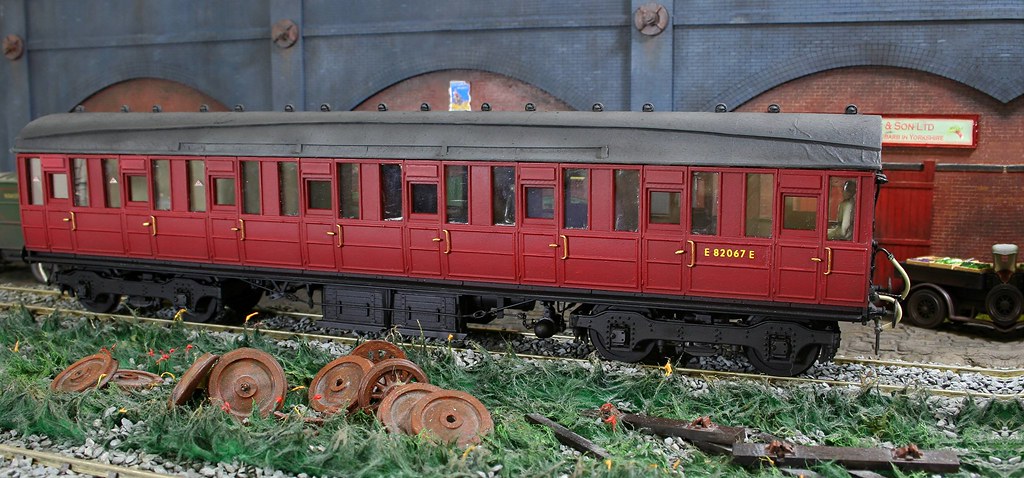
Fingers crossed it should be somewhere near this coming weekend.
Edit: to add that a friend has just discretely pointed out that I have missed fitting the bloomin rain strips….
 Last edit: by Rob Pulham
Regards Rob
Posted
Full Member
Having chosen to ultimately glue the roof on last I had, had some debate about how windows that became dislodged through handling would be replaced. After a bit of head scratching I cam up with a cunning plan.
Each window is an individual pane which is glued into the rebate inside the coach but I have also added a strip of secondary glazing which rests on the strip that strengthens the sides and runs the full length of the coach. It's is held in place by the edges of the compartments which I filed down to allow the glazing strip to fit. This will prevent the individual panes from being dislodged.
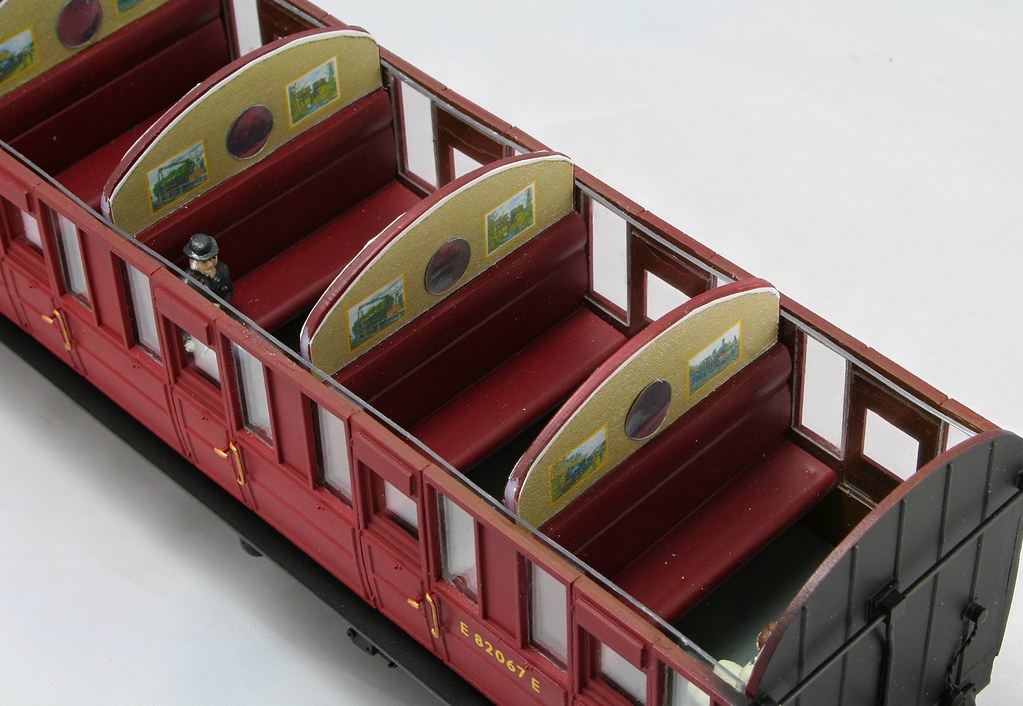
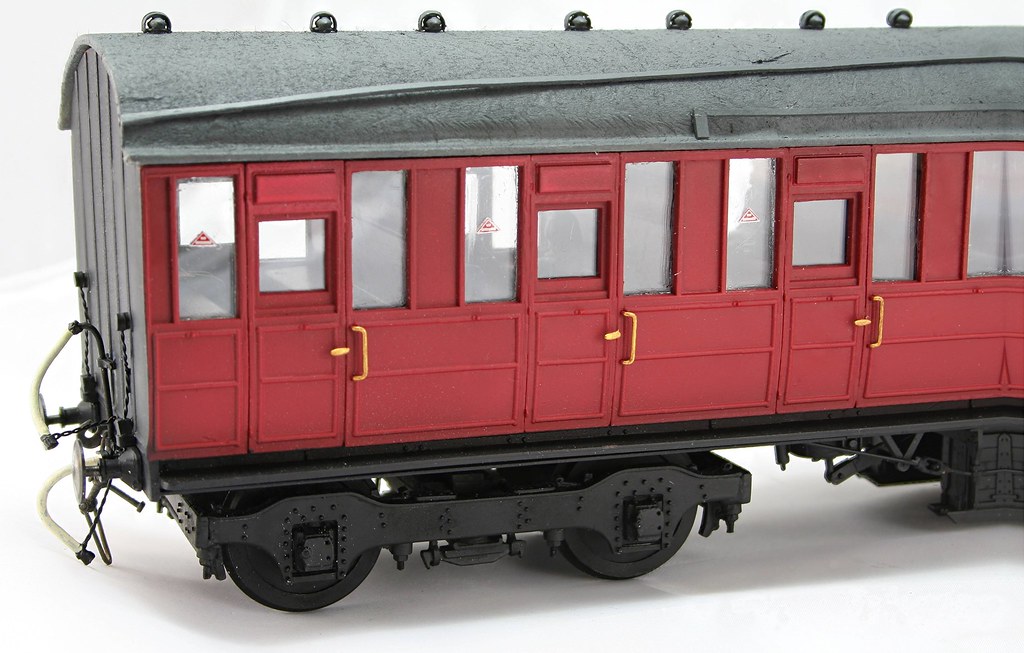
To fit the no smoking transfers I made up a little jig from a piece of 20thou styrene which was the width of the window from the outside. I measured half way up the window and marked the styrene. I then added 1mm and marked it again. After measuring the with of the transfer I subtracted this from the total width and divided the remainder by two. I measured the result from each edge and marked a vertical line from the high line to the middle line at each side and then cut the styrene out leaving me with a rectangle of styrene with a notch cut out that centres the transfer in the middle of the window both vertically and horizontally ]

Last edit: by Rob Pulham
Regards Rob
Posted

Full Member
John
John
Posted
Full Member
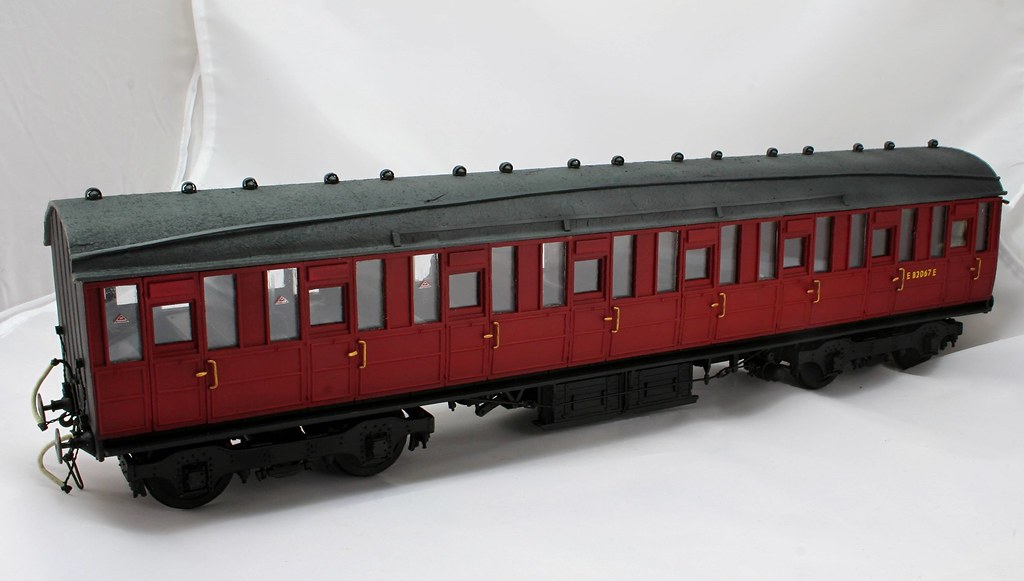
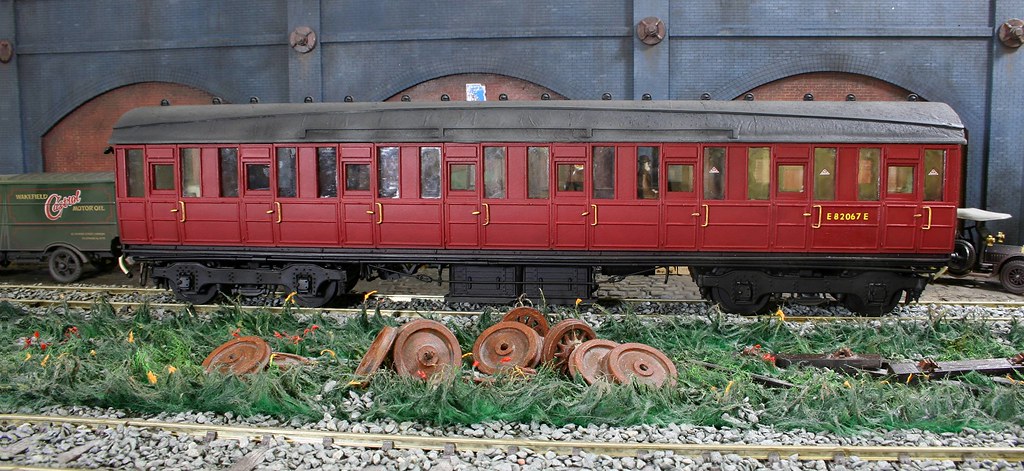
I am really pleased with the result, as you say the Kirk kit's really scrub up if you are prepared to put in a little extra effort.
I just had what could be construed as one of the greatest compliments from a former pro model builder, who wished he could order a rake. I replied that he could, now that I had finished this one (with a winking smiley of course)
Regards Rob
Posted
Full Member
I don't mind building kits wagon kits for friends - the WR models I wrote about were for a friend. Another friend asked me to build Connoiseur NBR brake which I'm happy to do. I think I would push back on coaches though.
John
John
Posted
Full Member
If I take on more (and I would as I quite enjoy them) then I would charge more than I have for these two.
That said once you start adding seats and people etc. the cost also grows.
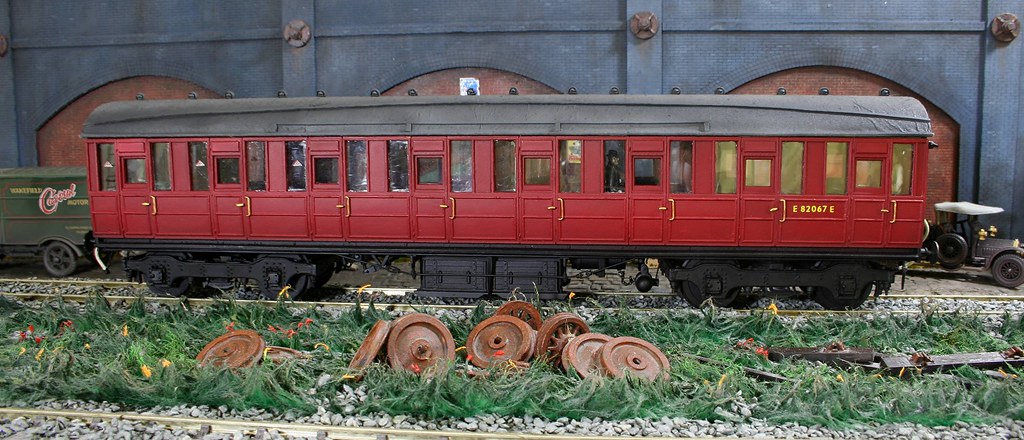
The gent that I have built them for is happy with them and that's the main thing.
Regards Rob
Posted
Full Member
It's for the gent that I built the last two for and this time he has gone for using the supplied Kirk bogies so I thought that I might upgrade them a little.
First I added some of my Silhouette cut leaf springs and then looked to make some springs for the bolsters.
I am aware that others have used 2ba screws to do represent the bolsters springs but to my mind the coils are a little too sharp in profile so I wound some 3mm styrene rod with 0.8/mm styrene rod to make the springs.
I also added the spring carriers and in hindsight I should have added the springs before sticking the carriers to the bogies because it's going to be interesting getting the springs in position now.

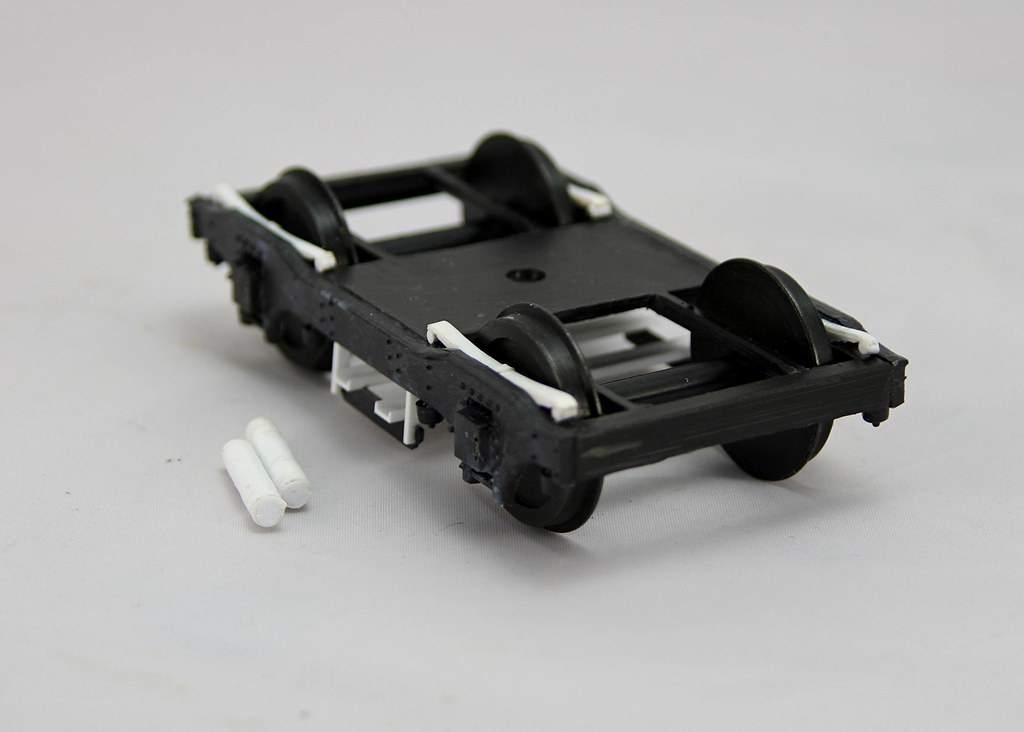
(Click to enlarge)
]
Regards Rob
Posted
Full Member
John
Last edit: by Brossard
John
Posted
Full Member
Once painted you can't really see any detail.
John
I can imagine, but we will know it's there
Regards Rob
Posted
Full Member
John
John
Posted
Full Member
Posted
Full Member
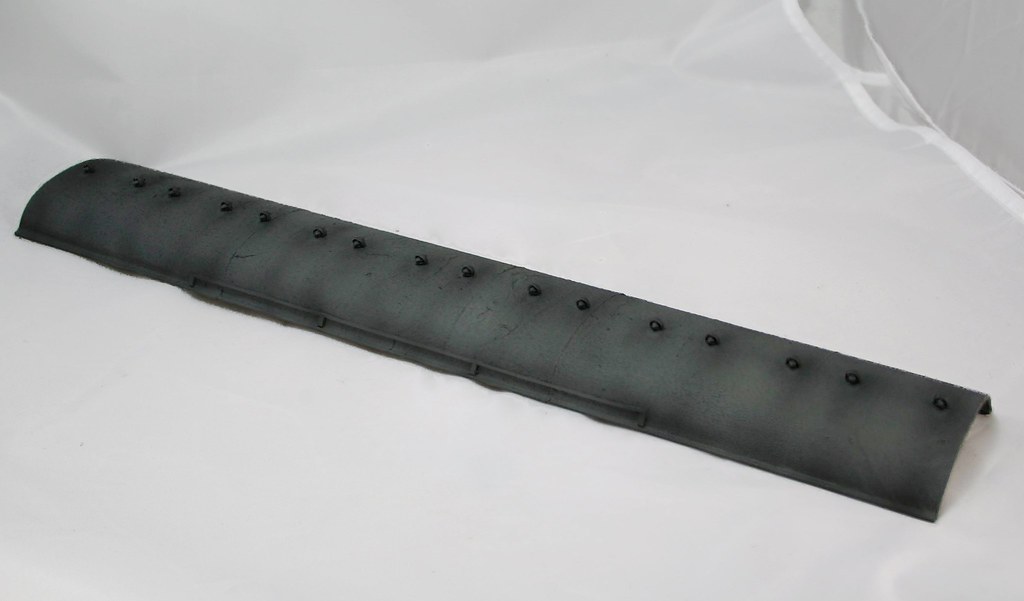
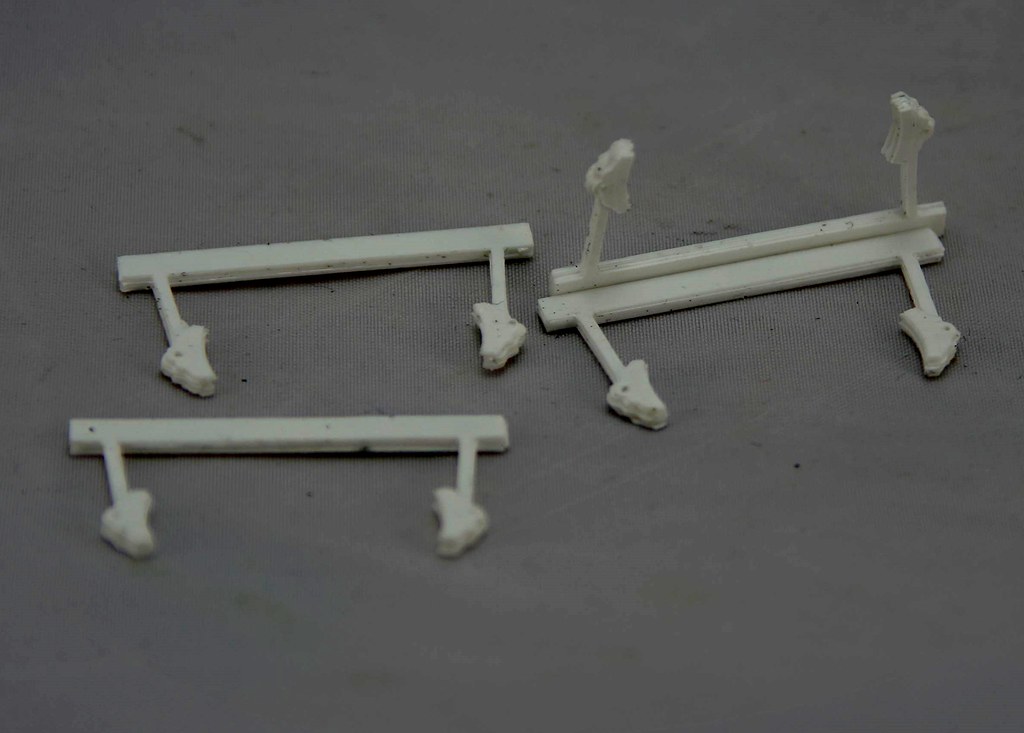
Once glued together (5 layers) they came out looking like this.
Apologies for the poor photo, white on white isn't the best combination
The demo must have been well received because I have also been asked to demo at Telford as well as Doncaster this year.
"Not much modelling got done last week due to having a busy week compounded by minor surgery, but over the weekend the Mojo returned and I made progress on the twinset.
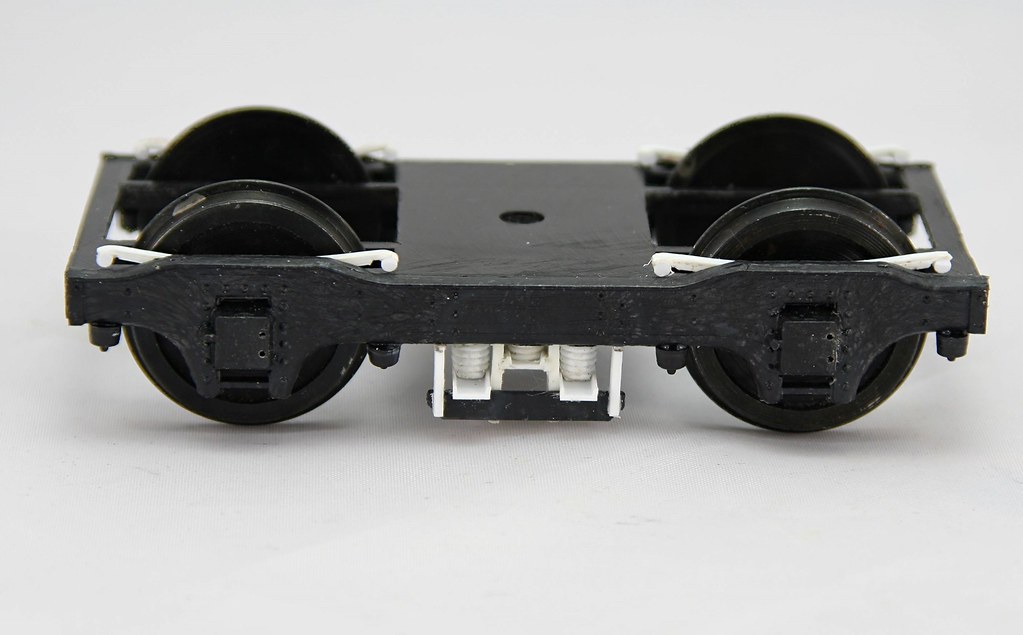
The first bogie now has it's bolster springs an I have the parts prepared to fit to the other two. I did end up having to remove the bolster frame to fit the springs so a lesson learned.
I also managed to get three of the ends attached to their respective sides. The fourth one needs cutting down for the narrower brake end.
Last edit: by Rob Pulham
Regards Rob
Posted
Full Member
John
John
Posted
Full Member
With the silhouette (or I suspect any other cutter) you are only limited by your imagination and the ability to think about what you want to achieve in layers once they are tucked up by the wheels it won't be obvious that they are made up from layers rather than a solid object.
At some point I should get my finger out and learn 3D drawing too for things like axle boxes but I am not there yet.
Regards Rob
Posted
Full Member
I see that Dapol do 6 wheel tanks in MMB livery which seems ideal. I know the model itself has been panned for being neither chalk nor cheese (ie no particular company) but I reckon I can work my magic and get the underframes resembling LNER ones. Slaters tank kits are tempting but the transfer choices are limited.
Another question - the MR 6 wheeled milk van that you built. Do you know when these were withdrawn? My guess would be prior to 1962.
If all else fails I've noticed a LMS Stove R in the CRT kit listing.
John
PS I got my Jenkinson/Campling LMS/LNER Coach Drawing book, so I'm much wiser now.
Edit: Just ordered this: http://www.crtkits.co.uk/product.php/394833/
Last edit: by Brossard
John
Posted
Full Member
I have made a start on a couple of the LNER BY120 wheeled PBV's which will be made using parts supplied by Ian Kirk and a fair bit of scratch building but I haven't got beyond putting the sides together so far.
Regarding the Midland and Later LMS slatted milk trucks, apparently a couple lasted in departmental stock until 1982 so it's not inconceivable that they would still be in revenue earning stock in 1962
Regards Rob
1 guest and 0 members have just viewed this.