Rob P's Coaching Stock Workbench
Posted

Full Member
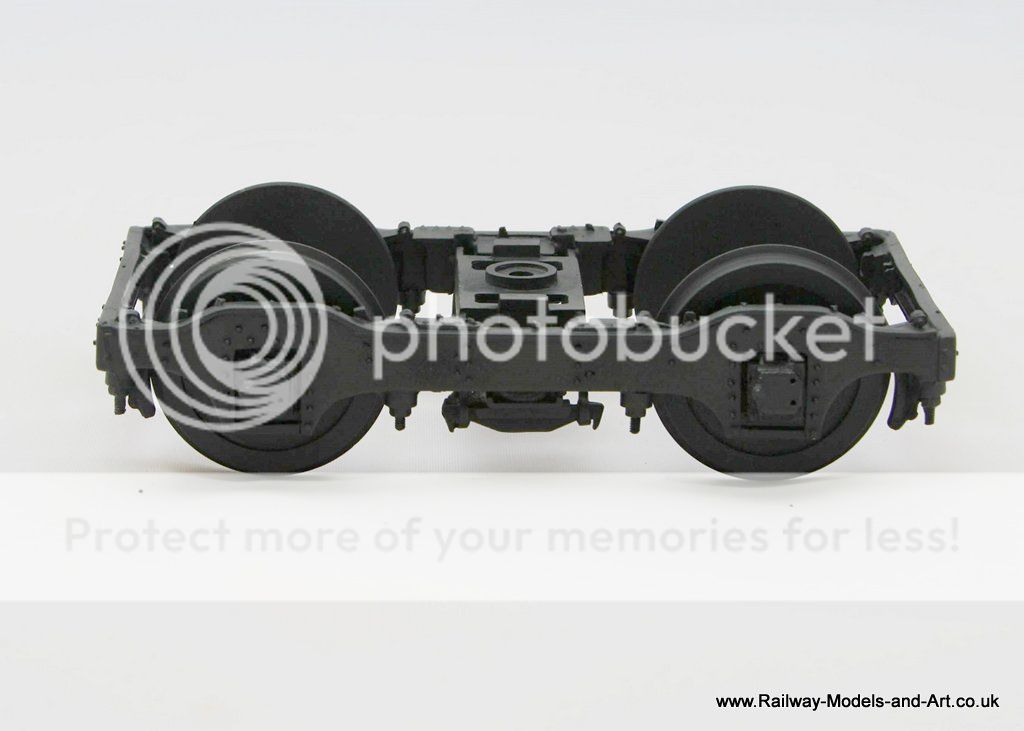
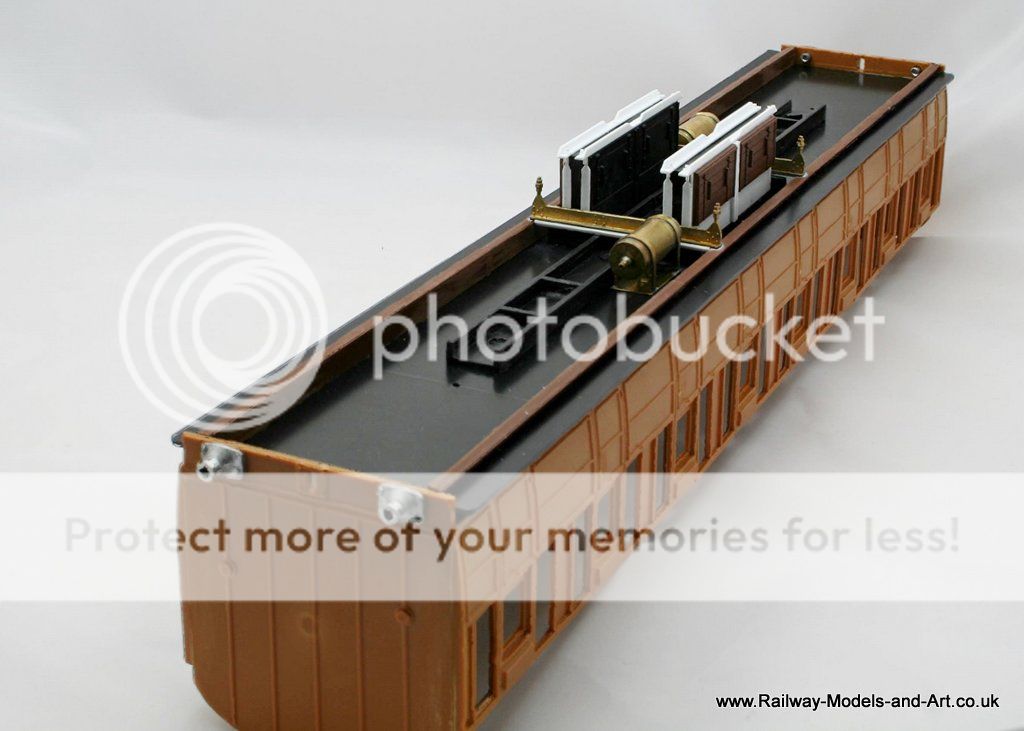
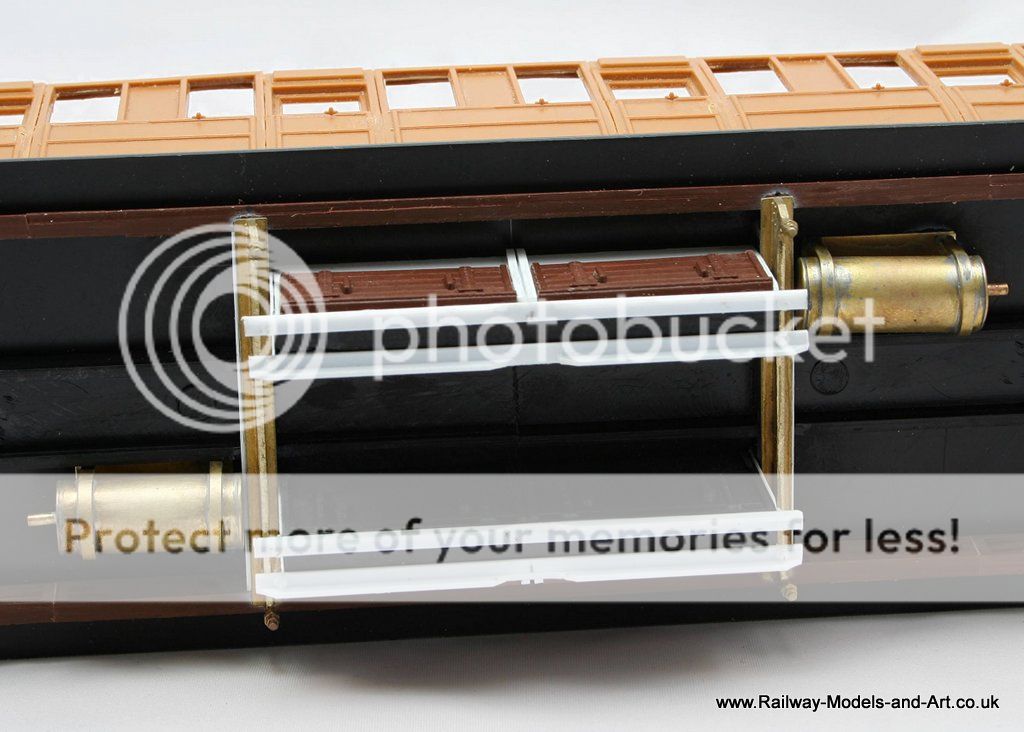
Not that I know of John. - I managed to get some good shots of the vacuum cylinders when I was lurking under the coaches at Kirkby Stephen.Question, did the vacuum cylinders also have safety chains?
Regards Rob

Posted

Full Member
John
John
Posted

Full Member

Posted
Full Member
Cheers
John
Edit: did a search on RMWeb and found a picture of a Kirk model of an all 1st which definitely has the 4 across queen posts.
 Last edit: by Brossard
John
Posted
Full Member
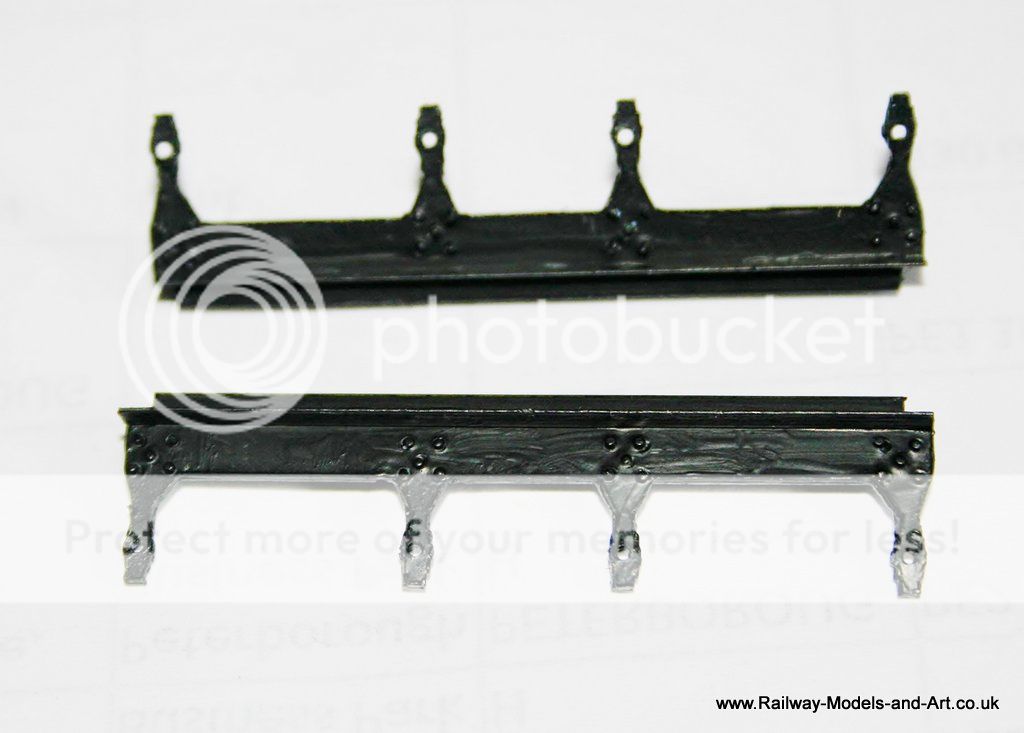
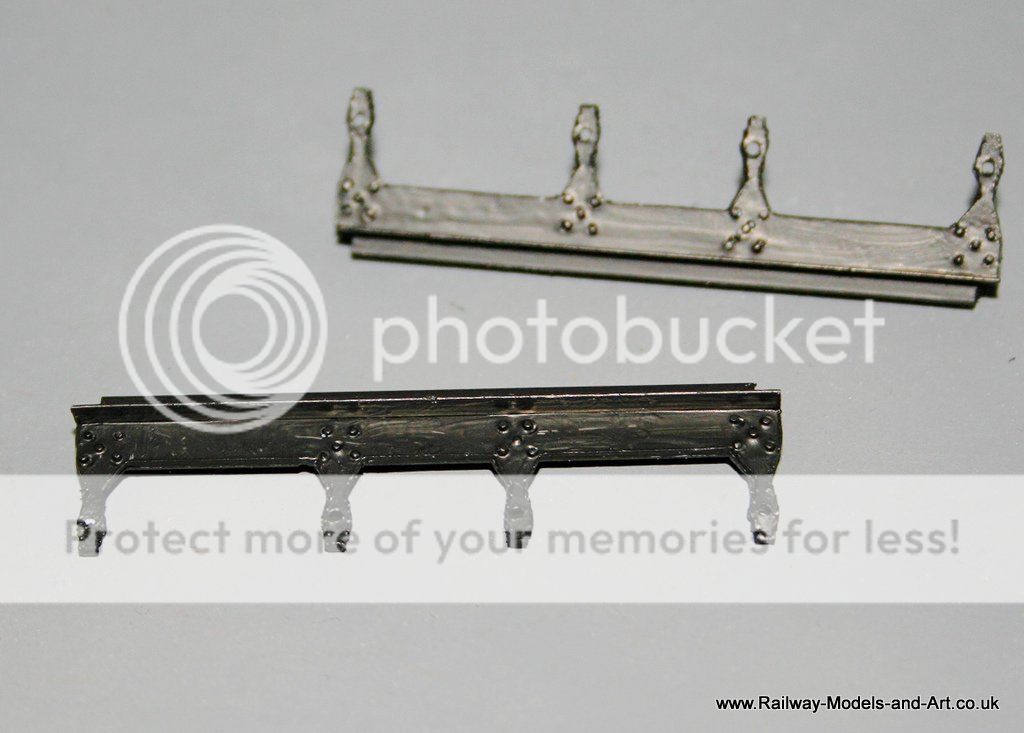
No all LNER coaches under 57' had only two queen posts, so you don't need to make them with four posts (I cut the inner two out of a JLRT casting for the BG).
It's a shame that you haven't got a silhouette cutter, I could have sent you the file that I did for turnbuckle queen posts. it would just need amending to remove the inner two posts.
Regards Rob
Posted
Full Member
Cheers
John
John
Posted
Full Member
Lo and behold when I looked again at them yesterday morning it all became clear and they were assembled in no time. There was minimal flash and I just had to file the ends of the bogie sides where they fit into the ends ever so slightly to remove a gap.
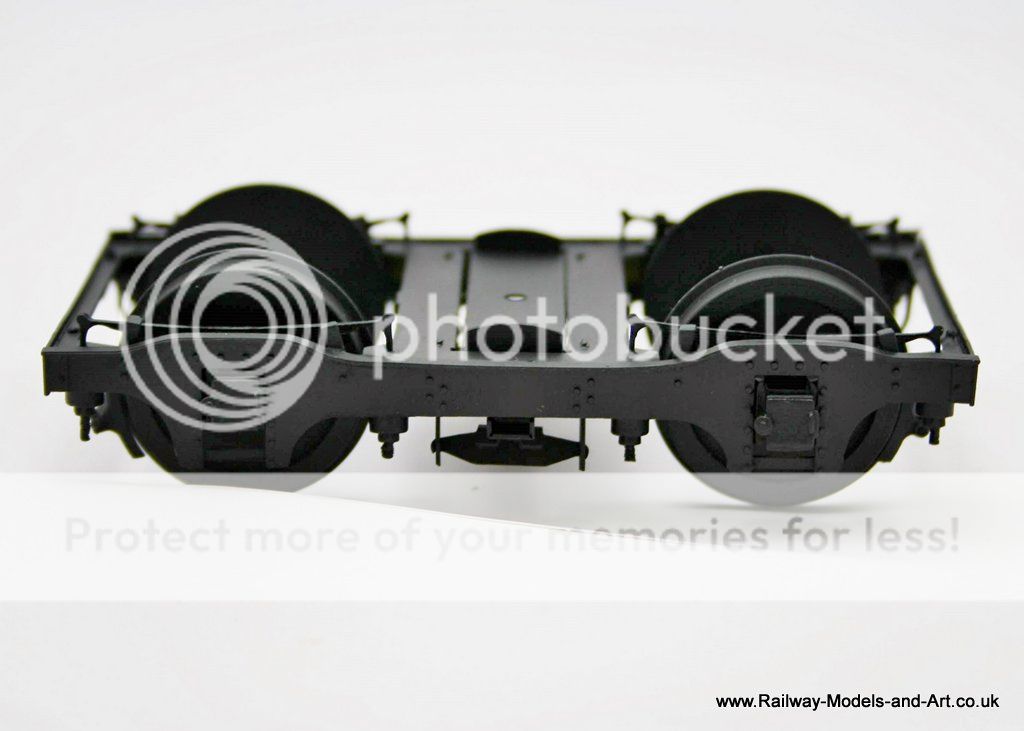
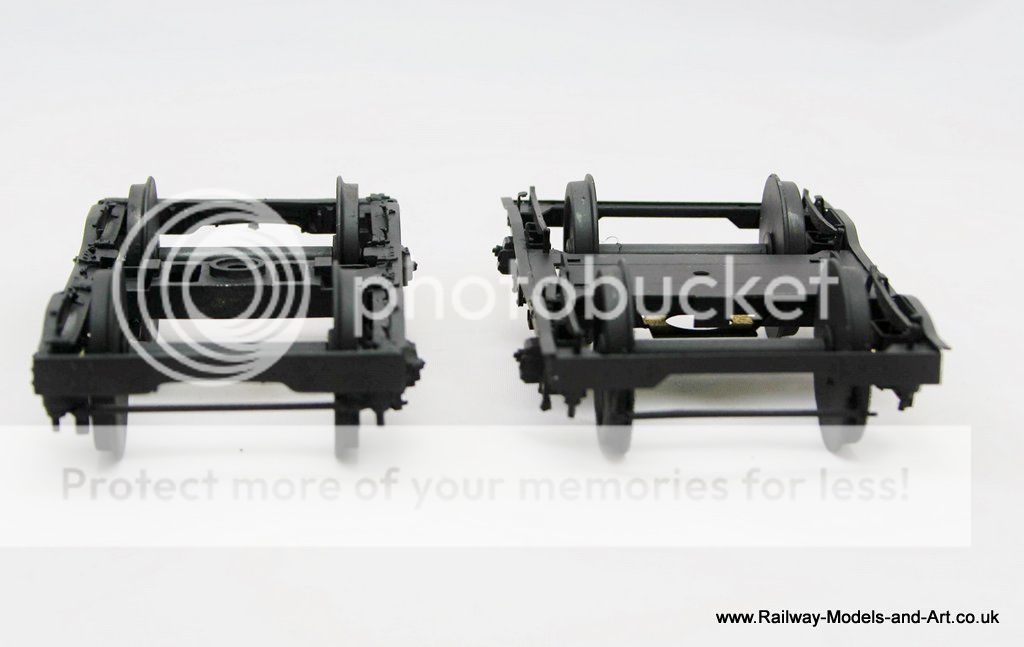
On the Newbould bogies shown mostly complete earlier I adjusted the springs that I had wrong to sit under the spring stops, then added the bolsters and the brakes. Both sets had a good wash and then a squirt with primer.
I will leave this until next week to harden completely before putting on the top coat of black.
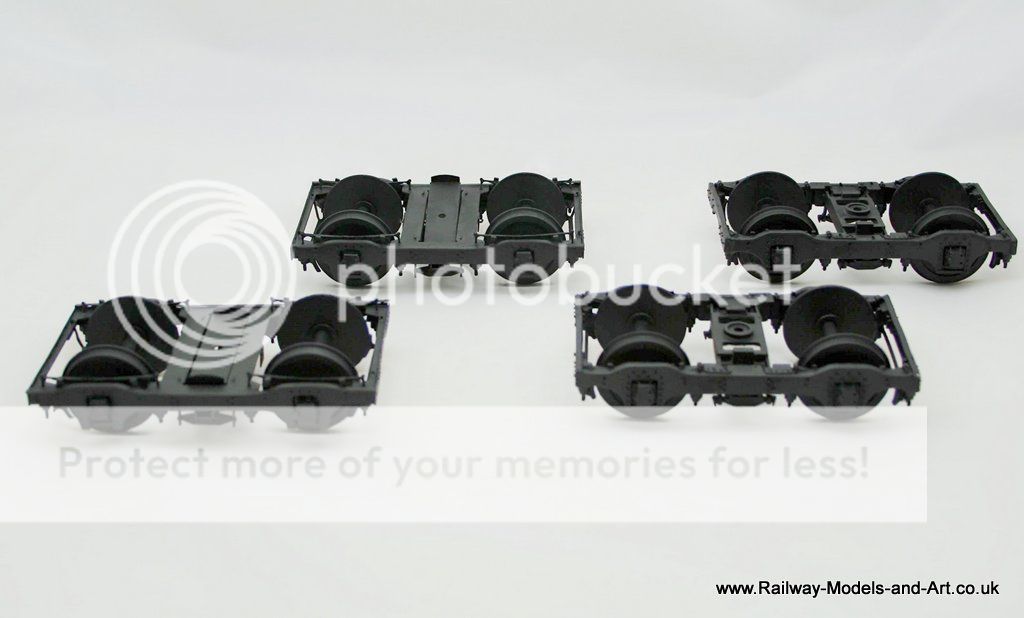
Newbould 8' on the left, ABS/Cavalier 8'6" on the right.
Newbould 8'
ABS/Cavalier 8'6" - and of course I see from the photos that I need to add some handles to the axle box fronts…
Regards Rob
Posted
Full Member
John
John
Posted
Full Member


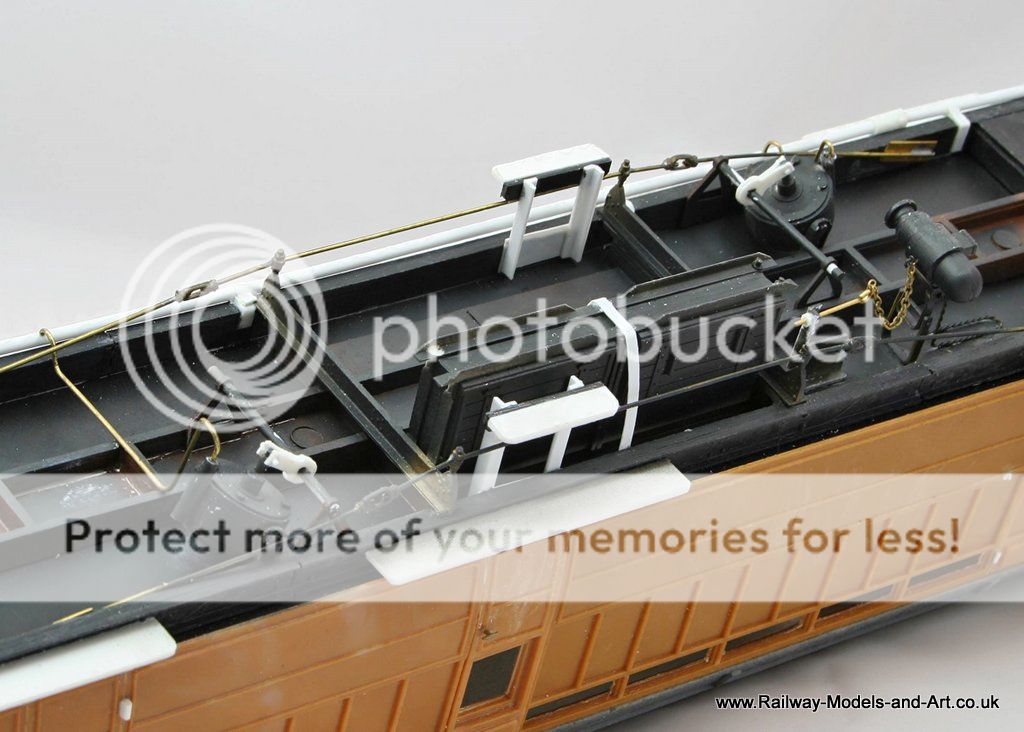
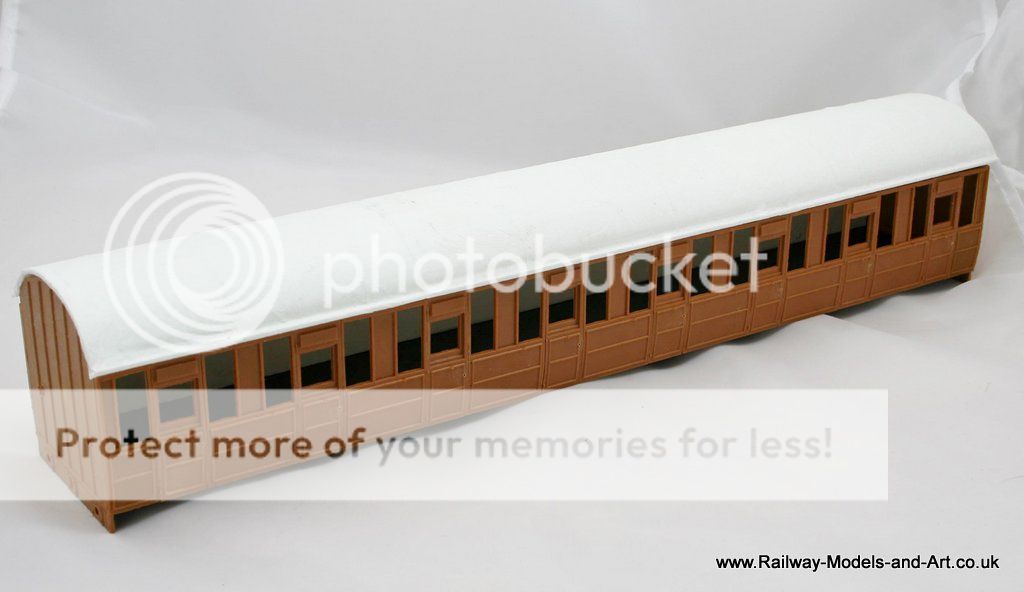
The all 3rd has it's roof cut to length and the floor in. Because the insides are effectively flat sided I have decided to add a false floor with the interior partitions and seats mounted upon it. I will then insert this from the top before fastening the roof on.
Here's where we are so far. Although it's not visible in the photo the roof has it's canvas covering on too.
Last edit: by Rob Pulham
Regards Rob
Posted
Full Member
Plastic lamp irons are a non starter I reckon. Had the same trouble with my SR brake.
John
John
Posted
Full Member
Thanks John
Plastic lamp irons are a non starter I reckon. Had the same trouble with my SR brake.
Yes, definitely one of those, "it seemed like a good idea at the time" jobs but you live an learn as they say.
I still need a bit of work on the coach ends under the roof to get them seated and flush without gaps.
Regards Rob
Posted
Full Member
What did you do to your roof? Looks like you glued tissue to it. I started the roof on my 3rd today and it's taking quite a bit of nurdling. I installed a gutter strip on the coach body from Evergreen. My idea is to insert the roof so as to help stop the sides from bowing.
John
John
Posted
Full Member
It's a D154, the D111's didn't have a guards ducket.
Regarding the oval buffers, some of the early D111's were build on recovered Howlden underframes which had the oval buffers. I think those that had standard LNER underframes had standard Clip top buffers for gangwayed stock especially the later builds with angle truss underframes.
Regards Rob
Posted
Full Member
I checked over at Invertrain and I didn't see oval buffers listed. I think I can get away with filing clip top heads to an oval shape.
John
John
Posted

Full Member
Really nice work! Even out of the box, these vehicles make up nicely but yours have been taken up to a new level.
Do you know if they are still available (as at May 2017)? In 4mm, I have a BG and all-3rd but fancy a few more. The articulated sets seem very hard to get hold of.
Any info is greatly appreciated
Barry
Shed dweller, Softie Southerner and Meglomaniac
Posted
Full Member
If you are doing an angle truss version you won't need the oval buffers - they definitely had clipped top versions.
Regards Rob
Posted
Full Member
The 7mm kit's are still available from Ian Kirk and a few resellers but the 4mm versions are with Coopercraft and as I understand it are only available if you manage to catch him at a show or via eBay. - He doesn't have the full range at shows but people on RMweb report him as having some.
Regards Rob
Posted
Full Member
Thanks Rob, the Isinglass drawings aren't as clear as I would like on what goes where.Hi John,
If you are doing an angle truss version you won't need the oval buffers - they definitely had clipped top versions.
John
John
Posted
Full Member
John
John
Posted
Full Member

Regards Rob
1 guest and 0 members have just viewed this.