Rob P's Wagon Kit Bashing Workbench
Posted

Full Member
Wagons built from Kits
Good to see the progress. We have different assembly methods since I like to install handrails and other details after paint.What's the story with the sub roofs?
How are the lamp brackets holding up? My idea is to put loops on my lamps so they can be changed. I'm uncertain that the plastic will have the strength for that. I tend to either make them from brass strip or use Slaters cast brass brackets.
John
John

Posted

Full Member
One of my foibles is that I like to see planking under the veranda roof (yes I know that you have to turn it over to see them) so I have started adding them to brake van builds.
Regarding the lamp irons, if I was keeping it I would do like you and use either cast ones or make some. I do plan to make the more vulnerable upper lamp irons from scrap etch but those lower down should be okay or at least they will once I have removed either the centre one or the two outer ones…
Regards Rob
Posted
Full Member
John
John
Posted
Full Member
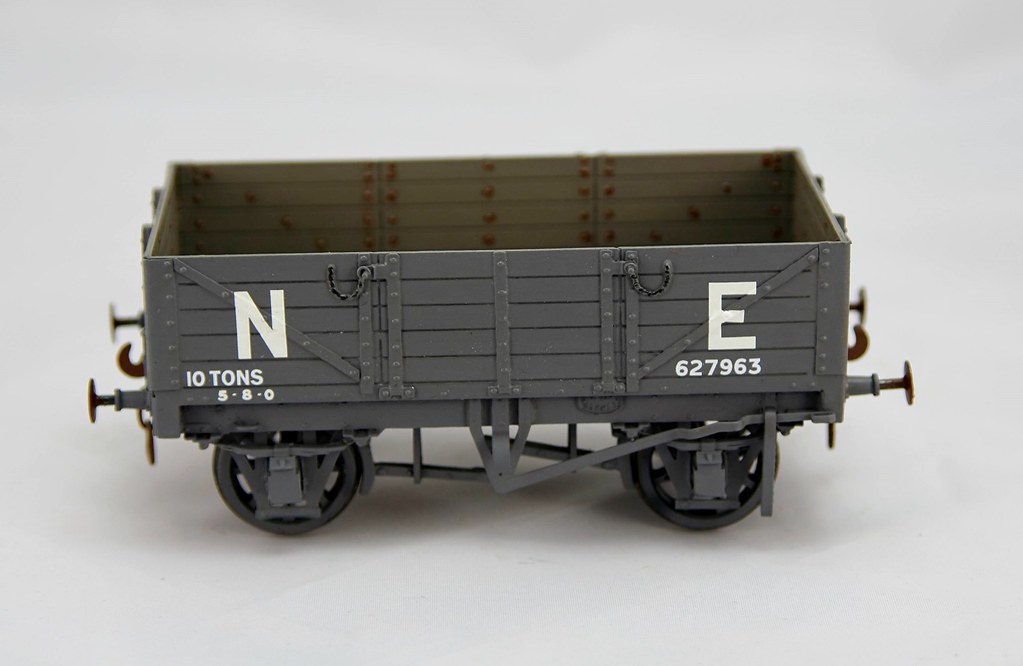
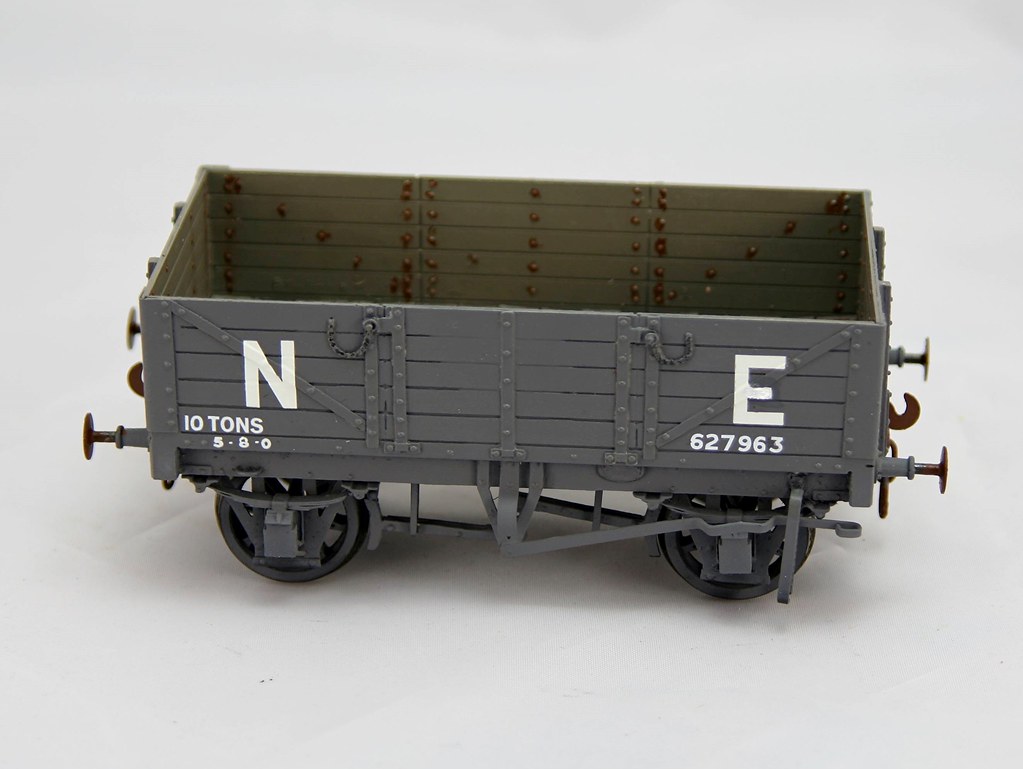
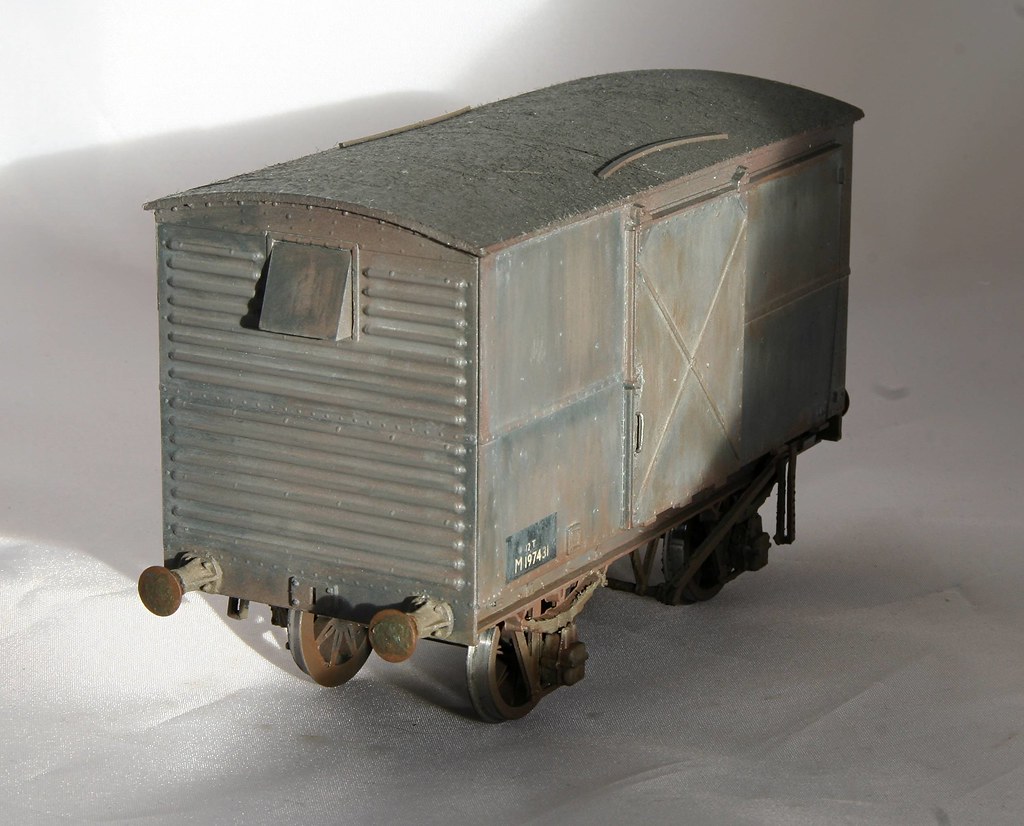
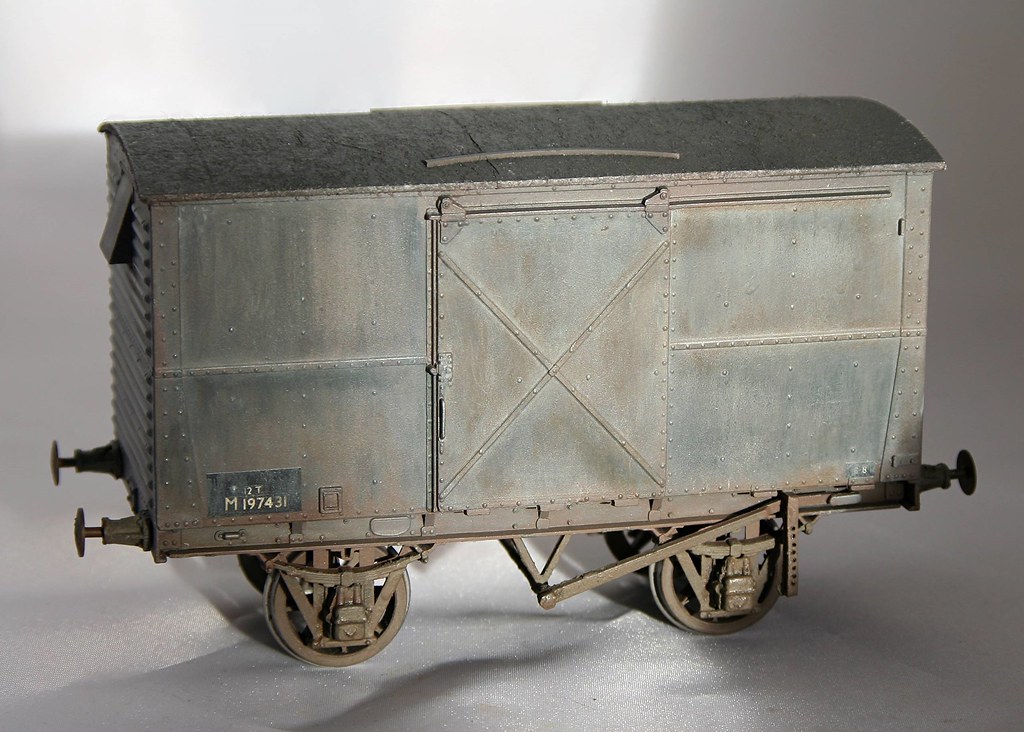
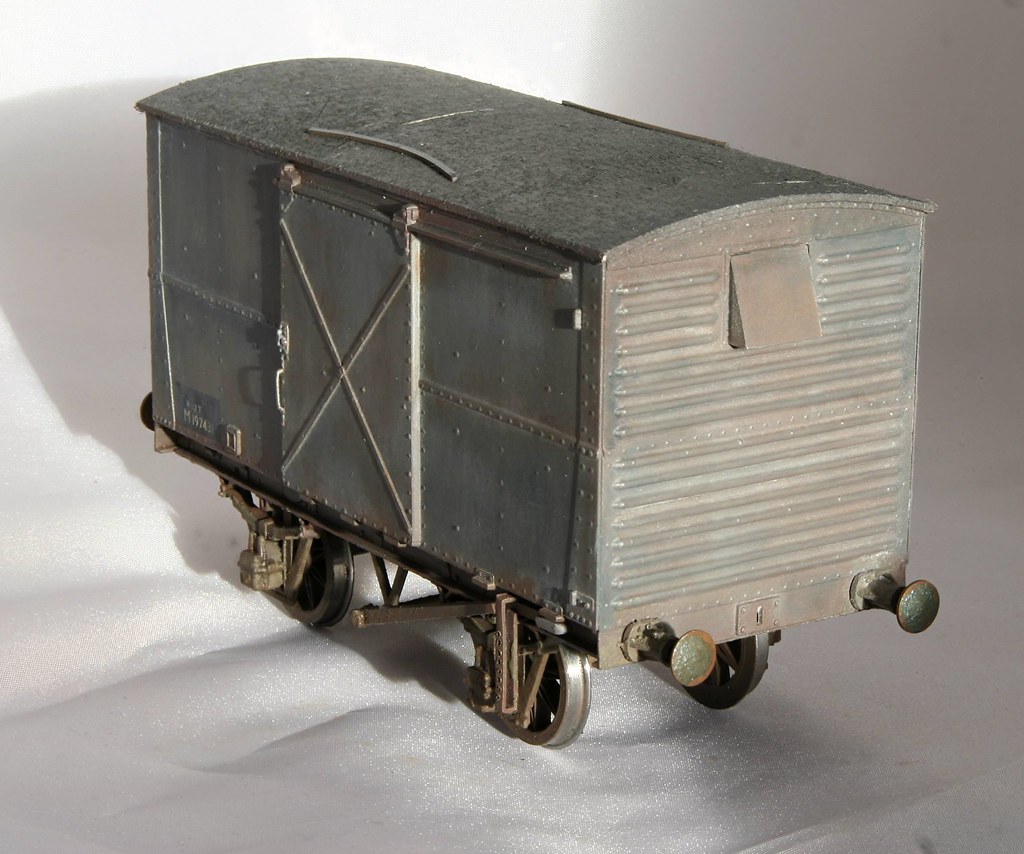
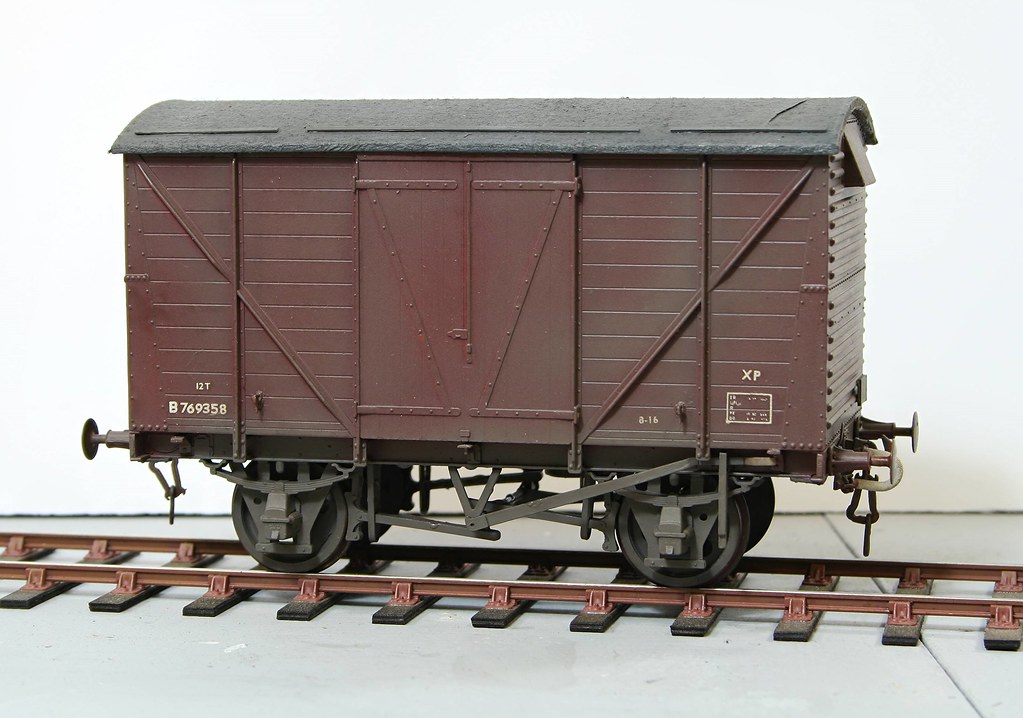
Warren primed and coated it in grey for me and I have finally got around to adding the transfers ready for some weathering. I must have done a bit of weathering/painting of the woodwork but I can't recall when…
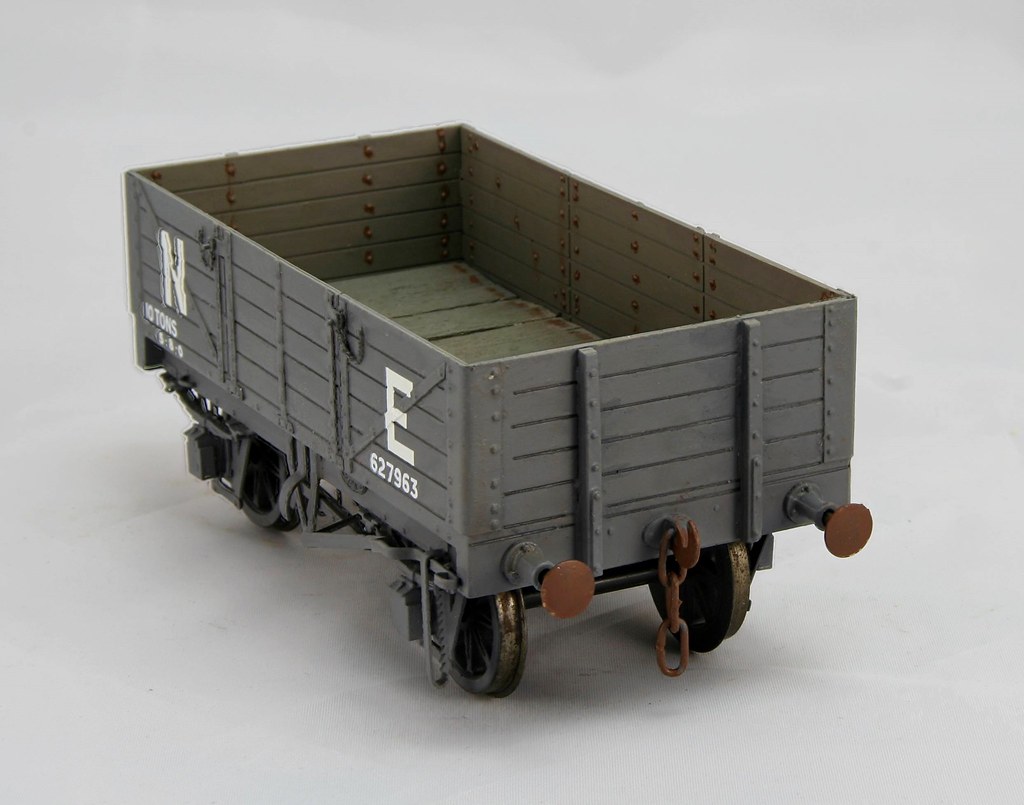
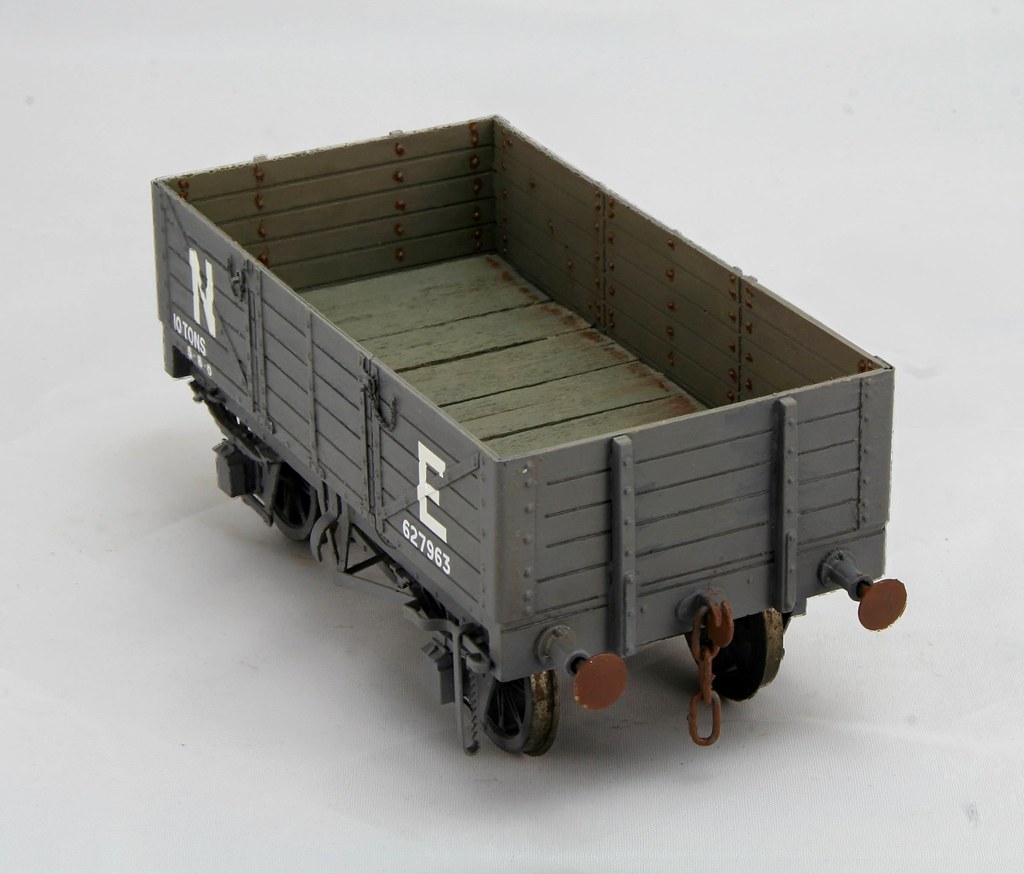
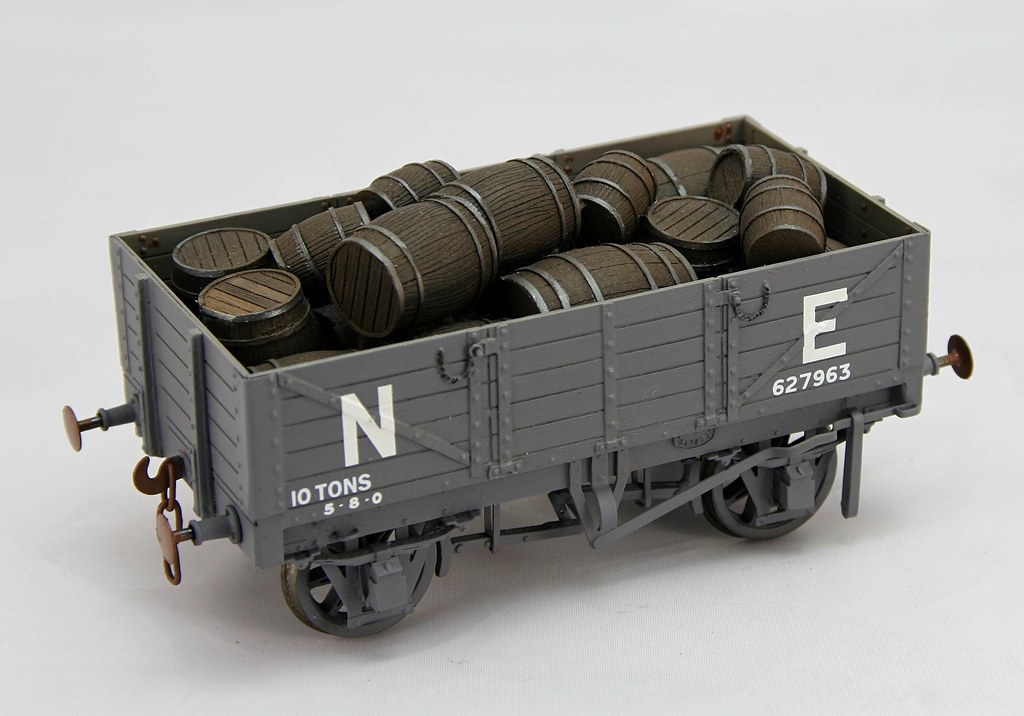
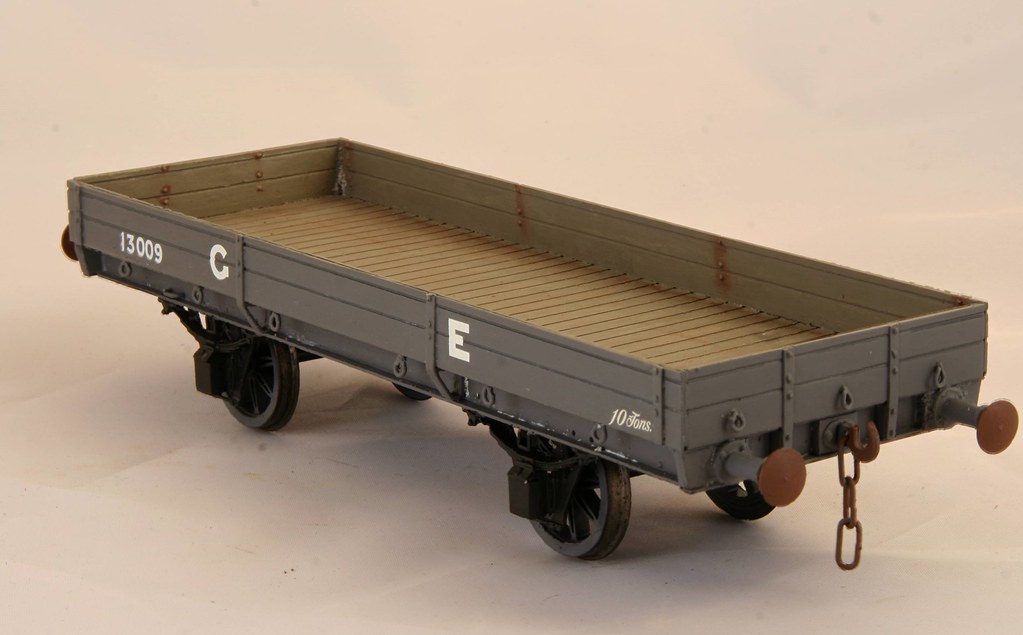
The last shot has it's load which is one of the Skytrex castings that I bought and painted two or three years ago.
Regards Rob
Posted
Full Member
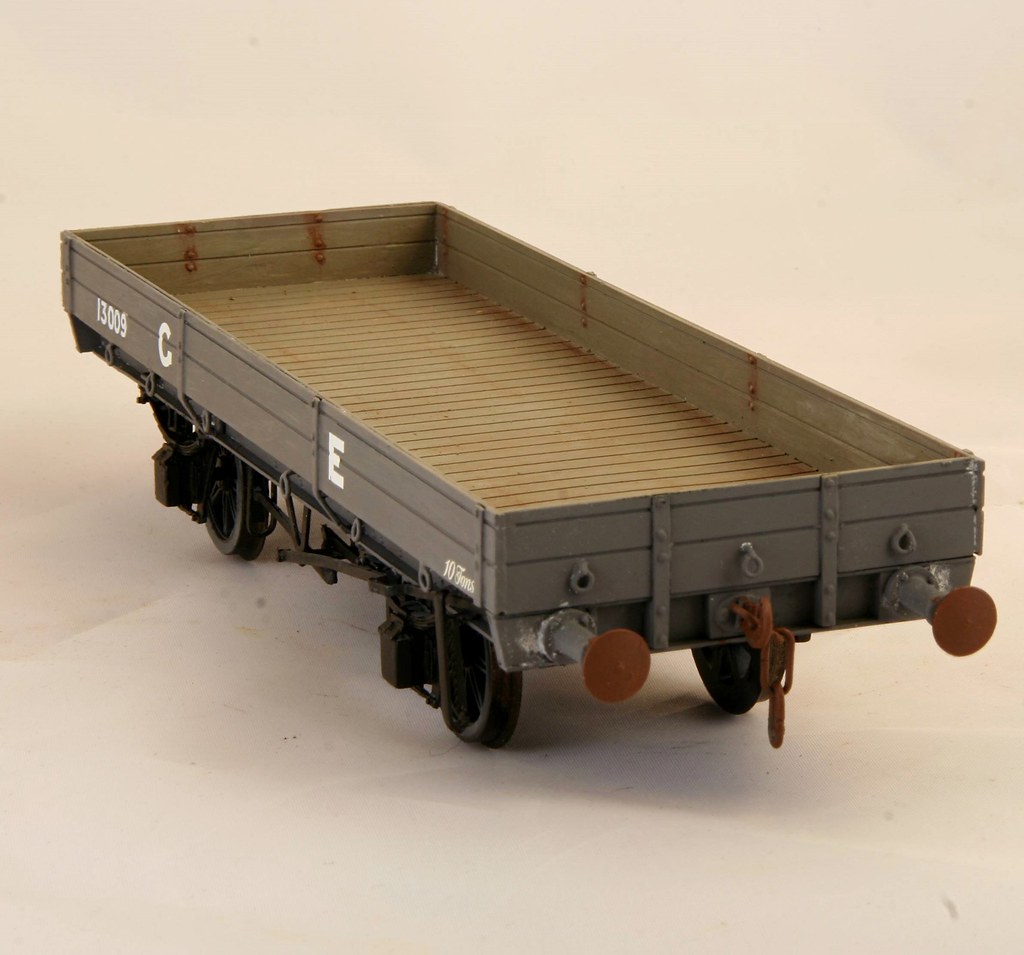
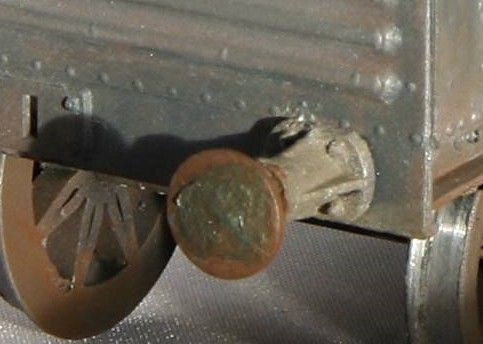
Wondering about the rusty buffers and couplings.
John
John
Posted
Full Member
Hi John,Wondering about the rusty buffers and couplings.
John
That's just the start of the process.
Regards Rob
Posted
Full Member
John
John
Posted
Full Member
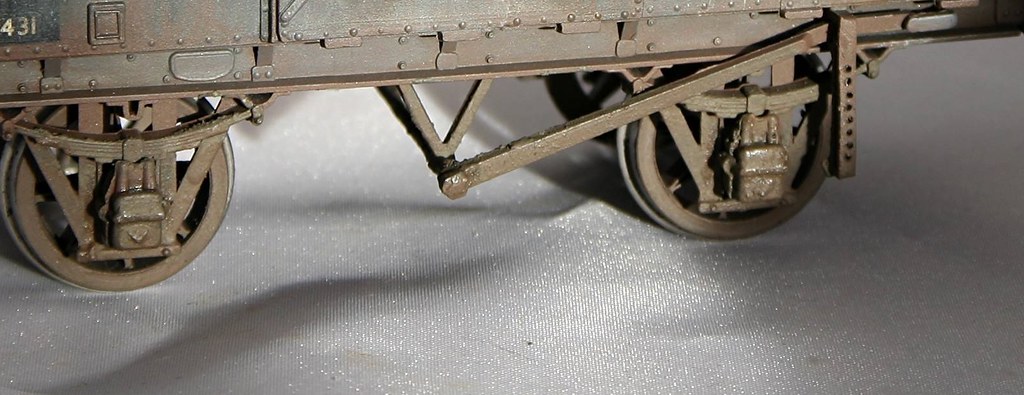
I first built the basic kit back in May 2015 but I have only just got around to finishing the transfers. At the time Adrian Marks advised me that at grouping these ended their days in departmental service and as such never received LNER livery, hence this one will be finished in a very scabby GER livery.
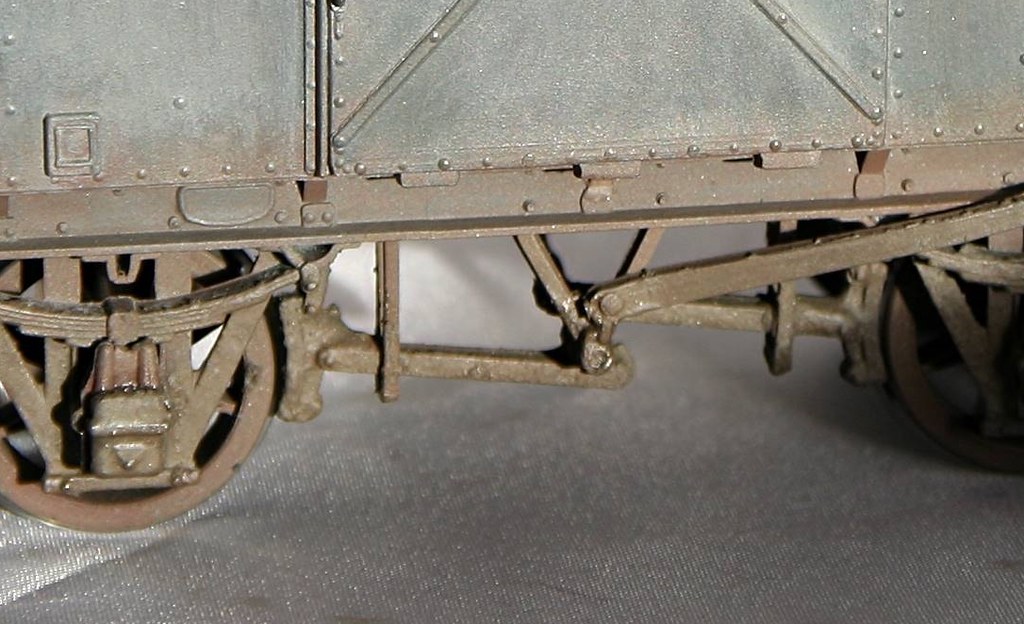
A superb kit with all the brake gear being lost wax castings rather than etches.
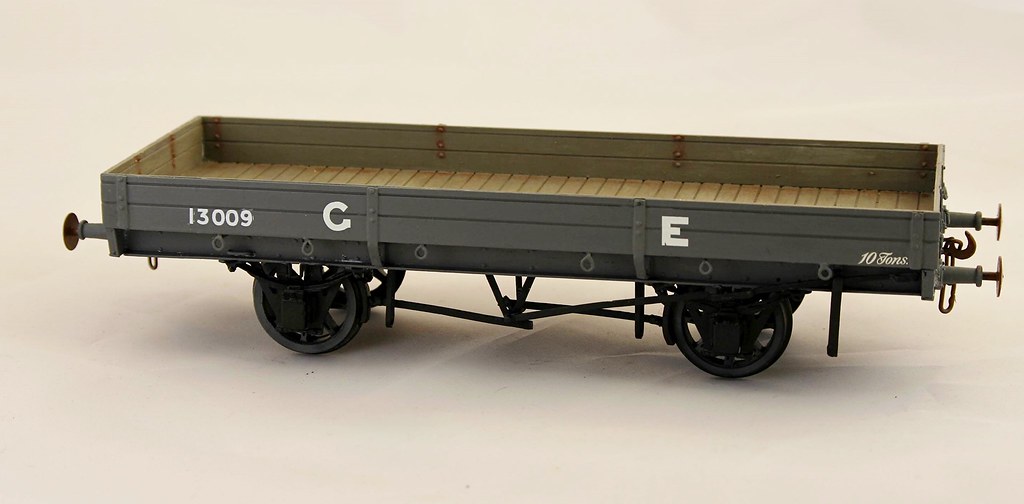
The only changes I made were to add the tie down rings from bent brass dressmaking pins (I annealed them to bend them).
Regards Rob
Posted
Full Member
It still needs couplings and some further work before I will have achieved my aim but I am pleased with progress so far.
Regards Rob
Posted
Full Member
John
John
Posted
Full Member
Regards Rob
Posted
Full Member
John :mrgreen:
John
Posted
Full Member
Regards Rob
Posted
Full Member
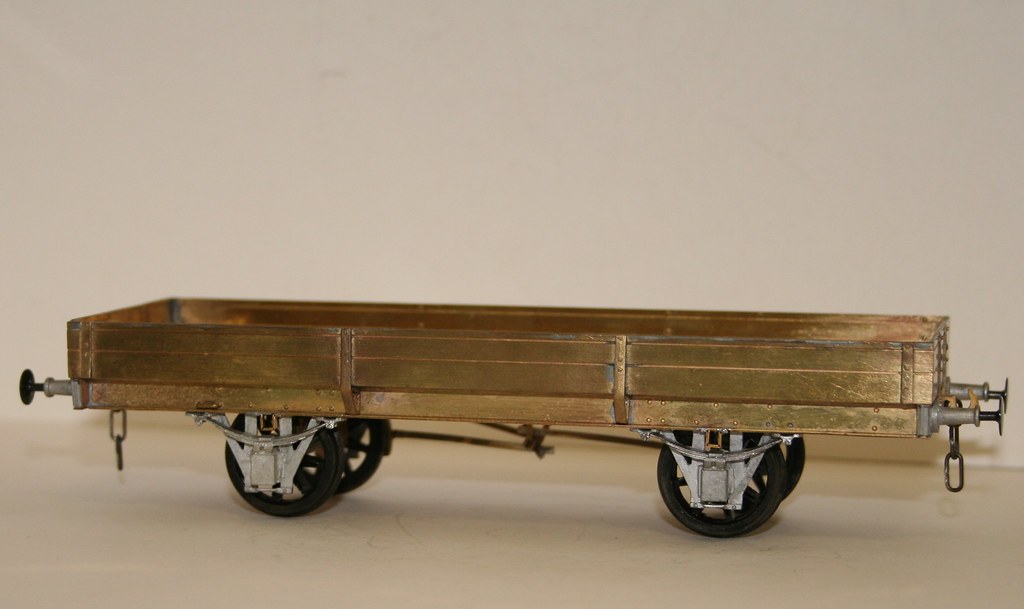
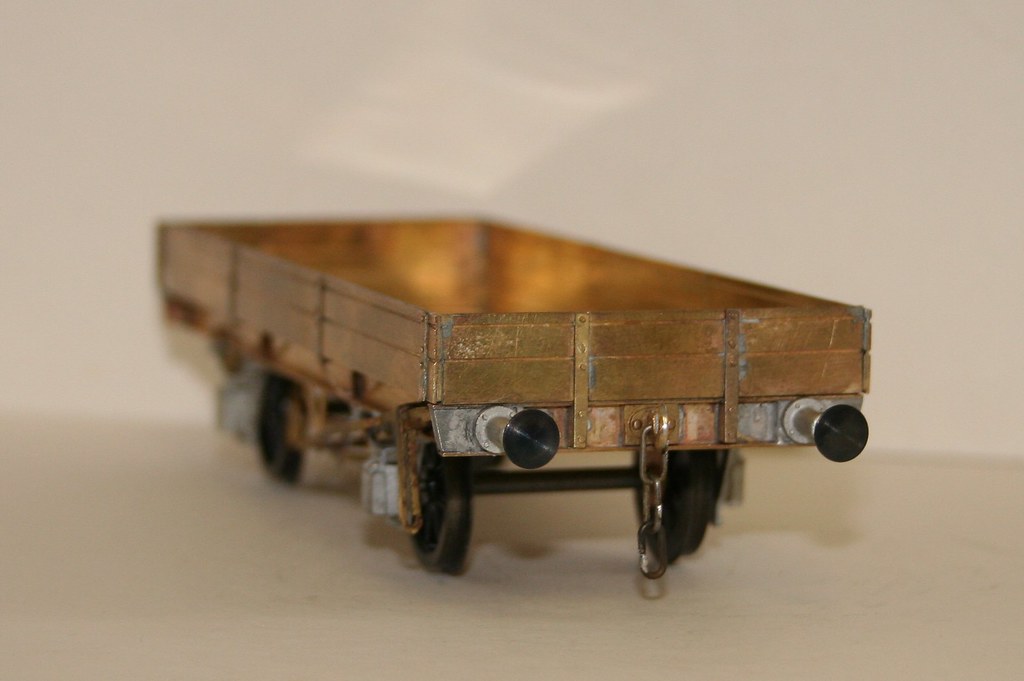
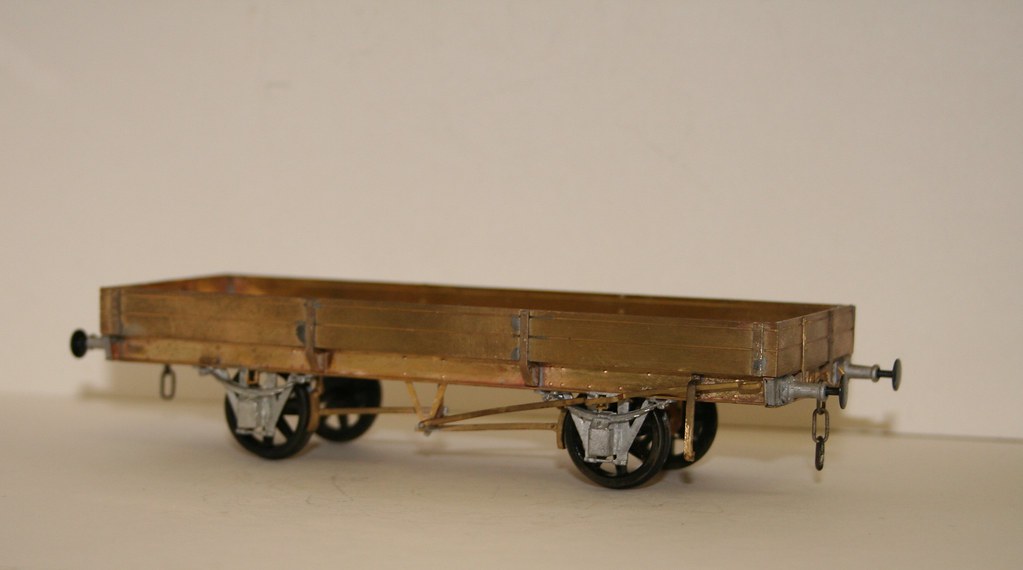
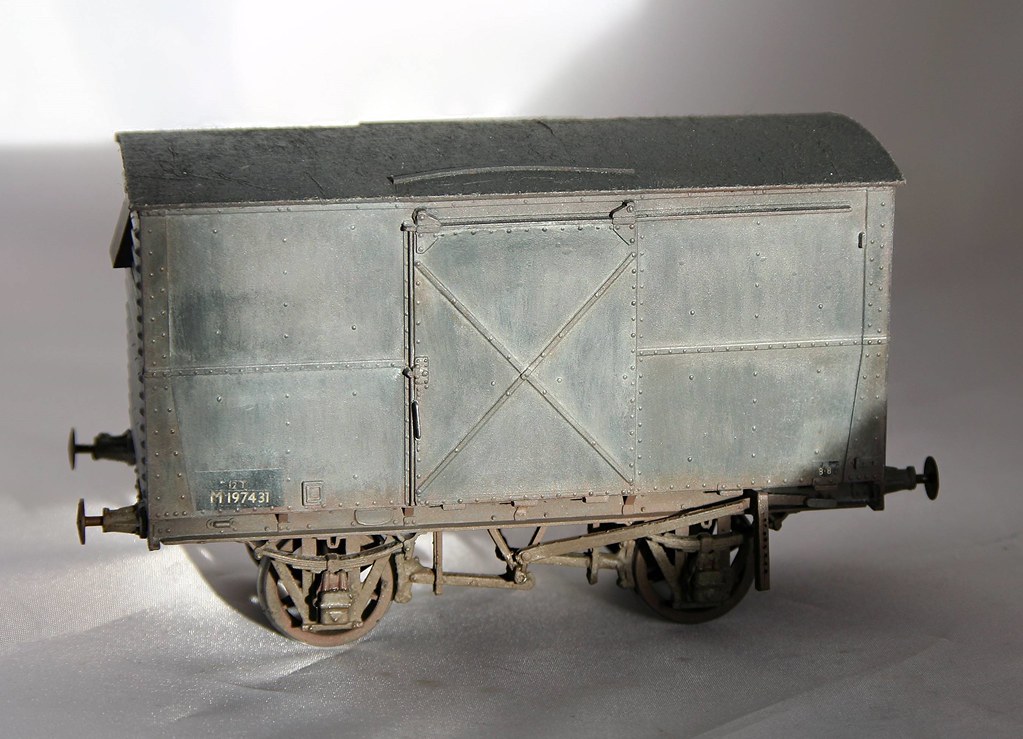
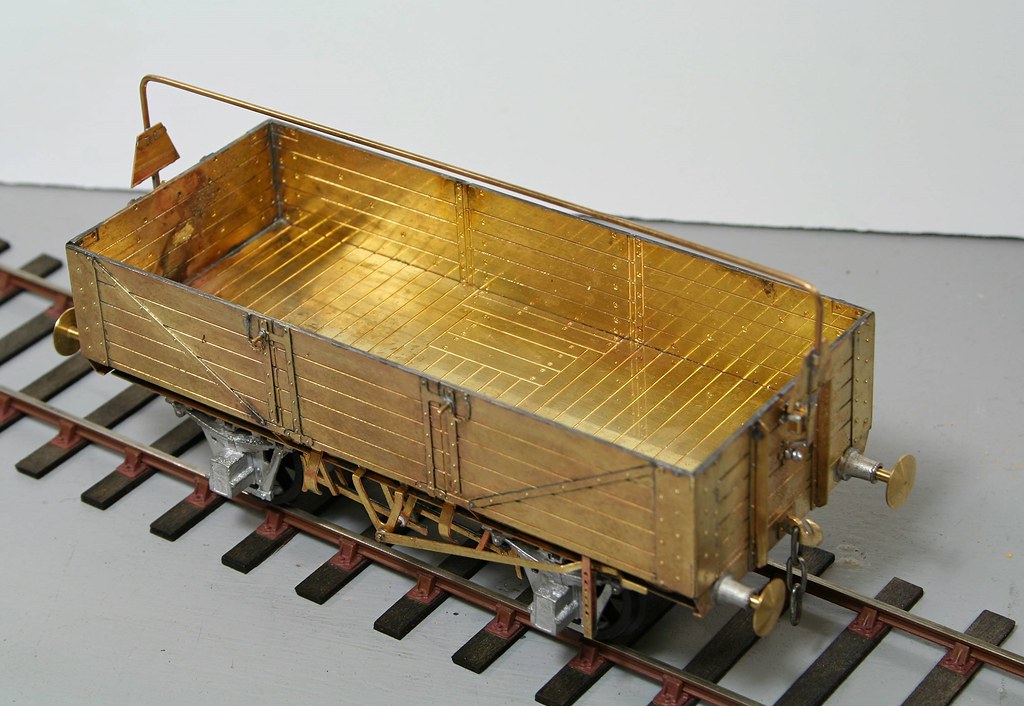
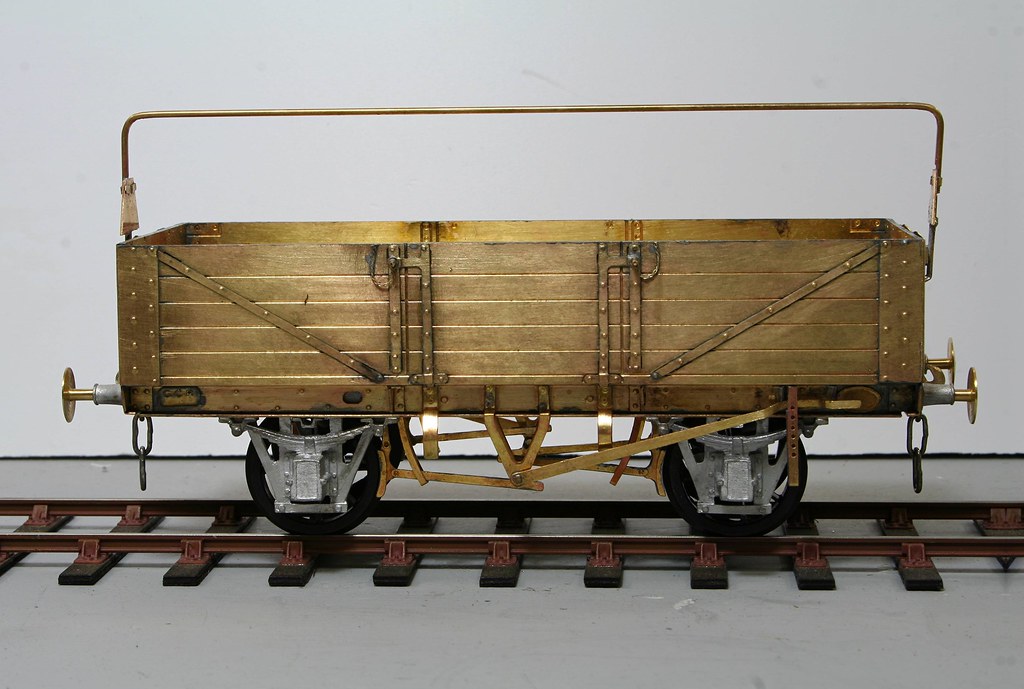
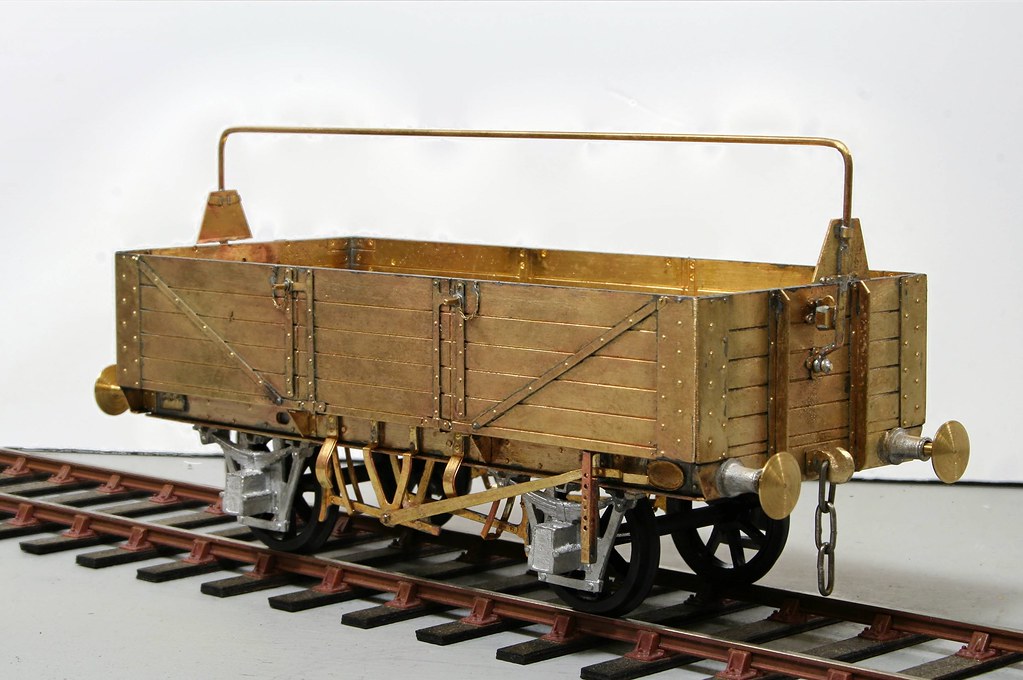
Plus while working on the Kirk twin art set I have been slowly assembling a Parkside NBR Jubilee Mineral wagon. Not the best mouldings that I have seen from the Parkside stable but I think it will be fine once painted and weathered.
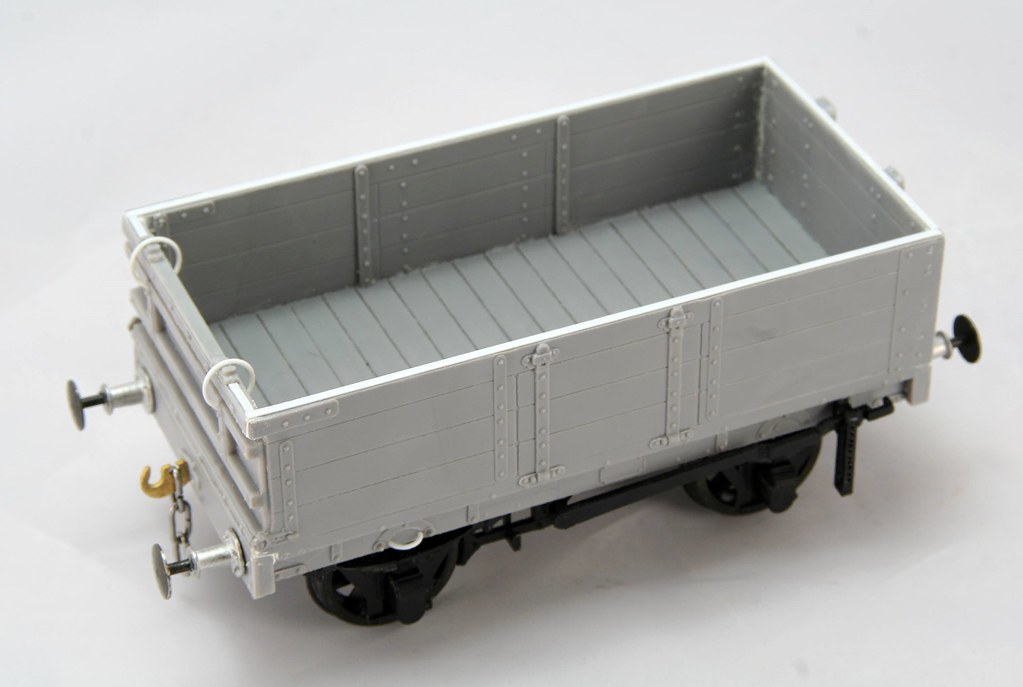
I made the loops that allow the end door to open on the original from 0.6mm styrene rod which I wound around a 0.5mm drill bit in a PIN vice, I then poured boiling water over it and then quenched it in cold water which retained the coil. It was then an easy matter to trim and fit the loops. I used a couple of the off cuts to make the rings for the horse hooks. I would have normally used brass wire for these but I didn't have any to hand the correct size so I decide to see what I could do with styrene.
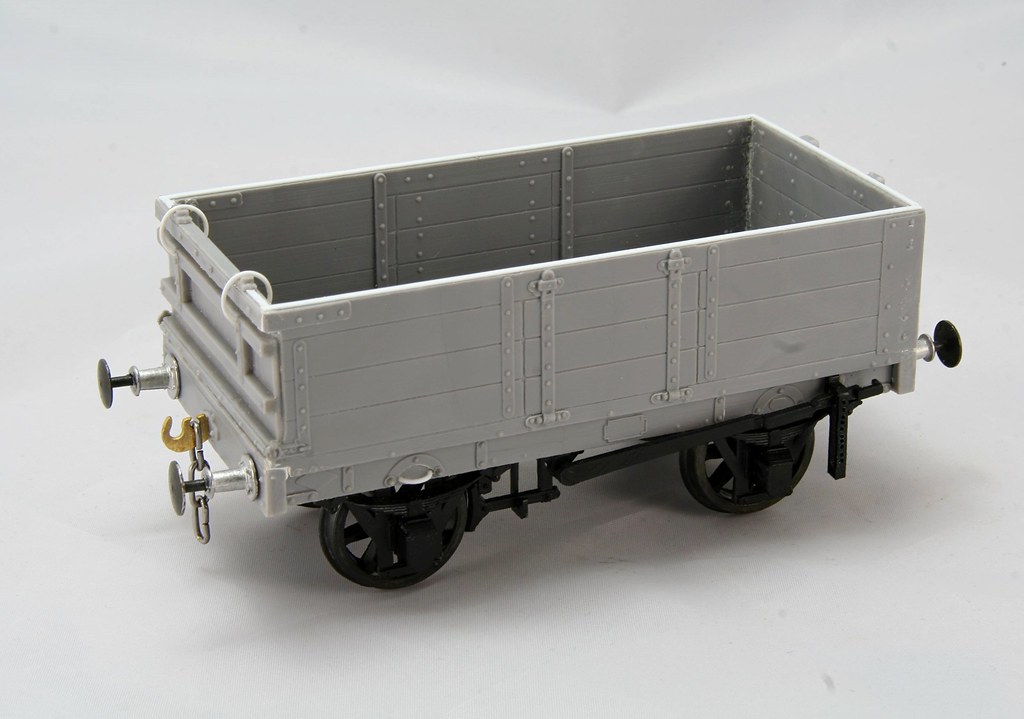

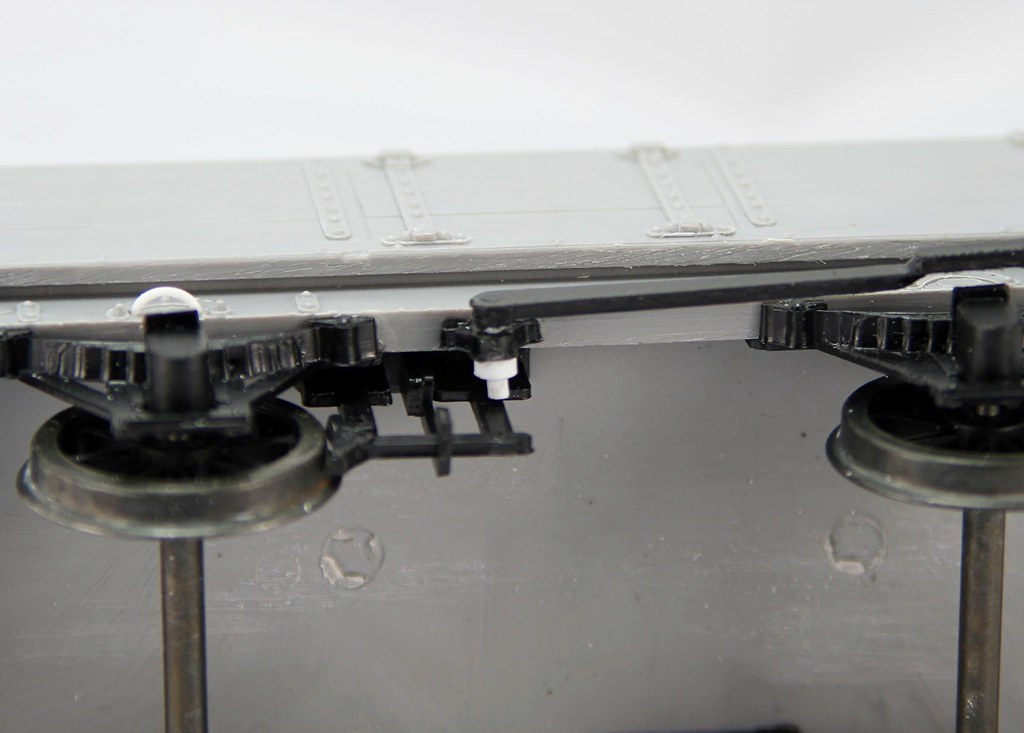
The more observant will note that the brake levers are in different positions in the photos. This is done because I find it a real pain masking them off while painting so I decided to make them move.
To achieve this I drilled the back of the lever and glued in a short section of 1.5mm styrene rod. I drilled through the mounting block under the sole bar and then cut a short length of 1.5mm inside diameter styrene tube to fit over the rod once it passed through the mounting block to create a locking washer which retains the lever but allows movement.

Before it hits the paint shop, I still need to solder the coupling links closed and add the pins and chain to the brake levers.
Regards Rob
Posted
Full Member
My friend for whom I built the Connoisseur NBR brake would be excited to see the wagon. If you intend to sell it, I might just have a customer.
I wanted to start a Parkside/Peco GWR horsebox today but discovered that there were critical frets missing. Antics have been advised and their assistance requested.
John
John
Posted
Full Member
The GWR Horsebox kit is a nice kit and goes together very nicely. I ended up selling mine with it not being common user.
Regards Rob
Posted
Full Member
The exceptions are brake vans and plastic step hangers and lamp brackets. Totally inadequate material, needs to be metal a la Slaters.
John
John
Posted
Full Member
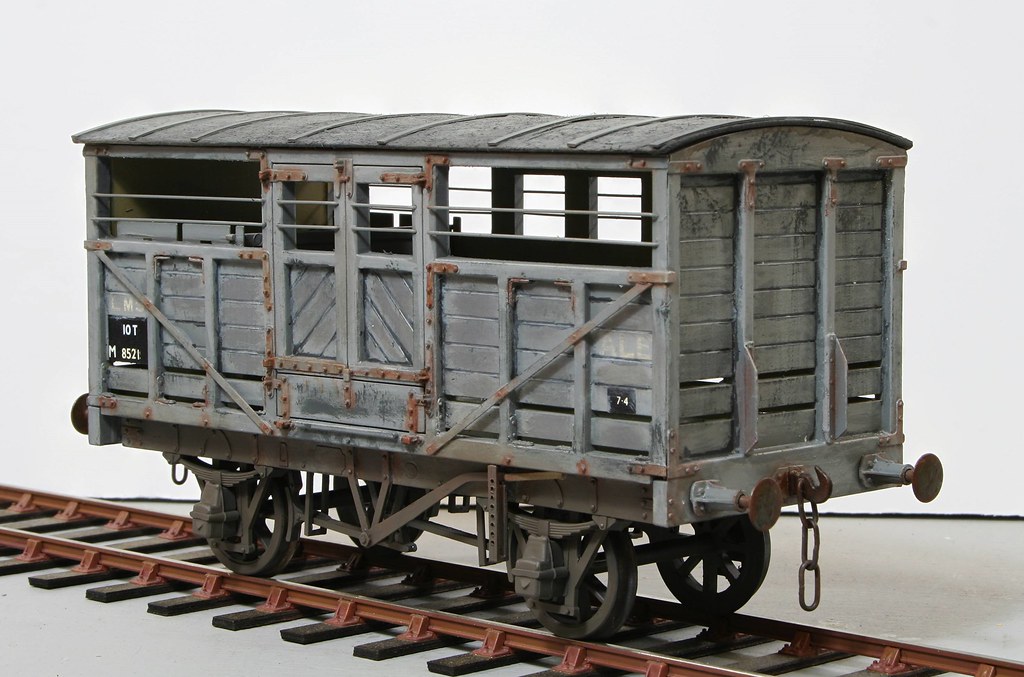
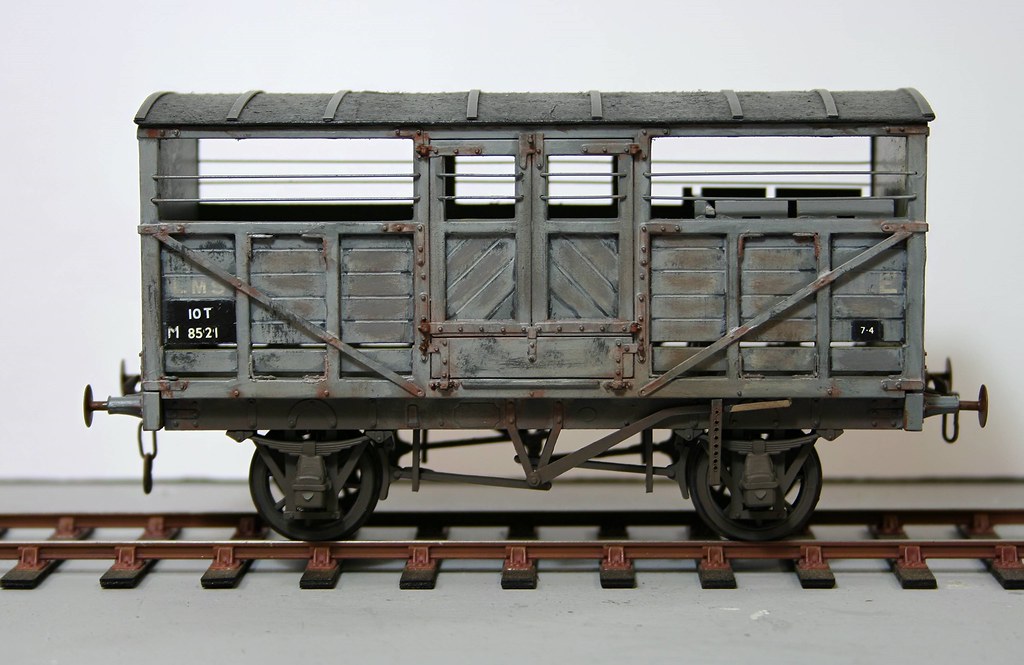
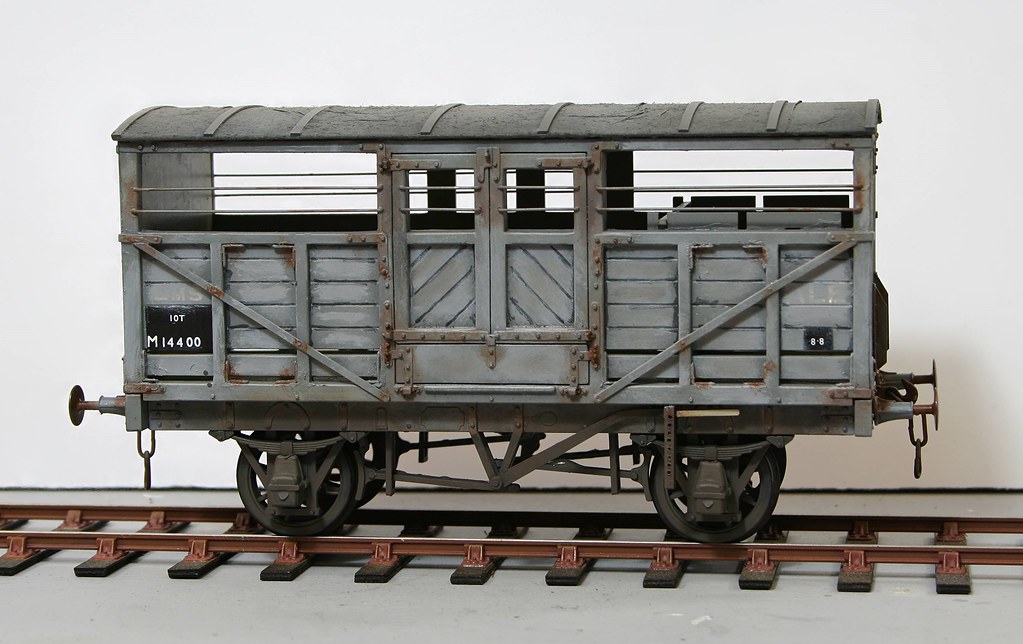
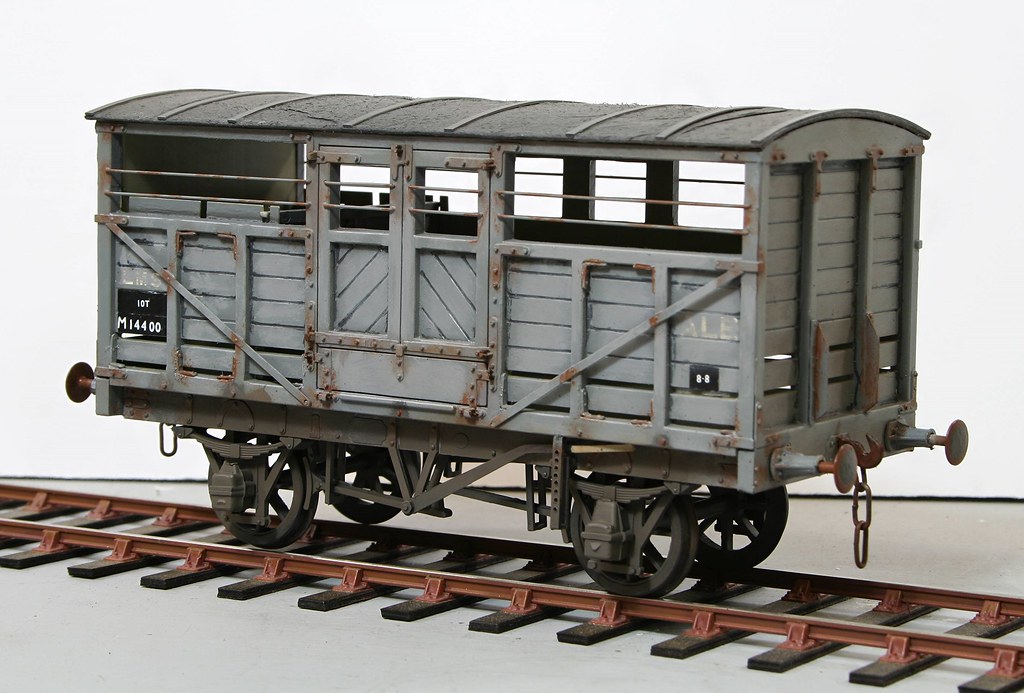
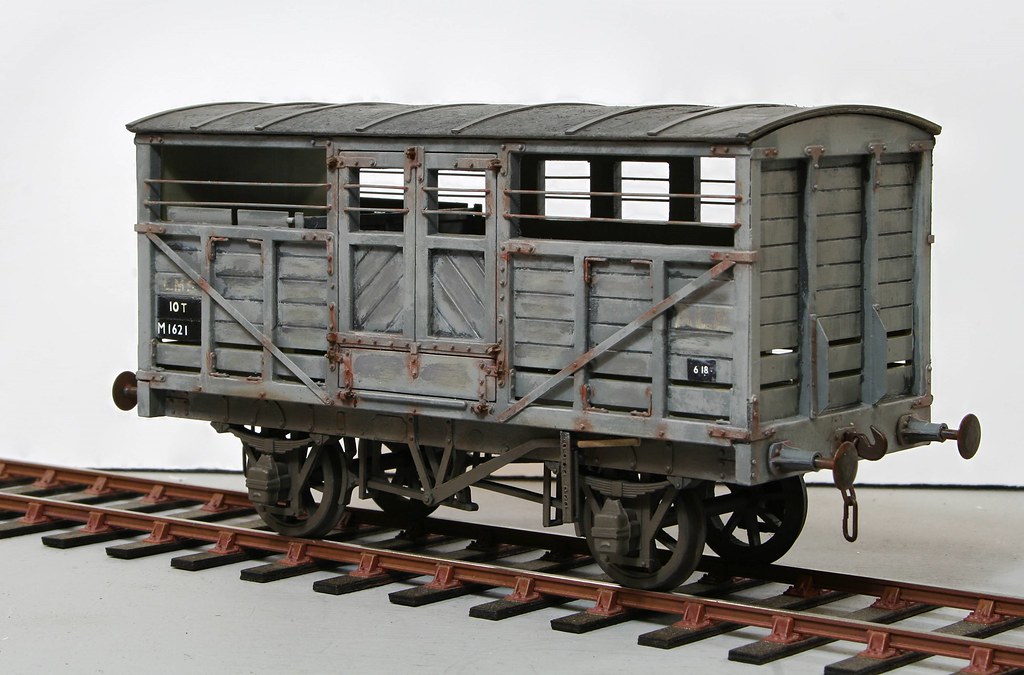
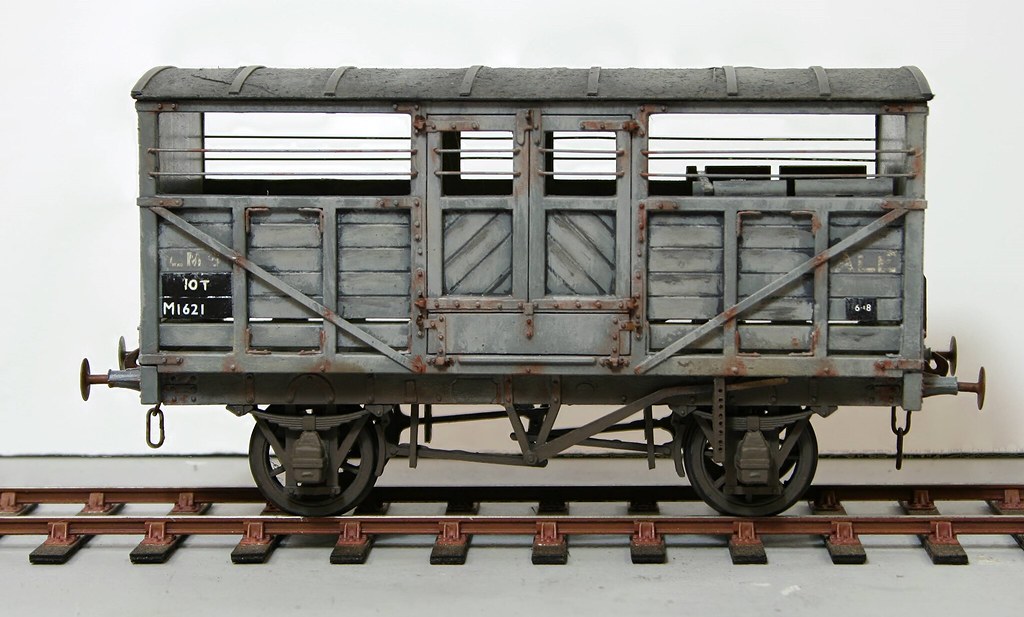
They are to be used on a Layout called Hobson's Brewery, hence the faint 'ALE' branding on the cattle wagons.
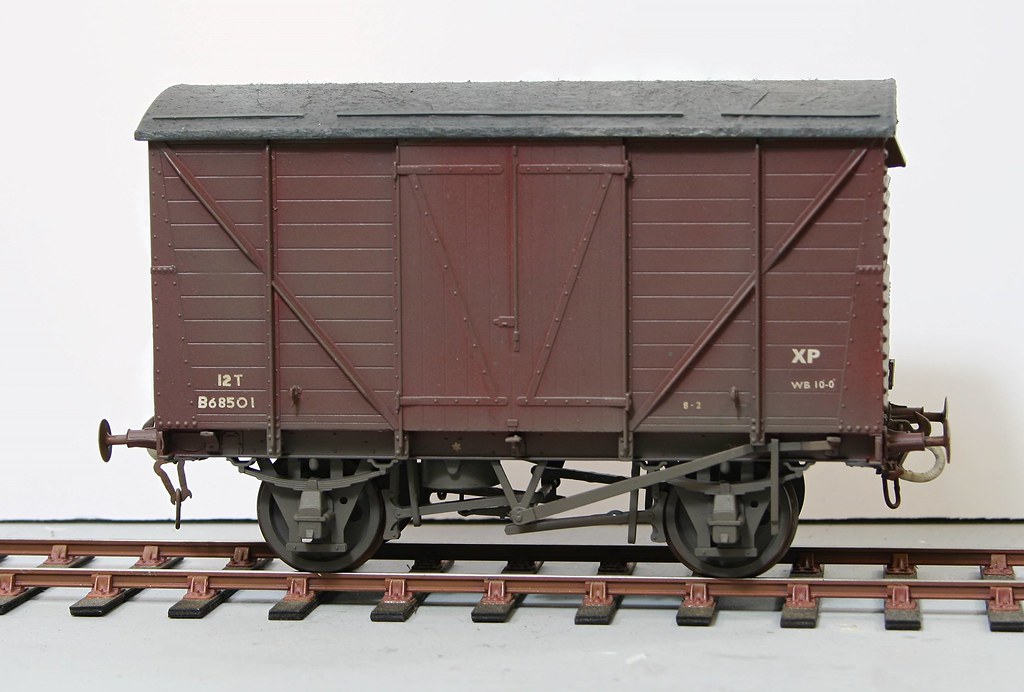
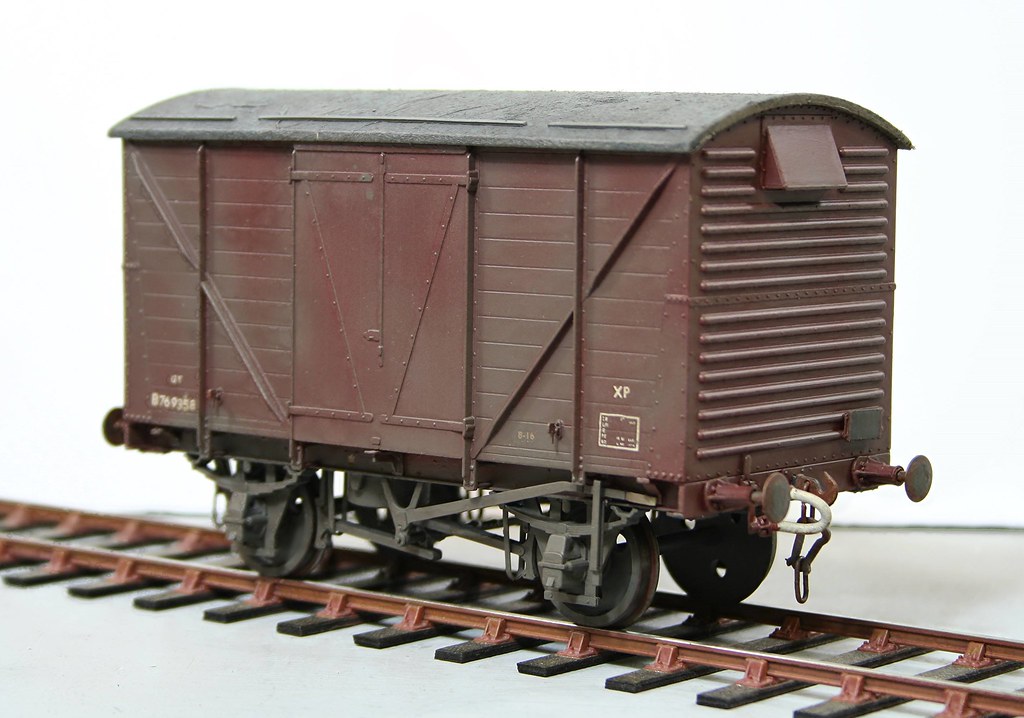
Here are the official portraits of each van.
Sadly Paul Barlett informs me that running number B68501 belongs to a steel mineral….but I am sure that I took the numbers from the ranges supplied in the Slaters instructions - all things BR not being my strong point.
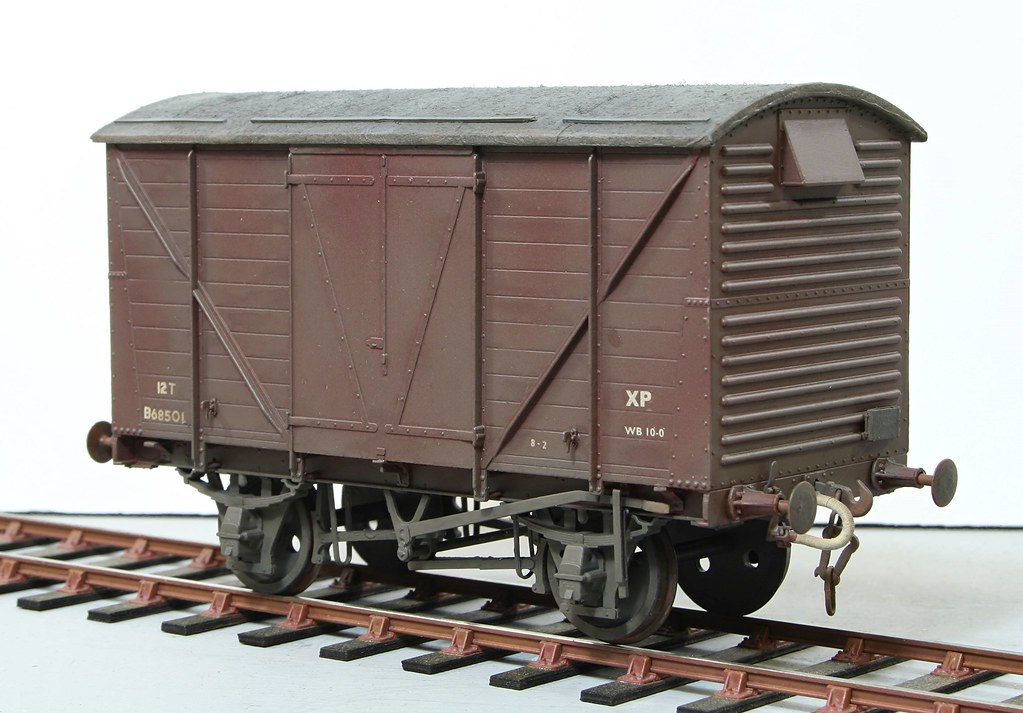
Regards Rob
Posted
Full Member
The inside is nicely detailed albeit the bottom doors are for the version without the trestle bar so mine will be tarped when finished so they won't be visible.
I will definitely be adding more of these to a shopping list in the future.
Regards Rob
Posted
Full Member
In true Blue Peter fashion - Before:
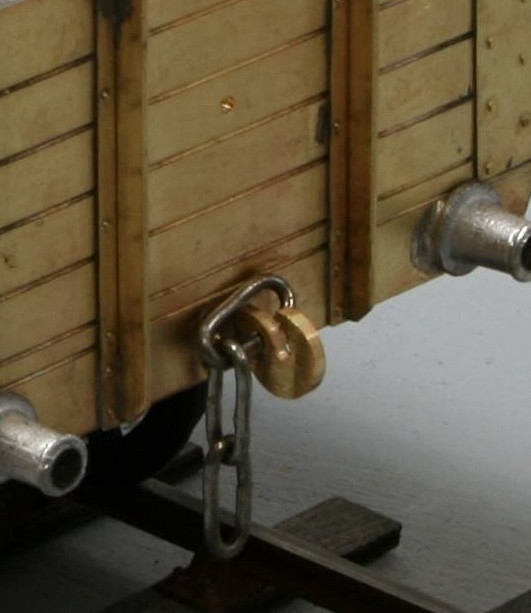
After:
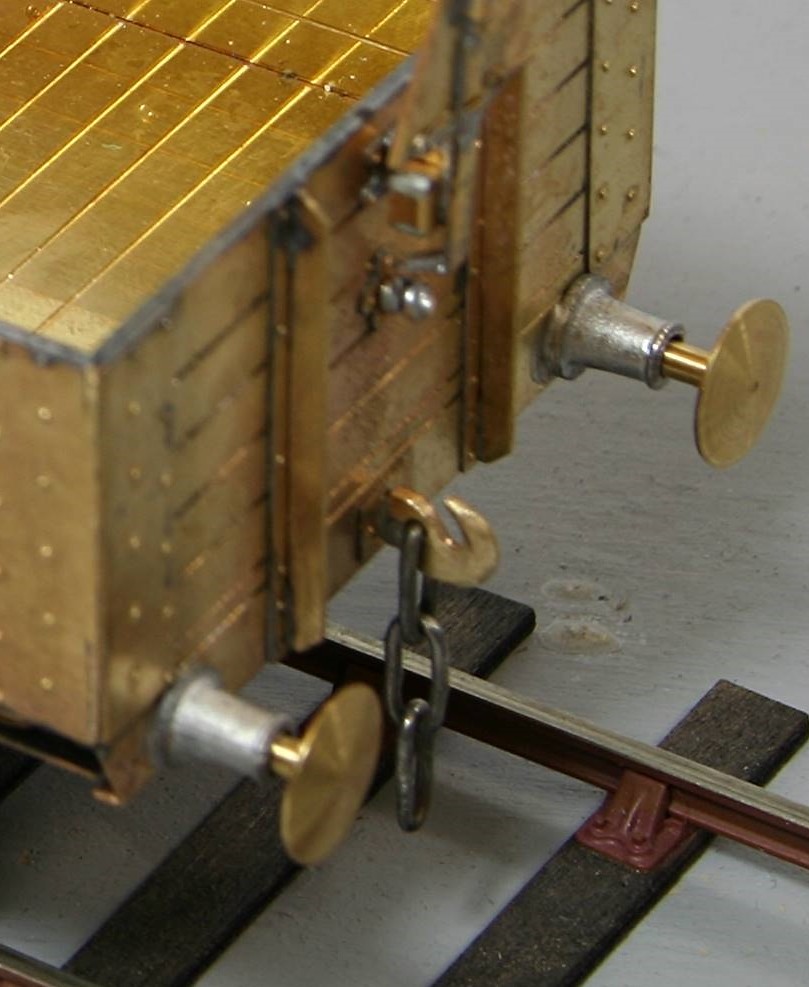
It looks more like a proper coupling hook now
Regards Rob
1 guest and 0 members have just viewed this.