Johns 7mm Coach Workbench
Posted
#221253
(In Topic #12068)

Full Member
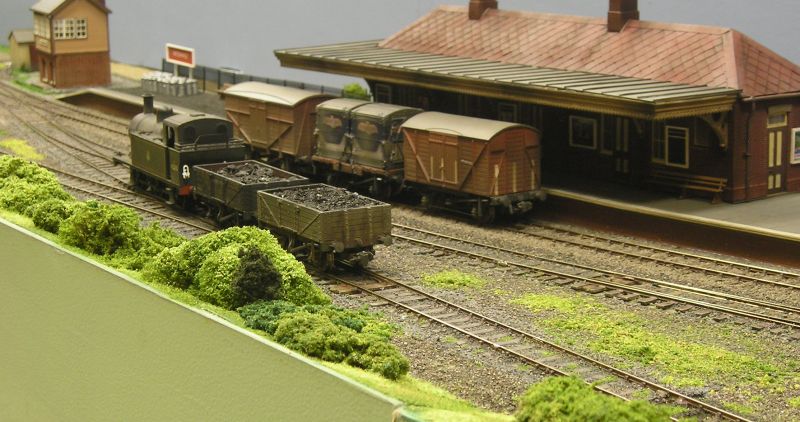

Passenger traffic will be a two coach train with some parcels in a full brake. Later on I may expand this - Heljan have announced an extensive range of various 1, 2 and 3 coach DMUs.
I got myself three coach parts packs of Ian Kirk Gresley 52' 6" corridors. There's a 7 compartment 3rd, 3 compartment brake 3rd and a full brake.
You can see the range of parts packs here:
http://www.iankirkmodels.co.uk/
I got my packs and parts from:
http://www.invertrain.com/
I'll start with the 7 compt. coach.
When one thinks of a kit, it is common to expect them to be more or less complete. Not so here. You get most of the major parts for the coach but not the details and fittings.
So, what is in the parts pack?

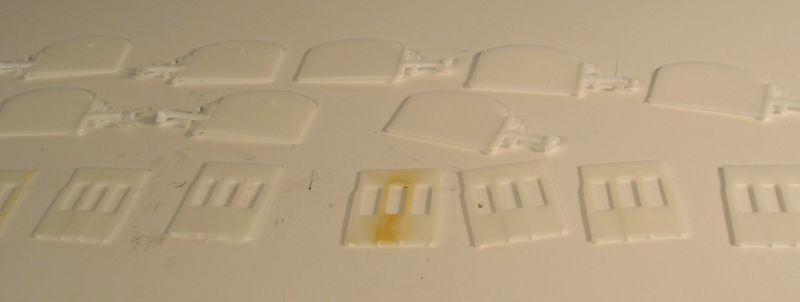
Sides are modular - I'm told the 4mm kits are similar. You can see the bogie components.
Interior parts.

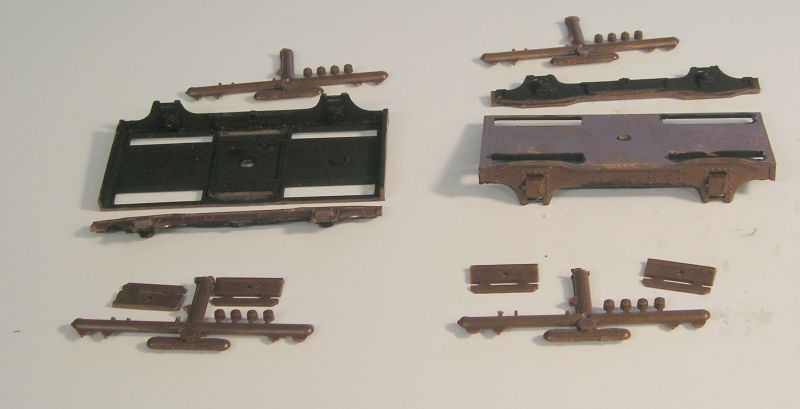
Underframe parts.
I kitted the model out by buying the details:

You can see the wheels at top right. Below them are working gangways. CW are cast resin seats, tee handles for the doors, clipped buffers, vacuum and steam pipes, a pair of screw link couplings and roof vents.
Not shown is the Isinglass drawing. This drawing contains a lot of information that will help with assembly and finishing.
More to come.
John
 Last edit: by Brossard
John

Posted
Full Member
Bearings are installed and one side stuck on. The thing that struck me was the lack of detail. I put the question to that other well known forum and I was rewarded with a couple of pictures of a bogie sitting in a yard - useful information there. Additionally, I was given a lead to Kemilway (Kemilway - Kemilway Coaches, Underframes and Bogies ) who are kind enough to publish their instruction pamphlets on the site. I've downloaded pamphlets for bogies, underframes and interior. This info will permit me to fabricate parts to add to these basic bogies.
John
John
Posted
Full Member
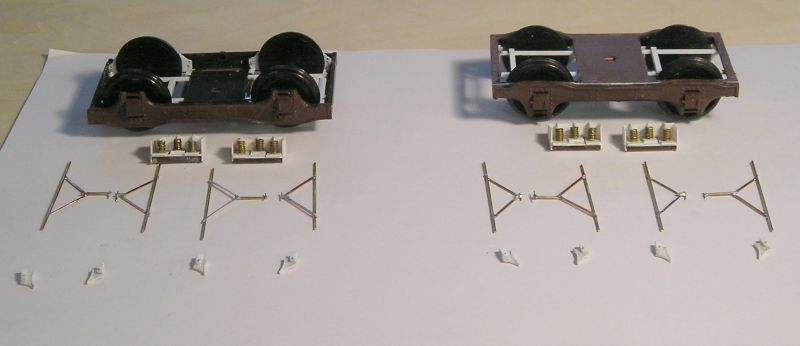
I have now joined the bogies as you can see. I needed to add a 0.020" shim (which just be made out as a white line) in order for the wheels to seat in their bearings comfortably.
I removed the material between the wheels, mostly because I couldn't get the wheels in otherwise, but this is more realistic. I added some framing that will support the brake hangers.
I made some boxes containing coil springs (4BA screws) that will fit in the center of the bogie.
I cobbled some brake shoes from plastic strip - actually I made 3 coaches worth, there are 16 per coach. I've installed these on one side.
You can see the brake yokes which are used to pull on the brakes to apply them. 0.032" brass rod, 1mm PB strip.
Finally, the 8 shoes that will be fitted when I'm ready to install the yokes.
It's all madness of course, but will be interesting to see what I can do.
John
John
Posted

Full Member
Posted
Full Member
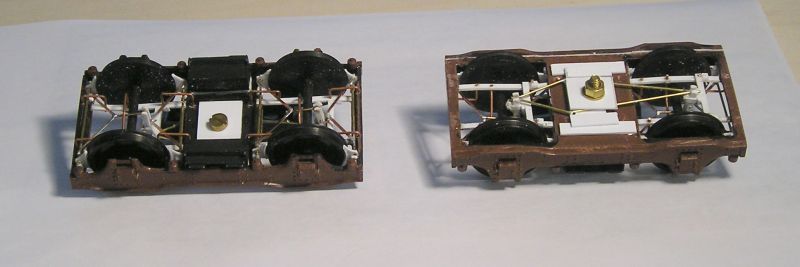
On the right is a bottom view, the left is from the top.
In the right view, the yokes are linked together to an actuating arm. You can also see the safety loops. I used 0.032" PB wire for these. PB is softer than brass and is easier to work. I've added the bolster coil spring assembly at the center of the bogies
In the left view there's a diamond shaped yoke linking the inner and outer actuating arms. I've built up a bolster from plastic card. I CA'ed a brass washer to the top of the bolster.
As Marty says, it's all good fun. I also learned a heck of a lot.
Having studied the Kemilway instructions, I'm inclined to get a set of bogies at some point. I'll see how I get on with these first.
John
John
Posted

Inactive Member
Max
Port Elderley
Port Elderley
Posted
Full Member
John
John
Posted
Full Member

Each panel and door is a separate piece. I've chiselled off the moulded door handles and drilled 0.020" in preparation for brass tee handle installation later.
John
John
Posted
Full Member

I made the steps from 5mm brass strip, soldering 0.45mm NS wire to the backs.
The dwg. shows the short steps only on the compartment side.
John
John
Posted
Full Member
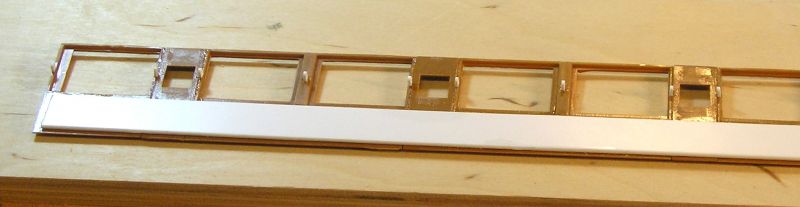
The lads on RMWeb recommend a jig to ensure that coach side modules go together straight and square, so I made one:
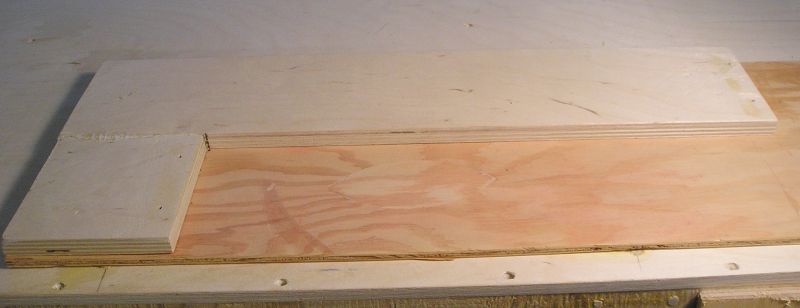
Nothing fancy and my woodworking skills won't save my life. I used machine cut birch ply so I'm pretty sure the edges are true.
John
Last edit: by Brossard
John
Posted
Full Member
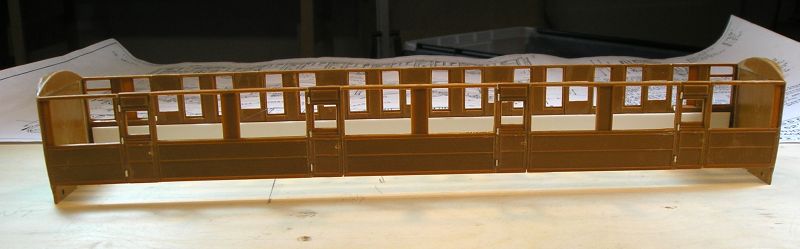
I used my jig to assemble the sides:
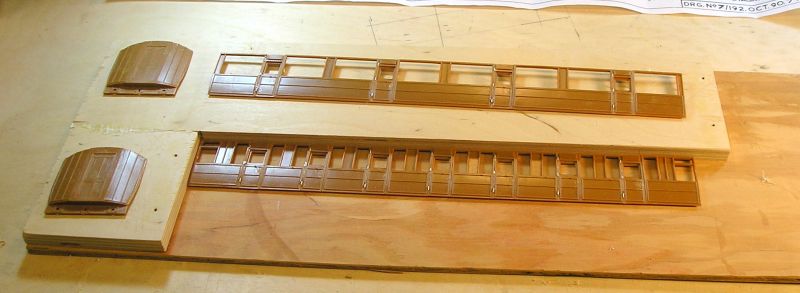
Things came out straight and square so happy with that. Note the door hinges made from 2.5mm long 0.20" strip. The bottom hinges are doubled to allow for the tumblehome.
Reverse side reinforced with 1.5mm thick plastic:
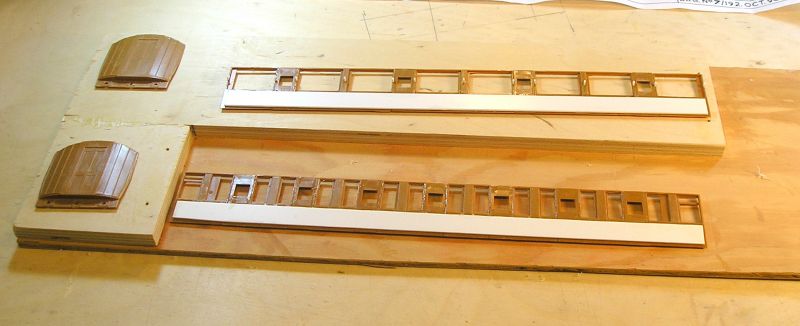
On the corridor side there will be a handrail. I made brackets from 0.40" x 0.080" x 3mm strip:
These have been drilled for 0.032" (~0.85mm).
John
John
Posted
Full Member
Corridor side.
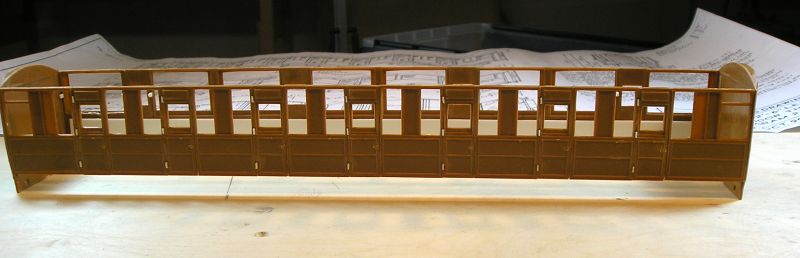
Compartment side.
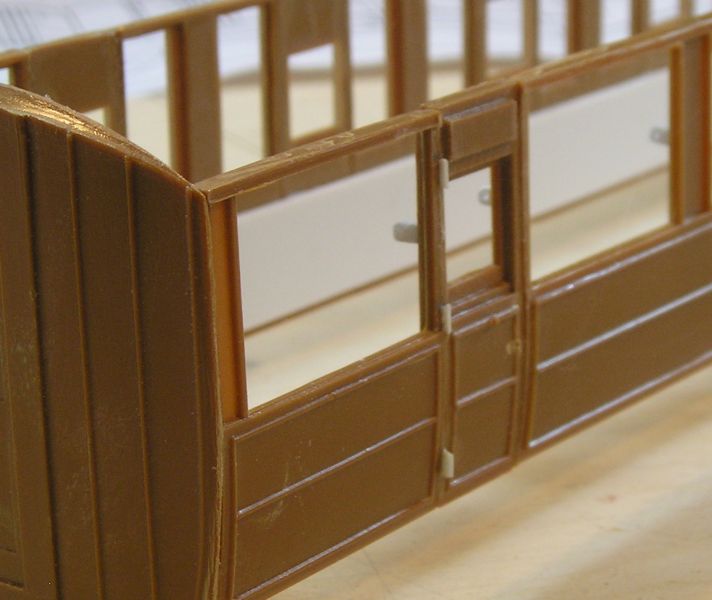
Some more detail on hinges. I doubled up the 0.020" strip on the upper and middle hinges and trebled on the lower. Once the plastic was hard, I sanded them so that a straight edge lies on them vertically.
John
John
Posted
Legacy Member
Inspirational.
Allan.
Posted
Full Member
John
John
Posted
Legacy Member
So am I John, but at 81 it's a losing battleI'm always looking for ways to improve myself "
John

Allan
Posted
Full Member
John
John
Posted
Legacy Member
Allan
Posted
Full Member
John
John
Posted
Full Member
spring) and rolling out of bed.
.
.
.
.
.
.
.
.
.
.
.
.
The problem is getting up off the floor afterwards!:roll:
Jeff
Posted

Site staff

Regards
Alan
Born beside the mighty GWR.
Alan
Born beside the mighty GWR.
1 guest and 0 members have just viewed this.