Johns 7mm Wagon Workbench
Posted

Full Member
By remarkable coincidence J&J Charlesworth was the colliery in the village that I live (Stanley in Wakefield) and I plan to finish a few open wagons that I have on the go in the Charlesworth livery.
What I didn't know until seeing your example, was that Parkside do them and digging a little further revealed that Powsides do different sets of J&J Charlesworth transfers too. I had thought that I would have to either comission some or do them myself - the Cameo cuts out letters from white transfer paper with ease. The downside is having to line each letter up individually.
Regards Rob
Regards Rob

Posted

Full Member
I will be watching your Charlesworth wagon rake with interest.
My plan for these is to distress them to be in end of life condition around 1962.
I've had to letter loads of coaches and wagons in 4mm using HMRS transfers, a great pain indeed.
John
 Last edit: by Brossard
John
Posted
Full Member
I hear you on the press fix, I must confess that I prefer methifx because at least they are easily adjustable to get in position. I have also found that you don't need meths you can use Micro Sol/Micro Set instead both preparing the surface and releasing them from the backing at the same time.
These were cut on the Cameo from waterslide laser paper and done a letter at a time - the first side took 3, half hour sessions to do and as if my magic the second side was complete in 15 minutes start to finish. I hope that the next ones I do will be a bit easier because the deal paper was a couple of years or so old and was a bit brittle.
Regards Rob
Posted
Full Member
I've always avoided Methfix because I'm unsure of the solution needed, it's not methylated spirits – I forget the name. Thanks for the tip about Microsol - that I have. I have a couple of sheets of 7mm HMRS Pressfix BR transfer sheets.
John
John
Posted
Full Member
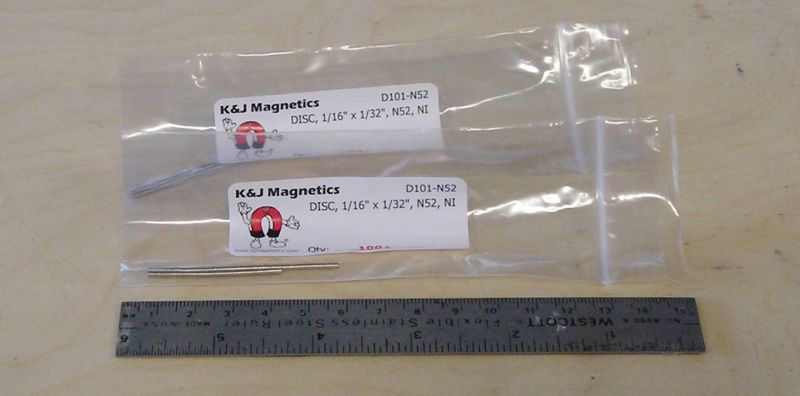
K&J Magnetics: Disc/Cylinder Magnets
I did a search for suppliers in Canada but the smallest dia. I could find was 1/8"(~3mm), far too large.
Anyway the plan is to glue magnets to the end of the vacuum hose and they should stay together until uncoupled wagons pull them apart. They're not dear so I think worth a try.
John
John
Posted
Full Member
First I got the magnets, 200 of them:
Then I got two Lionheart RTR wagons:

This is beautifully done and is quite heavy. I had to chock a wheel to stop it rolling off the track.

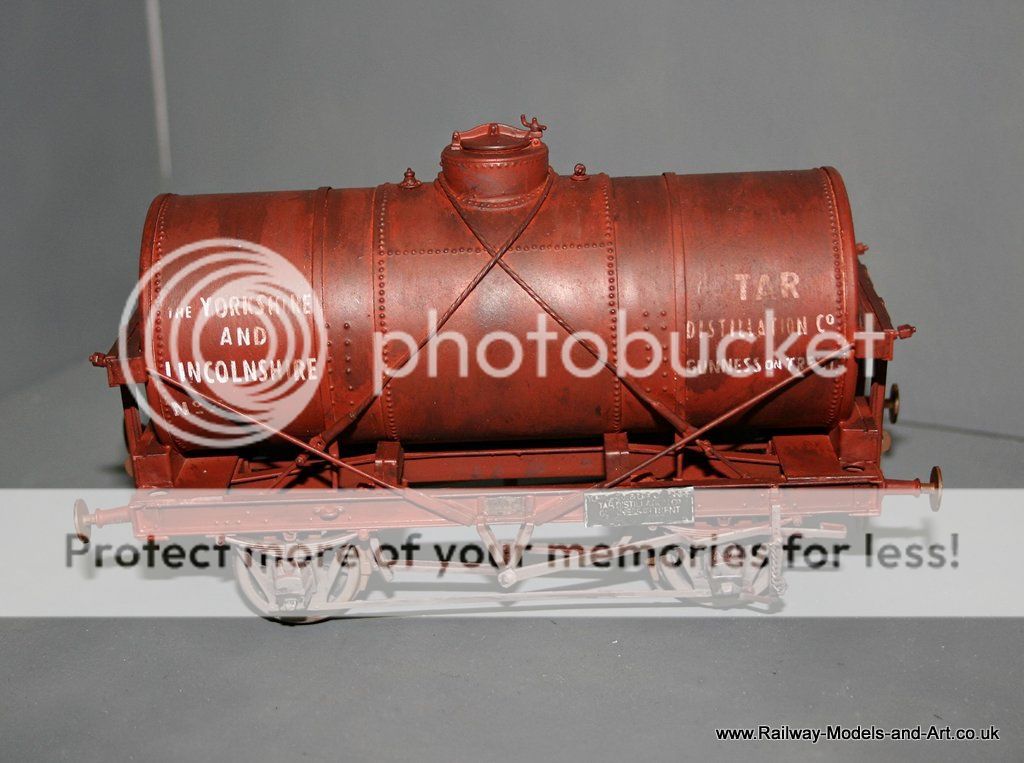
This PO wagon is a world away from the Dapol wagon I discussed earlier, I do like it.
Sadly I don't have any excuse to tear these apart.
John
John
Posted

Full Member
Those magnet couplers are available in HO, somewhere in BC. Used as airlines if memory serves. Yup. HO Magnalock brake lines.
Nigel
Edit: Pacific Western Rail Systems is the suppler.
©Nigel C. Phillips
Posted
Full Member
John
John
Posted
Full Member

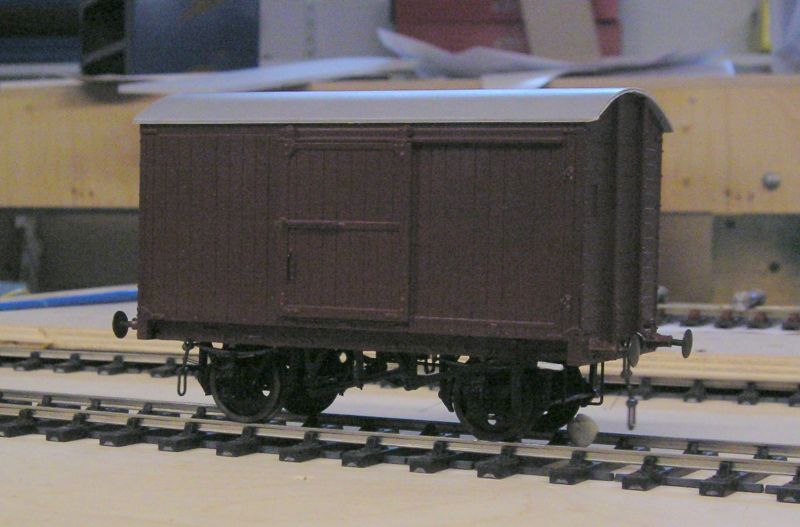
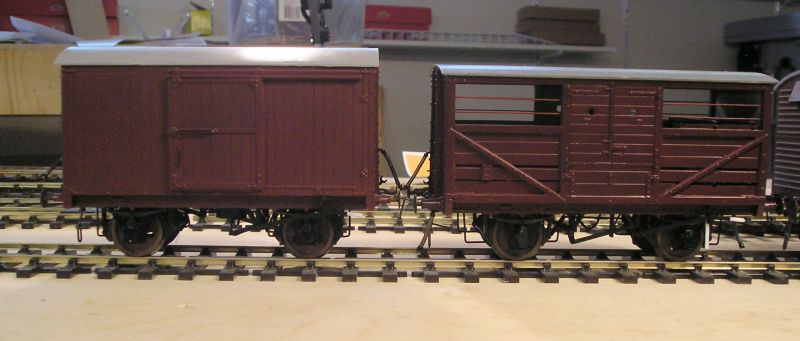
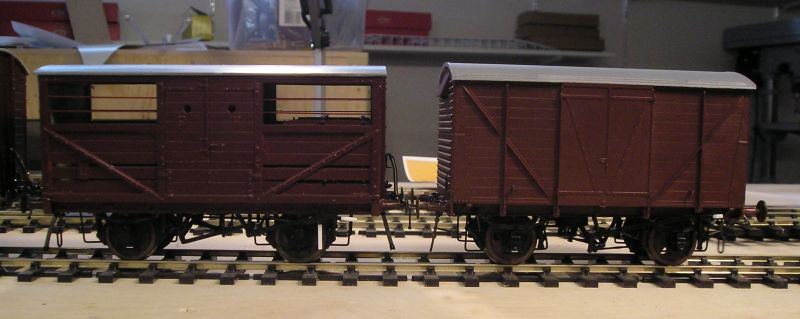
This is the BR Std van, painted in my version of bauxite and complete with the exception of lettering.
The LNER van. This is Parkside and comes with some nasty whitemetal vacuum standpipes. I've ordered some lost wax pipes from Slaters. Other than that and lettering the van is done.
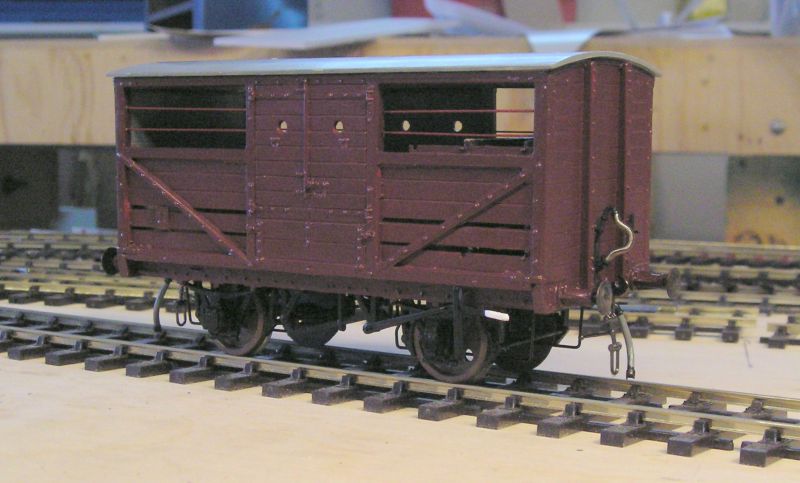
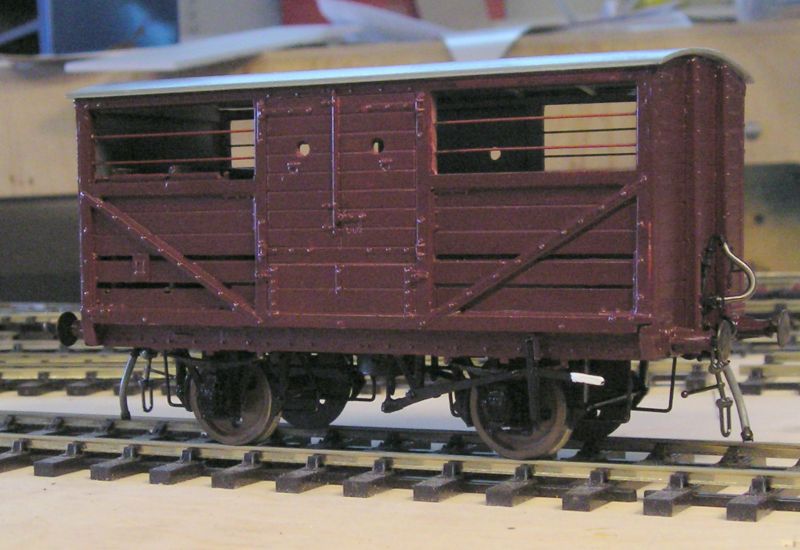
I started a new project, Parksides LNER long wheelbase Large Cattle Van. Early days yet:

I assembled the floor, sub floor, solebars and axleguards. The sprung bearing carriers have also been installed. The sides have been assembled. Instead of plastic wire supplied I used 0.45 mm NS wire in the openings.
I decided that I needed to pay some attention to the interior as it can be seen. I started with light grey primer and followed up with white. (brushpainting white is very difficult I find, so I usually use a rattle can). This morning I got out the airbrush and gave the surfaces coats of dirt and black. I followed this with umber and black powder steaks. I've no idea what these things looked like in 1962 but they probably weren't terribly clean.
There are two partitions. Apparently while most railways built small, medium and large cattle vans, LNER only made large ones. The partitions could be placed at one end to make the interior small or medium (not clear to me why that would be important). The other thing is that a compartment could be partitioned off to house one animal, a bull perhaps?
John
John
Posted

Full Member
Bill
Edit:by virtue of the partitioning system, so well described by Rob below. Please excuse my senior moment, as brain not in use today it seems!
Last edit: by Longchap
At 6'4'', Bill is a tall chap, then again, when horizontal he is rather long and people often used to trip over him! . . . and so a nickname was born :)
Posted
Full Member
As I understand it, although the LNER built one sized wagon they sold space as small medium and large so the partition was to make the space smaller when less than a full wagon was hired.
The GWR did something similar but apparently they had a few unscrupulous farmers who paid for small or medium space but then when the wagon was loaded them sneaked back to move the partition to give the cattle more room than they had paid for. The GWR came up with a locking mechanism that linked to the opening top doors which were very visible when opened to prevent this.
One question though, is your cattle wagon fitted or unfitted? I ask because recent conversation on the LNER forum seems to have reached the consensus that virtually none of the unfitted LNER cattle wagons made it to BR service.
Regards Rob
Posted
Full Member
The kit comes as vacuum fitted with clasp brakes. Not surprising that unfitted didn't make the cut in BR service - these would need to move at passenger train speed and could even be attached to a passenger train. The kit illustrates the van fitted with a steam pipe which I assume is through and for attachment to a coach behind the van. I do have Geoff Kents "4mm Wagons" which has some info on these - must review.
John
Last edit: by Brossard
John
Posted
Full Member

It is essentially done with just a few bits and bobs to add, notably buffers and couplings.

Underneath the brake gear is assembled. There is a line from the vac cyclinder soldered to the vacuum pipe. The other pipe is the through steam pipe for coach heating. Levers need to be added, as do the safety loops but that's for after painting.
John
John
Posted
Full Member
End details are not supplied with the kit.
Screw coupling is Dapol
Vacuum pipes are Slaters
Steam pipes are Invertrain.
Transfers next.
John
John
Posted
Full Member
How are you finding the Dapol Screw couplings? They seem very reasonable at £18 for five sets but I had heard that they were a bit short?
for a while I have been using the Premier Components version which were 3 sets for £15 but when I got some at Telford they had gone up to £16 for 3 sets.
I fancy trying the Dapol ones when I need some more but would welcome comment on the length - If I remember correctly the person who mentioned them being small had them fitted to a large diesel with lots of pipes on the ends so they may have reduced the available space
Regards Rob
Posted
Full Member
I was thinking of changing the couplings on my J50 to screw link since I want it doing passenger service. For that I was going to get a working set from Slaters - M7023. I reckon I'll need to add steam pipes too.
Unfortunately Premier don't do credit card, so they're not going to make my supplier list - pity.
Cheers
John
John
Posted
Full Member
The magnets do join the hoses but not terribly convincingly. Coupling length seems fine.
The BR van has Oleo buffers which a re abit longer than standard, again the coupling length seems OK.
John
John
Posted
Full Member
I will line up an order from Hattons for some, hopefully before I run out of those from Premier.
Regarding Premier, He is one of the old school in that you place an order, he sends it along with an invoice and then you pay (by cheque). Very trusting in this day and age.
Last edit: by Rob Pulham
Regards Rob
Posted
Full Member
John
John
Posted
Legacy Member
You mentioned Stanley in your post where I once did a gig in a pub there about 15 years ago. It was a Shadows tribute where I stood in for Hank Marvin which went down a storm. I opened with 'Apache' and finished on ' Cavatina' to great beer soaked applause - even when I hit the occasional bum note ! ( Well you try F.B.I. after ten pints ! )
Allan.
Last edit: by allan downes
1 guest and 0 members have just viewed this.