Brendan's Workbench.
Posted

Full Member
Nice build.
Vertical slop - use a drill bit or round needle file and increase the pinpoint axle hole on one side. Not too much. The other way is to put one end of the axle in the drill and use some emery to reduce the angle. Old wheelsets usually have some slop in the pinpoints. One of those pinpoint reamers works if the axle box is plastic.
Nigel
©Nigel C. Phillips

Posted

Full Member
And I see. My usual axlebox is actually a thin section of plastic tubing of enough diameter to let the axle pinpoints roll freely (generally cut from a used-up or otherwise dead ink tube from a pen). On non-bogied stock it's usually bracketed between 2 plasticard strips that are perpendicular to the chassis (reinforced by angled strips to create the W-irons).
I had actually been thinking of cheating on the milk van's center axle by building up a box on the underframe that would hold the axle loosely by the middle, with the box being narrow enough to allow side-slop. After you pointed out the need for vertical slop, I pondered making the slot for the axle extra-deep. Would any of that work?
 Last edit: by ZeldaTheSwordsman

Posted
Full Member
Yes. You could add a thin strip of P/B or brass as a leaf spring. The contacts in Lima bogies used this arrangement for pickup and springing. Sping, axle, cover plate.
Nigel
©Nigel C. Phillips
Posted
Full Member
First, I realized I'd made the chassis for the first Skarloey Railway coach ride too high. Fixed now.
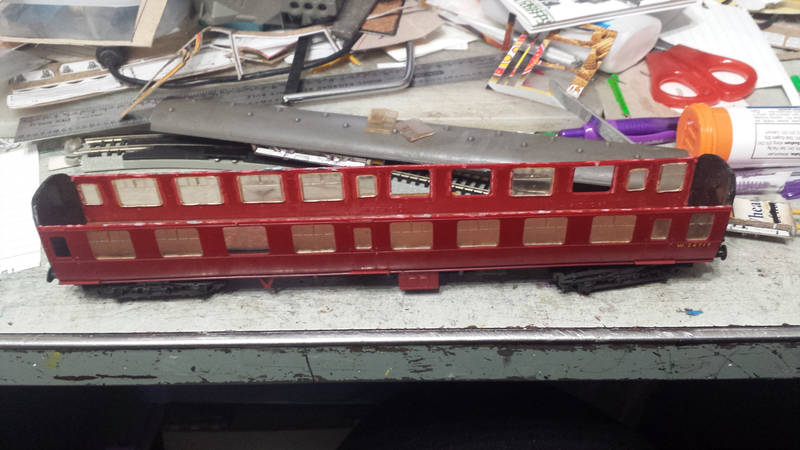
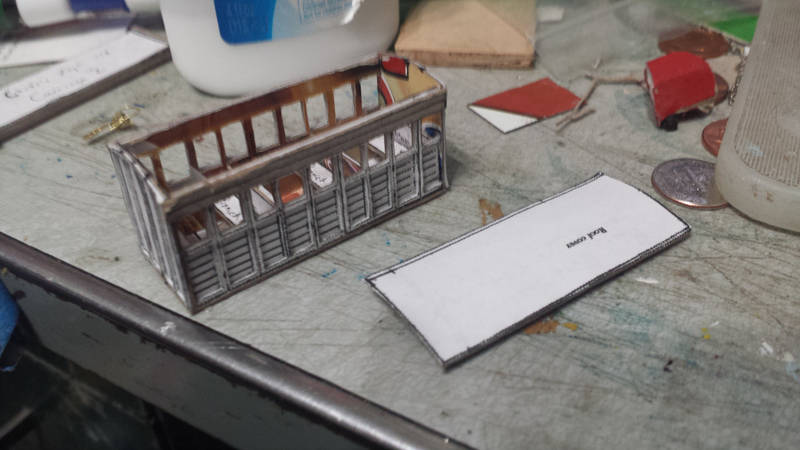
Second, I scored an old Rosebud Kitmaster coach (Kit 14, a BR Mk1 Corridor 2nd) off eBay for cheap. It had no interior, since the Kitmaster coaches didn't include those, a couple pieces of glazing had popped out and fallen in, and the weight was loose inside. So, first step was to pop the roof off. I got a bit impatient towards the end and cracked the body a bit more than it already was, but that will fix up easily.
I'm going to pop the rest of the glazing out temporarily so I can paint or texture-paper the inside walls, and build an interior.
Last edit: by ZeldaTheSwordsman
Posted
Full Member

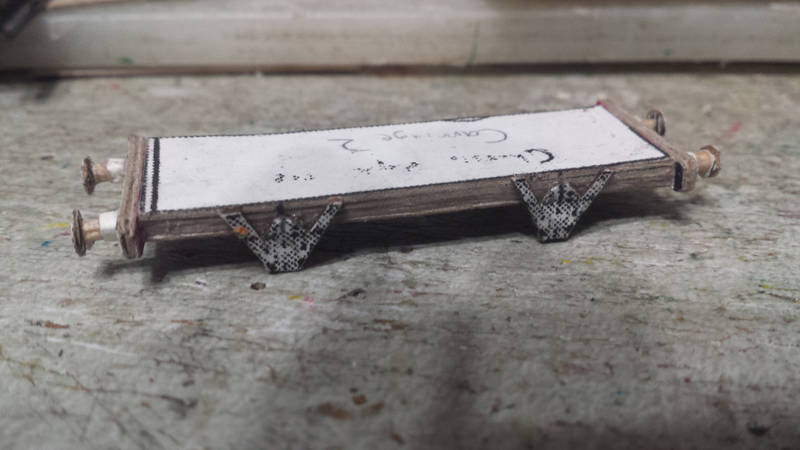
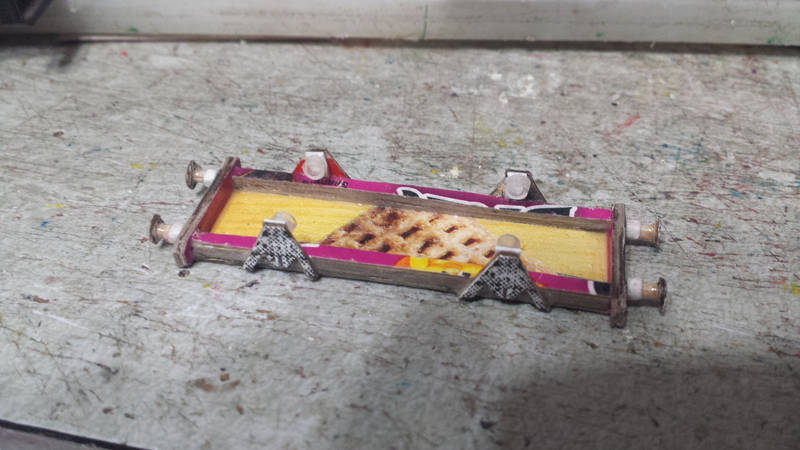
Got the chassis built for coach no. 4
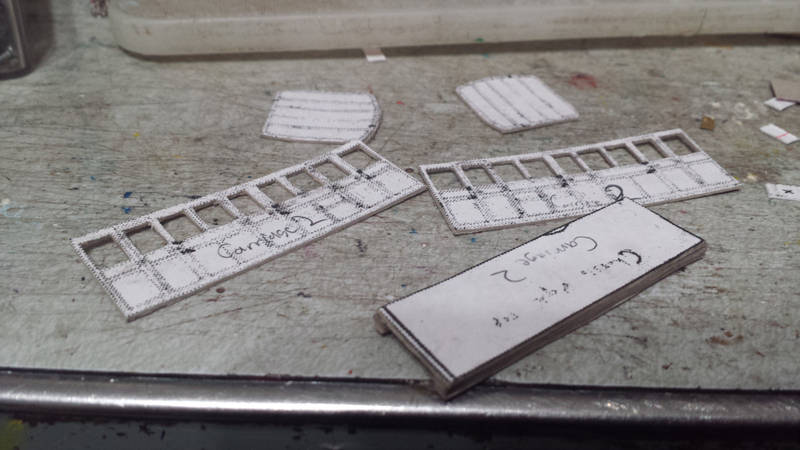
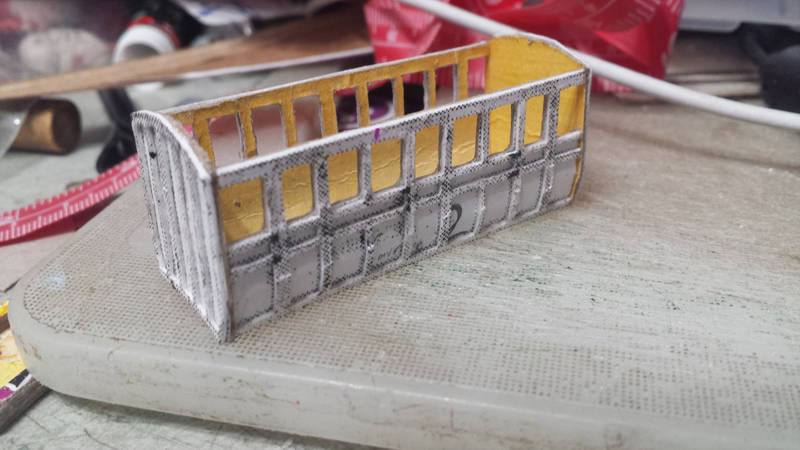
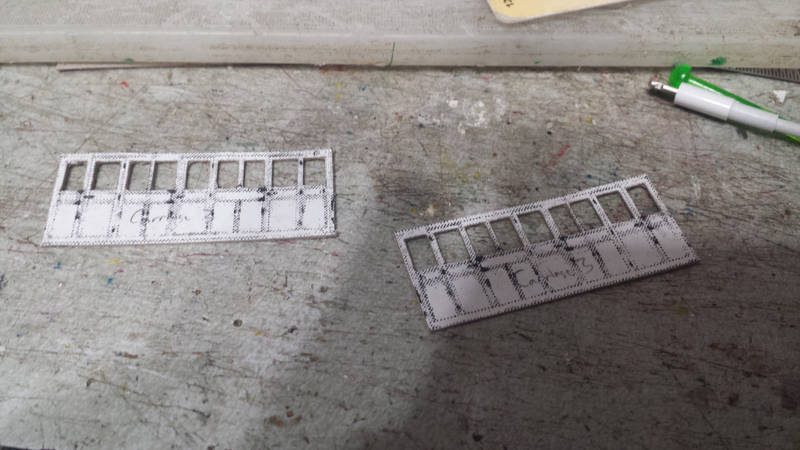
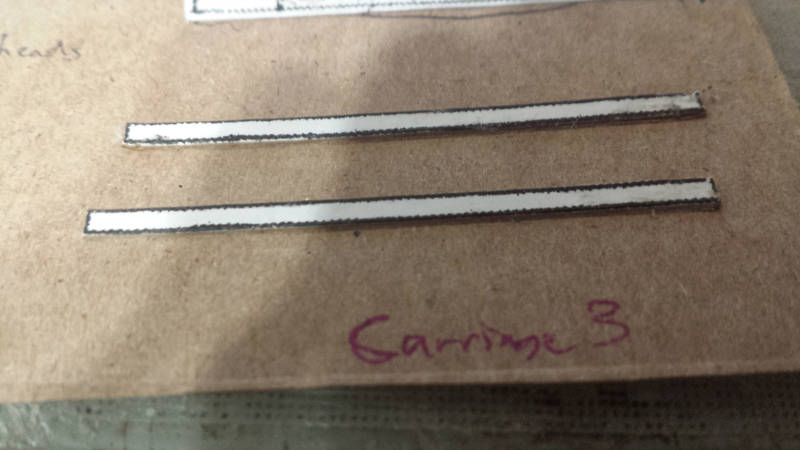
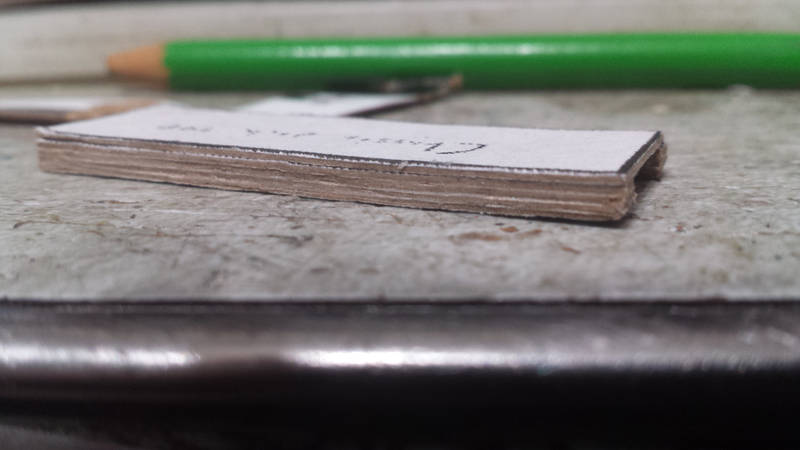
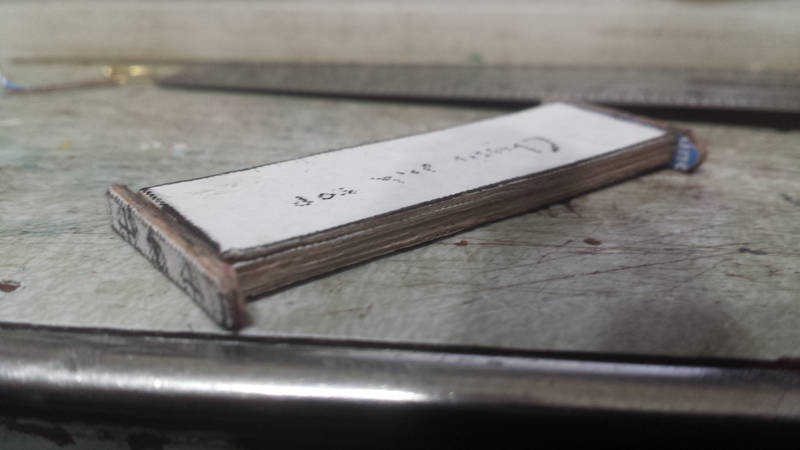
Got the ends and sides for coach no. 2 cut out, and the "meat" of the chassis assembled
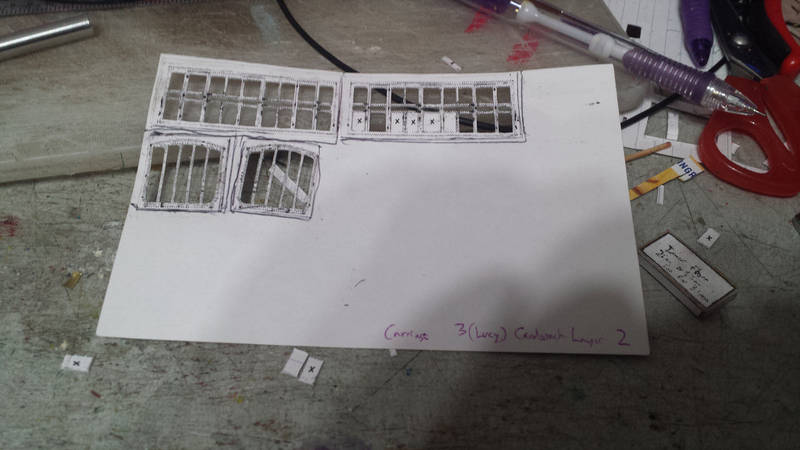
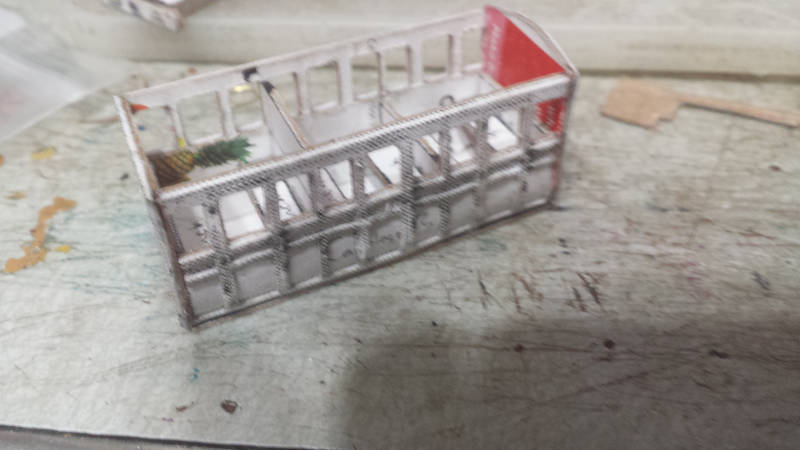
Also got the inner parts of the mouldings for coach no. 3 cut out (photo taken before I finished).
…Yes, I grabbed these by mistake. But I was a good way into it before noticing and since I'd have had to do it eventually anyway I decided to just continue.
Posted

Full Member

But possibly some of the best scratchbuilt card modelling of stock i’ve ever seen. I like your attention to detail, the fact that you are modelling the chassis in card and that you are modelling Sodor Railways is an added bonus.
Carry on, following along with your exercise in insanity.
Posted
Full Member
Thank you for the kind words, Marty.Yes….. absolute madman
But possibly some of the best scratchbuilt card modelling of stock i’ve ever seen. I like your attention to detail, the fact that you are modelling the chassis in card and that you are modelling Sodor Railways is an added bonus.
Carry on, following along with your exercise in insanity.
Finally getting around to another progress update:

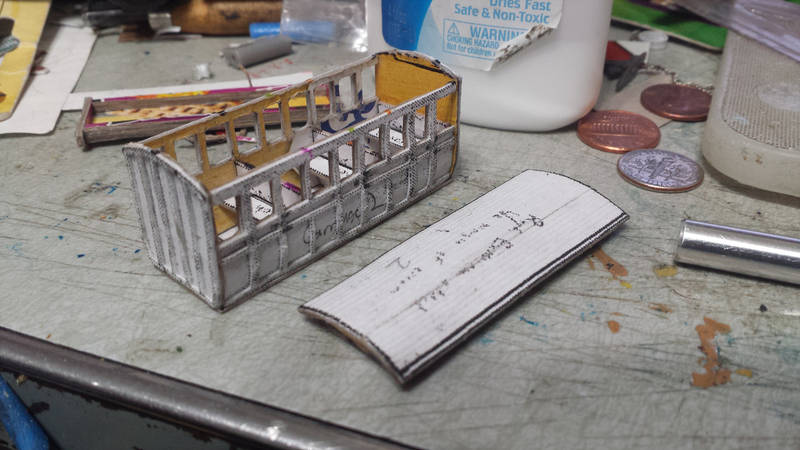
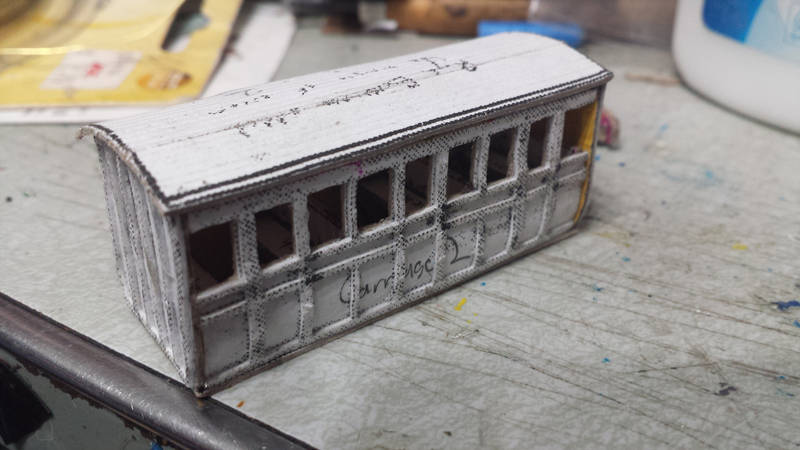
Got the body and removable roof of coach no. 2 together, and fitted the bufferbeams, buffers, and W-irons to the chassis. Going to double-check the axlebox alignment before adding the running boards and journal detail.

I got the removable roof for No. 4 built (please ignore that it's not all the way on in the 2nd photo)
Got the sides cut out for coach no. 3

And I fitted a proper screw lug to the trailing truck I kitbashed for my GS-4. I still need to build the booster cylinders before I can paint it though.
Posted
Full Member
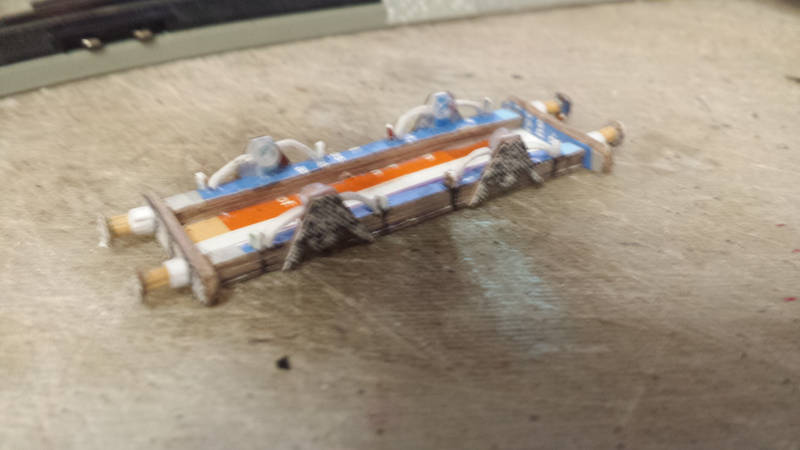
The chassis for coach no. 2 is largely completed
The ends and sides and mouldings for coach no. 3 are all together
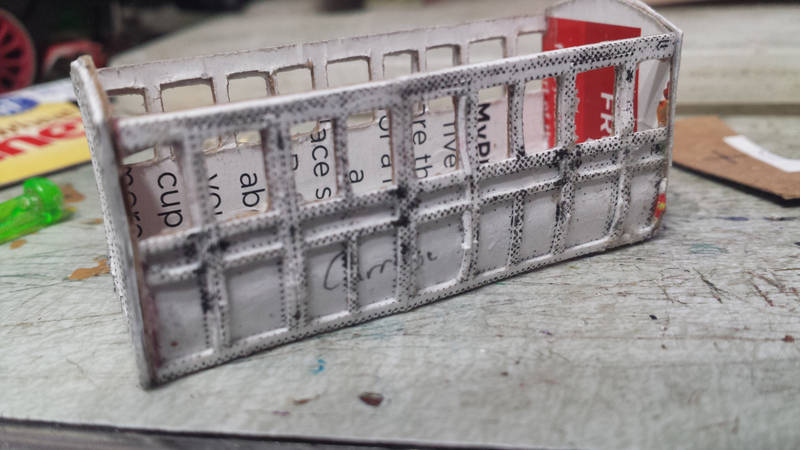
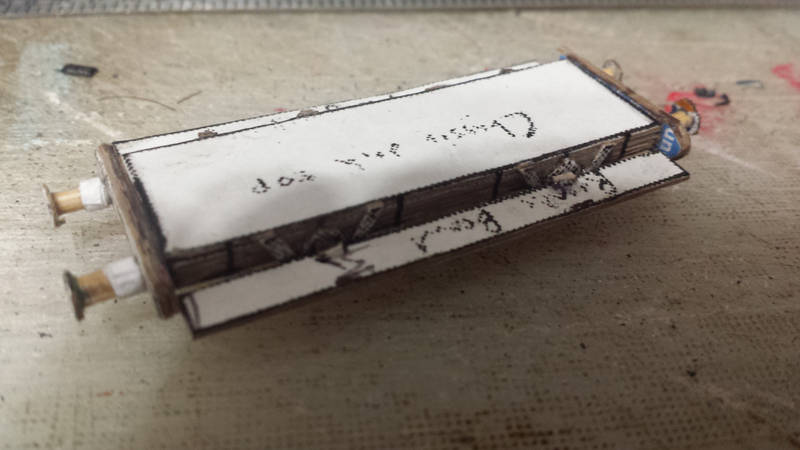
As a special treat for this last one, I've decided to go into a bit more detail on the process. Such as how I build up the chassis sides - I cut out these formers, and glue them to successive layers of cardboard until the chassis side walls are the right height.

As for the seat assemblies, I cut out the seat back and make sure it fits properly between the coach sides, and then glue the bench or benches to it (depending on whether it's at the end).
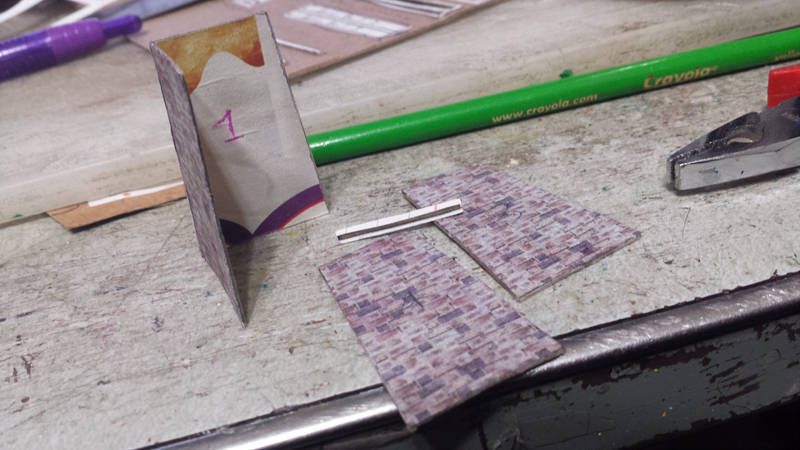
Also making a Skarloey Railway water tower. Just kinda thrown together with rough measurements eyeballed from photos of the Dolgoch Station tower, plus a little height added to compensate for the height of the E-Z Track roadbed. I did precisely measure the width of the trough, based on Rheneas' water filler pipe.
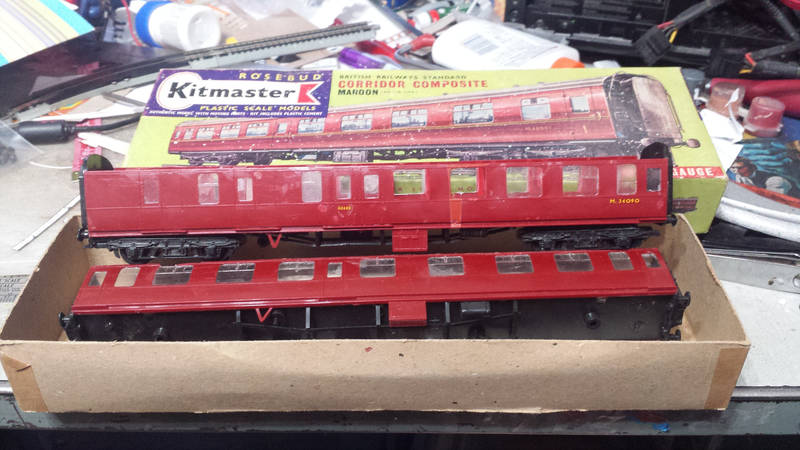
Also got two more Kitmasters to restore - a composite and a brake.
Posted
Full Member
After the chassis side walls have been built up to the required height, they are glued to the chassis deck top.
Once the seats have all been glued in between the sides, the carbody floor is glued on underneath.
Returning to the chassis, the bufferbeams are built up the same way as the side walls, but only to three layers total, before being glued on.
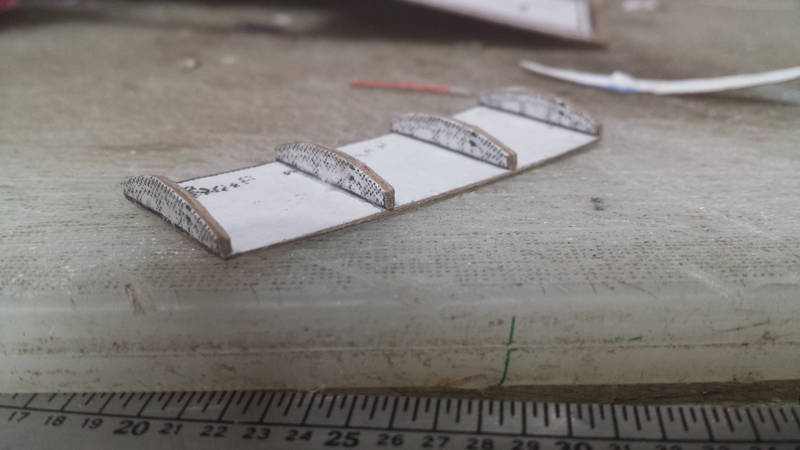
The roof arch supports are cut out, built up by one layer, and then glued to the roof underbase (after I've made sure it fits).
The roof is then cut out, scored several times along its length with the back of a Husky knife tip to allow it to fold easily, and then glued to the arch supports.
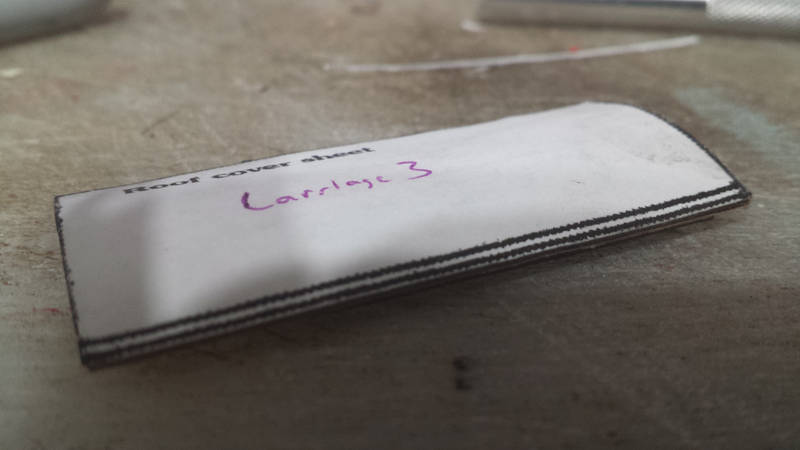
After the roof is glued on, a paper "skin" is cut out and glued to it to hide the scoring. At this point I set the roof and the coach body aside for now.

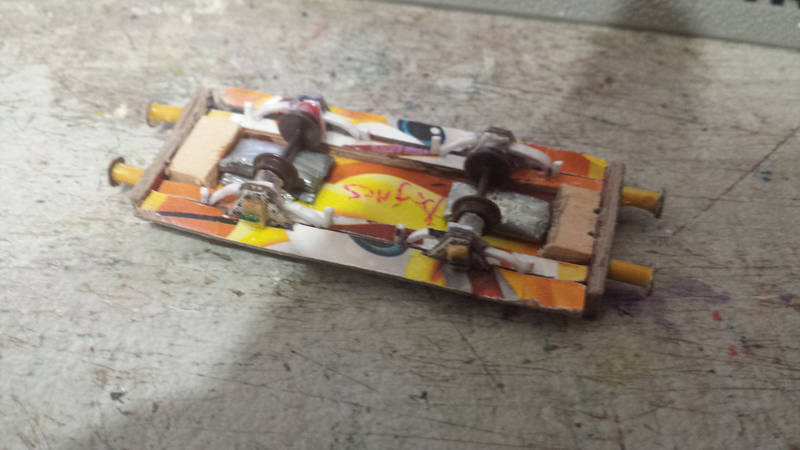
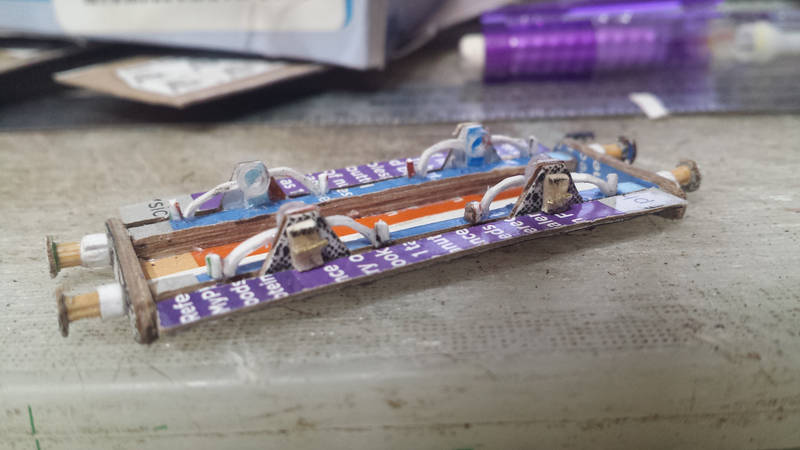
Back to the chassis. I measure and mark where the W-irons should be, then cut them out and glue them on. After they're glued on, I glue plasticard strips on behind them; these strips strengthen them and will serve as anchors for the axleboxes.
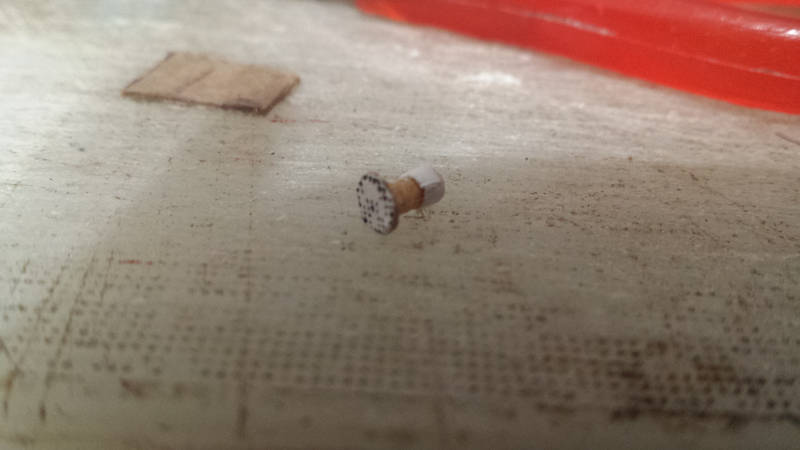
About this time I'm also building up the buffers. I start by marking the desired shank length on a toothpick or sometimes a piece of sprue. I then cut it off slightly longer than that and file it down to the marks. Once the shank is prepared I wrap a strip of paper around one end to create the outer tube of the buffer. Then I cut out the buffer head and glue it to the other end.
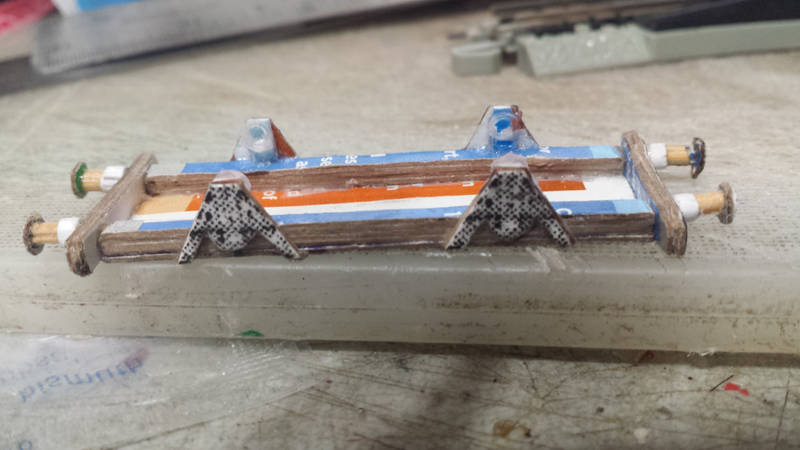
I glue each buffer to one of the marked spots on the bufferbeams as it is finished. I also cut out sections of pen tube to serve as the axleboxes and glue them to the plasticard strips behind the W-irons.
A show of the wheels in place, making sure they fit.

Once I can put the wheelsets on, I check them for rolling and alignment with a couple pieces of track including a terminal rerailer. If it can roll through the rerailer without issue, the alignment should be good.
Posted
Full Member
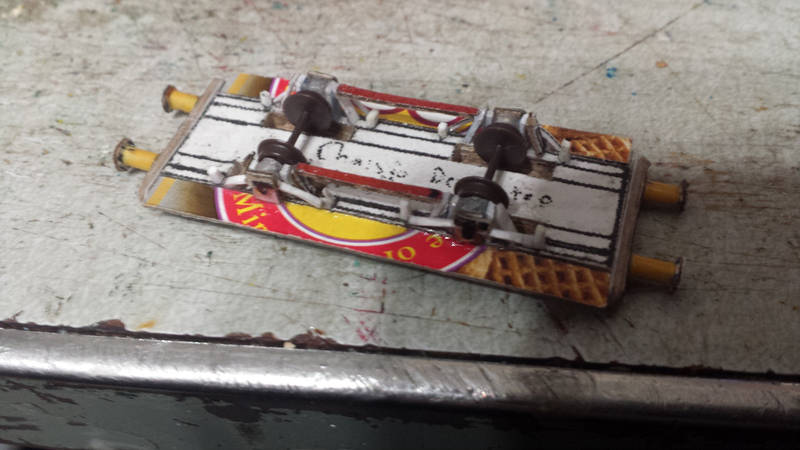
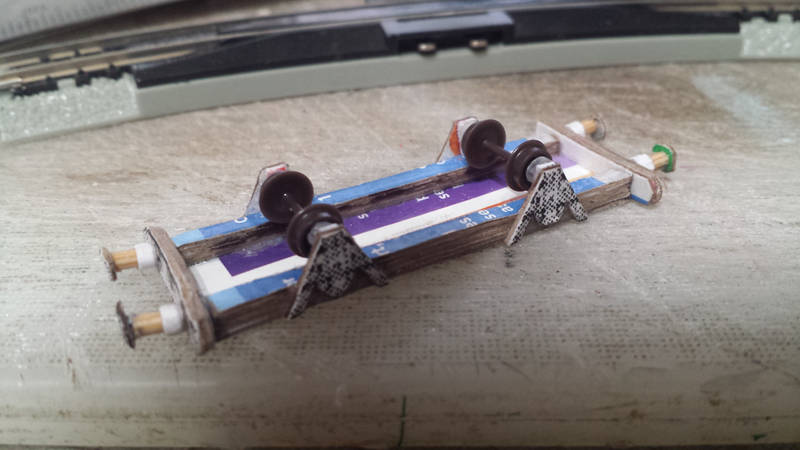
First, the next step on Skarloey Railway Coach No. 3. After the wheel alignment and rolling have been determined to be satisfactory, I remove the wheelsets for the time being. Then I mark the points for these eight little nub posts, cut out said nub posts, and glue them on. These will form the outer anchors for the leaf springs.
The next thing requires some background info.
As you can see here, Tyco's model of the EMD E7 doesn't have EMD sideframes on its trucks. All of Tyco's six-axle diesel trucks used a modified version of the Alco C630 sideframes with equidistant axleboxes.

I have decided to make custom E-series sideframes for it by cutting and shutting some Bachmann F-series sideframes (since they're similar and I got them for cheap). I've had these for some time, but I hadn't got around to the project until now.
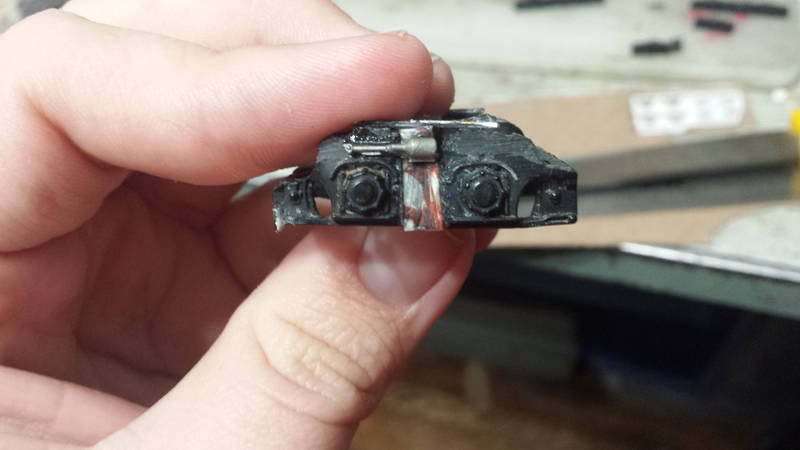
One of the displaced Tyco sideframes yielded the cylinders I needed for the homemade trailing truck.
Posted
Full Member
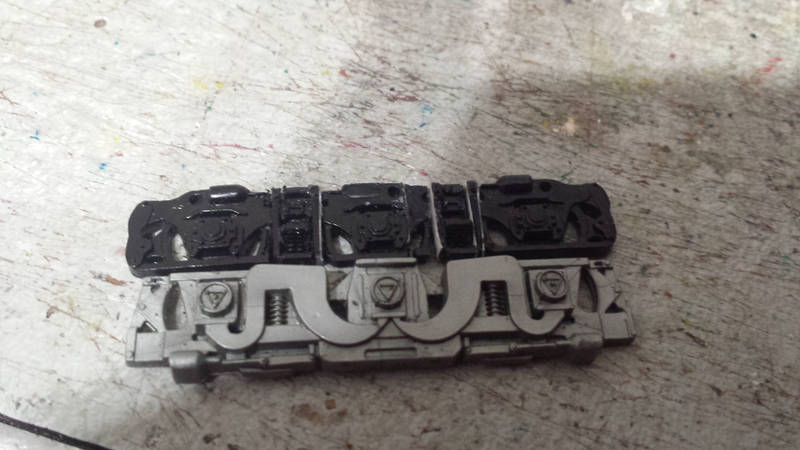
Finished the cutting and shutting. Had to use insert strips of card in several spots to get the plastic pieces to actually stay glued to each other.
Next up is the progress on Skarloey Railway coach no. 3:
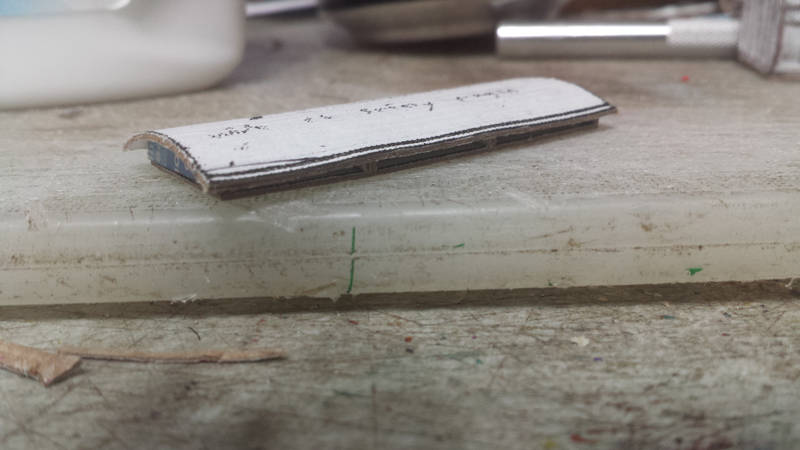
With the anchors fitted I could do the leaf springs. They're made from three layers of card glued together. I cut a long strip of this triple-layered card, bend it, then measure, mark, and cut each segment in situ. Apologies for the picture quality.
After that, I do the running boards.First, I measure and mark where the little bracket pieces (which are just tiny strips of cardboard) should go. Then I cut out the running boards and glue on said bracket pieces, and then I mount the running boards to rthe chassis.
At this point, I do the journals. These are made from sections of a matchstick that's been split in half lengthwise. I mark a segment, notch it horizontally and glue in a snippet of wire, then cut it off and glue it to the chassis. Repeat until all four are done.
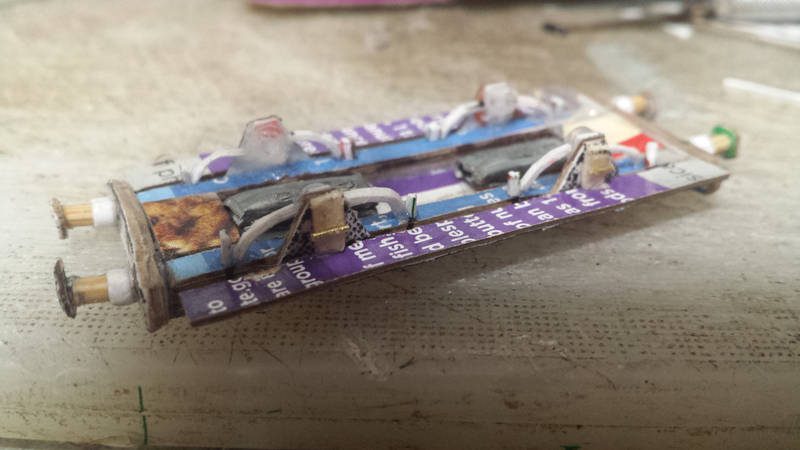
After that, I build up two cardboard blocks that go behind the bufferbeams. These will serve as mounting points for the couplers. Then I glue down the weights.
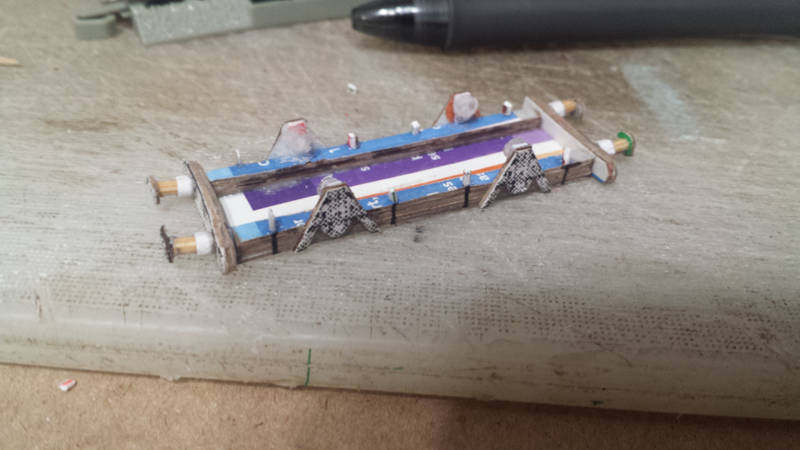
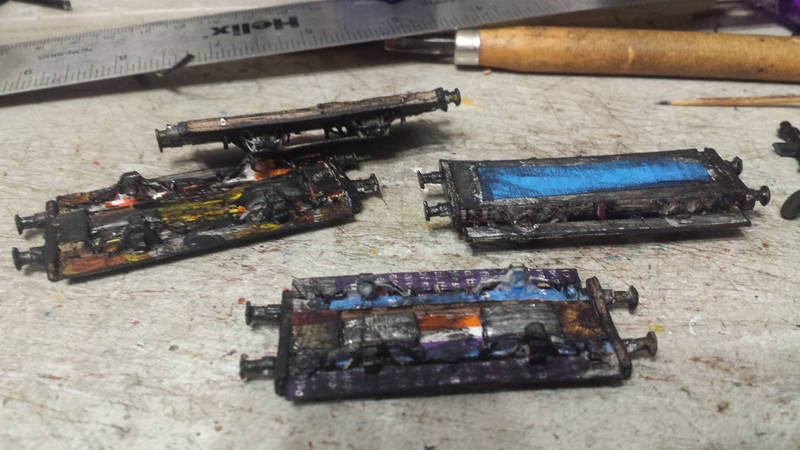
With the other carriages' chassis all done save for a minor detail, I turned my attention back to the guard's van chassis, which had some catching up to do (leaf springs, journals, plasticard strips, axleboxes, outer buffer tubes) plus some extra work in the form of the brake rigging.
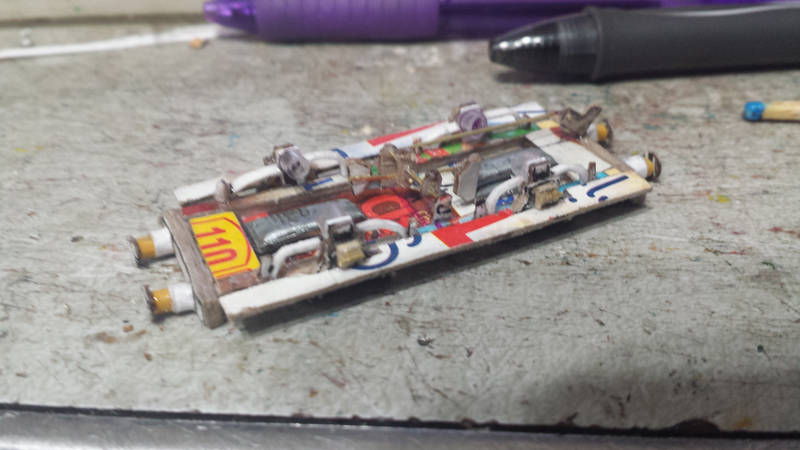
Well, I get all that done. But I made a miscalculation of height and positioning that led to me having to go back and fudge something.

Had to snip out the middle of one rod to give one of the wheelsets clearance. Thankfully you'd have a hard time seeing it with the chassis right-side up.
Posted

Legacy Member
True scratchbuilding
Brian
OO gauge DCC ECOS Itrain 4 computer control system
Posted
Full Member
Posted

Site staff
and I agree with Brian totally !!! :thumbsNow thats dedicated card modelling and I applaud you for what you have achieved.
True scratchbuilding
Brian
Ron
NCE DCC ; 00 scale UK outline.
NCE DCC ; 00 scale UK outline.
Posted

Full Member
I've logged your tip in my memory bank for using an intermediate layer of paper or card stock to stick awkward plastics together. Top tip, thanks.
Bill

At 6'4'', Bill is a tall chap, then again, when horizontal he is rather long and people often used to trip over him! . . . and so a nickname was born :)
Posted
Full Member
Amazing work.
Nigel
©Nigel C. Phillips
Posted
Full Member
I may as well give a quick progress update:
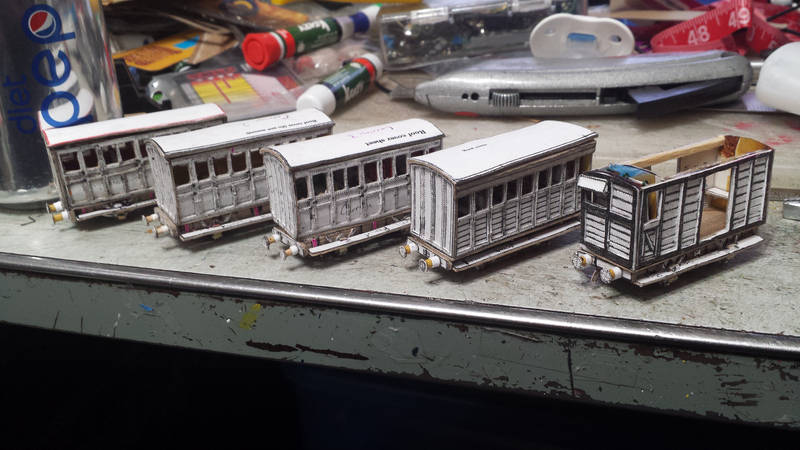
A shot of the Skarloey Railway vintage train, getting closer to ready to paint (Note: The carbodies aren't glued down yet, they're just resting on the chassis for photography purposes). Since this photo was taken I've added the "lobster pots" where the steam heat lines would attach, and been working on door handles and handrails. I've gotten those done on coaches 1 through 3 so far.
Posted

Full Member
Great stuff!
Michael
Posted
Full Member
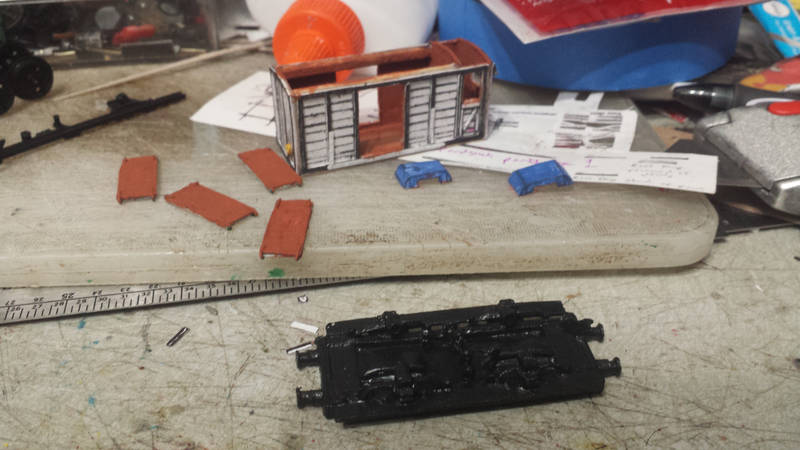
I've gotten started on painting the guard's van, which means I should be able to actually fit the doors and duckets soon.

Over the past few days I finally finished detailing the cartazzi for the GS-4 and yesterday I started painting it.
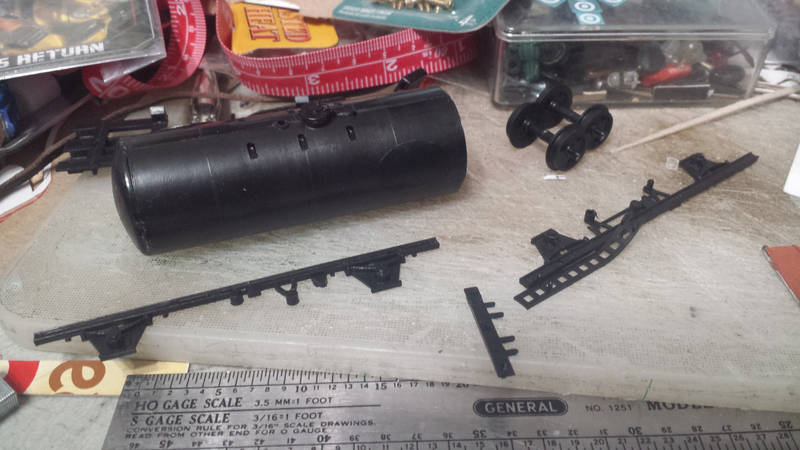
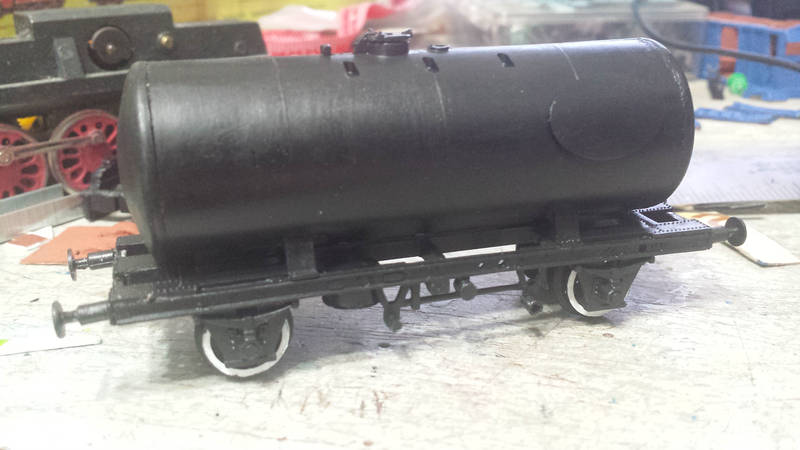
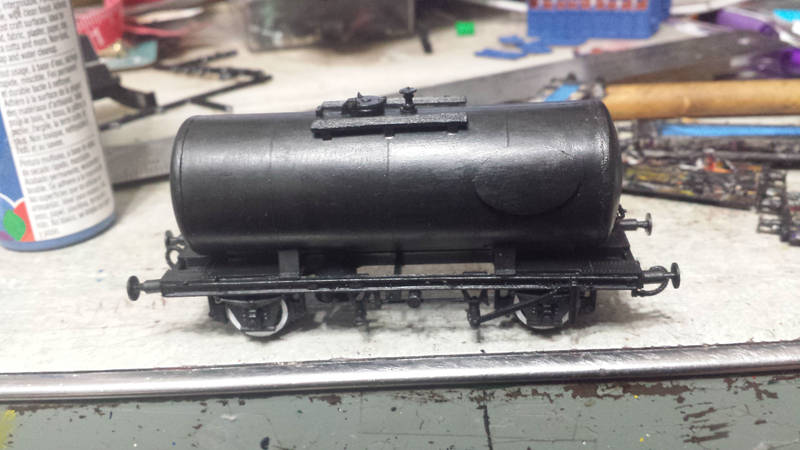
I also finally got going on building and painting one of my Airfix Class B tankers.
Posted
Full Member
The only part left to fit is the ladders (and maaayybe the decorative coupling hooks). Then I can do the decals, detail and touchup painting, and weathering.
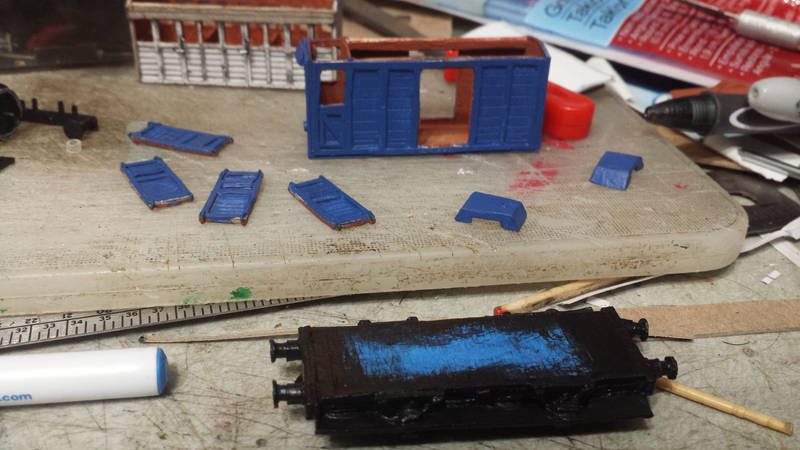
The Skarloey Railway guard's van has progressed considerably, and a bit further still since this picture. At this point it's just waiting on me to cut out and fit the flooring detail paper.
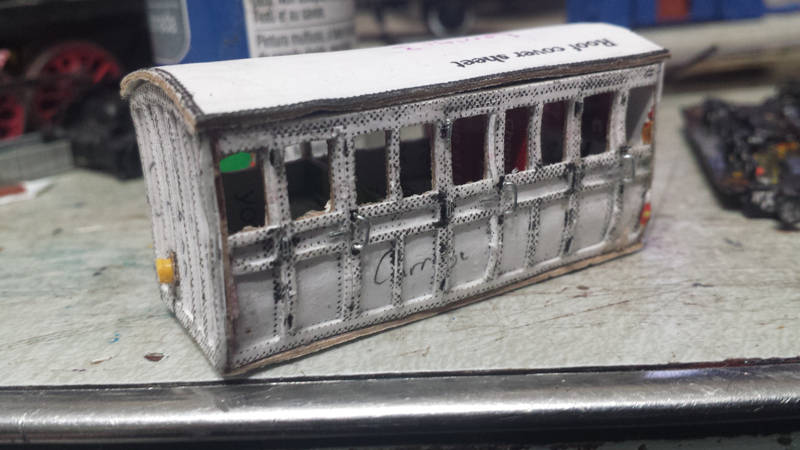
A final pre-painting shot on coach no. 3, showing the lobster pot on one end as well as the door detail (hinges, handles, and handrails). The other side is much the same, except that as per the real-life counterpart there are no handrails there. The hinges are measured to about the right size and cut from staples. The handles and handrails are made from twist tie wire marked and cut (and bent, in the case of the handrails).

Coach no. 4 has already been undergoing painting. The blue on the outside is done, bu the burnt sienna on the inside could stand some touching up before I do the white on the window surrounds.
In the hopes of saving at least some time, I'm painting the chassis for coaches 1 thru 4 as a group.
Last edit: by ZeldaTheSwordsman
1 guest and 0 members have just viewed this.