Brendan's Workbench.
Posted

Full Member
Take the lack of comments as approval. I for one am amazed at your talent for improvisation, adaptation and making believable models from cans of soda and odds and ends lying around. For frugal minds like mine it just shows what can be done.
Nigel
©Nigel C. Phillips

Posted

Full Member
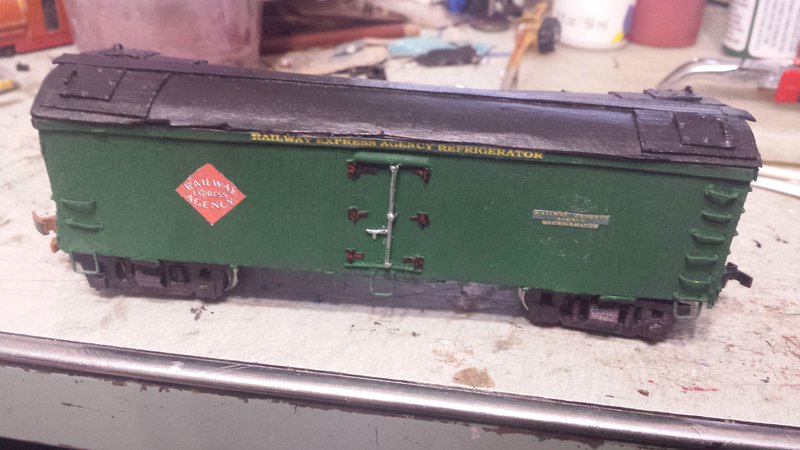
Got this pretty much finished, finally. Final paint color applied, finished painting the roof, got the printed decals glued on.
Getting close to done with the fish van. The buffers are on, the chassis has been painted and weathered, the body is mounted, the home made Sprat & Winkle-style couplers are installed and functional (except one is currently without the wire loop because I ran out of Krazy Glue)

Posted
Full Member

First off, the fiah van now has a roof and both couplings, so it's done aside from graphics and weathering of the sides and roof
And the test build of my 48' container template
Posted
Full Member
The fish van's been weathered a bit on the sides and roof, looks a bit better now.
Finally almost done with converting a standard flat to a trailer flat.
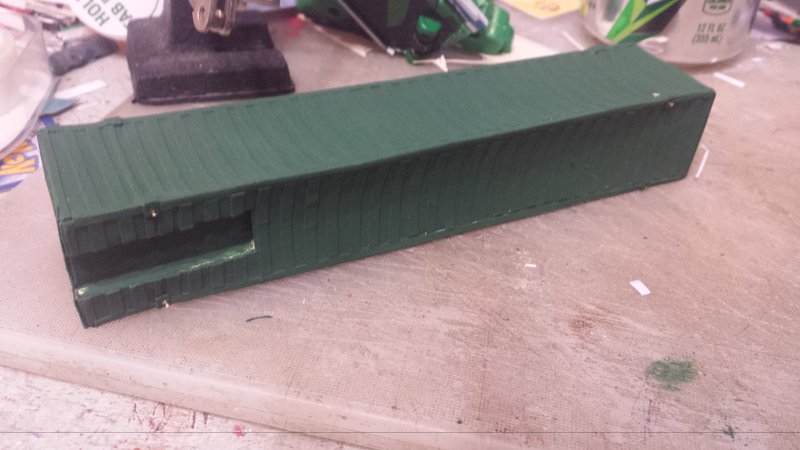
And I've made some headway on one of the sides for my generator-baggage-dorm, with my first effort at homemade fluting for the sides
By the way, can anyone guess what's with the stubs of wire coming out of the container in my previous post?
 Last edit: by ZeldaTheSwordsman
Posted
Full Member
So, yeah, making another update. I, um. I don't know if I still belong in this community after how horrible I've been, but I still wanted to share this.
So, here's the projects I've made progress on lately:
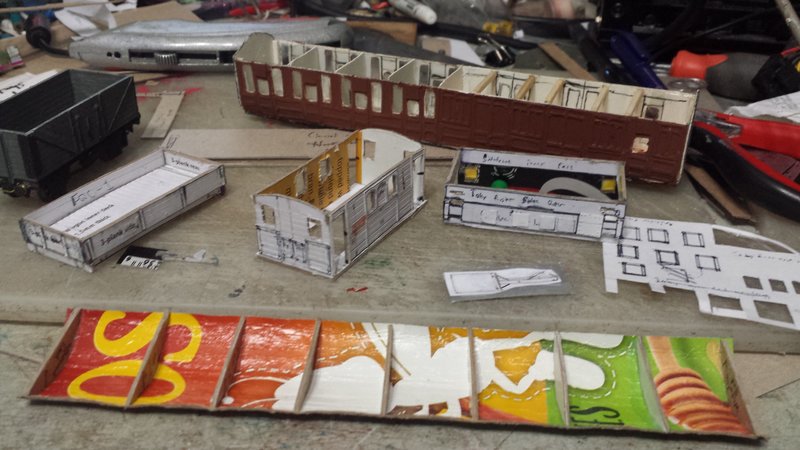
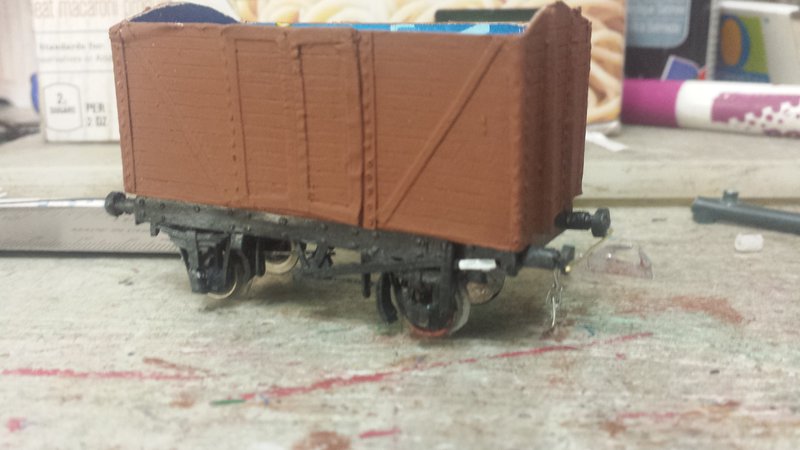
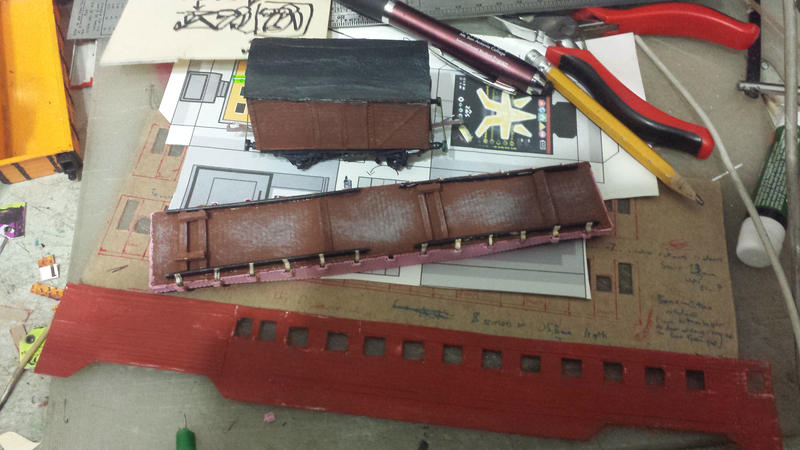
None of this is finished right now, but it's progressing nicely. There's a scratchbuilt 3-plank open wagon, the first of what I plan to be several (my minimum is five, but I hope to do more). There's a scratchbuilt (based on a July 1961 article in Railway Modeller by the Reverend W. Awdry) J70, which will be my model of Toby. And there's a scratchbuild LNER Diagram 65 (or similar) suburban brake to represent the RWS version of Clarabel. The in-progress roof for her can be seen at the absolute front of the picture, and the in-progress chassis can be seen at the back under the carriage body. The Bachmann 7-plank wagon is being used as a gauge for buffer placement.
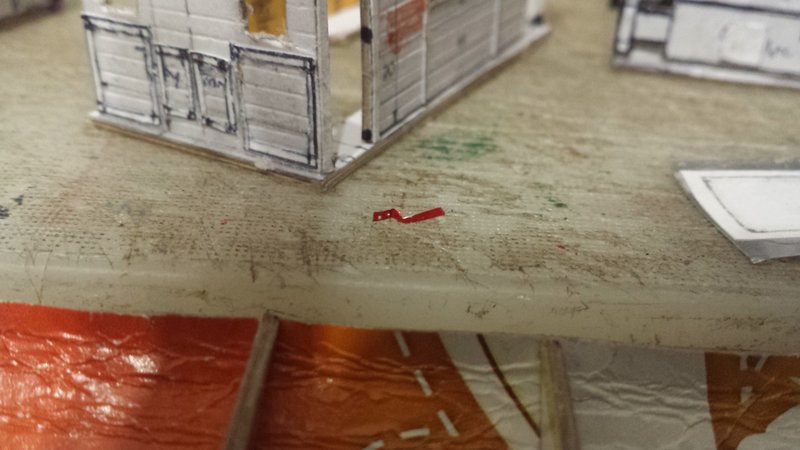
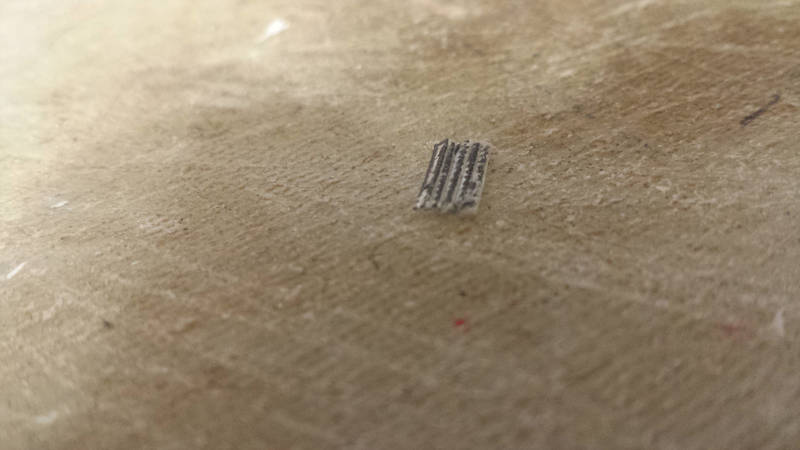
A closeup of a lamp iron I made for Toby. He will of course be receiving a full set.
Last edit: by ZeldaTheSwordsman
Posted
Full Member

As I was inspired to use these by Thomas the Tank Engine & Friends, this and most subsequent builds will run on bogies like the ones from the show were kitbashed to do. This particular build is destined to be part of the 'Flying Kipper' consist, and I have four more in progress to be post train vans.
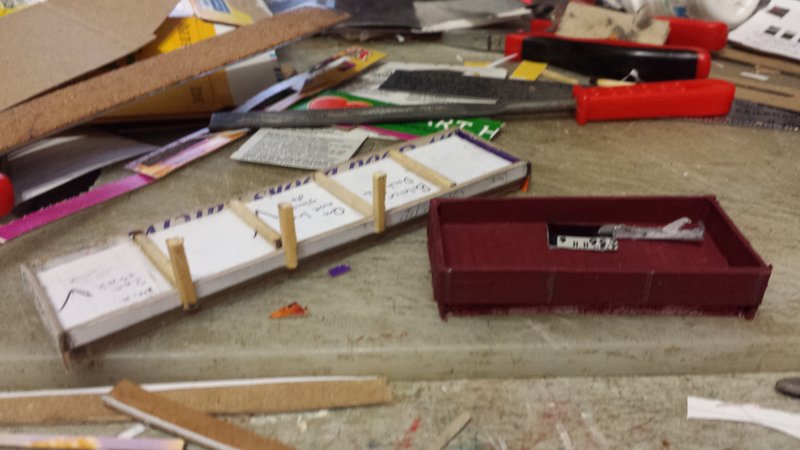
Next, a progress update on the 3-plank wagon I showed earlier along with a show of the first build of my 32' bolster wagon template.
And finally, an update on Toby.
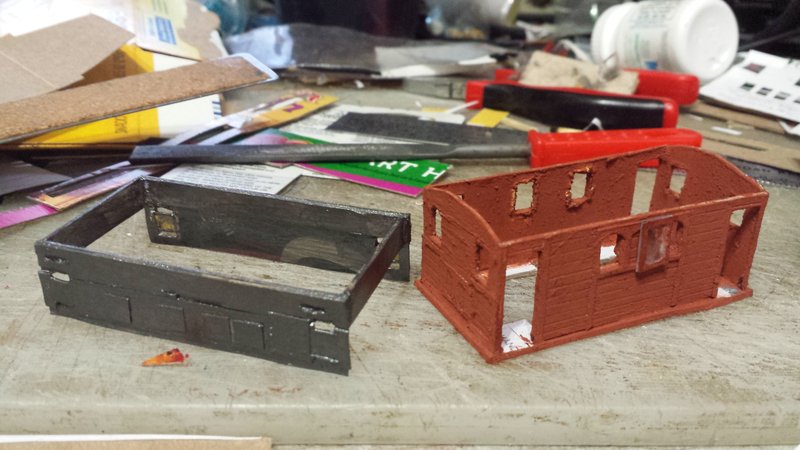
His body planking has been painted the closest thing I had to GER chocolate brown, and I've started making and fitting the windows. I've also mostly finished the metallic dark gray undercoat for the frame and sideplates.
Posted

Site staff
Watching with interest so keep posting the progress
Cheers
Matt
Wasnie me, a big boy did it and ran away
"Why did you volunteer ? I didn't Sir, the other three stepped backwards"
"Why did you volunteer ? I didn't Sir, the other three stepped backwards"
Posted
Full Member
And here's two more in-progress projects (there's a reason I call myself a madman).

A six wheel milk siphon. The sides were a bit flimsy when originally cut out, but became much more solid after I glued the cross-braces on. (Gee, something becoming more sturdy after being braced? Amazing! Who'da thunk it? ;) )
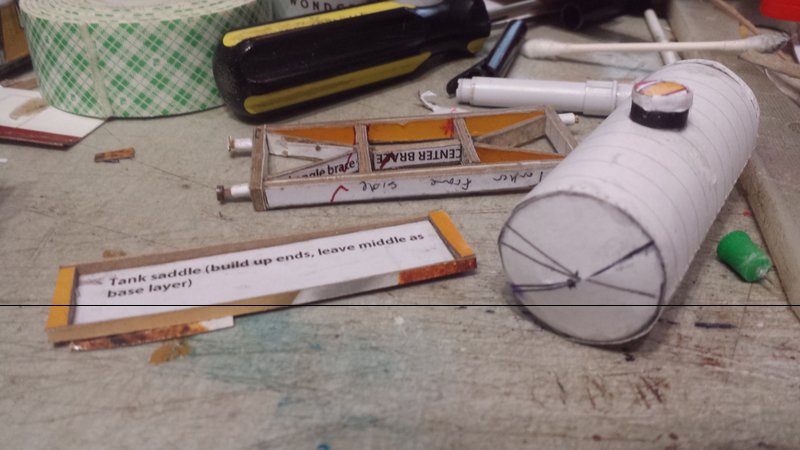
There's also this, a tanker wagon. It's intended to duplicate the Tenmille tanker in 00 scale but I goofed on the template (fixed now), so the rivets on this first build don't match. I have thus decided to paint this one green and label it with "GB Lubricants" signage.
How did I do the rivets, you might ask? Simple, really. Part of the template is a rectangle measured to wrap around the tank, and it has the rivets marked on it. I glued that to cardstock, and from there I could just poke out the rivets with a pushpin like I do for other rivet detailing and then wrap this cardstock jacket around the tank's PVC core.
Posted
Full Member
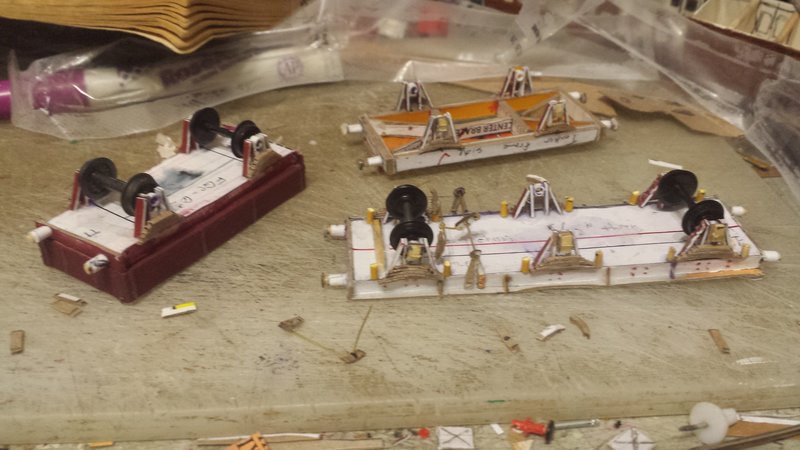
Been at work on the chassis portion of these wagons, adding W-iron assemblies, buffers, and brake detail. And dawdling on the latter, finally started making proper headway on it today. Concentrating on the milk van right now since it's the most complex on that score
Posted
Full Member
Posted
Full Member
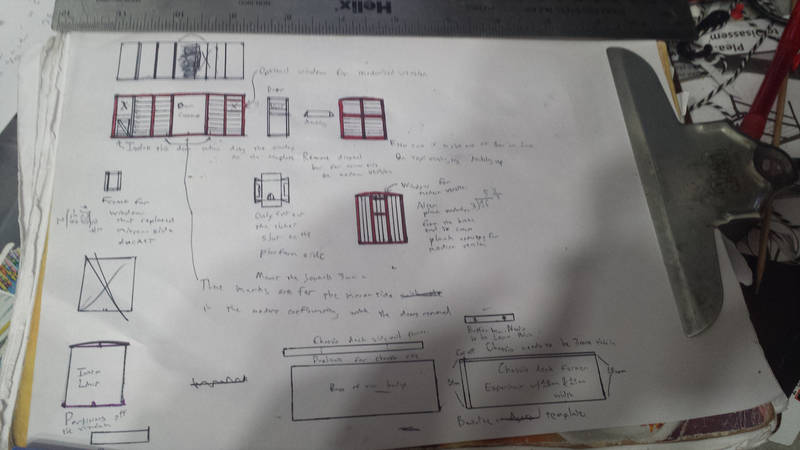
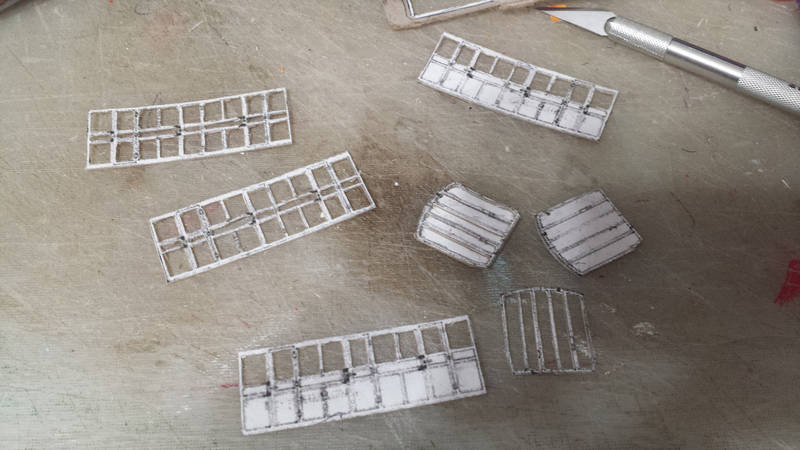
Lately however I've been making good progress on narrow-gauge stuff for the Skarloey Railway. I've been drawing up templates:
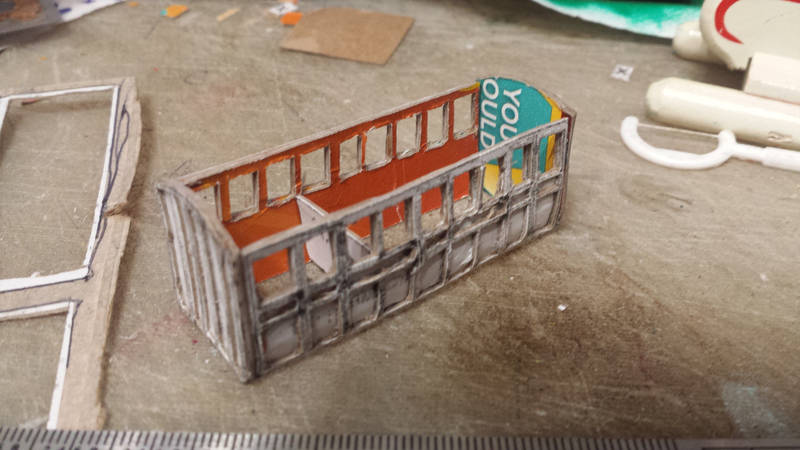
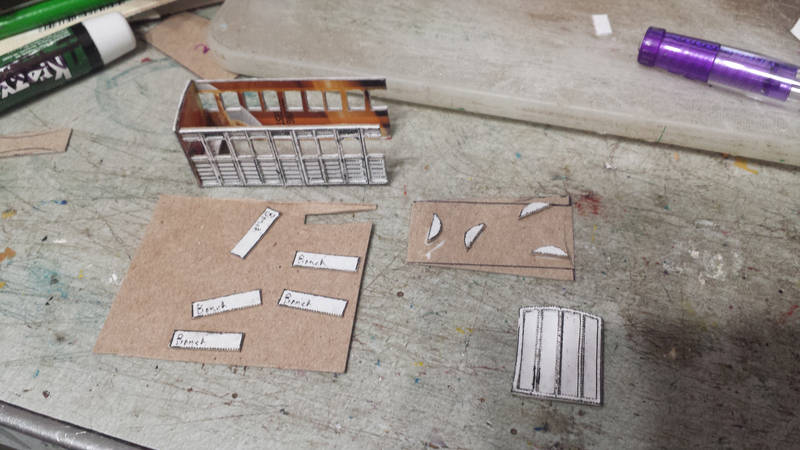
And I've made good headway building one carriage, designated as Agnes (the 1st class coach):
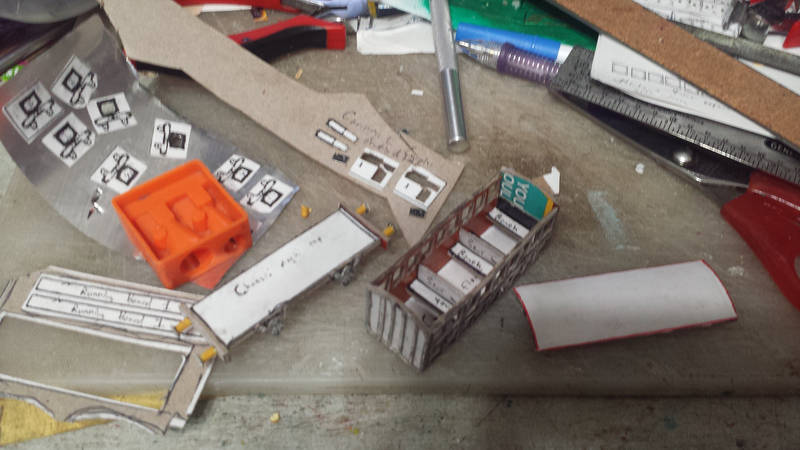
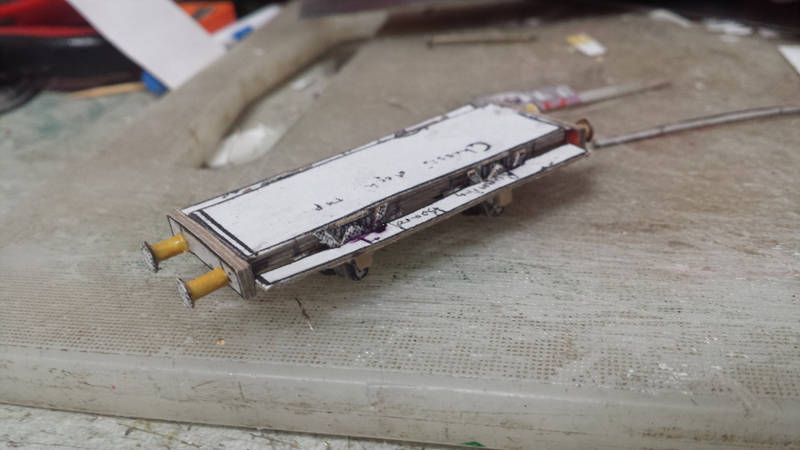
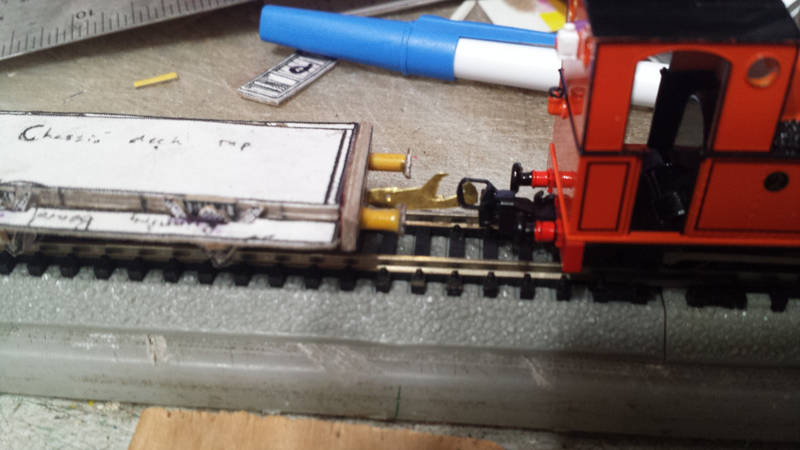

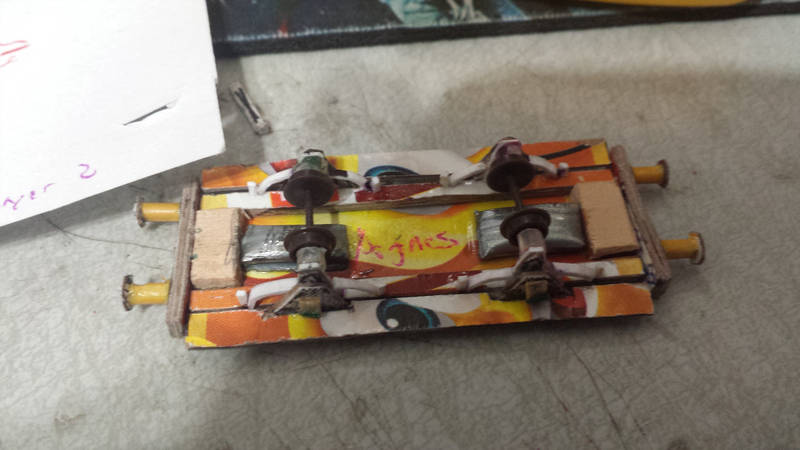
There was much trial and error faffing with the coupling choice. I tried to homemake Greenwich couplings but ad difficulty cutting the pieces out. I tried homemade Bemo-type couplings (since those are what Rheneas comes with) but had issues with drilling out the shank and getting the loop size right (although I may try revisiting them with a different approach). I eventually drew up a template for narrow-gauge homemade Sprat & Winkle-type couplers, since I can cut those out reliably and they also end up working with Rheneas' stock couplings. Note that the hook is brass - the aluminum hooks I made in the past didn't hold up to further tests. I will be re-doing the existing hooks in brass and future hooks will also use brass.
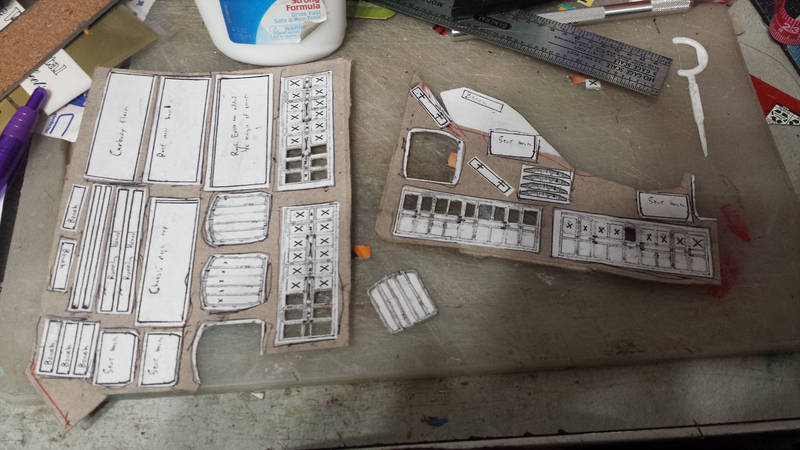
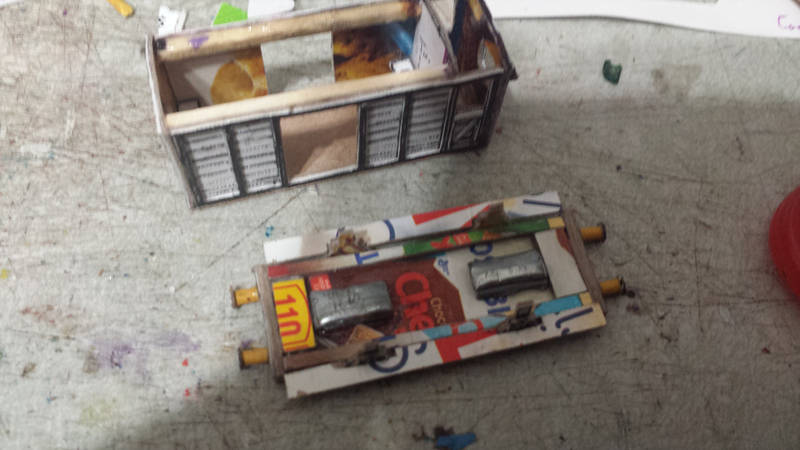
Also been making headway on Beatrice, the guard's van:
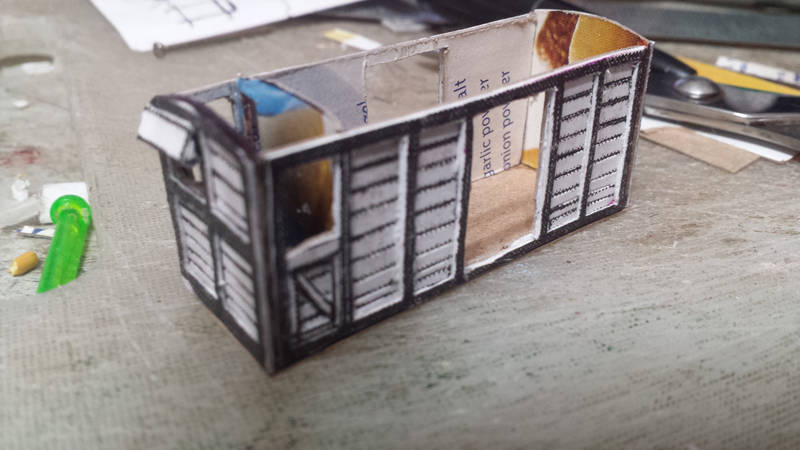

I'm doing basing this build off of the real-life counterpart's 1911-1935 condition (Duckets and sliding doors on both sides)
Posted

Site staff
What sort of coupling will be on the other end.
Ed
Posted
Full Member
Thanks!Looking good Brendan :thumbs
What sort of coupling will be on the other end.
Ed
And it'll be the same type, I just haven't made it yet. I haven't even finished the first yet, it still needs the dropper chain.
Posted
Full Member
Neat modeling. That 6 wheeler needs some lateral movement in the middle axle if you have tight track radii. If you have less than flat track you need a bit of vertical slop as well.
Nigel
©Nigel C. Phillips
Posted
Full Member
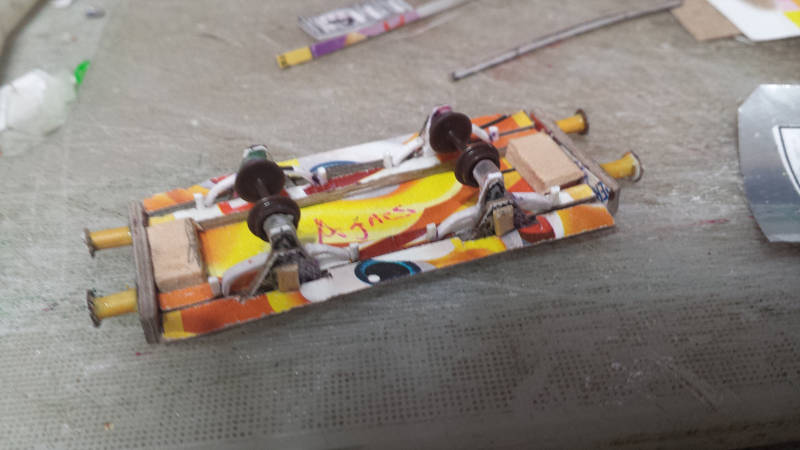
Did a test run of the coach chassis today, it seems to be viable:
[yt]eo9rOp02UTI[/yt]
Posted
Full Member
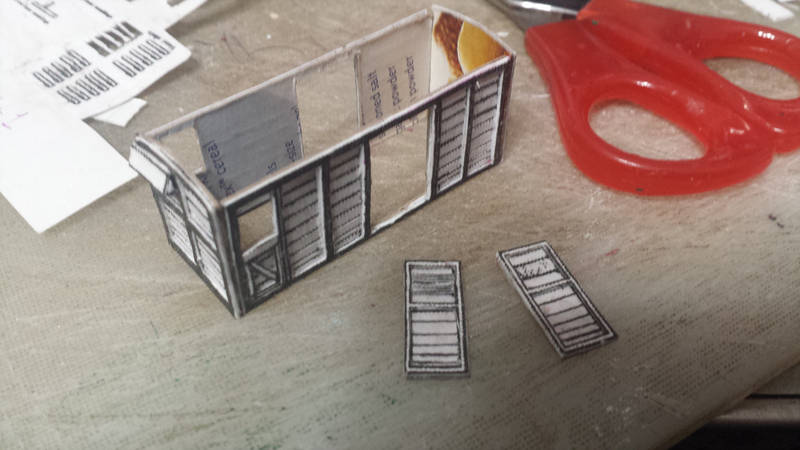
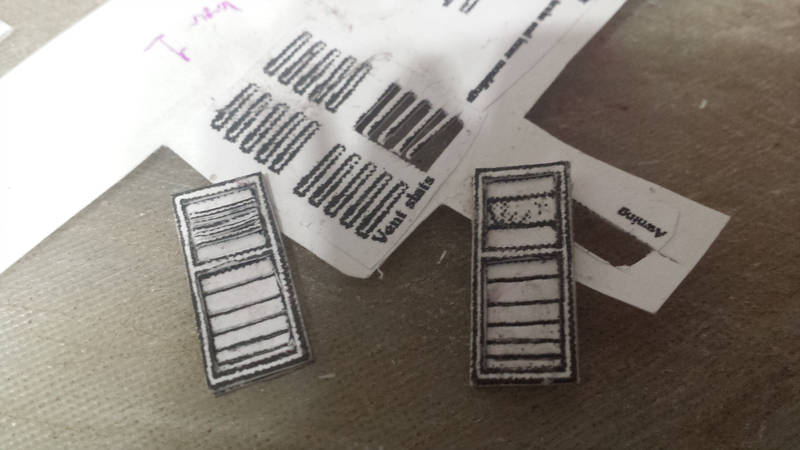
I do however have pictures of my build on coach no. 4:
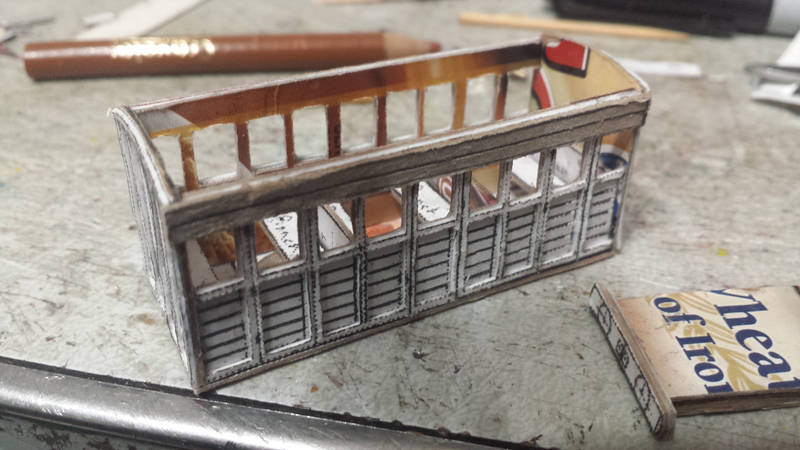
I'm doing this build in the configuration the real-world counterpart spent several decades in - that is, with the vent louvers over the doors and the top mouldings covered by 2 boards either side.
Posted
Site staff
Ed
Posted
Full Member
Posted

Full Member
Cheers
Andy
Andy
Posted
Full Member
1 guest and 0 members have just viewed this.