Modifying a Breakdown Crane
Posted

Full Member
From Tyco American to GWR Lookalike
Sweet project Gormo,I will squirrel this one away for a dark winters night, along with the other 72 projects

Just loving the work that's gone in to this, there again I should not of expected anything less from the "Great Gormo"
ATB,
Ian :mrgreen:
Time flies by when I'm the driver of a train
And I ride on the footplate there and back again.
Cooper St.
And I ride on the footplate there and back again.
Cooper St.

Posted

Inactive Member
You are very kind
:cheers Gormo
"Anyone who claims to have never made a mistake, never made anything!!"
https://sites.google.com/site/greatchesterfordmodelrailway/home
https://sites.google.com/site/greatchesterfordmodelrailway/home
Posted
Inactive Member
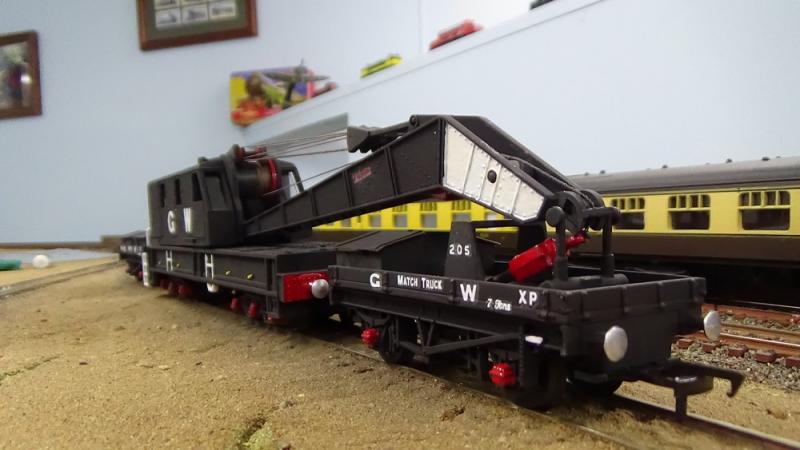
Nearly there now with the crane.
The remaining tool boxes were fitted today so here is a pictorial update. The eagle eyed amongst you will notice, courtesy of Macro photography, some inconsistencies with the box lids. The simple answer to this one is that, at some stage the boxes have been repaired with parts that don`t quite match. Just like the real world.
That`s my story and I`m stickin` to it !!!…..Aahemmm????
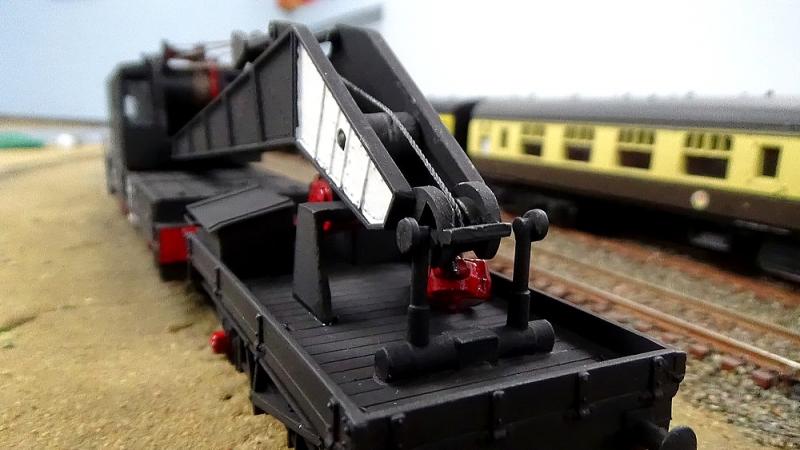
The back end wagon now with all it`s boxes
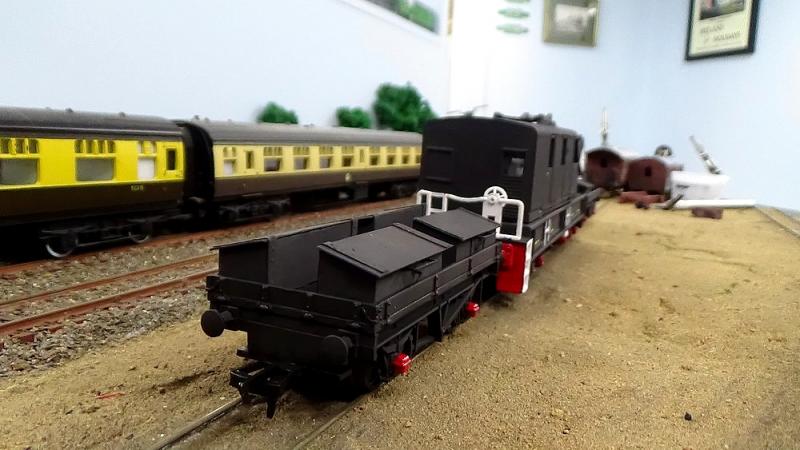


The front end or Match Truck
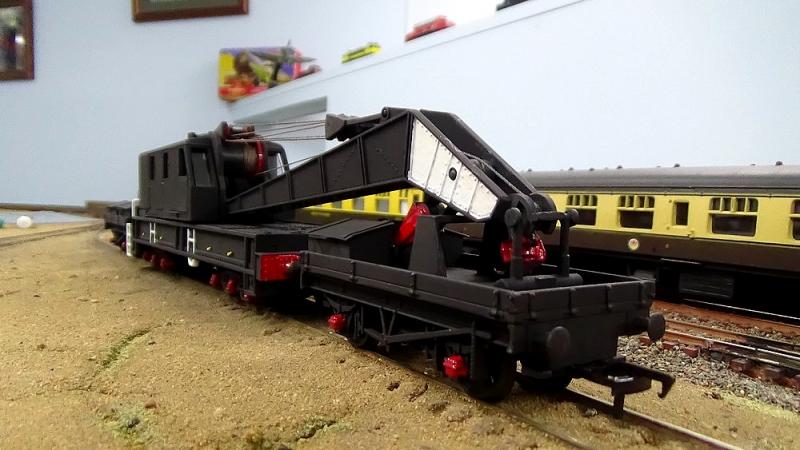
And now some detailed shots……the jib end
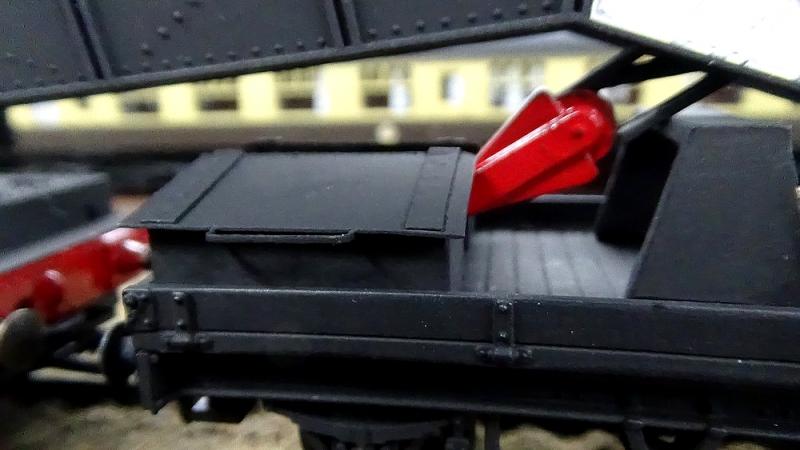
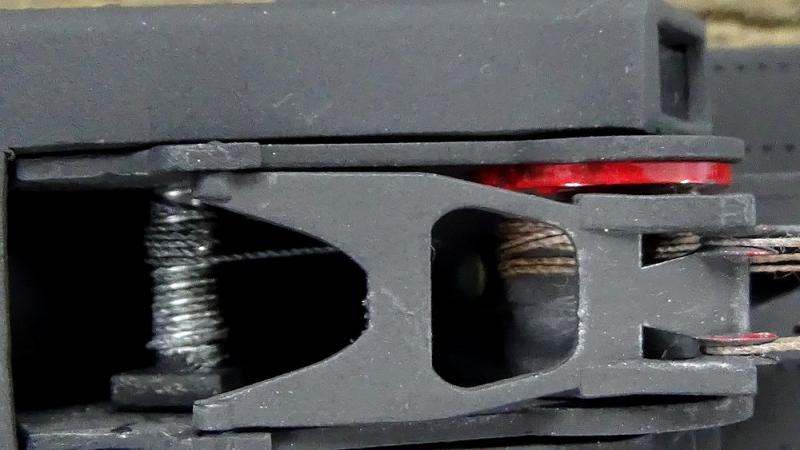
Winding gear

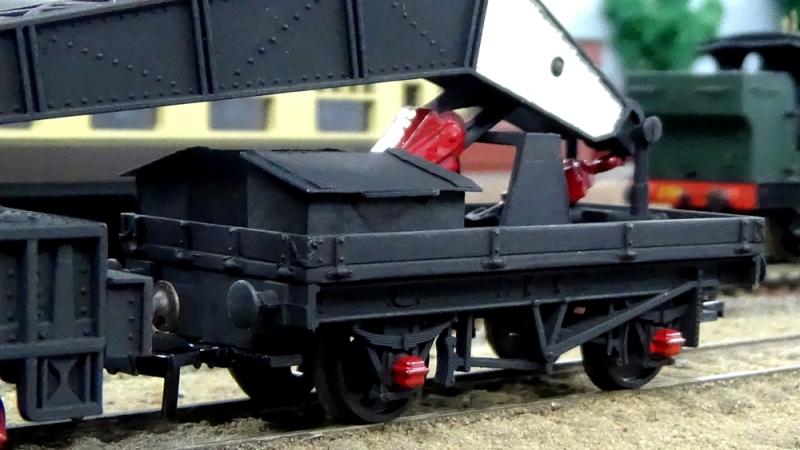
An overhead of the works. The winding gear on the left was originally sited on top of the crane but height restrictions necessitated it`s relocation lower down. When I was putting the parts back together, the original shaft for the left hand side snapped in two. A replacement was made from a machine screw and luckily it works.
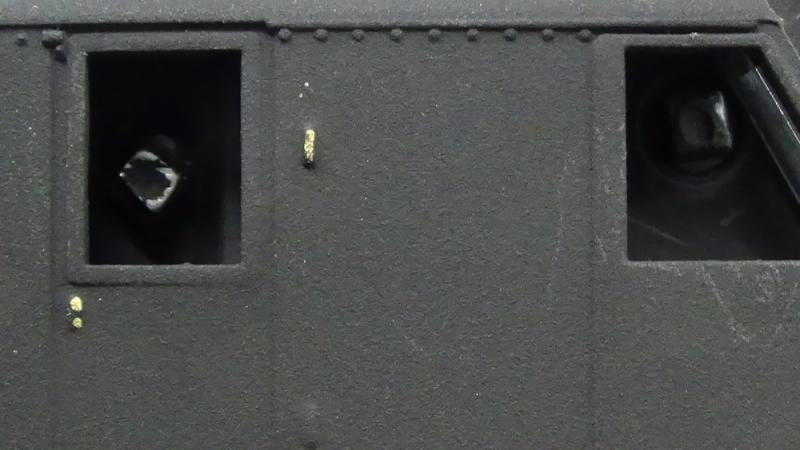
And these are the two windows that could not be glazed. I have a key that fits over these two squared off shaft ends, that is used to wind the cables up and down. The right hand is for the jib and the left hand for the hook cable.
Well folks the next stage for the crane is to whack on some transfers and then have a crack at some weathering…….fun, fun fun!!! :chicken:chicken:chicken
:cheers Gormo
 Last edit: by gormo
"Anyone who claims to have never made a mistake, never made anything!!"
https://sites.google.com/site/greatchesterfordmodelrailway/home
https://sites.google.com/site/greatchesterfordmodelrailway/home
Posted

Full Member
Cheers
Ron
Proper Preparation makes for Perfect Performance!!
http://yourmodelrailway.net/view_topic.php?id=13331&forum_id=21
http://yourmodelrailway.net/view_topic.php?id=13331&forum_id=21
Posted

Full Member
- Darius
Posted
Guest user
:thumbs
Toto
Posted

Inactive Member
Max
Port Elderley
Port Elderley
Posted
Inactive Member
I`m glad you like it and I am pleased with how it`s going.
:cheers Gormo
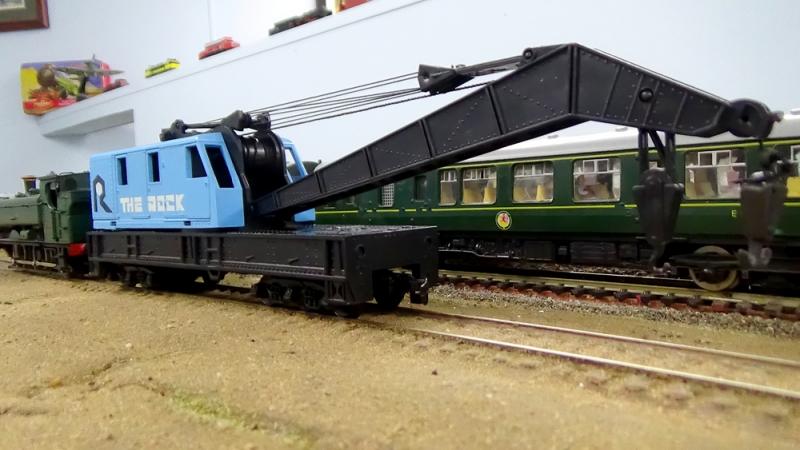
Edit..????????……I guess a before and after would be appropriate now.
Last edit: by gormo
"Anyone who claims to have never made a mistake, never made anything!!"
https://sites.google.com/site/greatchesterfordmodelrailway/home
https://sites.google.com/site/greatchesterfordmodelrailway/home
Posted
Full Member
Wow, wow, wow and I think maybe another WOW!
Loving your work and attention to the quirky detail, spot on Gormo.
ATB,
Ian :mrgreen:
Time flies by when I'm the driver of a train
And I ride on the footplate there and back again.
Cooper St.
And I ride on the footplate there and back again.
Cooper St.
Posted
Full Member
 thumbs:thumbs
Great stuff!
Terry
Posted
Guest user
thumbs:thumbsCheers
Matt
Posted
Inactive Member
Much appreciated….thank you all.
I applied some transfers this morning to one side of the tool wagon. I am using the Pressfix system. I`ve never used them before and I find it quite good, especially when working with the really small transfers. It`s fairly easy to position them properly before committing to the permanent fixing.
They are wagon transfers, so a bit of mixing and matching will go on, combined with some artistic licence and invented history if necessary.
It`s Mothers Day here tomorrow in Oz……so the Mums and Wives and Daughters and Daughters in law will have my attention tomorrow and my wagon decoration will have to wait for a free moment.
:cheers Gormo
"Anyone who claims to have never made a mistake, never made anything!!"
https://sites.google.com/site/greatchesterfordmodelrailway/home
https://sites.google.com/site/greatchesterfordmodelrailway/home
Posted

Full Member
Always try to look on the bright side of life!
Barney
Barney
Posted
Inactive Member
You are very generous and kind. I underestimated the amount of time it would take to complete but the results have been worth the effort I feel.
:cheers Gormo
"Anyone who claims to have never made a mistake, never made anything!!"
https://sites.google.com/site/greatchesterfordmodelrailway/home
https://sites.google.com/site/greatchesterfordmodelrailway/home
Posted

Full Member
Jeff Lynn,
Amateur layabout, Professional Lurker, Thread hijacker extraordinaire
Amateur layabout, Professional Lurker, Thread hijacker extraordinaire
Posted
Inactive Member
Cranes seem to be the flavor of the month at the moment. Well it`s something different.
The crane just needs weathering now, so I will have to decide on which way to approach this particular project.
Here it is all set to be dirtied up.

:cheers Gormo
"Anyone who claims to have never made a mistake, never made anything!!"
https://sites.google.com/site/greatchesterfordmodelrailway/home
https://sites.google.com/site/greatchesterfordmodelrailway/home
Posted

Site staff
Since nothing ever brakes down on the Gods Wonderful Railway (
 ) you could always say since it's never used it hasn't got very dirty.
Ed
Posted
Inactive Member
Hope this fixes it???
G`day Ed,
Yes I remember you mentioning the weathering and I think you were right.I will weather the crane but I will savour it as it is for a little while until I work out the best way to attack the weathering. I think I will aim for the " used but cared for look ".
Meanwhile a short vid of the crane trundling about.
https://www.youtube.com/watch?v=5ZqpEuuoyYc
http://www.youtube.com/v/5ZqpEuuoyYc?version=3
:cheers Gormo
Last edit: by gormo
"Anyone who claims to have never made a mistake, never made anything!!"
https://sites.google.com/site/greatchesterfordmodelrailway/home
https://sites.google.com/site/greatchesterfordmodelrailway/home
Posted
Site staff
But I thought the crane's name was Derrick
Ed
Posted

Full Member
Bob
1 guest and 0 members have just viewed this.