The Bridge
Posted
#88836
(In Topic #4809)
Guest user
from Hornby magazine May 2010 & one purchased recently.
As mentioned in my Barnstable thread, I will be building an overway bridge in the corner using the Scalescenes unit ( freebie) from the May 2010 issue of the Hornby Mag..It will take time but I will post photos as I go.
The first one are the orginals pages from the mag., ( I have copied them in case I make a mistake)
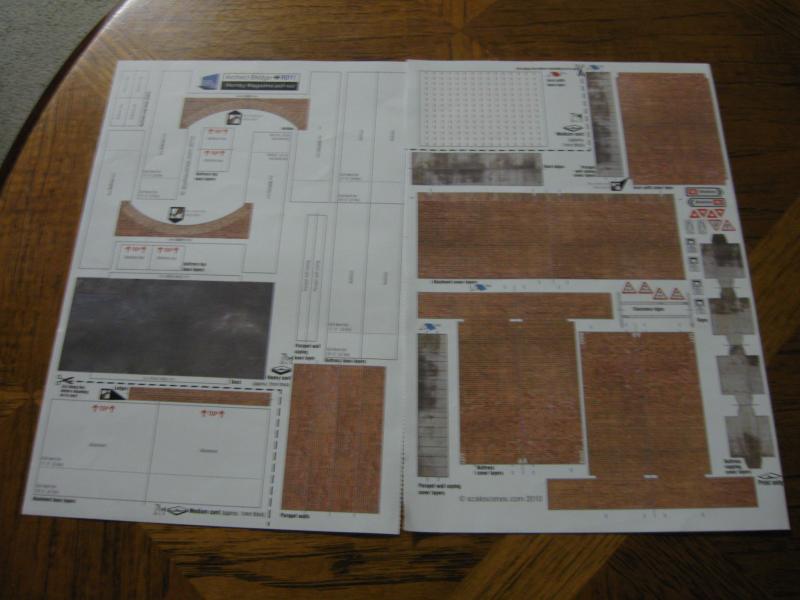
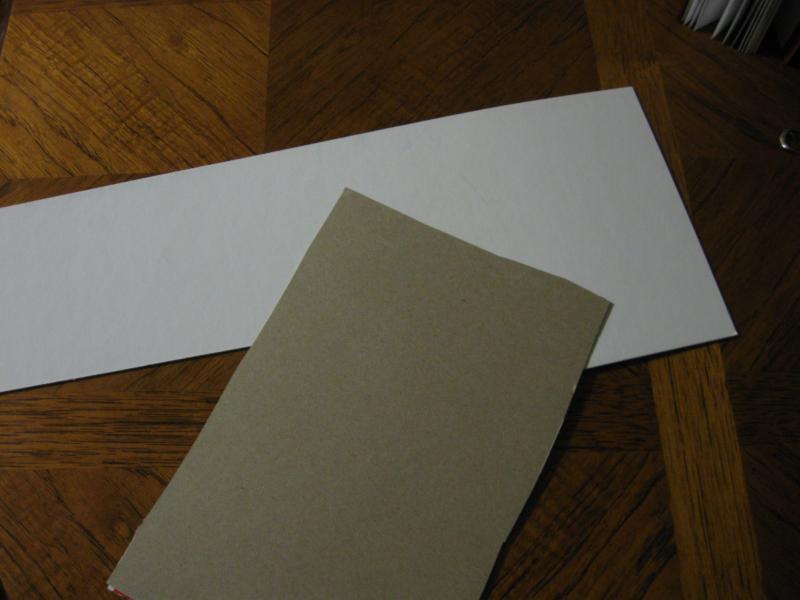
the card ;white is almost 2mm - a printers off cut - perfect; the grey is cereal box card laminated with another piece to give 1mm
Posted

Legacy Member

Posted
Guest user
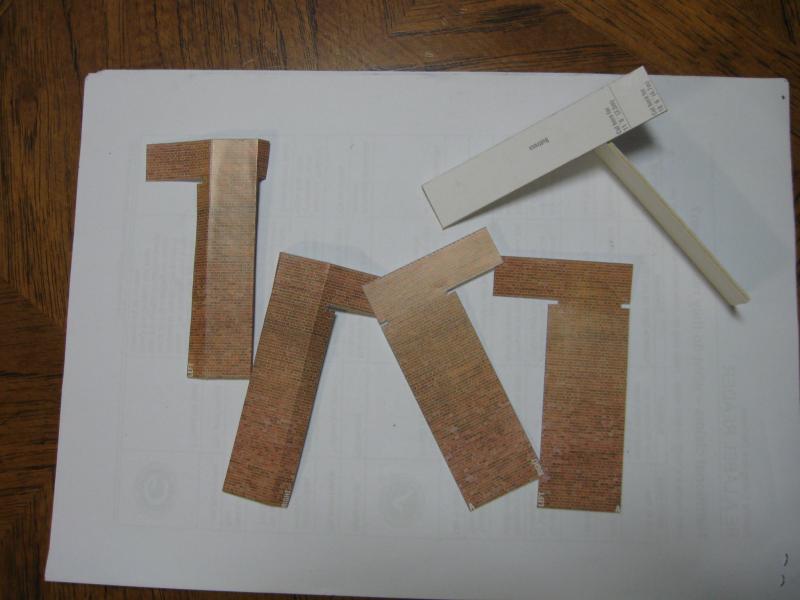
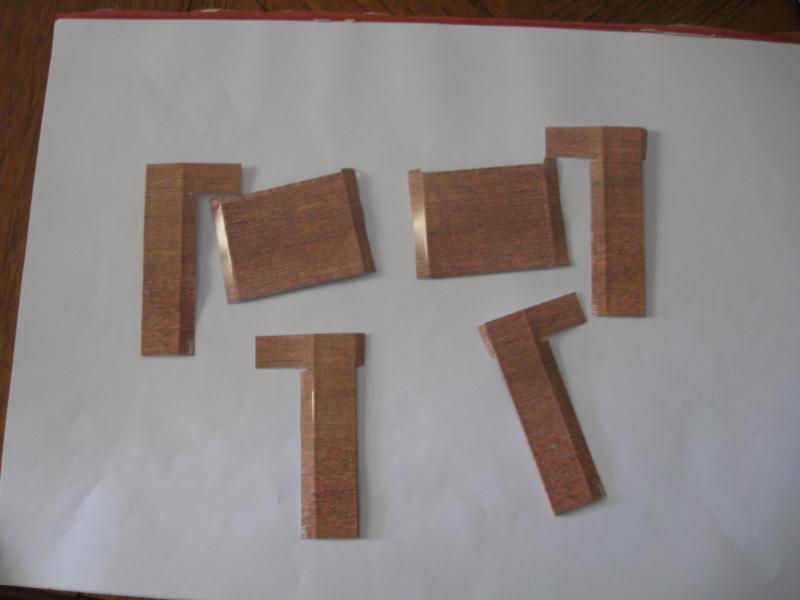
Bends are done using sharp edge of a steel ruler. Flat surfaces glued using a Glue stick, bends are done with a smear of supa glue run along the card edge.
Posted
Guest user
Not high enough for double stacks or even possibly the new Bachmann Double Level car transporters 38-250 coming out. Of course it can be rectified by copying the sides/abutments but it won't need to be done on my layout as I don't or won't be running double stacks.
Posted
Guest user
Posted
Guest user
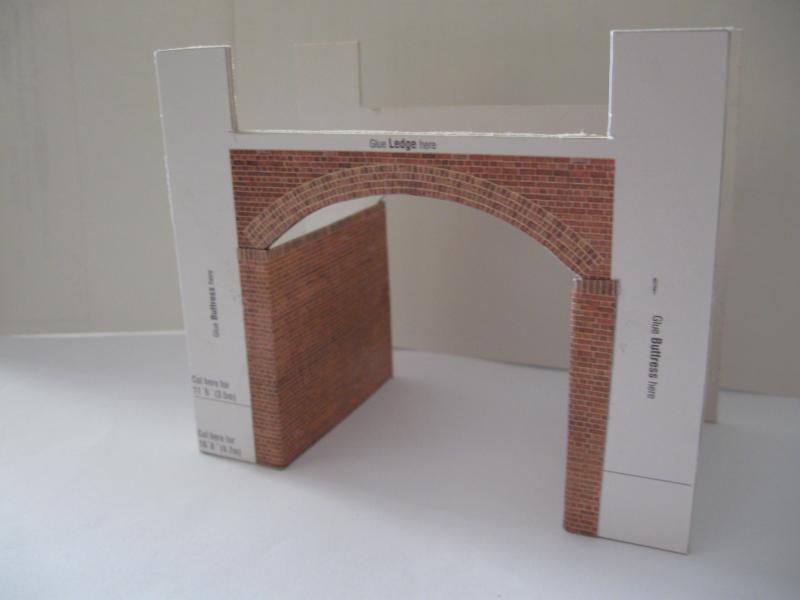
This is the approx position - the hardest part was the curved Arch which is paper then the heavier card added for support.
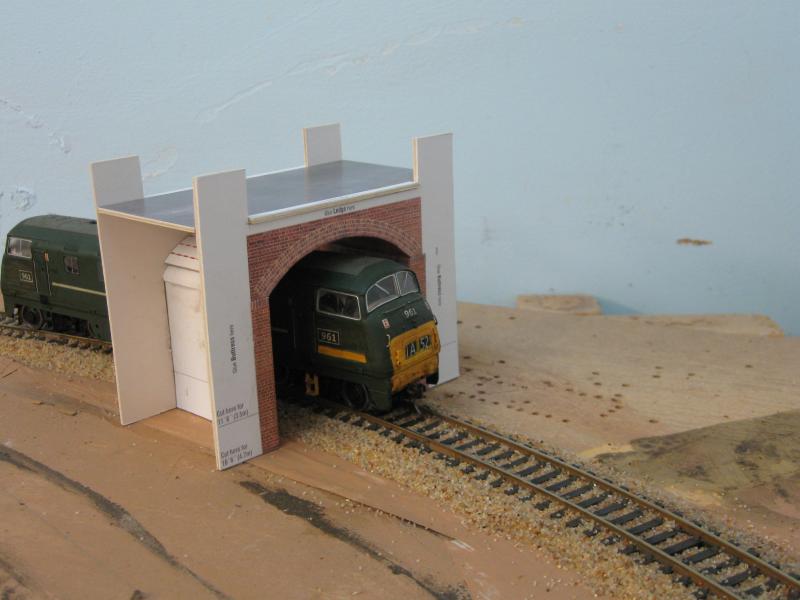
General idea of its location in regard to Barnstable.

Now to continue adding bits.
Posted

Full Member
Posted
Guest user
When cutting thin strips ( 3mm wide) of laminated card for edges, I found the lamination coming apart - Grrrr.
Sorted it out but I realize what happened.
Two large pieces of card - one covered almost all over with PVA, the other card sat on top & weighted but parts of the lamination was missing some glue & these parts, I had to cut out the thin strips.
So the tip is, when laminating, make sure ALL surfaces have glue !!! Paint it on, not just rub the nozzle with over the card.
Posted

Full Member
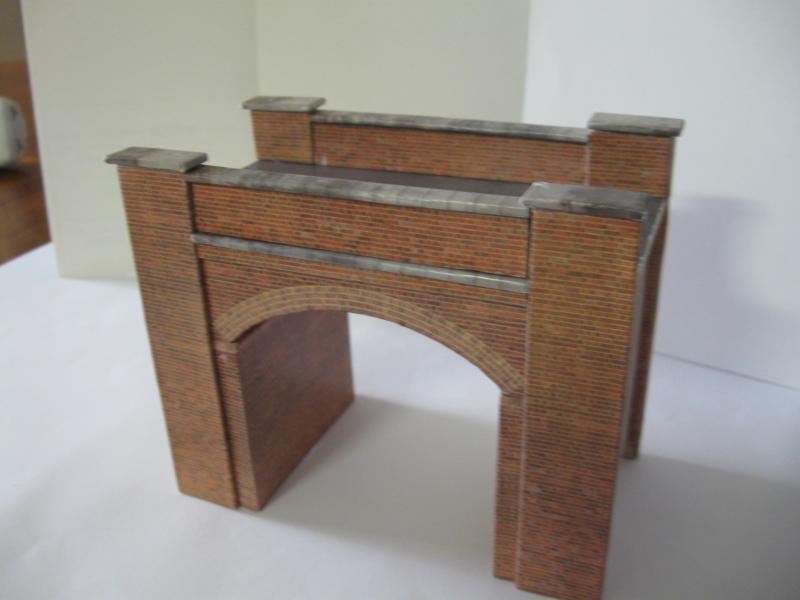
It all looks good so far Ron.I really like the look of these Scalescenes things.I think I might invest in a few downloads from their website and try 'em out for myself.
Cheers,John.B.:thumbs
Cheers,John.B.:thumbs
Posted
Full Member
I built the free goods depot thingy and was pleased with the result.
I've also got a few different textures that I've used in bridges, platform edges etc.
Posted

Full Member
Phill
Posted
Guest user
Posted

Full Member
I like the colours.
I expect the little gap top right will close up when the bottoms of the pillars are fixed.
You've certainly done a good job on the corners.
Posted
Full Member
 :pedal
Phill
Posted
Guest user
Thanks Phill, see you can do it to if I can at my age !!!
Posted

Inactive Member
Max
Port Elderley
Port Elderley
Posted

Full Member
Bob(K)
 Last edit: by Bob K
Posted
Guest user
I think it will take a lot more than 2 hours to install it with the hill structure, etc.
I am happy with it but it has slowed down a bit - yesterdays Op sesion showed up the problem of no ideal headshunt one way & the other too short so a small bit of gangers work required & some changes to the card system.
Posted
Full Member
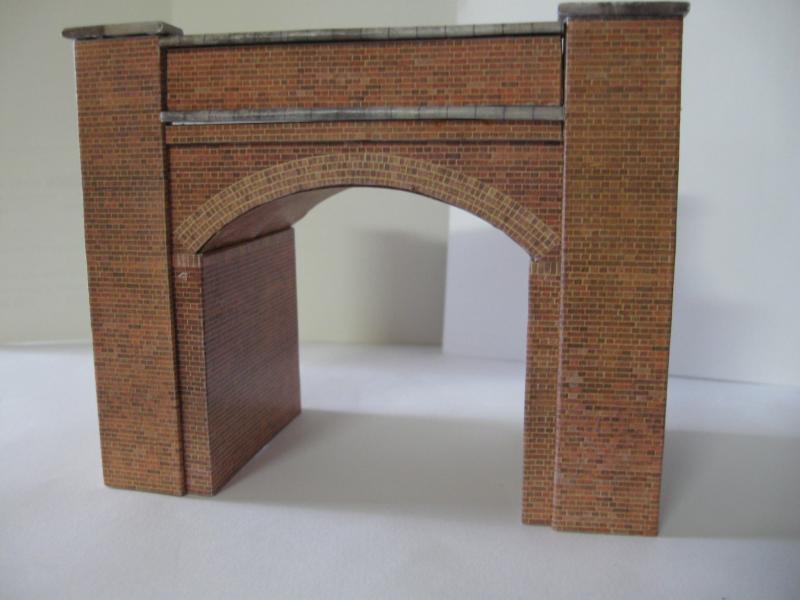
I suppose Bob, if I kept at it & took no major breaks ( just getting coffee only)- 3 hours maximum. Used glue stick & Super glue. Cutting the 2mm card takes time.
I think it will take a lot more than 2 hours to install it with the hill structure, etc.
I am happy with it but it has slowed down a bit - yesterdays Op sesion showed up the problem of no ideal headshunt one way & the other too short so a small bit of gangers work required & some changes to the card system.
Oh, that's much less time than I would have thought. Worth considering using these freebee card kits then?
Bob(K)
Posted
Full Member
1 guest and 0 members have just viewed this.