Bachmann GE 70-Tonner #27
Posted
#259149
(In Topic #14156)

Full Member
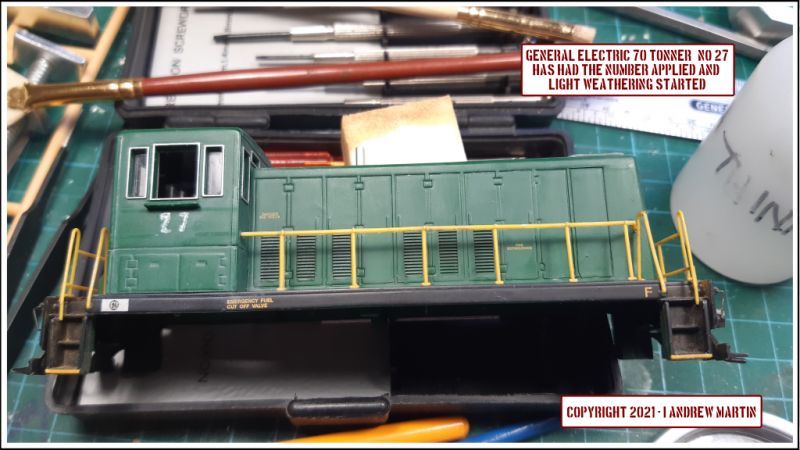
A light weathering job and hand applied numbering
The new work lights I got yesterday came in handy today.I began work on one of my two Bachmann DCC (but no sound) equipped GE 70 Tonners today.
Even with the morning sun coming in the addition of the LED lights was appreciated. It takes away all of the shadows and makes the work surface evenly lighted.
Both units will get a fade weathering job, I want to wash out the colours on both units, not turn them into rust buckets.
#20 is Red, while
#27 (above) is as you see above.
I had thought of repainting them both, but since their numbers reflect the kids birthdays, I thought that one of each colour might be a nice touch.
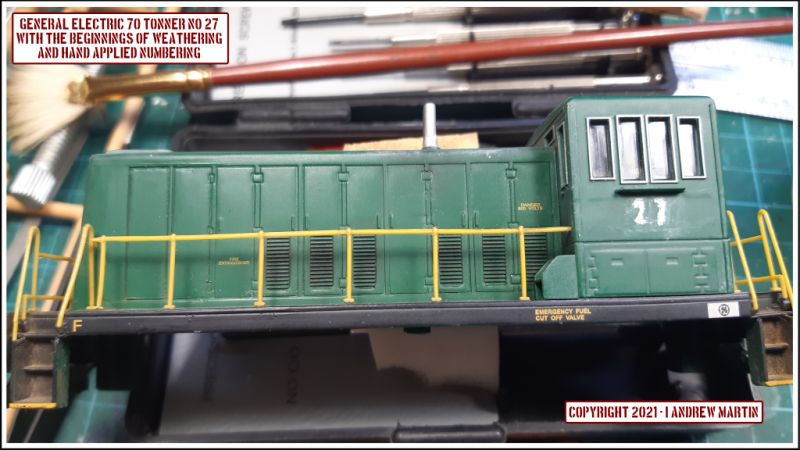
One thing I did try today, and that I've wanted to try for a while, is to use my Alliance Modelworks WW2 US Vehicle markings stencils to apply the loco numbers.
I'm quite pleased with the way the numbers have worked out.
They look weatherbeaten and will have further light weathering applied over the top of them to tone them down.
Andrew Martin
Small Operating Layout Designs (since 2003)
Modelling pages
Modelling – The Martin Family
Small Operating Layout Designs (since 2003)
Modelling pages
Modelling – The Martin Family

Posted
Full Member
Time to let everything dry for the next two days, until Wednesday my next day off, and then I'll go back to more chipping around steps and so on. Then more powders and a pin wash to highlight the recesses (brown not black I think).

Hope you enjoy. More later on.
Regards
Andrew Martin
Small Operating Layout Designs (since 2003)
Modelling pages
Modelling – The Martin Family
Small Operating Layout Designs (since 2003)
Modelling pages
Modelling – The Martin Family
Posted
Full Member
Enjoy

More in 9 days time when I get my next day off.
Regards.
Andrew Martin
Small Operating Layout Designs (since 2003)
Modelling pages
Modelling – The Martin Family
Small Operating Layout Designs (since 2003)
Modelling pages
Modelling – The Martin Family
Posted
Full Member
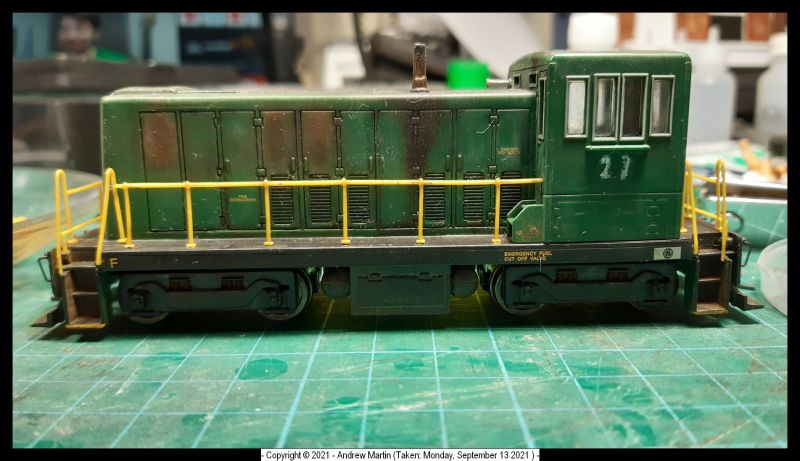
Image 1: Driver's (Engineer's) Side
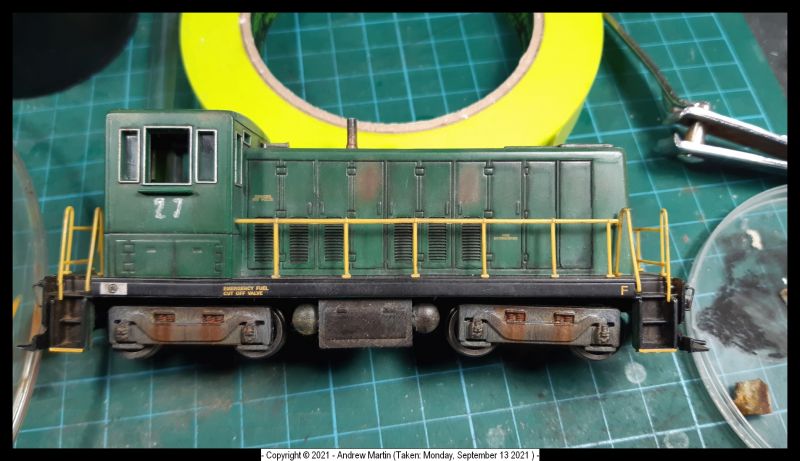
Image 2: Conductor's Side
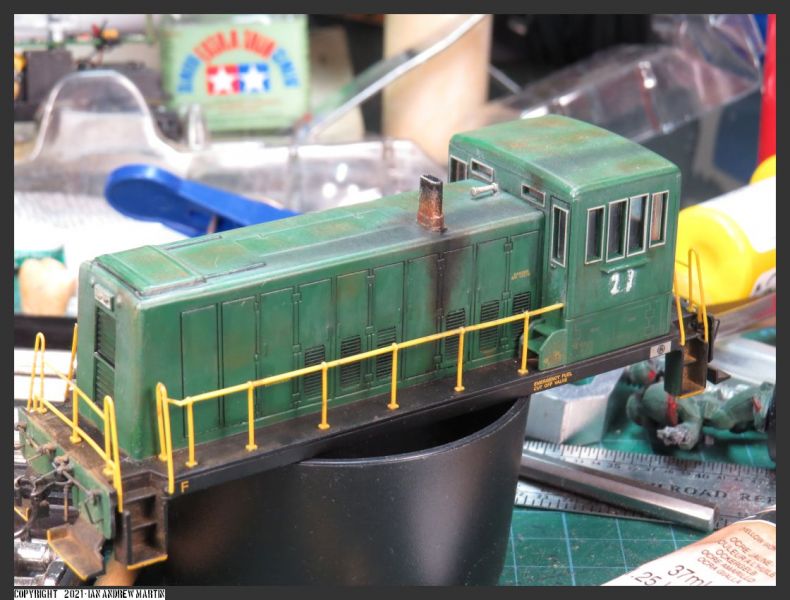
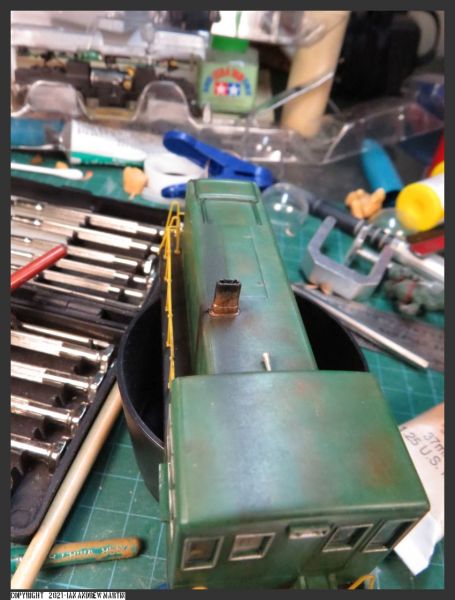
Image 3: Oblique view showing the gentle rust and discolouring on the top of the unit. Edge highlighting was applied to all corners with a light titanium white filter, which was dry-sponged off.
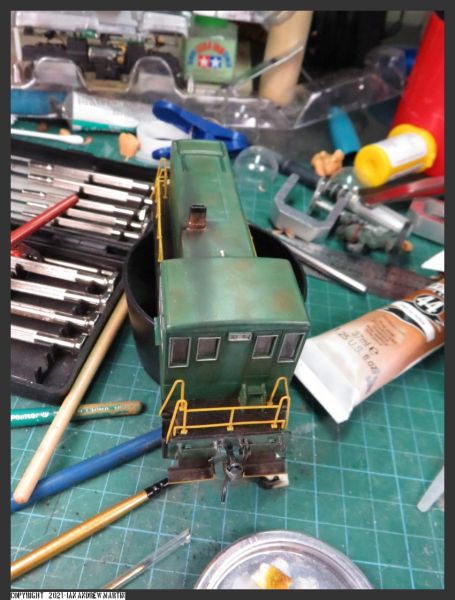
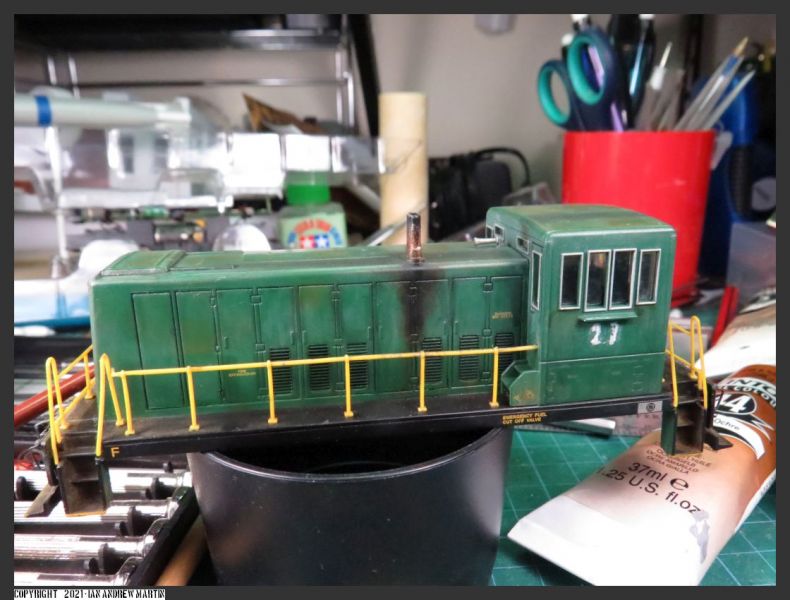
Image 4: Rear cab view
Image 5: Nose view
I may once everything has dried, lighten the door (heat) rust a little with some cadmium yellow and titanium white washes. It is hard to know how things really look until everything is dry.There is some work to do on the pilots at both ends as these are too clean. One step at a time though. Haste makes for waste as the saying goes.Hope that you all had a good weekend too.
 Last edit: by iandrewmartin
Andrew Martin
Small Operating Layout Designs (since 2003)
Modelling pages
Modelling – The Martin Family
Small Operating Layout Designs (since 2003)
Modelling pages
Modelling – The Martin Family
Posted
Full Member
It's been a while, and I feel that I've almost finished #27. There's a little more work on the front and the rear pilot, to get some crud there thrown up from the track by freight car wheels, but mostly she's done.]
Driver's Side:]
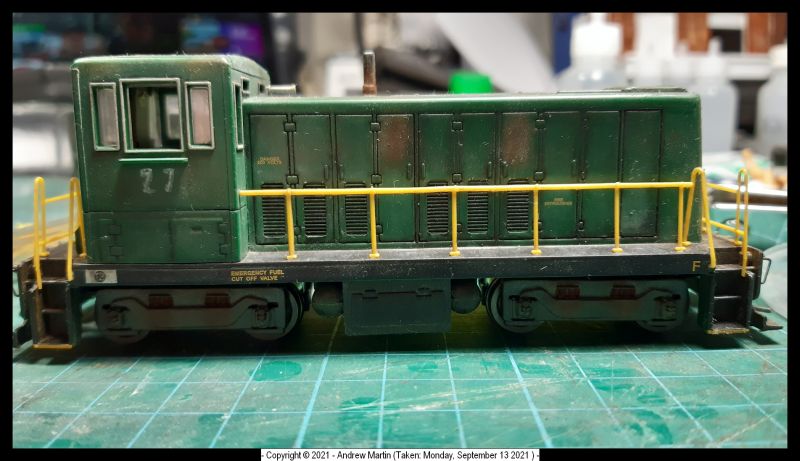
Driver's side weathering (lit from above as if on a layout)
Driver's side showing off the entire underbody weathering
Conductor's Side:
Conductor's side lit from above as if on the layout.
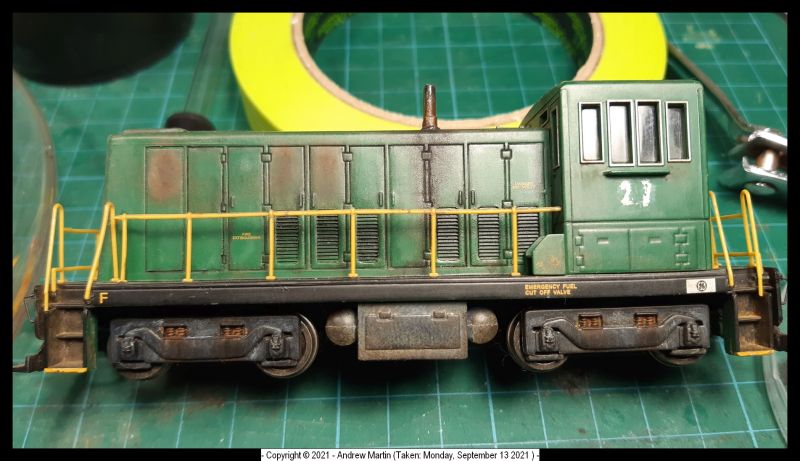
Conductor's side lit from the side to show all of the underbody weathering
I know I don't post much, just too tired after work to get online and post most days. Hope that you are all well, and very thankful to be a part of this site. I'd like to thank you all for your inspiration. I feel very pleased with my first locomotive weathering job now done.
Question for you though. How do you all get rid of the dust and such on your models? I cleaned this well (I thought) until I looked at the photos and saw all of the dust and crud there.
Andrew Martin
Bolt tightener & spike driver at Andrew's Trains
Small layout design blog: huntervalleylines.wordpress.com/
Modelling pages: martinfamilyweb.wordpress.com/family/andrew/modelling/
Last edit: by iandrewmartin
Andrew Martin
Small Operating Layout Designs (since 2003)
Modelling pages
Modelling – The Martin Family
Small Operating Layout Designs (since 2003)
Modelling pages
Modelling – The Martin Family
1 guest and 0 members have just viewed this.