Making a winter tree.
Posted
#91067
(In Topic #4882)
Guest user
Using pre-painted coconut fibres, pre-painted sisal rope fibres, garden twigs. Foliage will be dried tea leaves.

I'm going for a multi-trunk specimen.
Twig in the centre has a thinner branch below thicker ones, so I snapped it off, leaving a nice stub, then glued it back on farther up.
Glue is Selley's All Fix - thick like paste and it grabs fairly quickly.

The trunk was shaved flat to accomodate the branch.
After trying in them in various positions, I took Left and Centre twigs and shaved them flat too, then glued them together
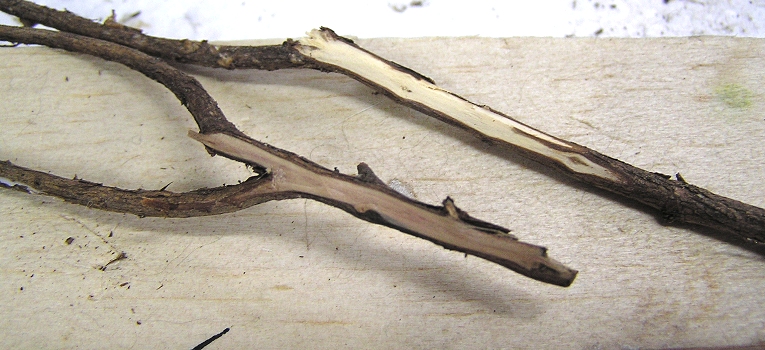
Held 'em in a spring clamp
Posted
Guest user

I twist one end very tightly, then tease out the fibres, cutting through any loops, and discarding any weird bits. It pays to have some PVA on your fingers as you twist them.
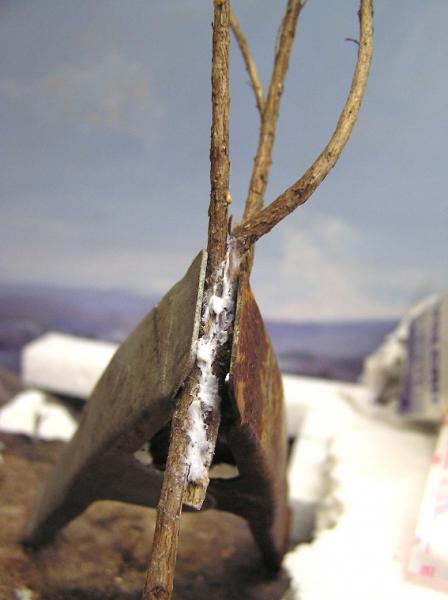
Added a couple more branches, then glued on some fibres of both types to disguise the cut-off ends…
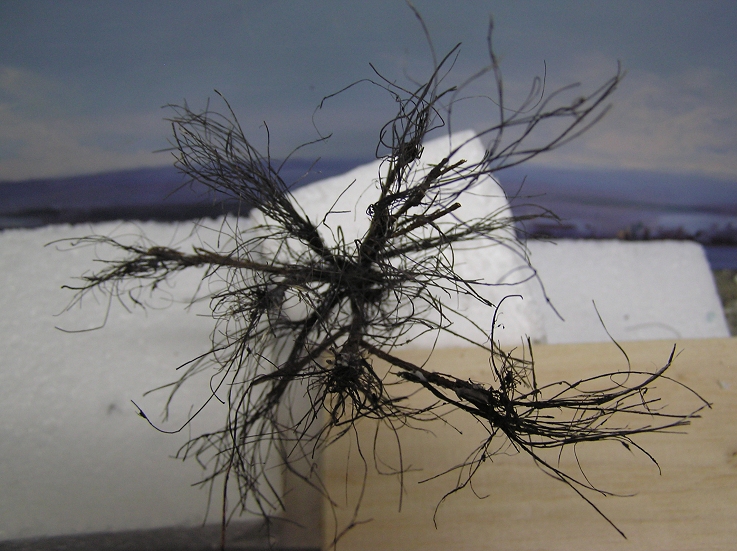
View from above…
I like to keep my eye on how it looks from above, so I can get an informal balance to it.
More when I have the time.
Posted
Guest user
That means I think they are good !!
Posted
Guest user

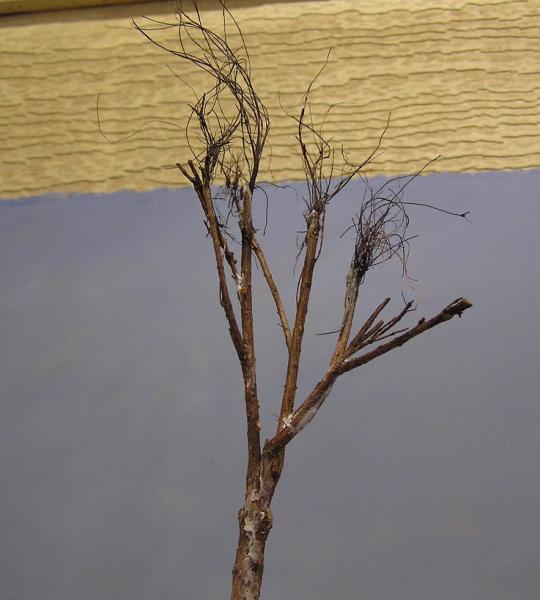
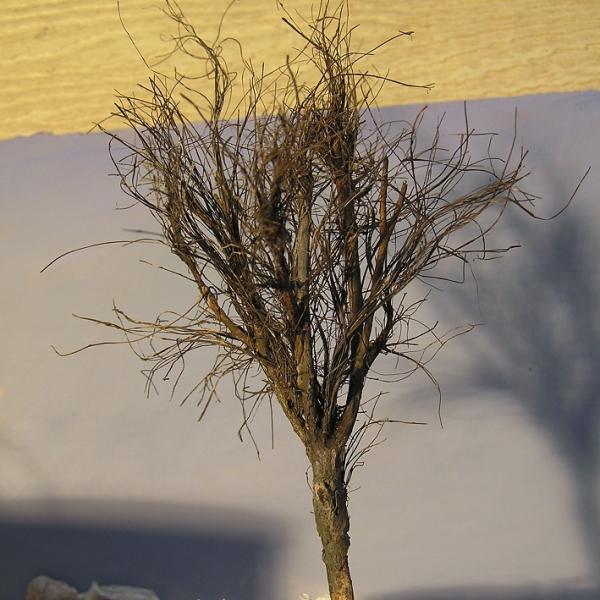
More fibres have been added. Bigger clumps down low. Small clumps of coconut fibres help disguise joins.
The sisal clumps are thick enough to be trunks and heavier branches.
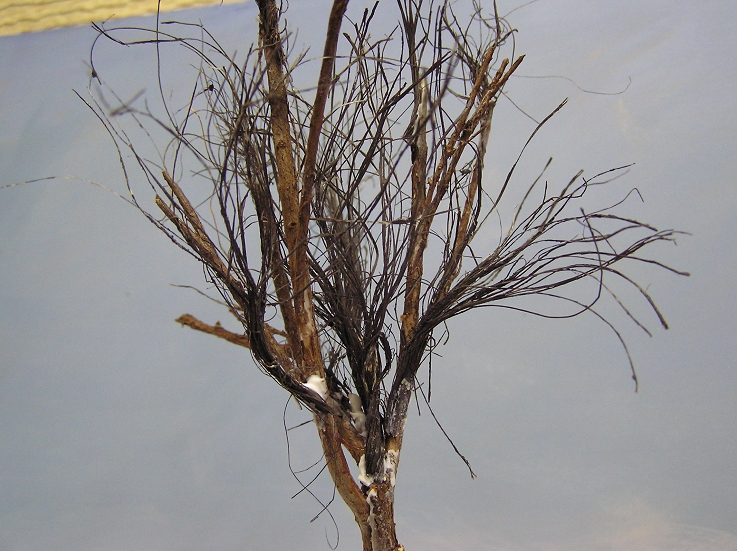
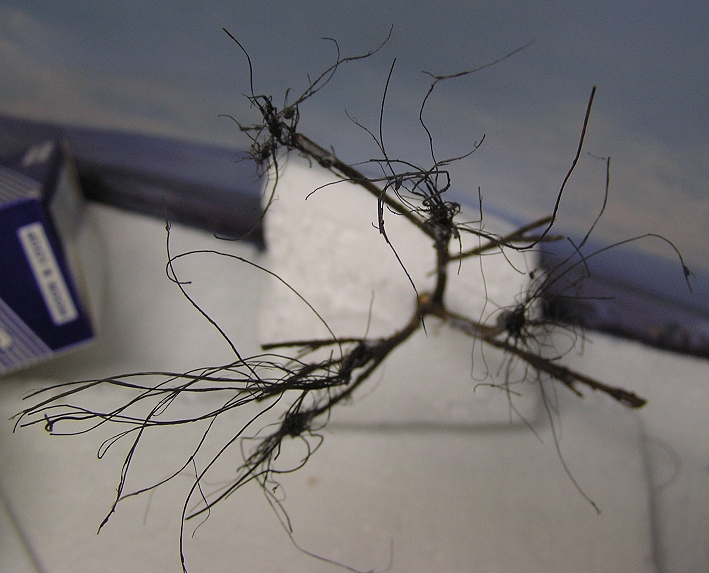
and from above..
I'm not worried about the glue. It adds texture and it all needs painting anyway.
After still more fibres were glued on:
I think I have enough branches on it now.
The base is being broadened with the glue.
Next step will be to paint it, once the glue is dry.
Mike
Posted

Full Member

Posted
Guest user
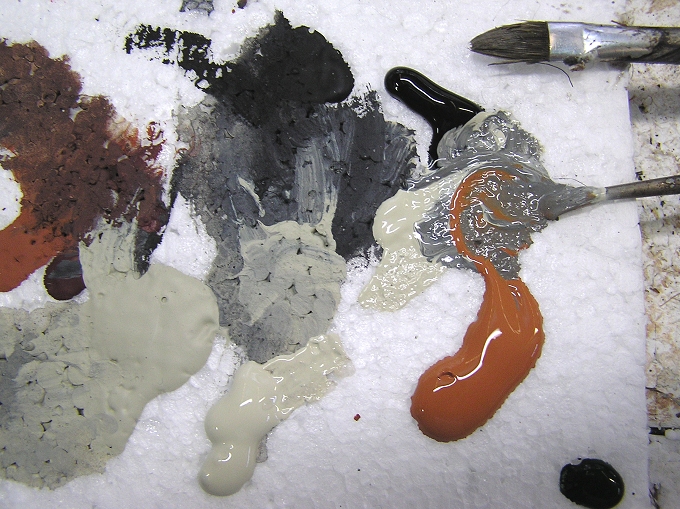
I used Jo Sonja's acrylics - Linen, Charcoal and Chestnut, plus some cheap forest green for down low on the trunk and underneath a branch or two.
I painted the innermost parts quite dark, and highlighted tips of branches, along with some horizontal parts that might help enhance the impression of it catching the light.

For the faint green on the trunk I added chestnut, charcoal and linen to the forest green and painted it very thinly.
A mix of chestnut and linen was dragged across the trunk to highlight the texture.
Then it was time for the tea leaves.
I decided they were too dark a brown, so I mixed in some powdered clay to lighten them [should have used chalk] as well as some powdered orangey-browns. All mixed together.
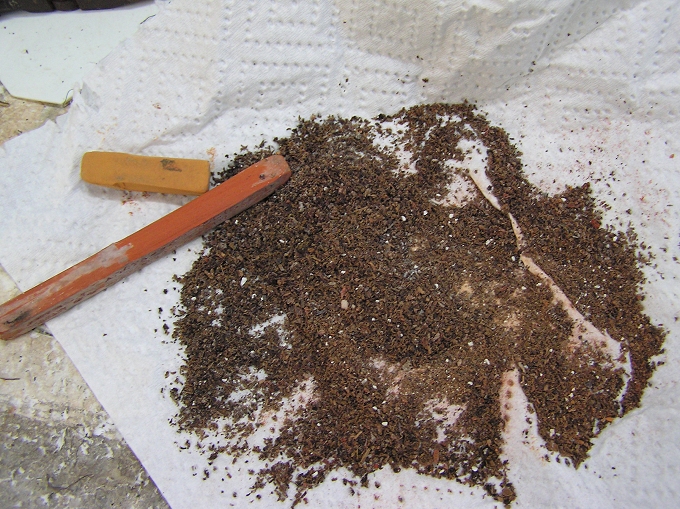
Then PVA was daubed onto the tree here and there and it was dipped into the mix.
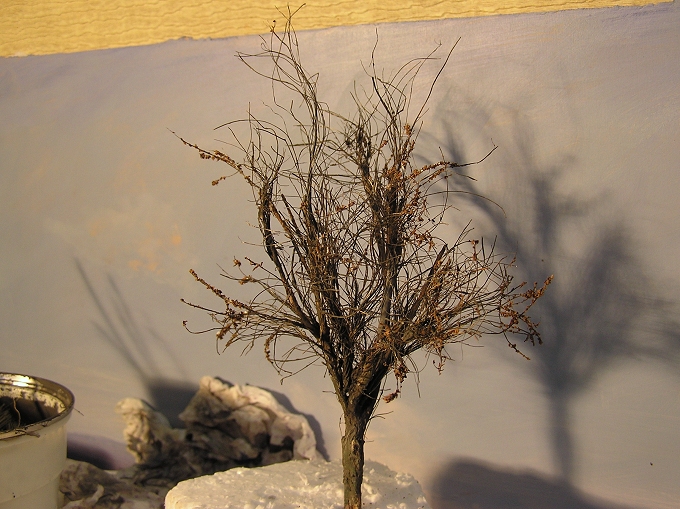
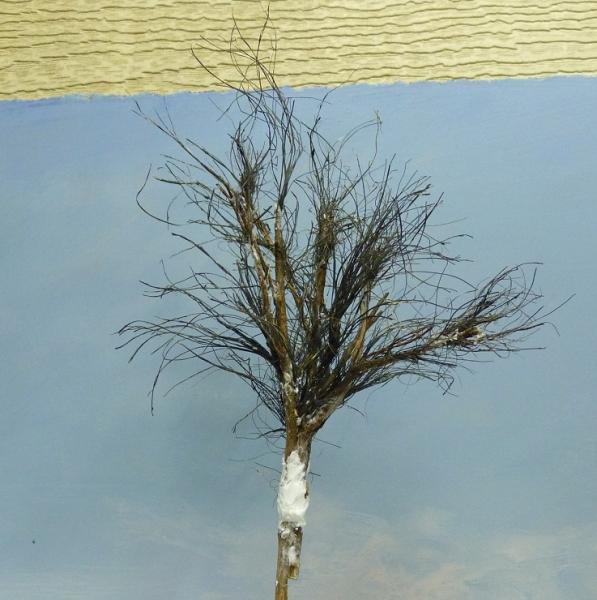
Trickiest part, apart from avoiding gluing branches together, was knowing when to stop.
Excess trunk was trimmed off the bottom which was shaped into a point, then the tree was poked into the foam of the layout.
It's 7 inches tall.
Mike
Posted

Full Member
Posted
Guest user
edit: I could make some roots out of clay, as I did on the old layout, but I think that'll do for now.
Mike
Posted

Full Member

Posted

Full Member
Phill
Posted
Legacy Member
reg
Posted

Full Member
Now, I have a question. Regarding the acrylic paints - mine are Reeves (in tubes) and I find I have to work extremely quickly to avoid the "plots" on my pallette from drying out before I get to them. Adding further water makes no difference - once dry, I have a useless but colourful pallette. The problem is that "working quickly" is not one of my stronger points !!!
Looking at yours, they seem to be a nice creamy mix with no sign of drying out. Is this the paints or am I doing something wrong ?
'Petermac
Posted
Full Member
Posted
Guest user
These days I don't bother with that sort of palette. And yes, Tim, that's just a scrap of styrofoam
Mike
Posted
Guest user
Mike
Posted

Inactive Member
Another great tree, Mike.
Max
Port Elderley
Port Elderley
Posted
Guest user
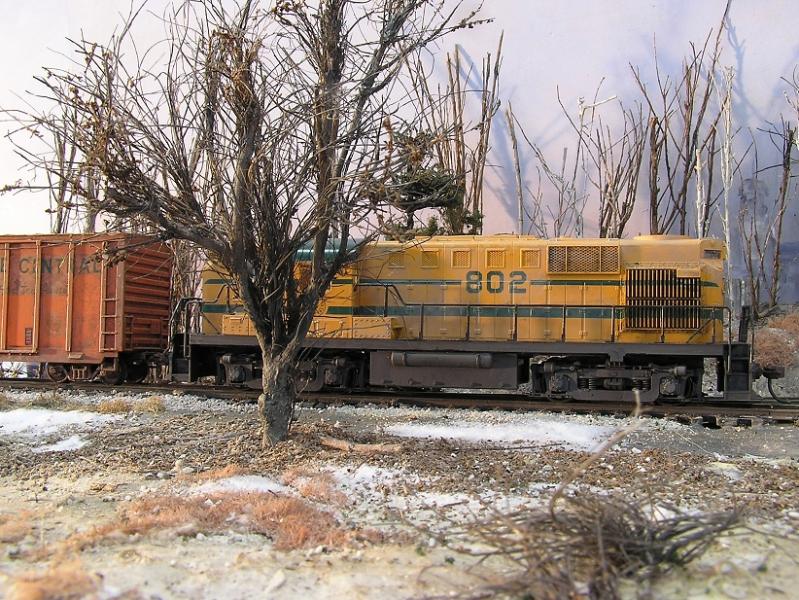
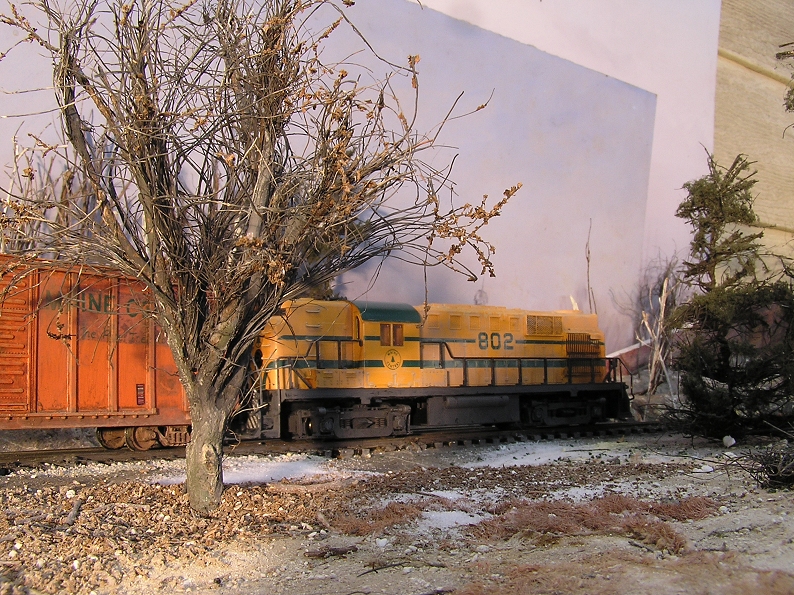
trees grow like that, it looks just fine.There's a little gap letting the light through, just below a sisal clump where all the heavy branching starts. You can see the orange boxcar through it. I'll dissguise it with some more coconut fibres. I never would have seen it, but of course the camera does.
Mike
:doublethumb
:cool:
Posted

Full Member
:thud
Cheers,John.B.:thumbs
Posted
Full Member
1 guest and 0 members have just viewed this.