Tramway making
Posted
#54719
(In Topic #3035)
Guest user
Henryparrot attempt at producing a tramway
As many members know part of the plans for the layout rebuild extention was to add a tramway to the layout it is only an end to end track running for about roughly 28ftThe base track is laid into position and is code 100 peco track so now i need to make it into a road type tramway.
Now if it were a dead straight track slaters or wills cobbled plasticard could be easily to fit the roadway or if you had setrack you could probably cut ordinary plasticard and glue it in place and paint it.
now because i use flexitrack and the curves vary vastly to cut paper templates and then the plasticard would be possible but it could end up a major job especially with the length of track plus of course the cost of the plasticard.
So i have decide to use what is called the wet method this is not my idea as i saw an article in Model rail recently showing how to do it.
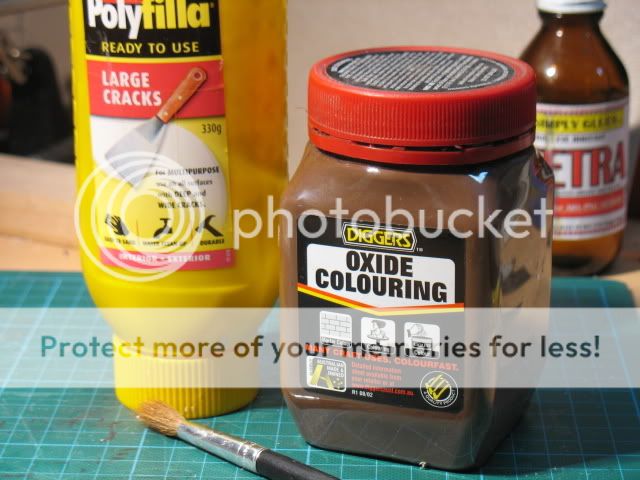
Materials needed for the job are a lot of Polyfilla (jokes abouts parrots please)
i bought the internal type which is finer grain
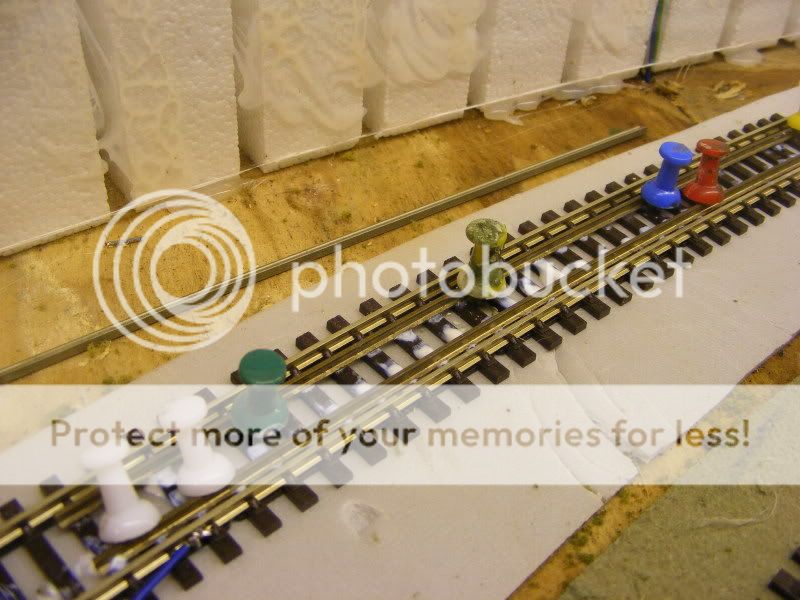
pieces of rail section i am just raiding my track stocks and pinching what i consider to be duffish bits of track of course you can buy rail sections from the model shop if they sell it of course.
a ball of suitable size string (all will be reavealed what you use this for and its not to hang myself)
Ok as you can imagine this can be a messy job and getting the polyfilla into the right places is half of the battle this is where the rail comes in.
What you use the rail sections for is as follows
what you do is glue the rail sections to the sleepers on the inside of the rail both sides pushing them up to the chairs on each side now on a straight this is a doodle but with curves you either need to pre bend the track or bend and pin it in place
i have initially done the bend in place and pin the glue i have used is Evo stick impact adhesive (Its not the snotty stuff it used to be years ago its more like a rubberry pva now).
Now bear in mind the glued rail is glued to the sleepers so the actually rail you glued is slightly lower than the actual rail sitting on the chairs.
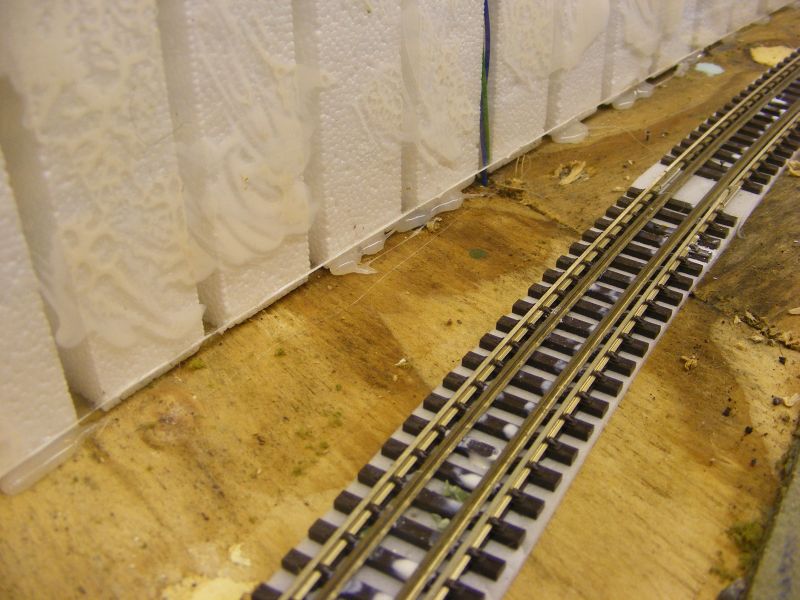
Now here is a photo of the rail pinned and glued in place drying.
As you can see the glue is setting off with the pins in place i will post latter as i progress through this
cheers Brian
Posted
Guest user
after the rail glue has set sufficient to hold ok i removed the holding pins
heres a photo
Now the next stage is the string now this does an important job you insert it between the rails to fill the gap to stop the polyfilla filling the gap between the rails
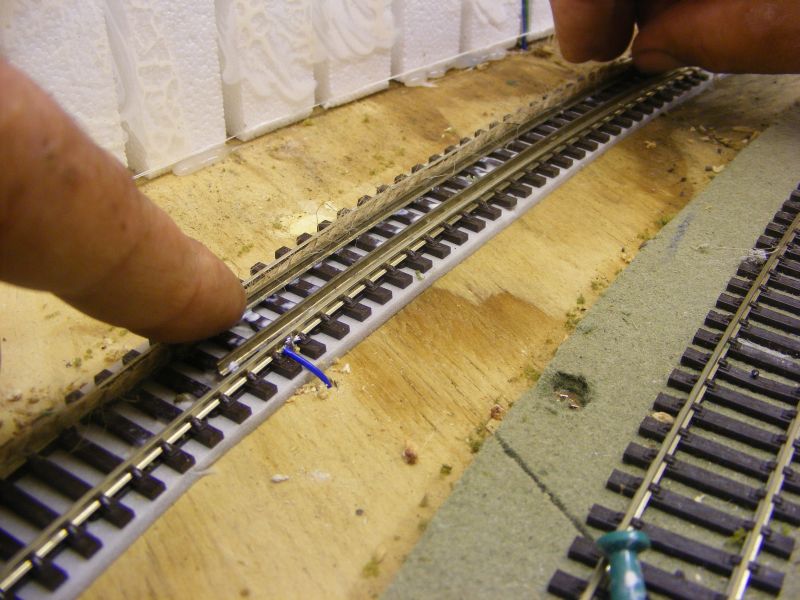
Now a photo of string put in place between both rails ready for the application of polyfilla
next update will be the messy bit
cheers brian
Posted
Guest user
Mike
Posted
Guest user
I have used standard interior polyfilla the reason for using the polyfilla rather than buying a bag of plaster is that polyfilla is easier to work when its dry whereas plaster os not easy to work when its dry.
so in a butter dish i mixed up the polyfilla with water into a spreadable mix and got a couple of bits of plastic with a straight edge to spread it with .
now depending on the situation there are ways of making this easier to spread evenly but with the position at the moment i have a back edge to go up to and the green underlay at the front so it is encapsulated.
As with all things like this you only mix enough that will be workable for the area you are doing otherwise if you mix to much you will begin to hit problems when it starts to cure.
so i liberably spread it around starting at one end and rough spreading it with my plastic straight edged card unloading excess from the card is important otherwise it drags. spread it out as evenly as possible and try and check there are not any big potholes fill as neccesary.Finally i used a wet paintbrush to lightly go over the top to iron out a few imperfections. Now being realistic i know full well this is not ging to be a billiard table once its dry so i will assess it once it is dry which is going to take at least 24 hours before risking the next stage.
Here is a photo of of the spread polyfilla u can make out the twists of string between the rails.
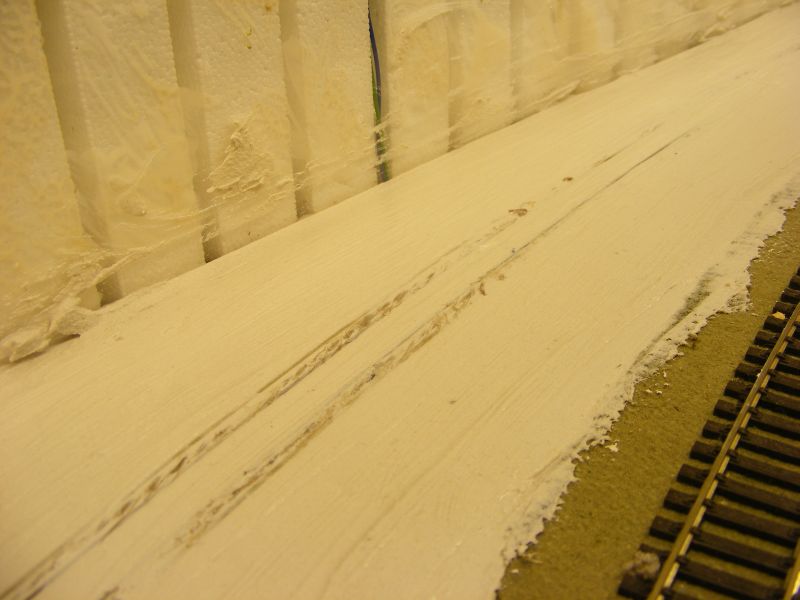
next stage wont be till tommorow evening
cheers Brian
Posted

Full Member

Very neat job Brian, looking forward to the next instalment.
Phill

Posted

Full Member
Like the string idea - clever stuff :thumbs
'Petermac
Posted
Guest user
Pre formed raw slate for the mine area a wash in a paint solution instant pile of slate

cheers Brian
Posted
Guest user
Posted
Guest user
actually you can do that as i occasionally use cement dyes for mortar mixes so all you would have to do would be use about 50% of normal black dye in the polyfilla mix and you have instant slate grey
cheers brian
Posted

Inactive Member
Max
Port Elderley
Port Elderley
Posted
Guest user
its not my idea there was an article in model rail i am using their idea
cheers brian
Posted
Inactive Member

Max
Port Elderley
Port Elderley
Posted
Guest user
Mike
Posted

Full Member
Ron
actually you can do that as i occasionally use cement dyes for mortar mixes so all you would have to do would be use about 50% of normal black dye in the polyfilla mix and you have instant slate grey
cheers brian
Thats how I do my ground goop and tree bark. Works a treat. I use the dry powder cement stain available in Bunnings for all you others in Terra Australis.
The tree bark gets some PVA added to give it a bit of flexibility.
 Last edit: by Marty
Posted
Guest user
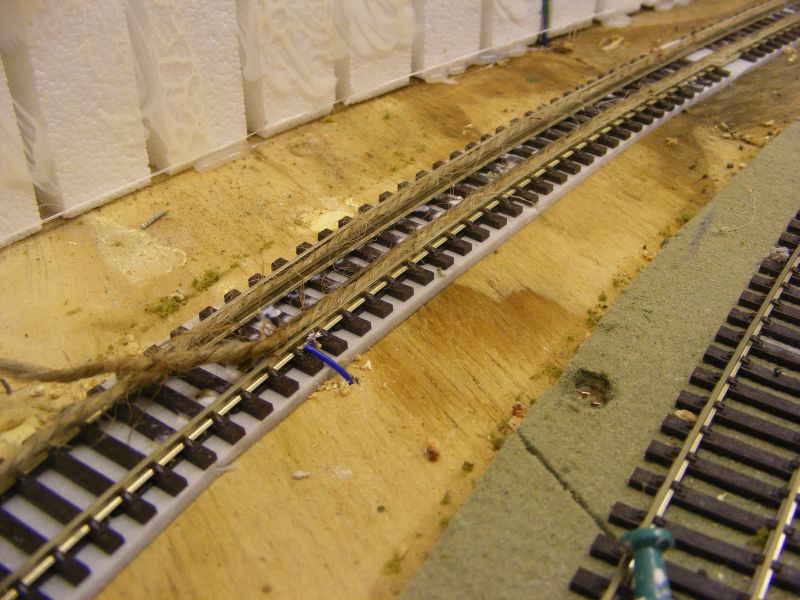
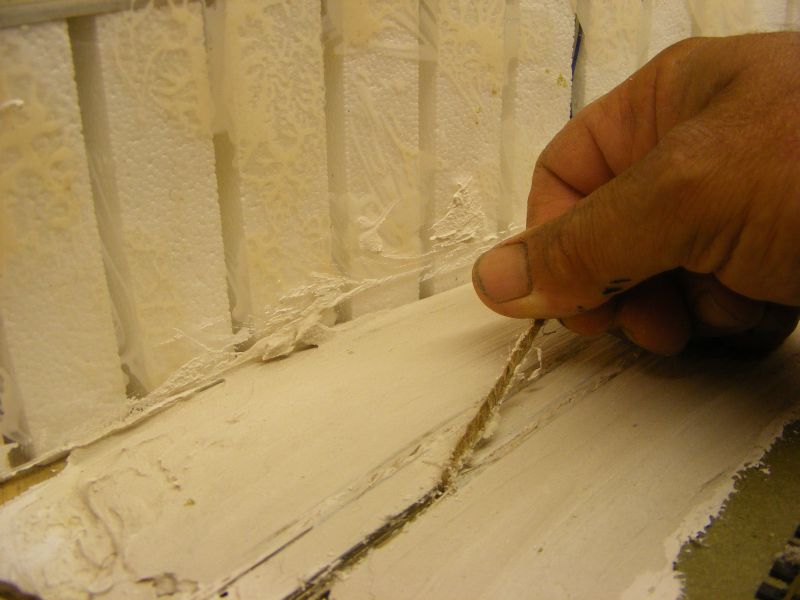
so its now more than 24 hors since i laid the polyfilla so now i am removing the string from between the rails.
you obviously leave abit hanging out the end to grab hold of then the best way is to relatively gently pull it back on itself it does come out quite cleanly without to much extra being bought out with it.
heres a couple of piccys one showing the method of removing the string and the second showing the results with both bits removed.
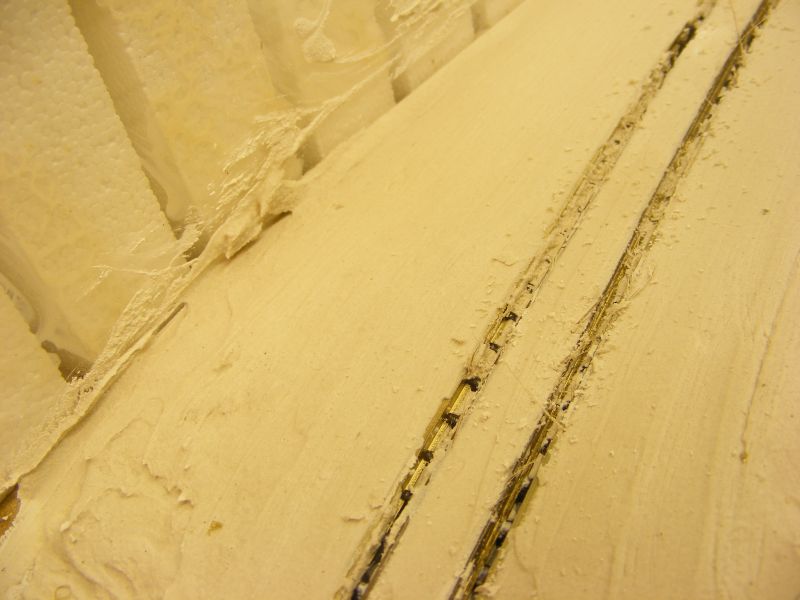
Thats in its raw state with nothing touched i intend to do a lot more polyfilla before i start to sand it so you will have to wait a few days for the next update
cheers Brian
Posted
Guest user
Last night i was a bit premature with my statement that it had cured after i had removed the string i decided to give it a quick sand ony to find under the top surface it was still damp so i stopped sanding.
This evening more than 48 hrs later it is still not fully gone off mind you some of it is 5mm thick so i was hopeing really for it to go off quick.
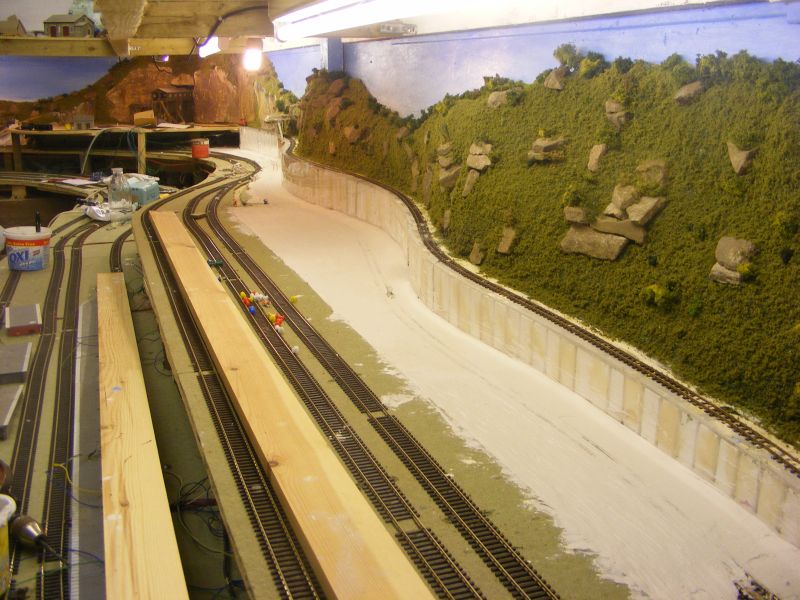
I have continued adding inner rails and string and more polyfilla has been done a photo below shows my poyfilla progress its wider nearer the camera as that will form
part of the main 00 gauge station car park.
another update tommorow
cheers Brian
Posted
Guest user
Posted
Guest user
yes car body filler could be used and would cure fast as you say.
Firstly it would probably cost more as i estimate i wil use at least 6kg of polyfilla by the time i finish,
Plus the car filler is harder and i plan to hand sand this polyfilla to keep dust levels down i woud imagine sanding car filler by hand over this large area would be a major task,
Mind you it may be worth considering for other projects
cheers Brian
Posted
Guest user
Mike
Posted
Guest user
Looking very good.
1 guest and 0 members have just viewed this.