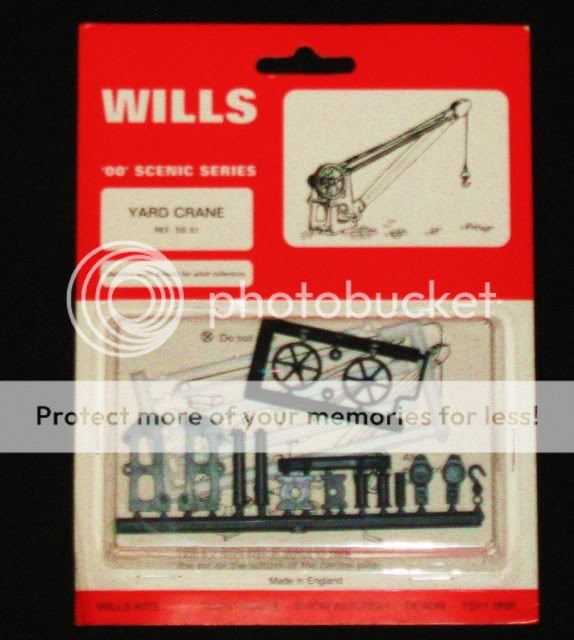
Wills Yard Crane
Posted
#39262
(In Topic #2427)

Full Member
Bob(K)
 Last edit: by Bob K

Posted
Guest user
Thats the kit i have on the steam end of my diorama project its quite a good lightweight crane.
cheers Brian
Posted
Guest user
We also have one of these kits, on the Walnut End goods platform, it makes up into a very nice little kit, looking forward to seeing yours.
Posted

Full Member
How's life treating you out there ?
'Petermac
Posted
Full Member

Bob(K)
Last edit: by Bob K
Posted
Guest user
Posted
Full Member
'Petermac
Posted

Full Member
Phill
Posted
Full Member
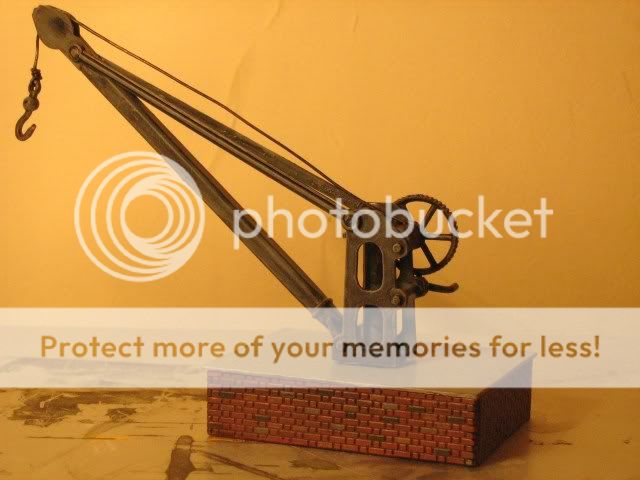
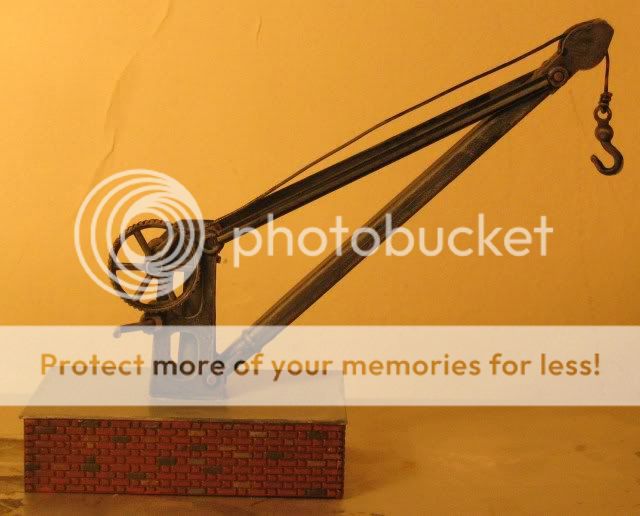
That looks good Bob - particularly the "old" ironwork. How did you paint that ?
Hi Petermac
Using acrylic paints throughout, I painted the whole model in a dark grey overall. When dry I gave it a wash of thinned dirty black (essentially black added to the water I use to clean my brushes). Once this was dry I gave worn areas a hint of dry brushed terracotta (rust) and once this had completely dried I gave the whole model a dusting of light grey using a dry brush.
That was it, simple and quite quick.
Bob(K)
Posted
Guest user
Posted
Guest user
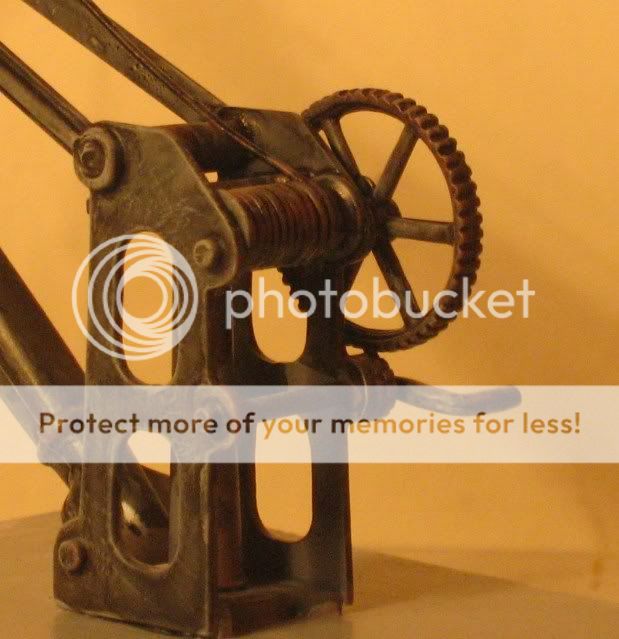
Like it a lot, very good effect you have got by using dry brushing :thumbs
Posted
Guest user
Guess with you on the way home, this can be fitted to the layout soon :thumbs
Posted
Guest user
Posted

Full Member
Perhaps 'dry' fit the pieces before attempting the finished article, Coalyard.
Posted
Full Member
'Petermac
Posted
Guest user
I think I have an unstarted kit Coalyard - if you PM me with an address(e-mail or otherwise), I'll dig them up and let you have them.
Thanks for the offer. as an update, using the pictures I managed to finish said Kit. now i have to paint it. I also realised the date of the OP Thank you all for not pointing that out with a sarcasic remark which has happened to me on some other forums
Posted

Inactive Member
Rats! I missed that one!I also realised the date of the OP Thank you all for not pointing that out with a sarcastic remark which has happened to me on some other forums

Only joking, Dave. Sarcasm is jumped on from a great height on this board.
Max
Port Elderley
Port Elderley
Posted
Guest user
Posted
Full Member
Not 'dry' but not enough to 'blob' either.
Look at Bob's version - brilliant paint job in my opinion.
Posted

Full Member
Do you have plans to add some steps or other means of access?
Perry
Due to cutbacks, the light at the end of the tunnel has been switched off.
1 guest and 0 members have just viewed this.