First Shelf layout - OO gauge
Posted
#288356
(In Topic #21707)
Full Member
A shelf layout to fit in the closet
Hello everyone,I decided to start a new thread after my updates on the old layout:
4 X 7 ½ ft. Caledonian Layout - Your Model Railway
As I said, I'm in Winnipeg now and I managed to squish my modeling stuff into the car for my 30-hour drive… When I was moving into my new apartment, I had the novel idea that my built-in closet is the perfect size to fit a shelf layout, and I have such an obscene amount of built-in storage space that sacrificing this will be no problem.

On the drive - about 5 hours in. I had so much stuff in the car that someone asked me if I had it lowered. My rr stuff somehow fit into that black tote on the roof racks.
So, inspired by a piece of plywood that I found beside a dumpster in the alley, I finished building the baseboard last night. it's 44 inches wide, and about 14.5 deep. Had to be the right width to fit into my closet, and 14.5 inches deep was just the max that I could salvage from the plywood after squaring it off. I'm pretty pleased with the baseboard - I just had an image in my mind and managed to pull it off. It's a little rough around the edges, but I'm probably the only one who'll notice. I'm just glad I managed to get it completed with minimal procrastination. Never underestimate the skills that you learn at work!
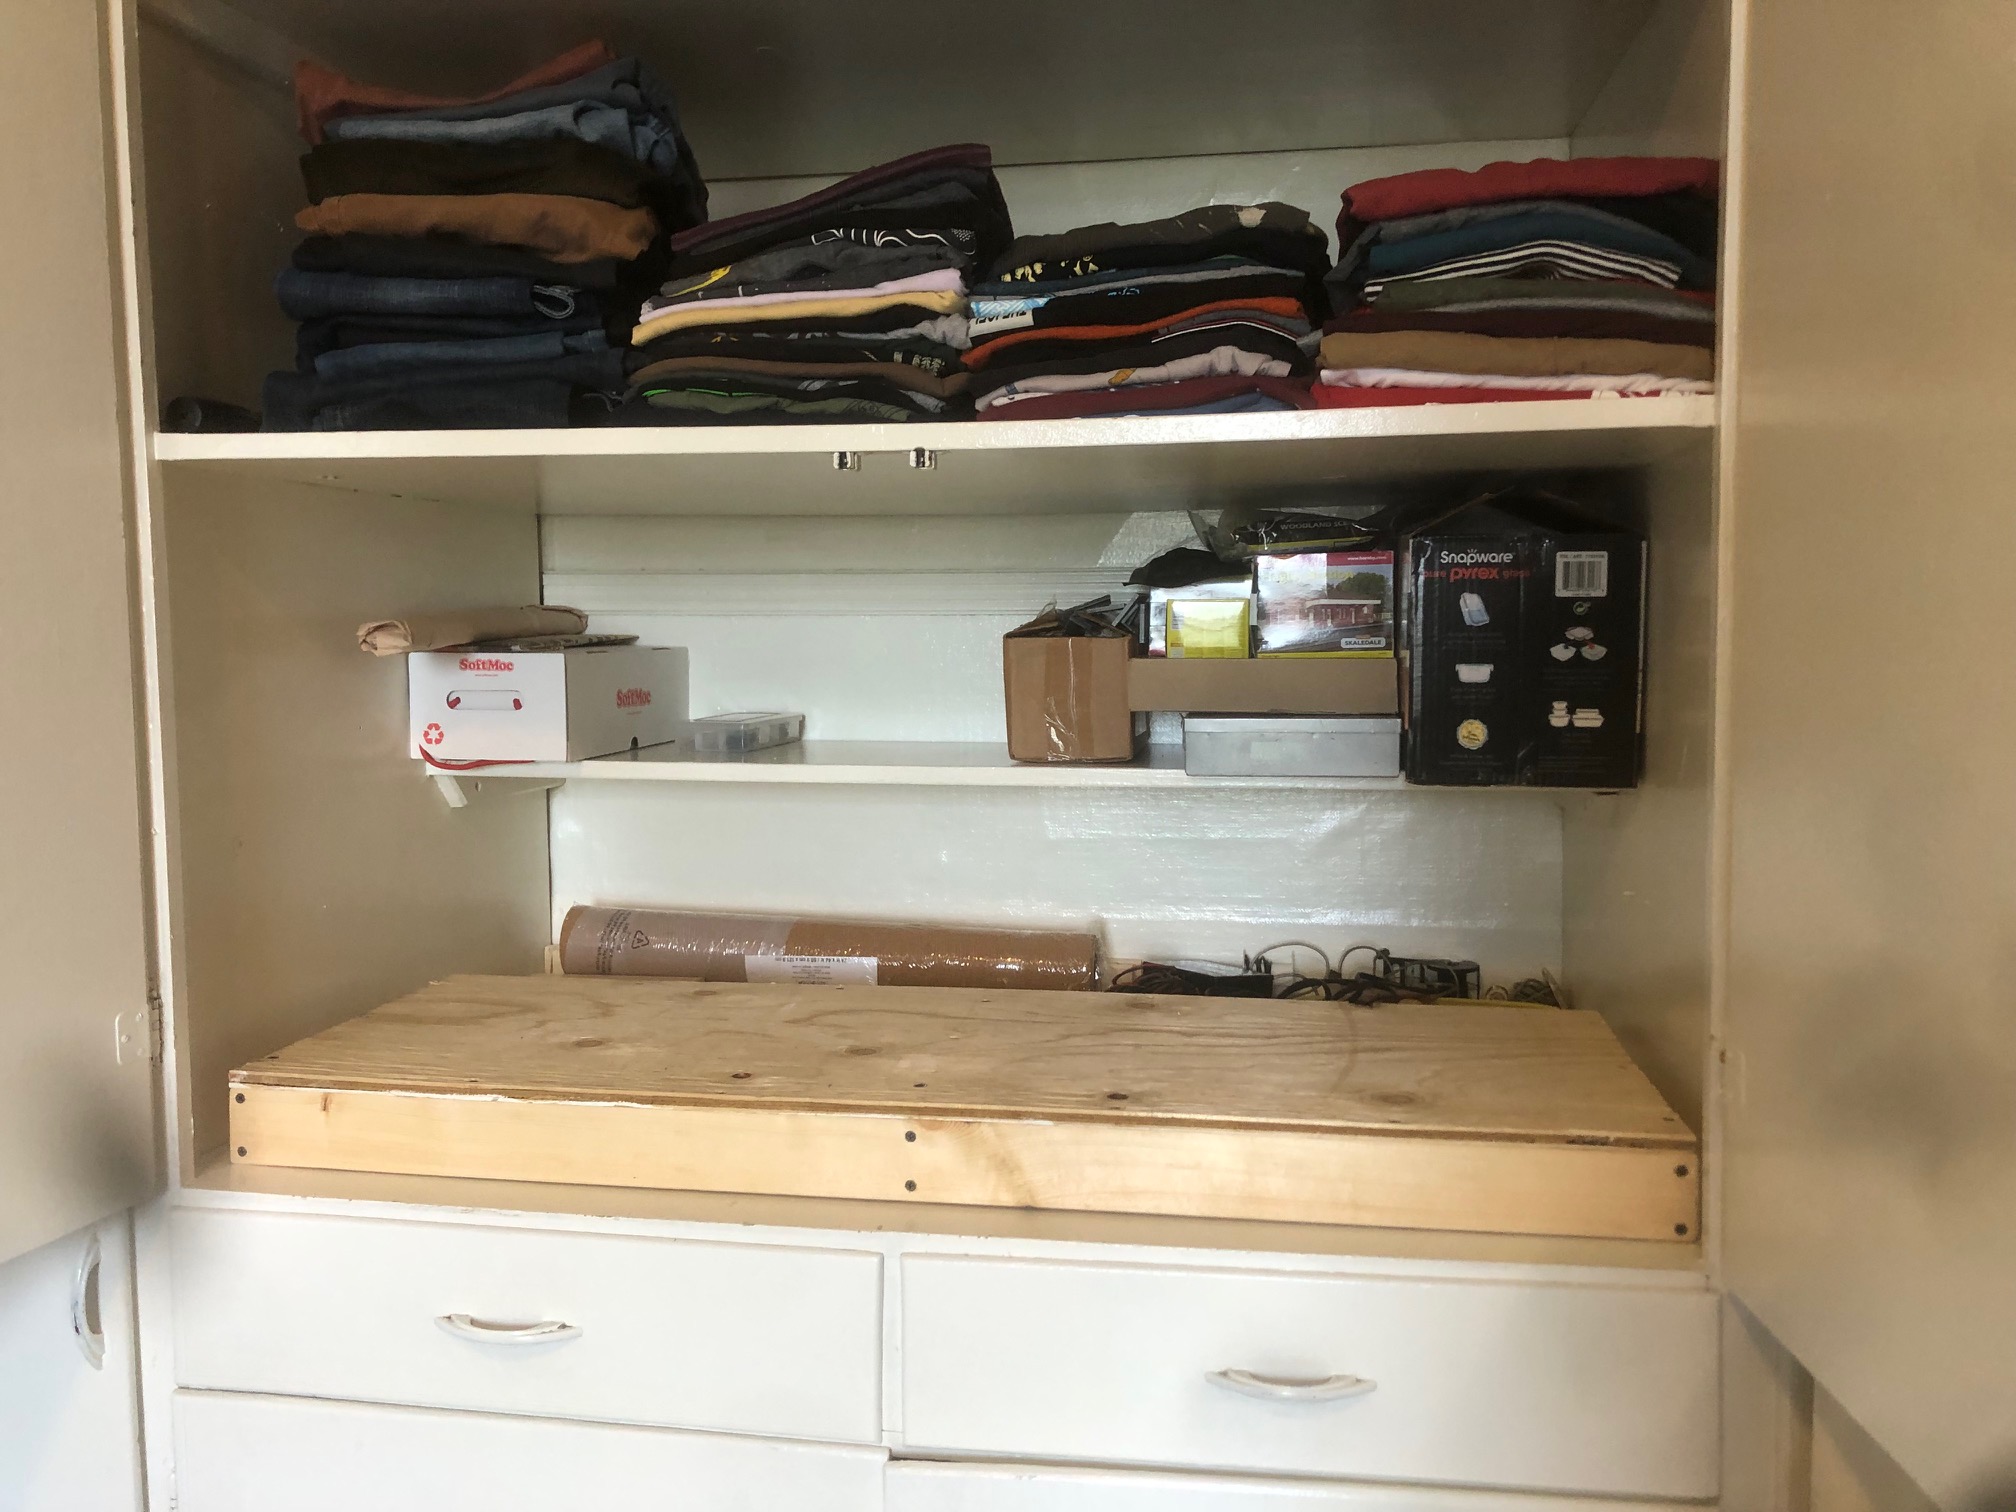
Here you can see what I mean about fitting into the closet. it's about a meter off the ground, and all my modeling stuff conveniently fits in there (those boxes). The crazy part is that the cupboard is more than two feet deep, so there's still plenty of space. It easily slides out so I can move it around to my desk or table, or maybe some sort of folding legs if I feel like that's worth it.
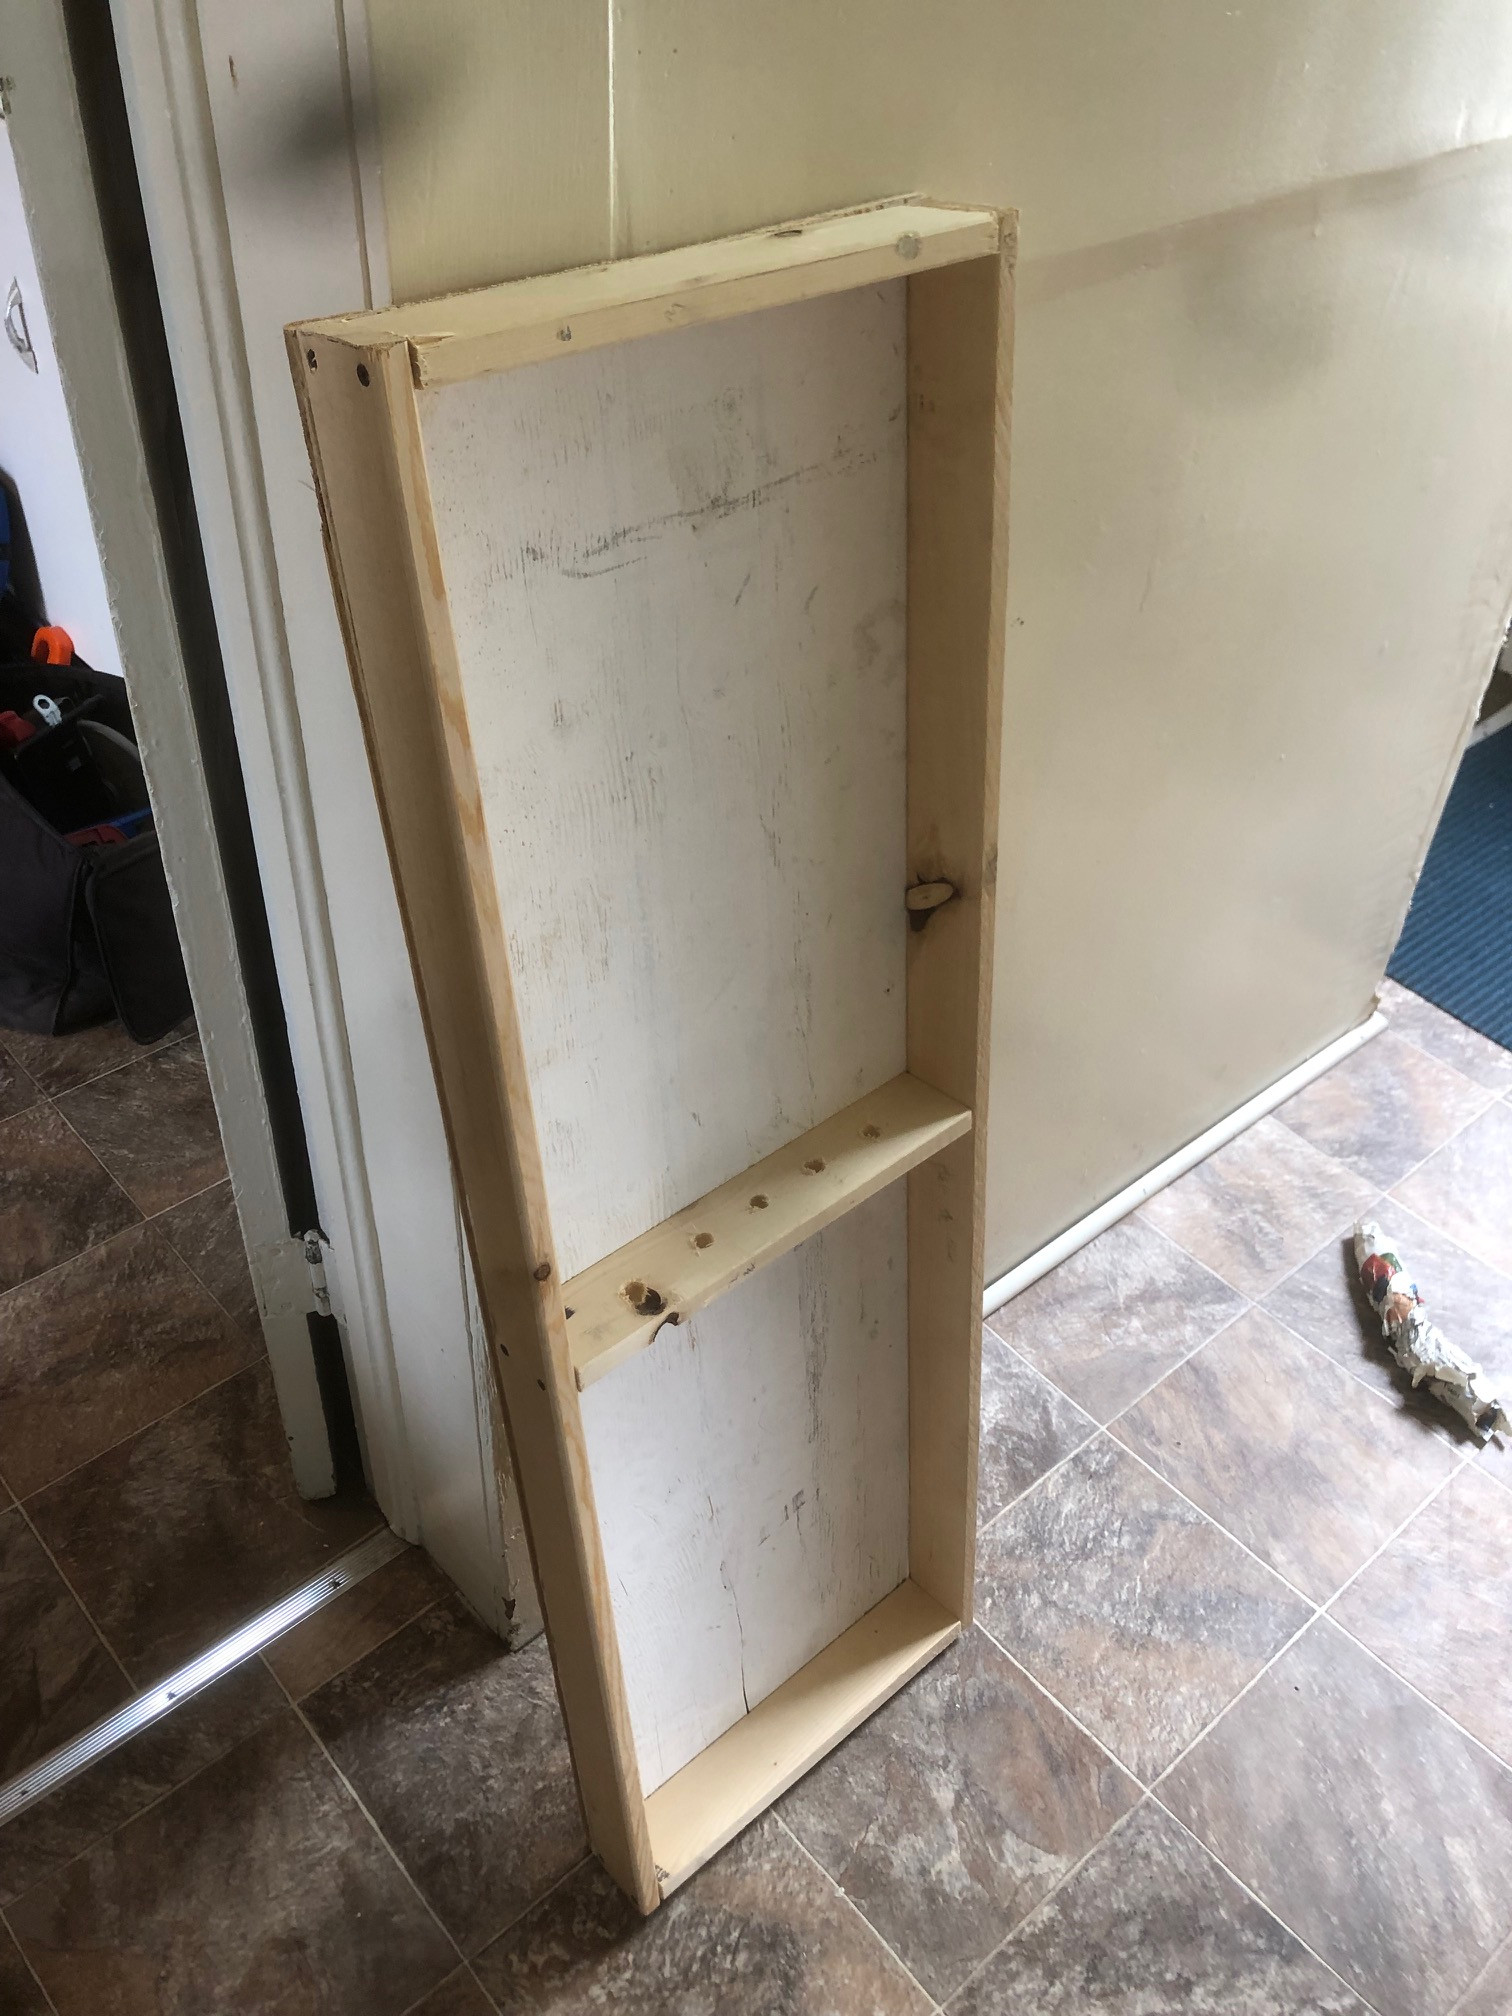
The underside of the baseboard. pretty simple, but hopefully strong enough. I was so stressed that those boards were going to split while I screwed them in, but thankfully none did.
Hopefully I won't get distracted, and I'll post a part two shortly. I'm wanting some advice for the track plan.
Also - sorry for the black spots in my pictures. My phone camera broke but still mostly works.
Good to be back!
Darius
Also sorry for the massive images, I tried to shrink them but it clearly didn't work.
- Darius
Posted
Full Member
This was the first one that I came up with. I was being creative, and I wanted to have a track that ran from one side of the layout to the other side in the same spot. Thankfully I pulled out my rolling stock and realized that wasn't an option:
It just had too much going on. I have the brakedown crane and and autocoach, which are my longest pieces. I think it would have been silly to try and use them on this.
So I did some more looking on the internet and found this: An Easy 'Starter' Micro Layout - Carendt.com (thanks Ed)
Drawing heavily from that, I came up with this:
Or alternatively, this:
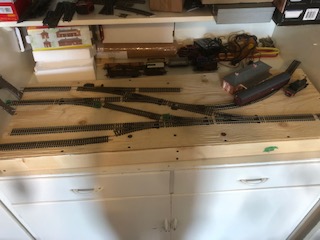
The only difference is the headshunt (I think that's what it's called?) on the top left. Unfortunately when I tried it with the point I had, it didn't quite work out. Mabye there's a way… I wanted to ask you guys if you thought it was even worth having that, or does it seem to crowd the potential station out too much?
Spacing: As much as possible, I tested it all to make sure that at least the longer rolling stock could fit, though there are some places it won't, but that's okay. I have made it so the autocoach/breakdown crane plus an 0-4-0 can fit in the siding by the station, the one on the top left (except not after adding the headshunt,) and the bottom left two sidings. Then the autocoach or crane by themselves would fit in the bottom right, and the second from the top on the left (where the tunnel mouth is).
Setting/industries: obviously there's the station, I think it makes the most sense there. I'd have that track disappear off the edge there. I'm not sure what the siding below that would be yet, and I also don't know about the top left siding. Second from the top left would maybe be a tunnel, and if I put a fiddle yard/cassete in, that would be the best spot for it. Then the two sidings on the bottom left would potentiall be the edge of a scrapyard or something. That's why I wanted two sidings, one for a flatbed wagon, and then the crane can sit next to it to unload. Maybe that's jammed in there too tightly though, thoughts? Do you guys see any other places that I could do that with the crane?
I love the idea of putting in a dock…. but quickly realized that that was futile with the space I have. Same with the three way split that I have and the diamond crossing. That's too much doing on. I'll save them for something down the road.
I hope that this all makes sense, and I would really appreciate feedback, suggestions, etc. This is the first time I've made a layout this small, and I know it won't be perfect, but I also want it to be the best that it can be.
Thanks for reading
- Darius
Posted
Site staff

Looking at the micro layout on Carl Arendt's site, your trying to cram a 64" wide layout into 44" wide.
I've done a quick plan in SCARM of what I think your planning, but I don't think you will be able to run around anything more than one 4 wheeled wagon.

Ed
Posted
Full Member
Good luck with it Darius but, along with Ed, don't try to overcrowd it with track.
'Petermac
Posted
Full Member
 Hey, thanks for the advice. My baseboard is 20 inches too short, but for some reason I thought that I could make up for it with the three extra inches in depth that I have. I’m not sure how that was going to work haha. Thanks for doing that up in scarm, Ed. Peter, would that have been something like an inglenook?
After hearing from you guys, I experimented to see what I could accomplish with an inglenook-style layout. I find that laying the track down and connecting it helps me figure out what is and isn’t possible, especially because then I know how it works with my rolling stock.
I tried a ton of possibilities, but the best two are this: one inglenook with my three way wye, where the headshunt can hold three wagons and a train, but the sidings can only hold 3,4, and 3 wagons. I was surprised, because I thought for sure that the three way would save some space, but I think it didn’t work because the angles coming off of it are too shallow.
Anyways, the best seems to be a typical inglenook.
Now, off one off the shorter bottom sidings, I added another point going the other direction. I wanted to be able to fit one engine plus the autocoach (or two 4-wheel passenger wagons) to go down to a station, but no matter what I tried, it didn’t really work. The best I could do was to have the engine’s wheels just past the point, but that was really pushing it. It’s unfortunate, but I think I might still leave it in. Then I’ll have a longer (mostly useless) siding that I can just park something in. I could just leave some bigger rolling stock there as more of a display and have the rest of the layout actually work, or alternatively I could put a second engine down in that siding that I guess would interact with the rest of the layout just by gathering things from that tiny headshunt (again, I realize this is pretty pointless).
Does any of that make sense?? I feel like I’m not going a great job of explaining my thought process. If my picture didn’t show up, then it’s basically the same as what “that model railway guy” has in this video, he gestures to it at 1:45.
The only other thing I did was add a totally unnecessary point into the headshunt. It doesn’t change the headshunt at all, only adds another tiny siding. I realize that it wouldn’t be used in a shunting puzzle game, it the only thing it would change would be as storage for a single wagon or loco. I’m not sure if I will put it in, but I was playing around to see what other possibilities there were to add something else to make it a little more interesting.
curious what your thoughts are!
thanks.
- Darius
Posted
Site staff

Inglenook Sidings Shunting Puzzle - Track Plan & Layout Size
Since the board is quite deep, you could have a separate piece of track not connected to the inglenook for display purposes.
Ed
Posted
Full Member
I'm slowly coming to terms with the limits of my space haha, but also realizing that there's a lot more potential in an inglenook than I thought (40,320 different combinations…!!)
Thanks for the link Ed, I tried to open his website on my computer earlier, but it somehow didn't work until you sent it…
I've already had some fun rearranging the wagons in order to measure sidings. In order to maximize the space on the layout so that I can more comfortably fit a full inglenook, I think I'll make the headshunt curve away to the opposite corner. that way I can fit three wagons and an engine, with an inch or two to spare, instead of no spare room.
Because of that, there isn't as much space for a separate piece of track, so I figured I'd go back to adding that siding going in the opposite direction. I doubt that it will play any part in the shunting, but I think that it still fits okay into the space. I guess it's kind of my compromise - An inglenook is all I can fit, and that's okay, but I'll add just one more siding to satisfy my desire for a little bit more, without doing any harm. I hope that doesn't seem too foolish ;). (I'll use some flex track, I just placed those little straight sections to show the approximate trajectory of the track.)
I think I'm pretty settled on going forward with this, I'm quite happy that I'm able to fit a full inglenook in. That being said, your opinions are always valuable.
Thanks
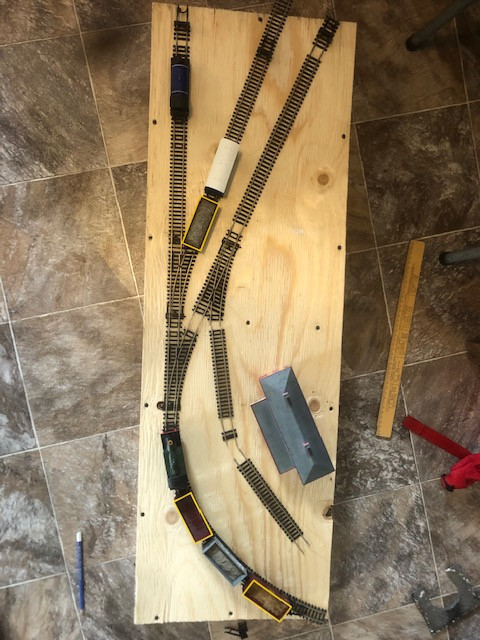
- Darius
Posted
Site staff

Posted
Full Member
Terry
Posted
Full Member
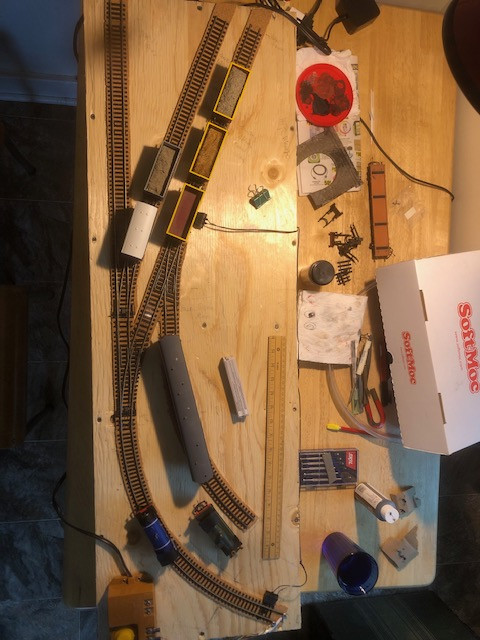
That being said, I was able to lay down all my track and all the cork underneath. It's all wired up temporarily for the time being, I'm waiting to borrow a soldering iron from a friend. I'd rather just buy a one and get 'er done, but I have to spread out the spending out haha.
I was pleasantly surprised to find that the old bachman controller I have runs the locomotives very, very slowly and smoothly. It's amazing how much of a difference that makes for the hornby 0-4-0. It was just yesterday that I realized that it's only so slow because it has a 6 volt output… so the engine I have that's already slower had some troubles with heavier trains - though based on the size of the layout, clearly not that heavy lol. Down the road I'd like to pickup a cheap PWM controller from amazon, but this one works for now! Anybody have experience with PWM controllers?
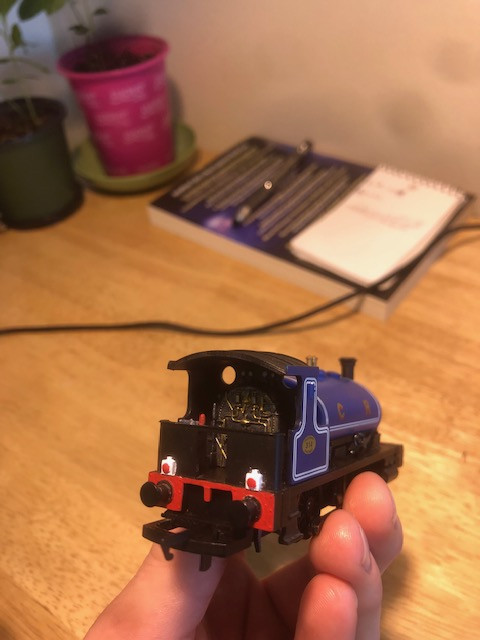
It was nice to do something like that without being stressed about ruining the loco, like I would have been in the past. I guess I've learned that mistakes are worth being made, otherwise nothing happens. I think that must be this layout's motto or something….
Next: weather track, plan for the bigger scenery (station, retaining wall, and goods shed).
- Darius
Posted
Full Member
Maybe the additional siding could be to an engine shed and coaling stage? Depending on how you plan to operate the layout (wagon order determined by drawing cards, or just randomly?) having to shunt a coal wagon in or out of that siding would add an extra challenge to the puzzle.
~ James ~
Posted
Full Member
I was actually thinking an engine shed would be nice as well, except I've decided to put a station in there. I think I would rather have an engine shed or something more industrial, but I was given a really nice station buildingback when I was first getting into my models, along with a signalbox/ticket office and I feel like it would be a shame not to use them. I also am trying to use what I have and spend as little on this layout as possible. So far the plan for the other buildings are some of scalescenes free samples. :cool:
Darius
- Darius
Posted
Full Member
I weathered all my track, with some acrylic paint. I'd never done it before, but it makes a big difference! It was worth it.
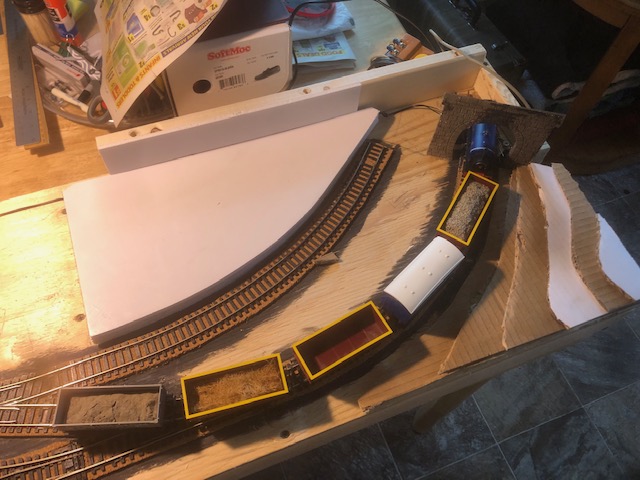
This half of the layout is getting all the attention right now, because the other half will be flat with some buildings. I find that my plans keep changing, and little by little, I've ended up with something quite different than I thought! I've got the base for the station platform made (foamcore), and there will be a brick retaining wall along the back of it, where it will meet up with the hillside to the left of the tunnel. Also working on a little bit of a slope for the corner, just because I can. It will (probably) be a field.
Kind of silly, but I have exactly five pieces of rolling stock that work for the inglenook! Thankfully it still works as a 5-3-3, but hopefully, I'll be able to pick up a few more wagons soon. I built it with the intention of getting more, anyways. ;)
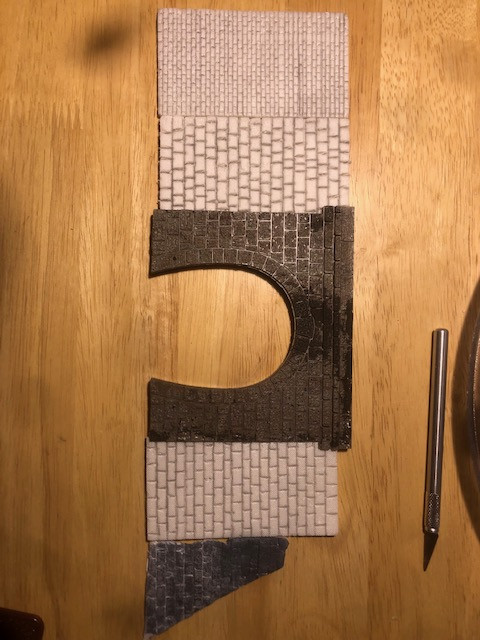
I've also had some fun carving bricks in foamcore, just to see if I'd be able to accomplish what I'd hoped. The smallest bricks are all about 2mmx4mm… and I carved each one out. I found that going over it with a sharp pencil, then a knife, then a pencil again, gives the best texture/depth. I'll probably do the retaining wall in the bigger, random pattern, and paint them to matche the tunnel portal. not only does it match, but it's a heck of a lot easier!!!
- Darius
Posted
Full Member
I'm also trying to not spend too much, so will be making-do and using as much recycled items and material as possible.
~ James ~
Posted
Full Member
I need some advice - I have six of the Ratio 4-wheel coach kits that I got years ago, and I'm finally confident enough to build them. I'm just not sure if I should build them and then paint them, or paint as much as I can before I put it together. I don't have an airbrush, so I'll just use satin finish acrylic and a paintbrush. (I hope they don't turn too ugly…)
Thoughts?
- Darius
Posted
Full Member
Running boards on the sides are the weak points of these models. Best reinforced with styrene strip or brass underneath. Attach after everything else is done. Are you doing interiors? Depending on the age of the kit you may have to remove a fair amount of flashing. The kits may or may not come with the correct Mansell wheels (solid teak centers to which the bearing is bolted). Keep everything square, otherwise, the roof will not fit. Coach end detail is poor, there are brass kits for this. You can make some interesting carriage diagrams by a "cut and shut" of 2 kits.
I have used rattle cans - it depends on what color scheme you are using. Brown or maroon works well. If you are going to use a paintbrush try and use Vallejo Air - it goes on without streaks.
Assemble body, attach chassis, paint. Attach window strips, then seats if you are doing them. Paint roof. Attach. Repair running boards. Again. These carriages originally had oil lamps and were then gas-lit - a nice detail is to put the gas piping on the roof. Thin solder wire works well.
Nigel
©Nigel C. Phillips
Posted
Full Member
I bought the kits second-hand, most of them are in new condition but a couple have been partially built and already have a few broken running boards… I do have an extra kit that I'm going to cannibalize for spare parts, then hopefully I'll be able to build the rest just like new.
Thanks for the paint recommendation, I'll check it out! Though now that you mention it, spray paint would probably be easiest… How do you do the contrasting colour? Just carefully with a brush, or do you tape part off?
I know it's not really prototypical, but instead of GWR brown and cream, I think I'm going to try maroon and cream, to go for the Caledonian railways look.
Something like this: Graham Farish 0668Farish 4-Wheel Coach in Caledonian Railways Maroon &
I started work the other week, so things have slowed down. I was able to borrow a soldering iron and get everything properly wired together (I will admit- my soldering is pretty sloppy, but it does the job. It was trickier than I expected haha).
I've also been chipping away at the platform station and some of the scenery. Practicing carving and painting bricks, and painting sand for my ballast.
Darius
- Darius
Posted
Full Member
Light first, mask, then dark. If you do dark first you will need to use a coat of grey then the light. Try and use yellow modeling masking tape, avoid the blue one as paint will creep underneath. You could of course use rattle cans, Krylon brand works well, and one can will do quite a few passenger cars. Usually comes as primer/paint. Saves the expense of a decent airbrush setup.
Airbrush. Cheap way to do this is to get the airbrush, and then use a spare tire as the compressed air source. Good enough for a couple of cars. If you get a compressor make sure it has a decent sized reservoir. Cheap compressors only will pulse. Like soldering irons you get what you paid for. Most cheap airbrushes are useless, expect to pay around $100+.
Maroon and cream (blood and custard) sounds interesting. Many of those old 4 and 6 wheel passenger cars ended up as small Siphons for milk churns. Mostly found on branch lines.
©Nigel C. Phillips
Posted
Full Member
If you can find the right colour (or even a close colour) in a rattle can that is easiest. Otherwise an airbrush is a good investment. I have a Paasche which was about $100 if memory serves.
John
John
Posted
Site staff

Ed
1 guest and 0 members have just viewed this.


