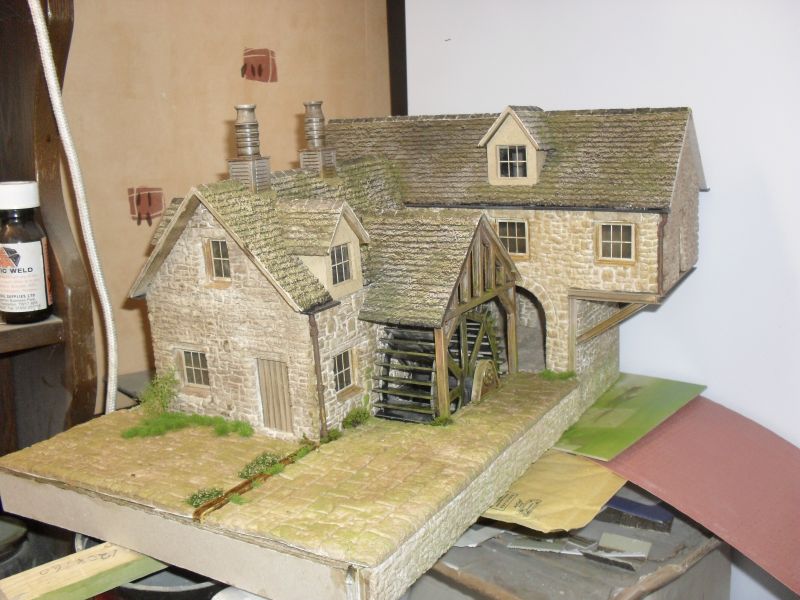
Building a derelict watermill
Posted
#229066
(In Topic #12507)
Legacy Member
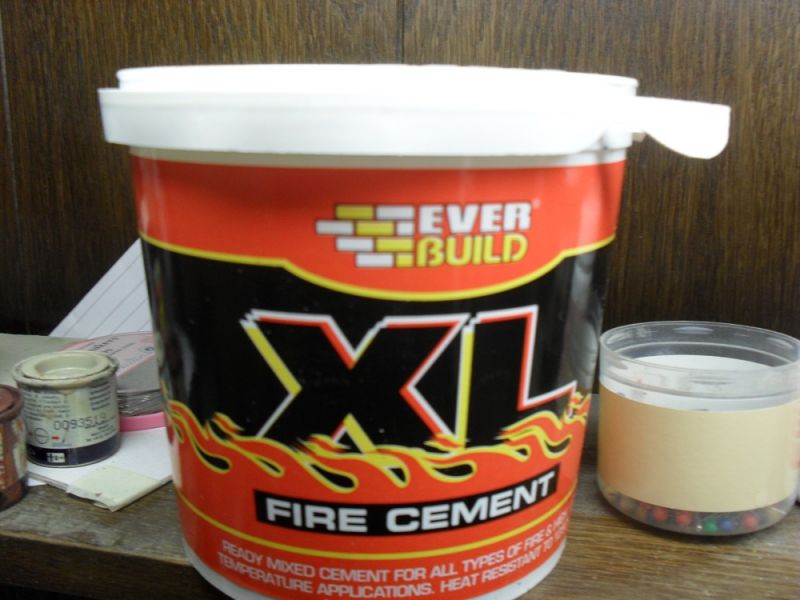
Working with fire cement
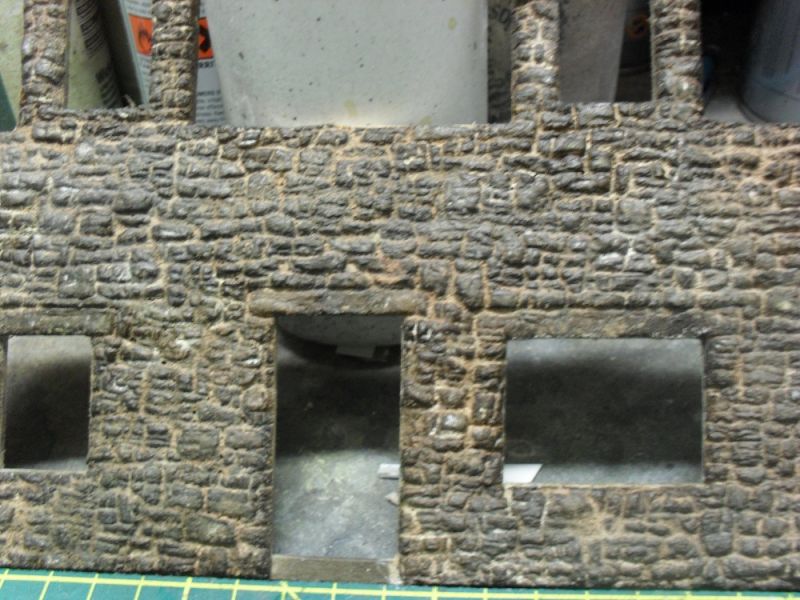
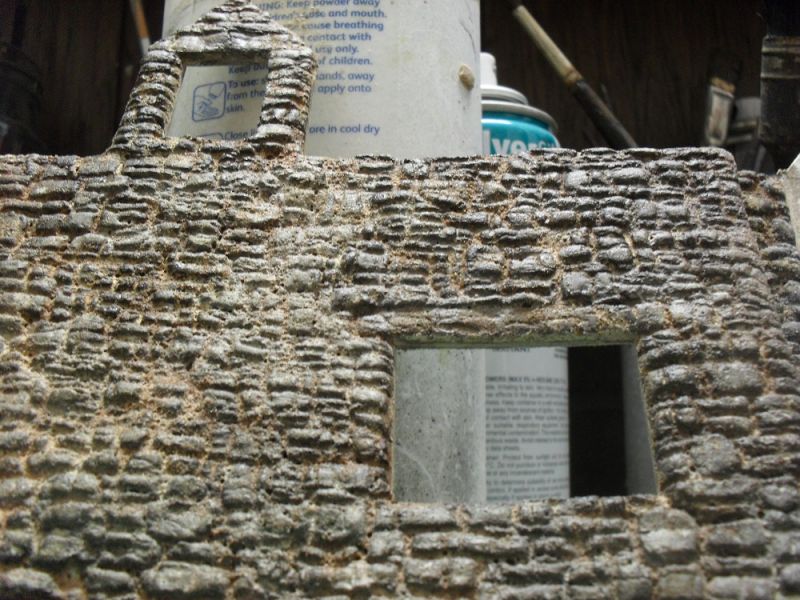
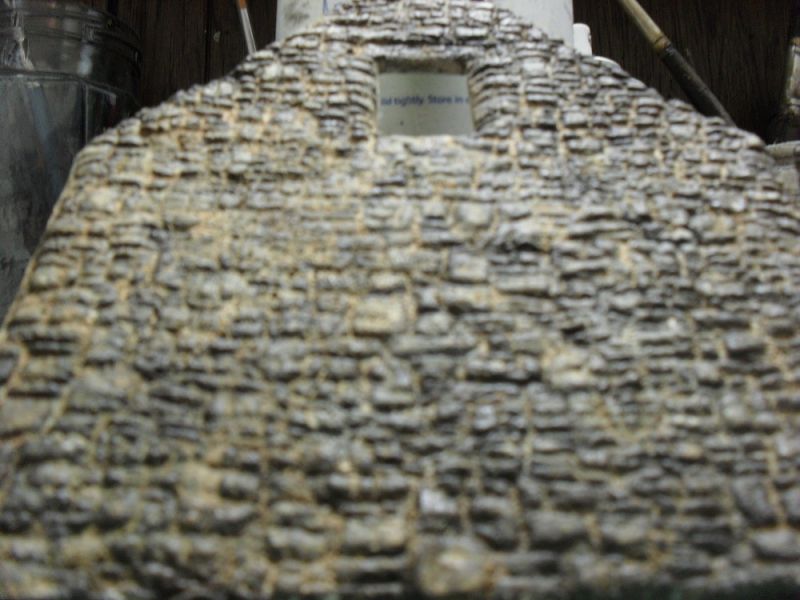
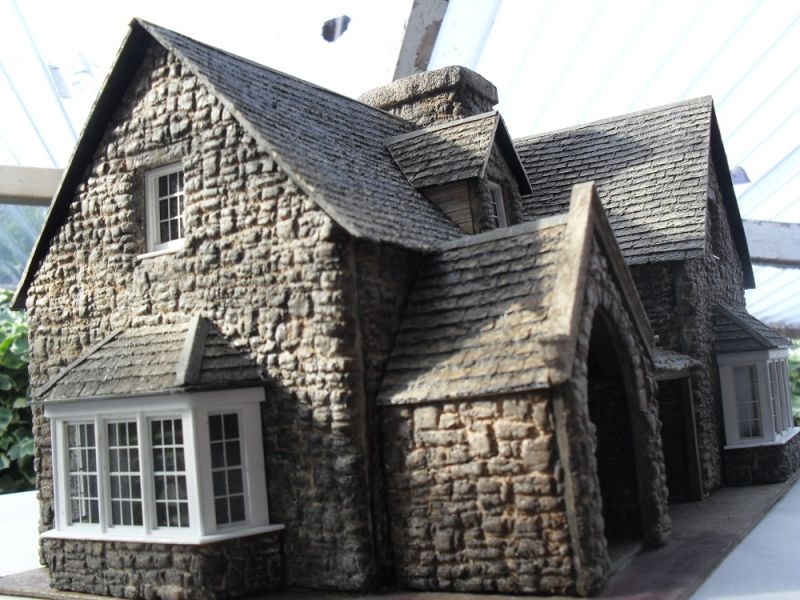
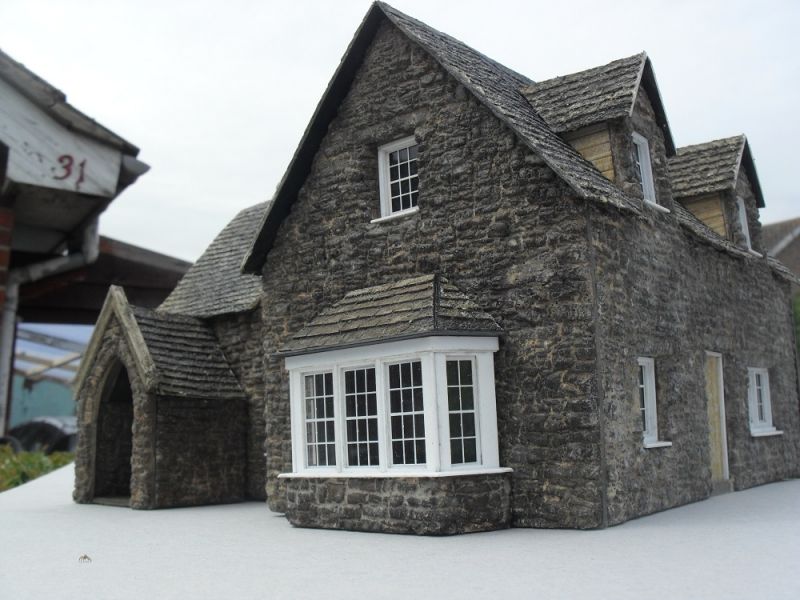
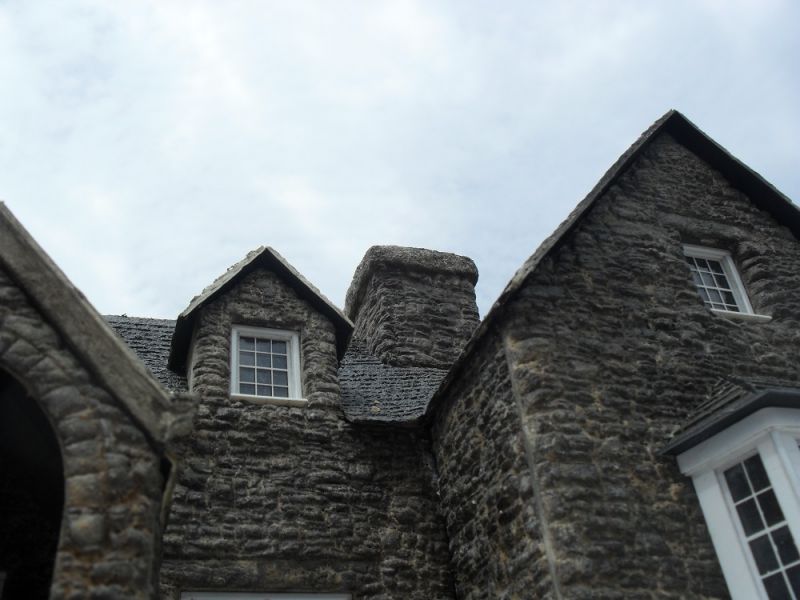
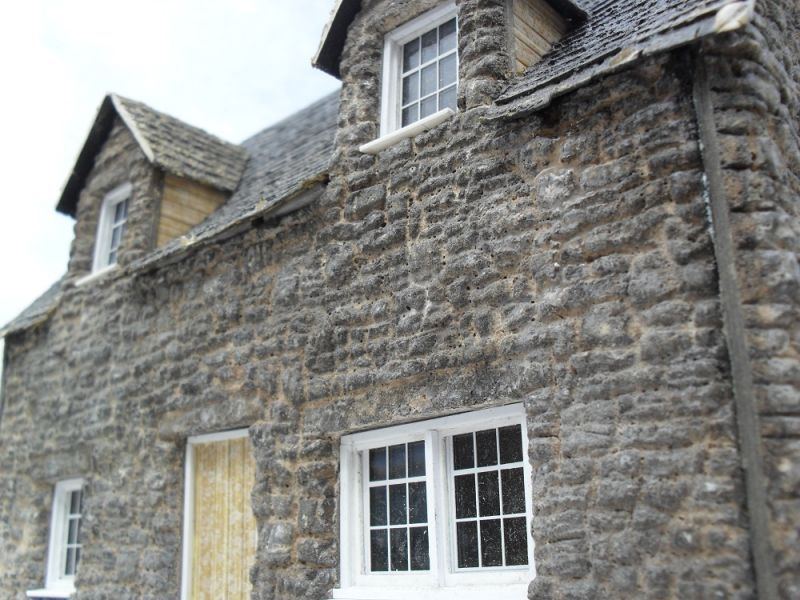
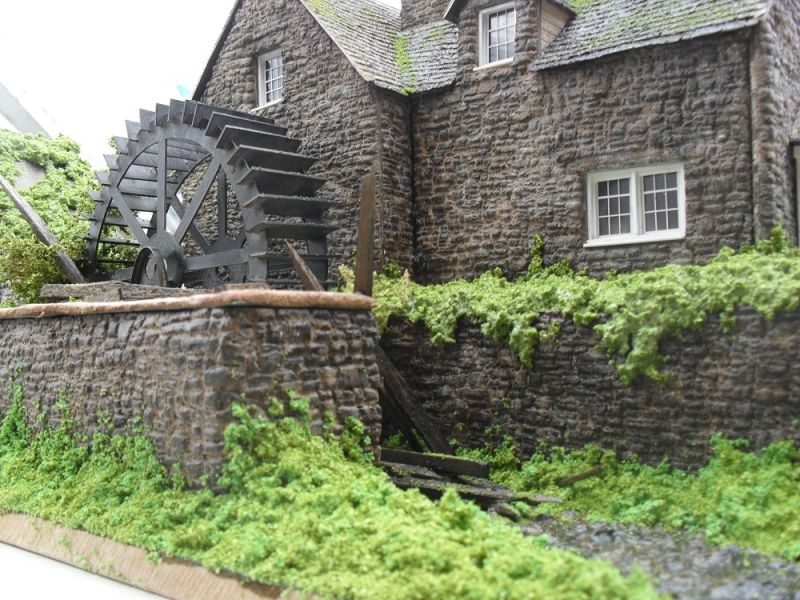
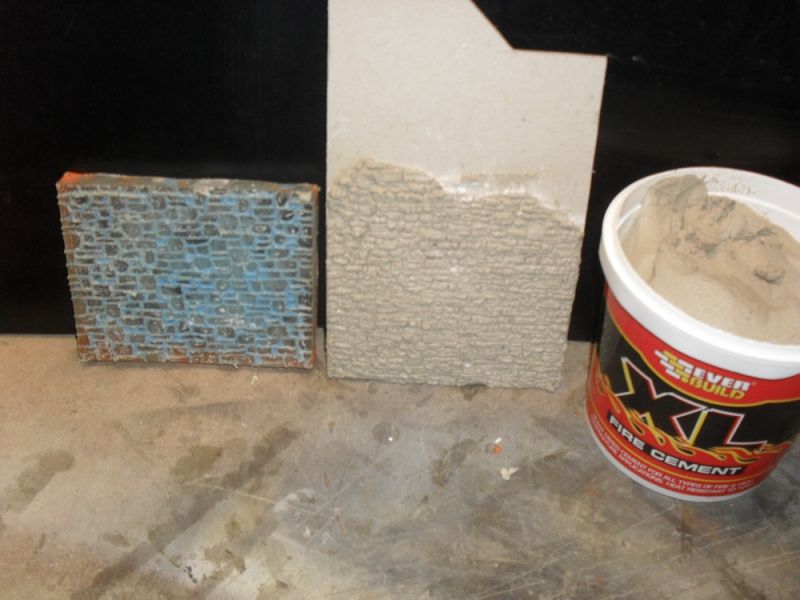
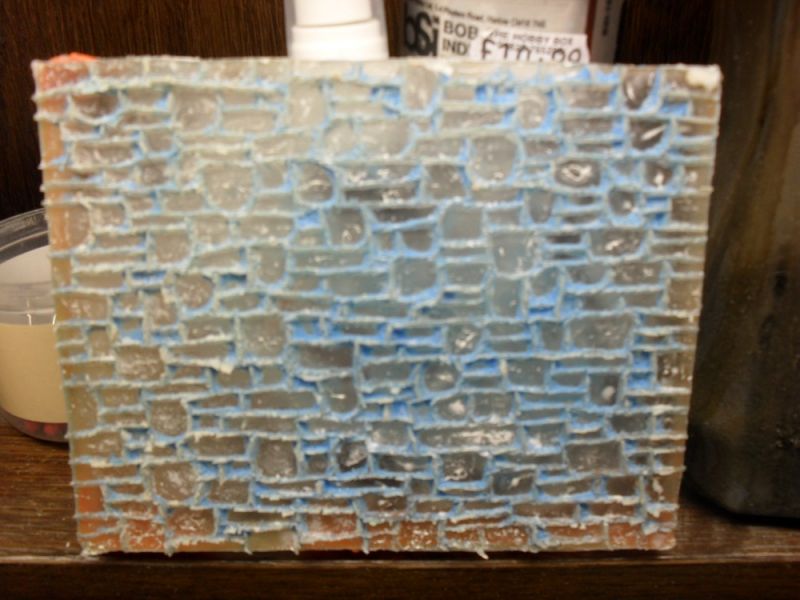
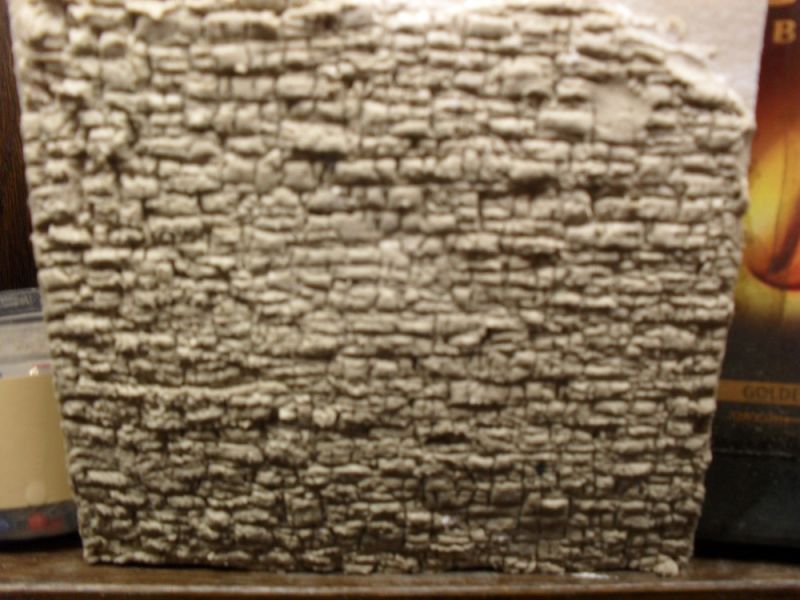
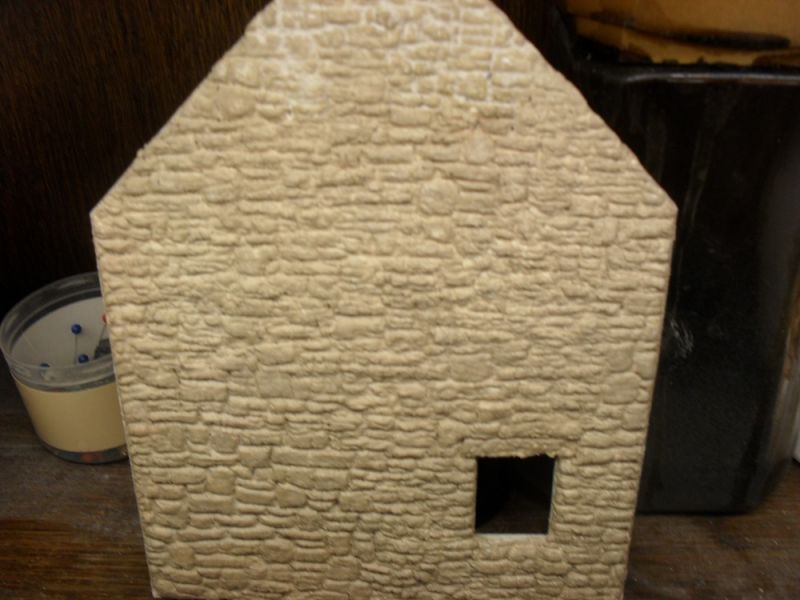
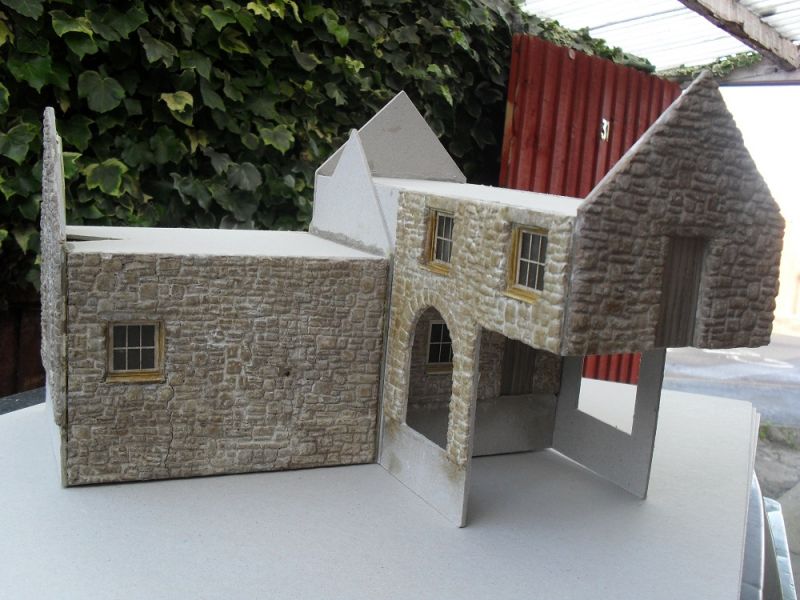
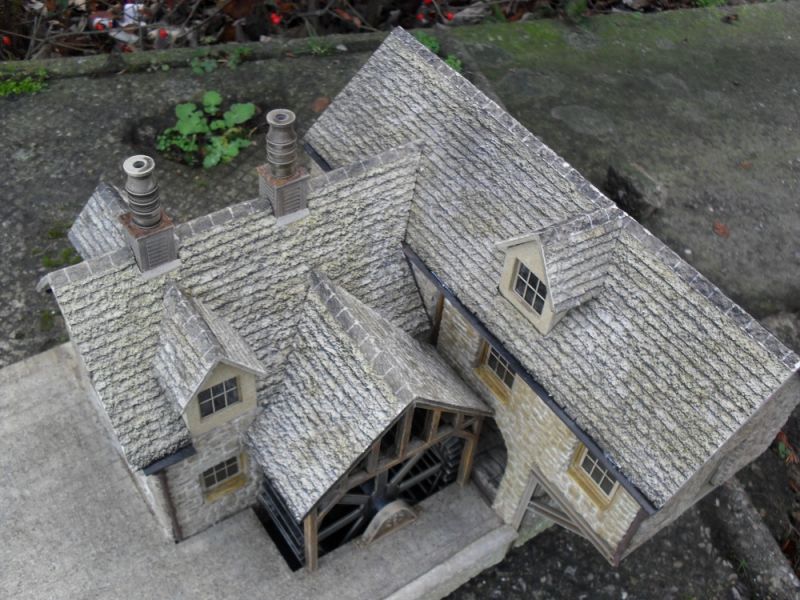
Here's a kind of step-by-step on watermill construction. It's not as comprehensive as I would like it to have been but I hope it's enough for you to follow and get the drift.Although built using fire cement as a medium, any commercial stone or brickwork would do just as well but, me being me, I like to work the hard way !
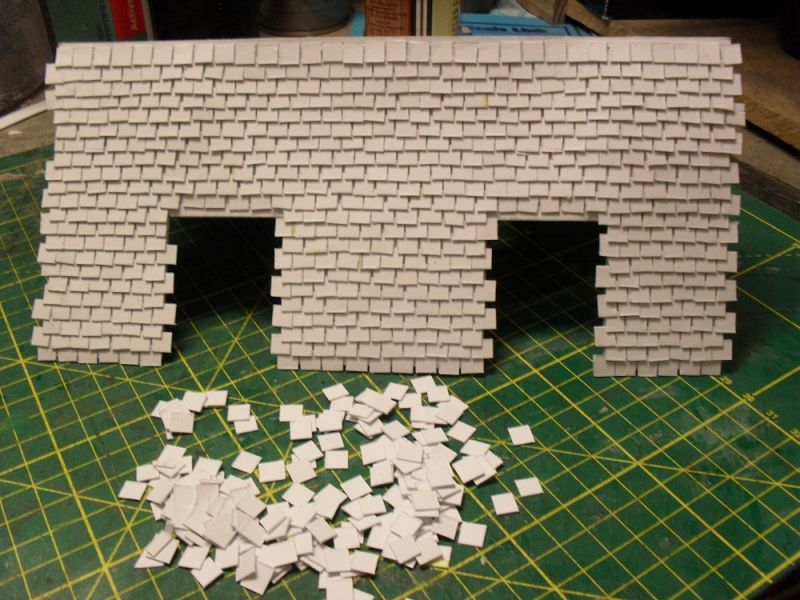
The stone effect for this particular build was impressed with a home made stonewall press made out of casting resin but a passable stone effect can also be accomplished by making the indentations with a small screwdriver blade or similar.
Anyway, here's several stages of the build spread out over several post because of photo limitations per post and, any questions you may have, just fire away !
Allan


Posted
Legacy Member
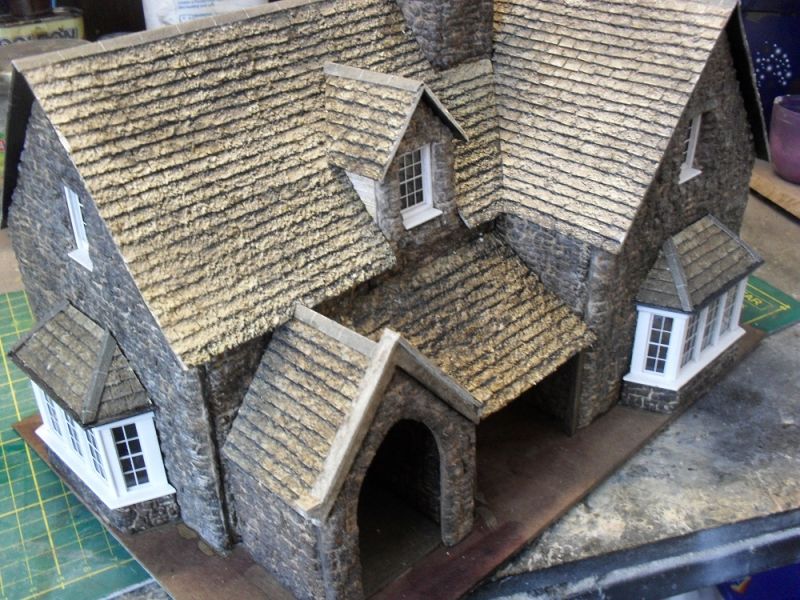
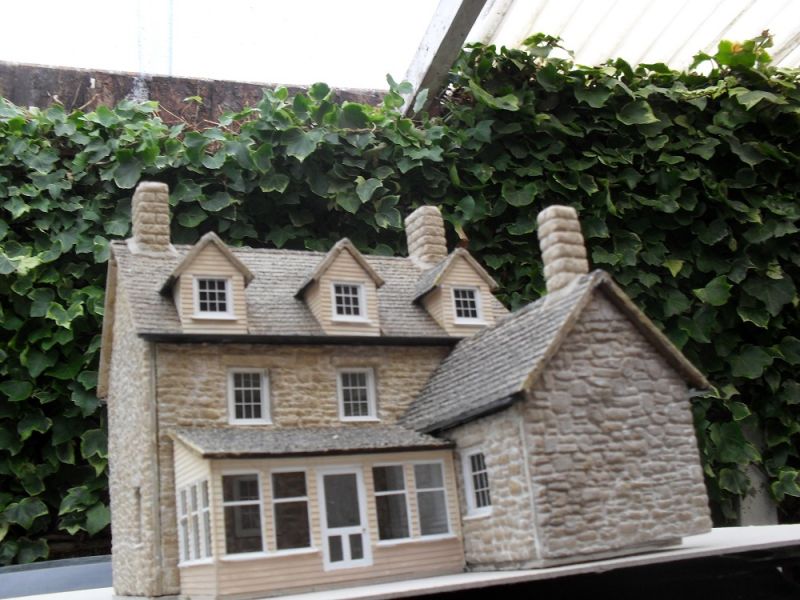
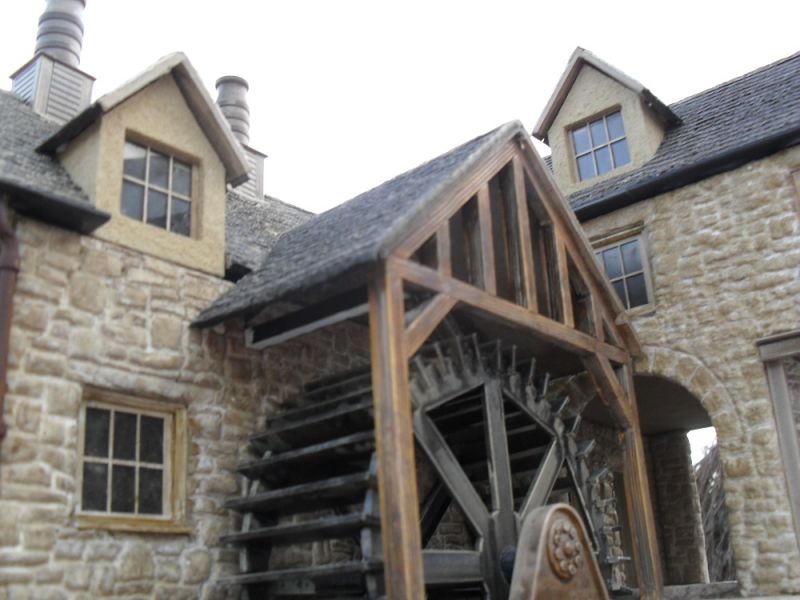
Roofs and tiling.
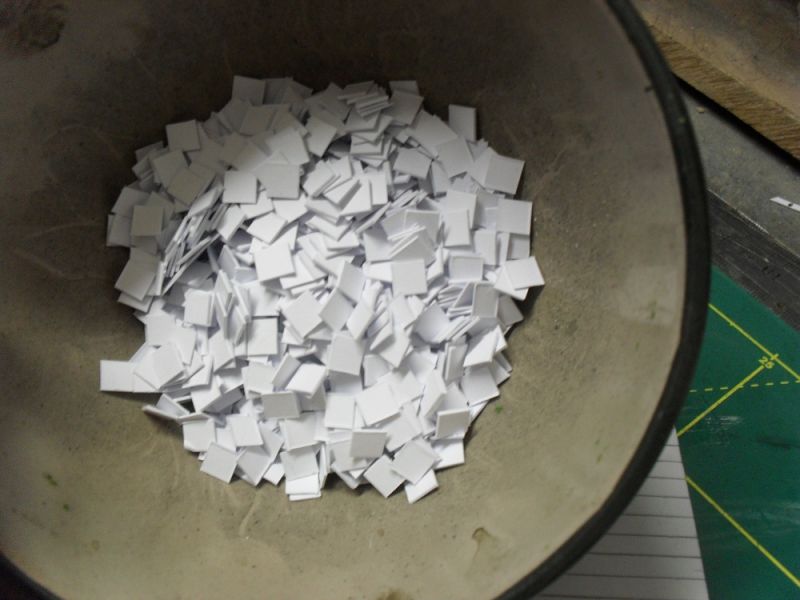
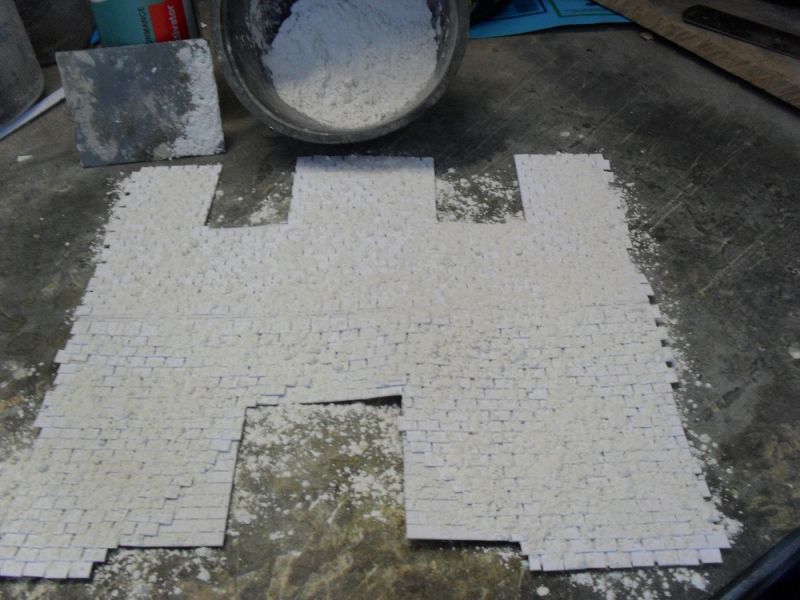
The tiles are cut out of postcard quality card and laid individually with PVA along the penciled in guide lines.
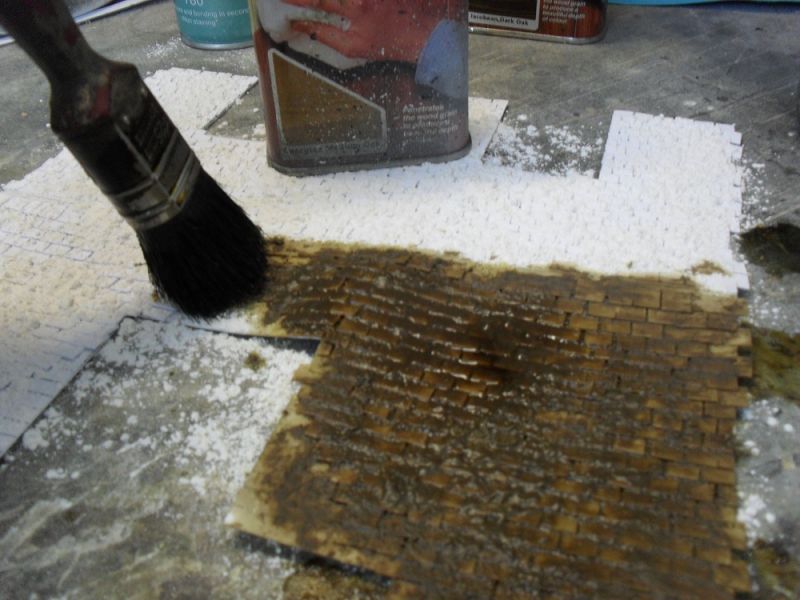
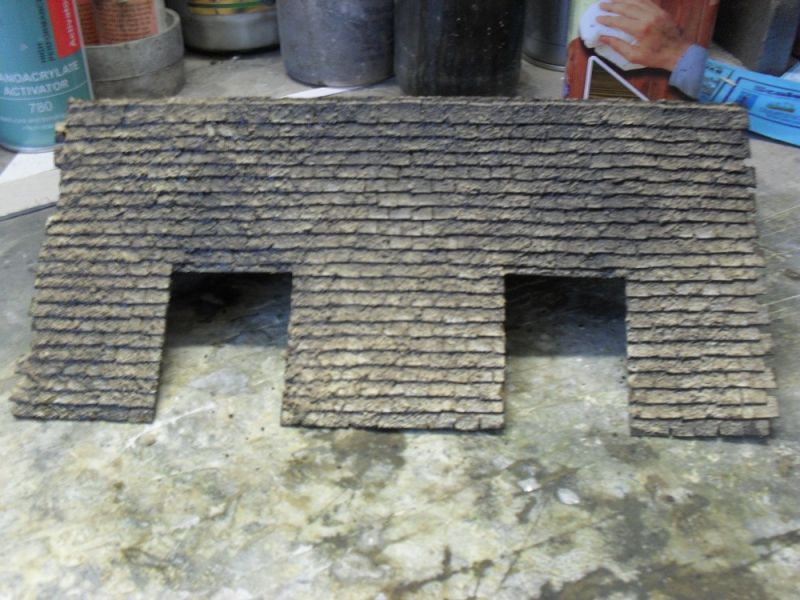
Now here, you can either colour them using the appropriate coulered paint or, as you can see in the photo's, where a generous coating of Pollyfilla powder was spread over the tiles and stippled with Colron Light Oak spirit based wood dye and, when dry, sealed in with a thin coat of watered down PVA. The results can be seen below.
More to follow.
Allan
Posted

Full Member
Another lovely model. :doublethumb
John
John
Posted
Legacy Member
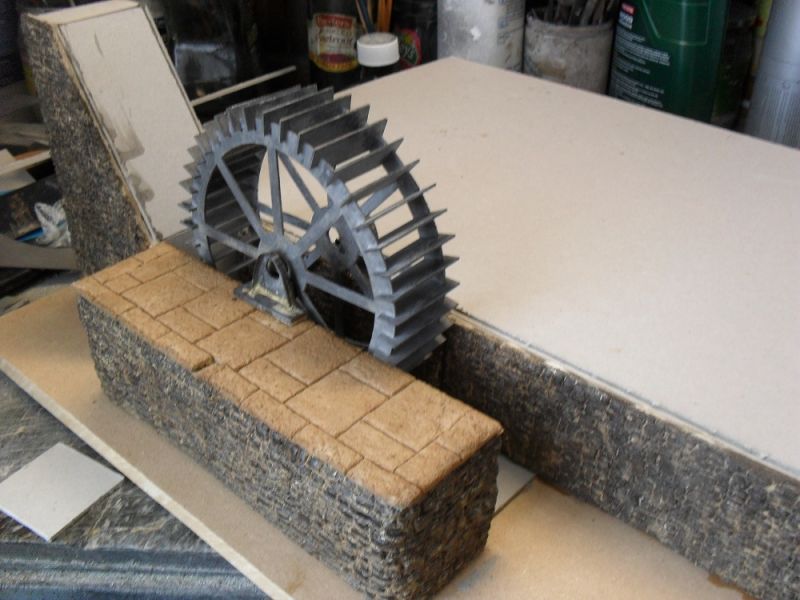
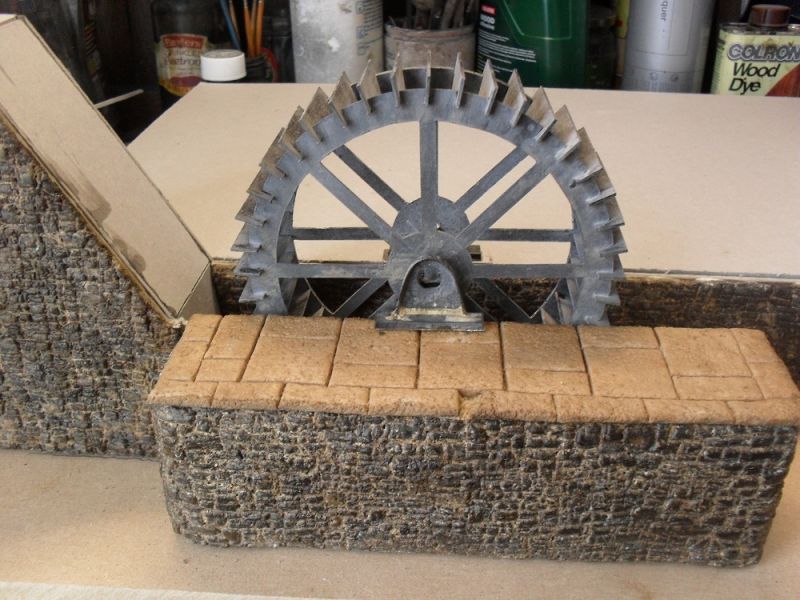
Anyway, here we are at the construction stage where everything is test fitted first buy pinning the building together, then once satisfied that it does - or, in my case, very surprised ! - then it's glued together permanently with super glue for a strong and instant bond.
Allan

Posted
Legacy Member
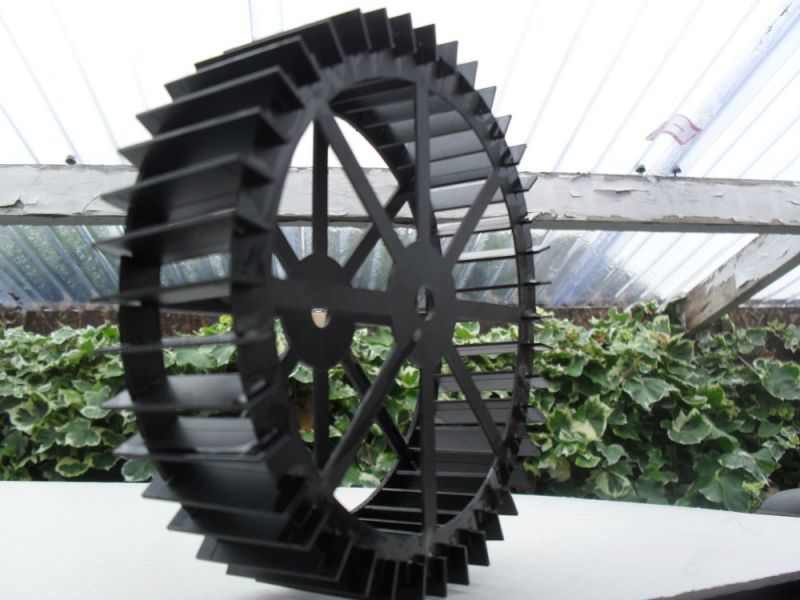
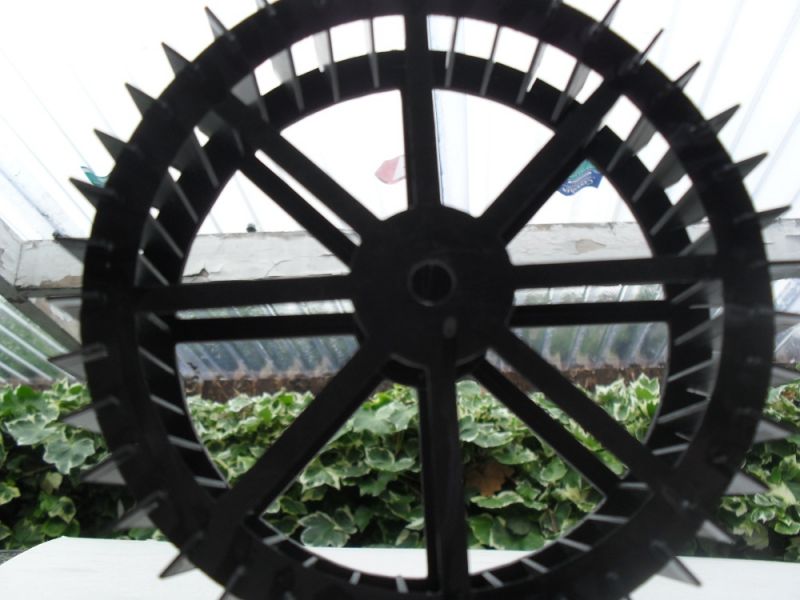
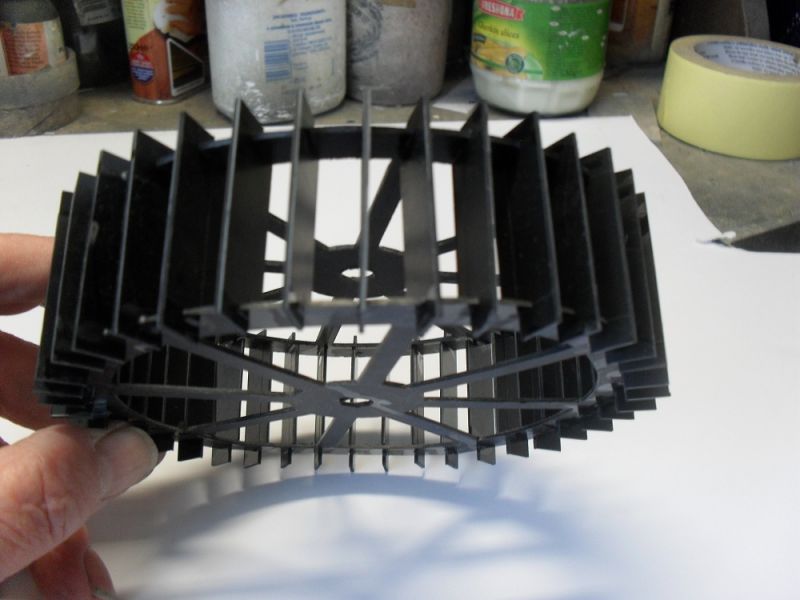
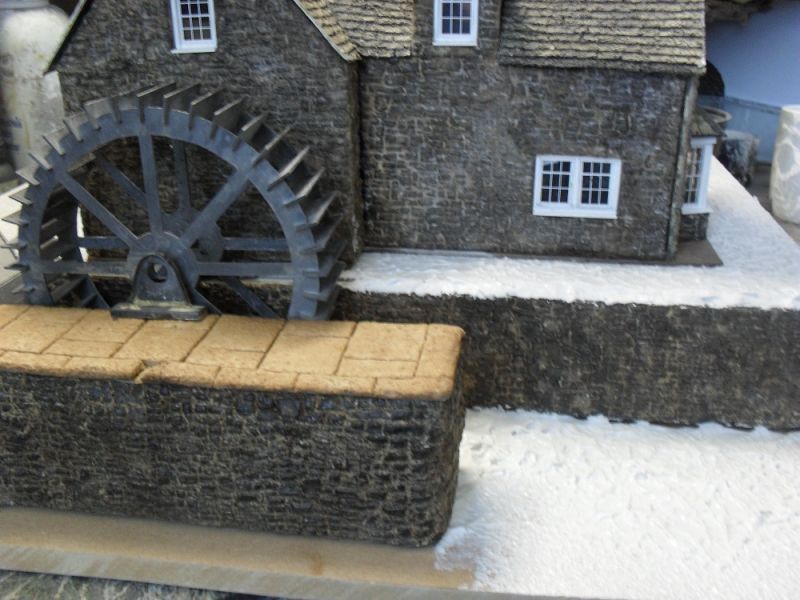
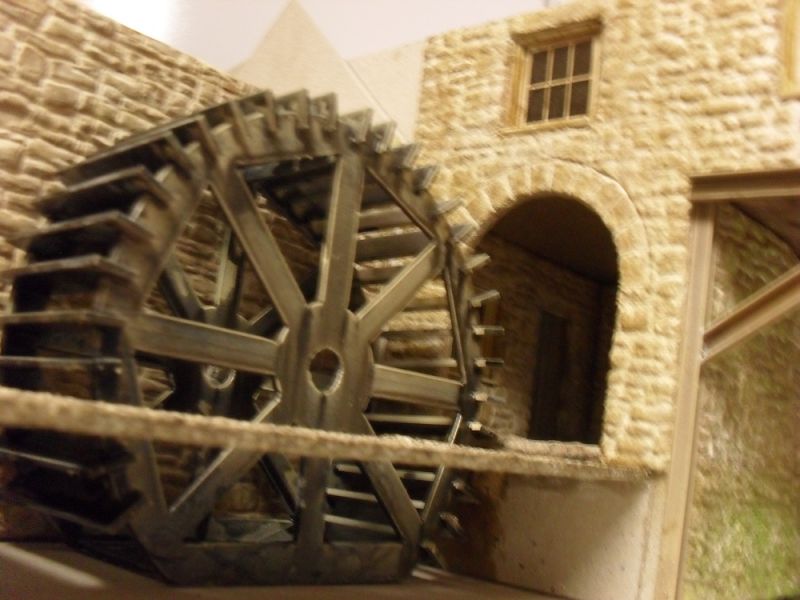
This is made entirely out of 40thou black styrene and the slots for the paddles are cut in with a 40thou tenon saw blade where you should end up with a tight, rigid, wobbleless wheel !
I found it best to assemble the wheel 'dry' in order to check for fit and alignment before finally fixing everything solid with Plastruct Solvent. Past experience - read that as past disasters - taught me this and I defy anyone to pull a waterwheel apart once it's been glued together and something I've tried on several occasions !
With regards to the geometry and in particular the spacing of the wheel paddles, I had absolutely no idea on how to go about this mathematically so employed my usual method of 'hack 'n' hope !
Anyway, here's the pictures that clearly show that even 'hack 'n' hope can work sometimes !
Allan

Posted
Legacy Member
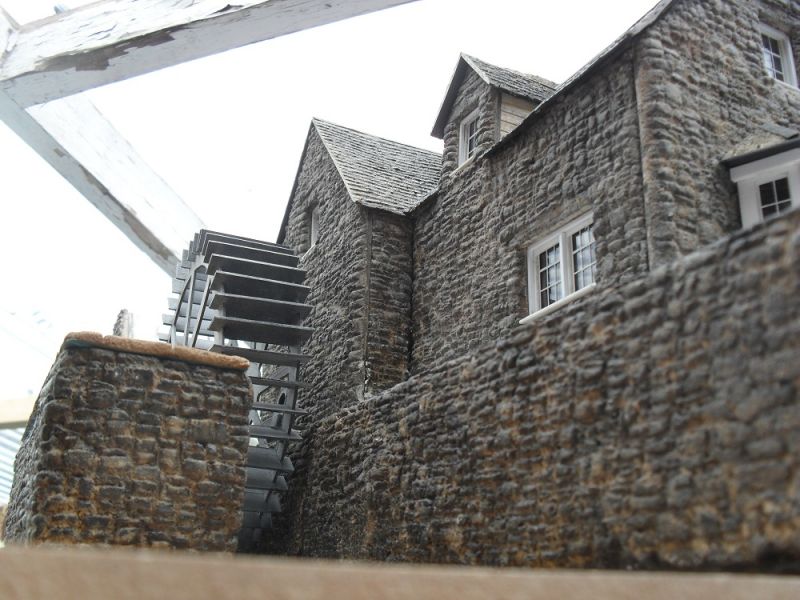
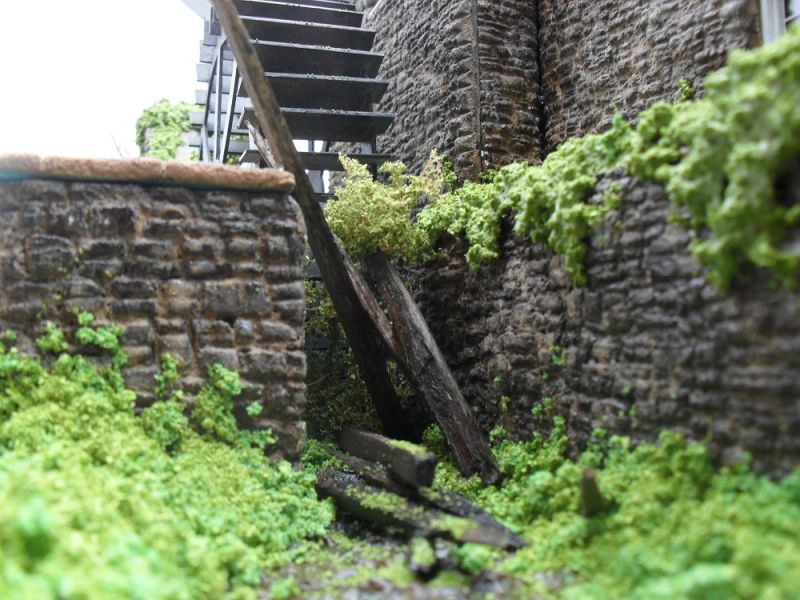
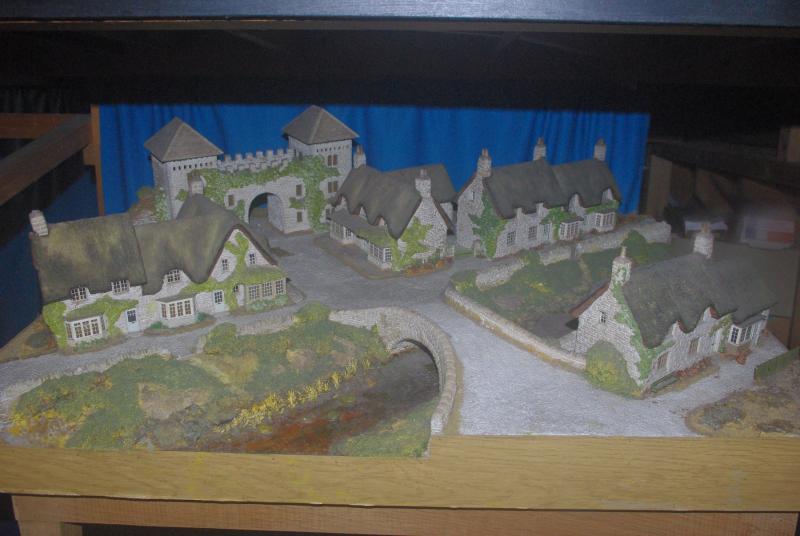
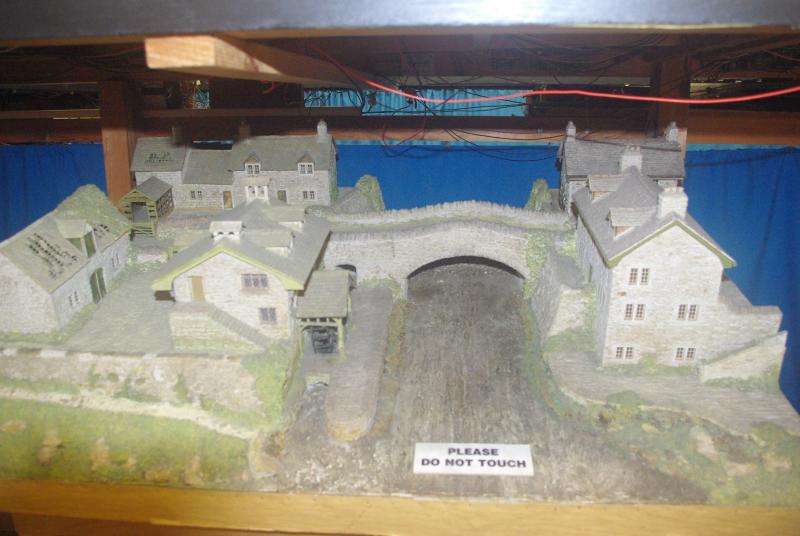
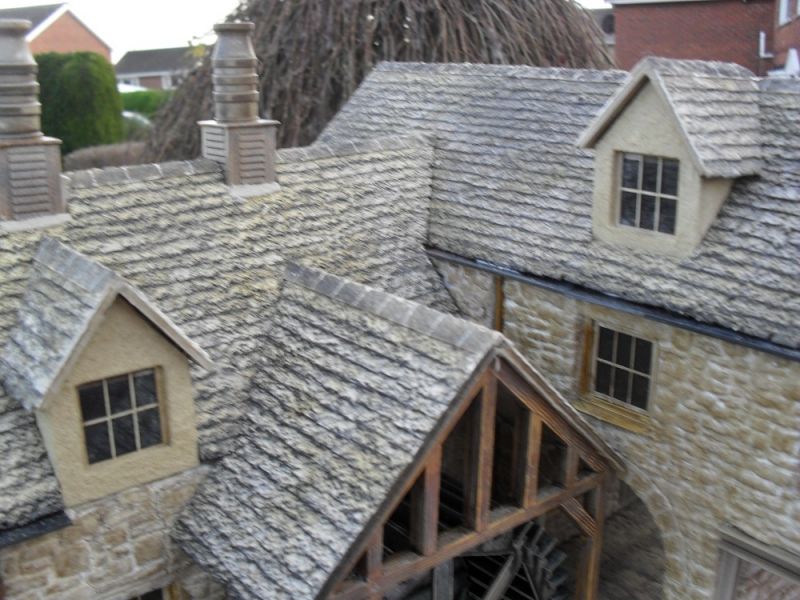
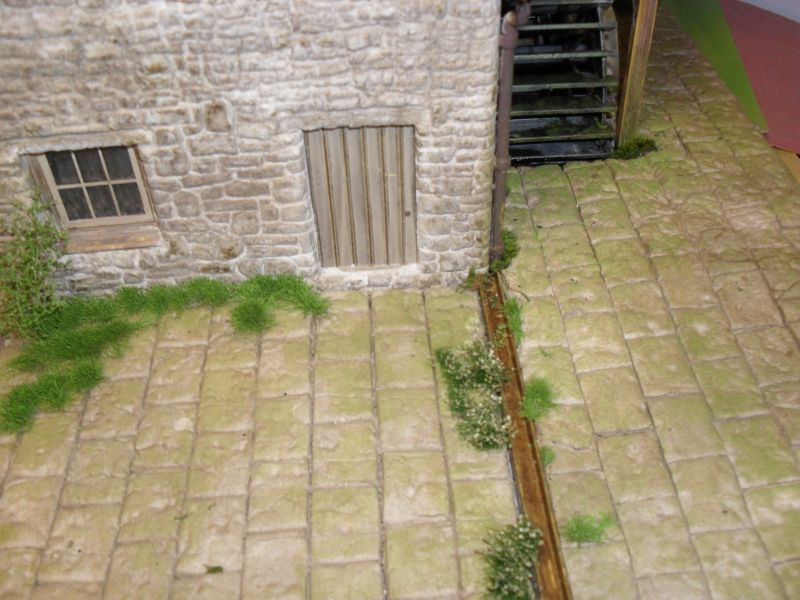
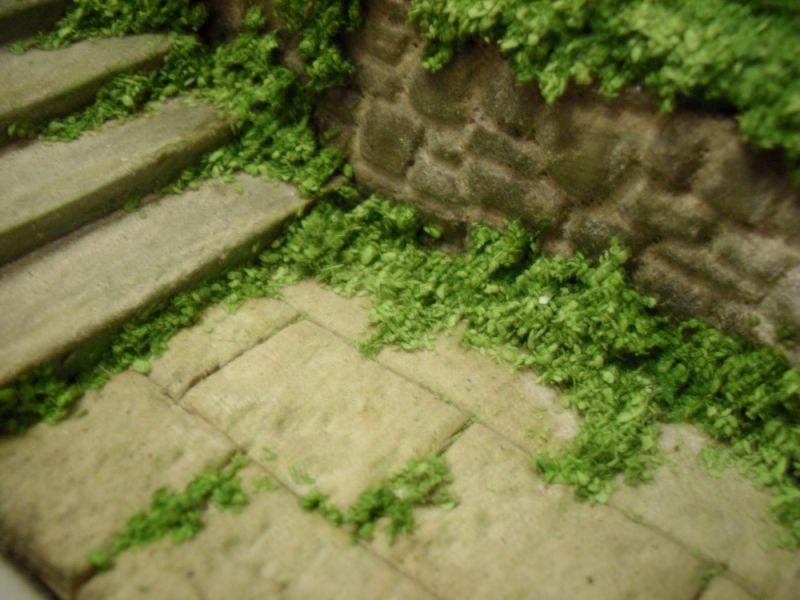
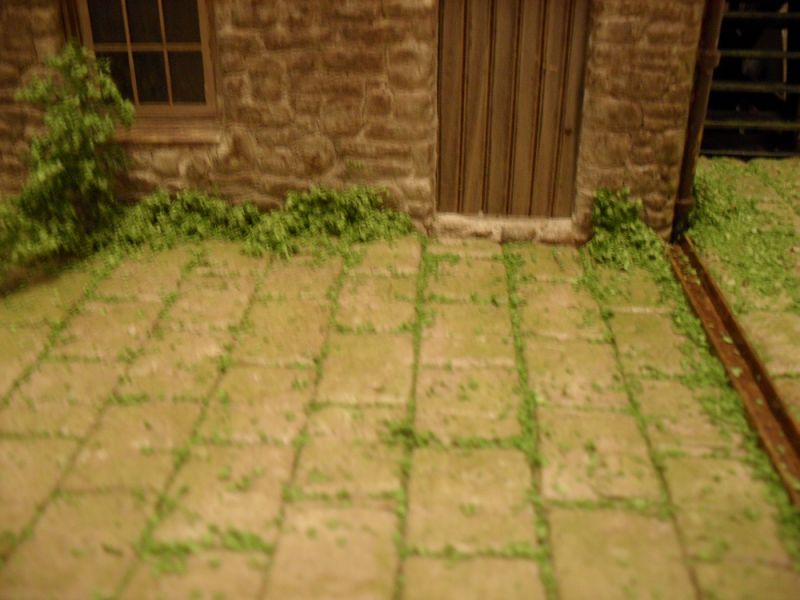
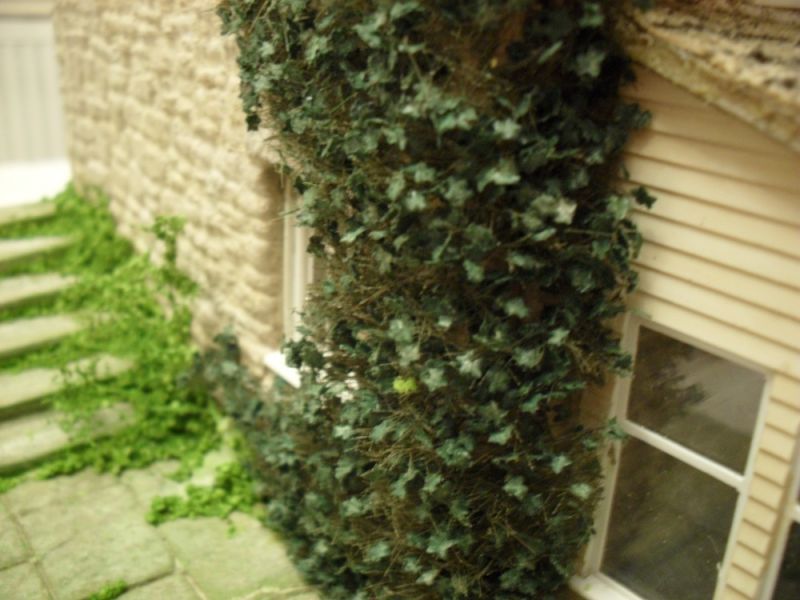
This isn't something that's meticulously planned but rather an arrangement that looks much better than originally intended!
I seem to do an awful lot of this whether it's with a single building, a set scene, diorama, and even a whole layout and, you could say, one of my weaknesses. I can't remember whether or not that this is what I originally intended but, for better or worse, this is how the scheme of things ended up anyway.
Allan.
Posted
Legacy Member
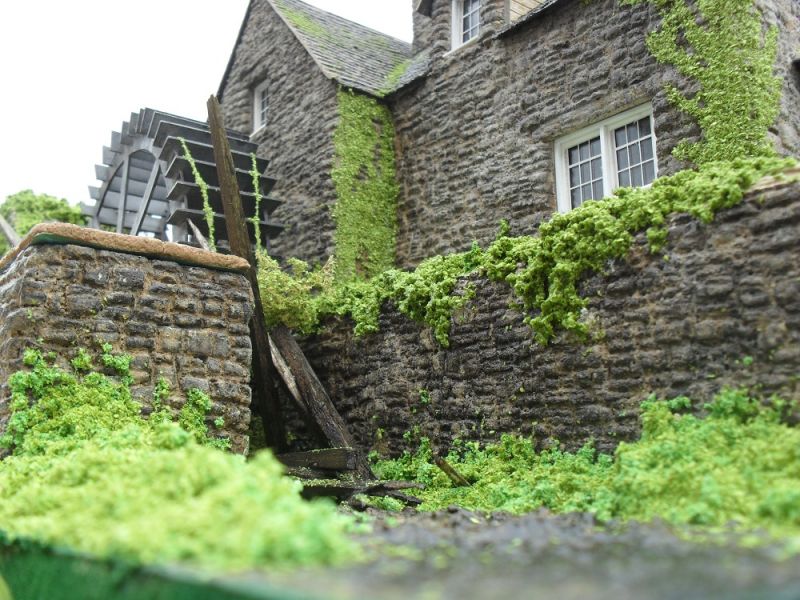
And the finished job.
Allan


Posted
Legacy Member
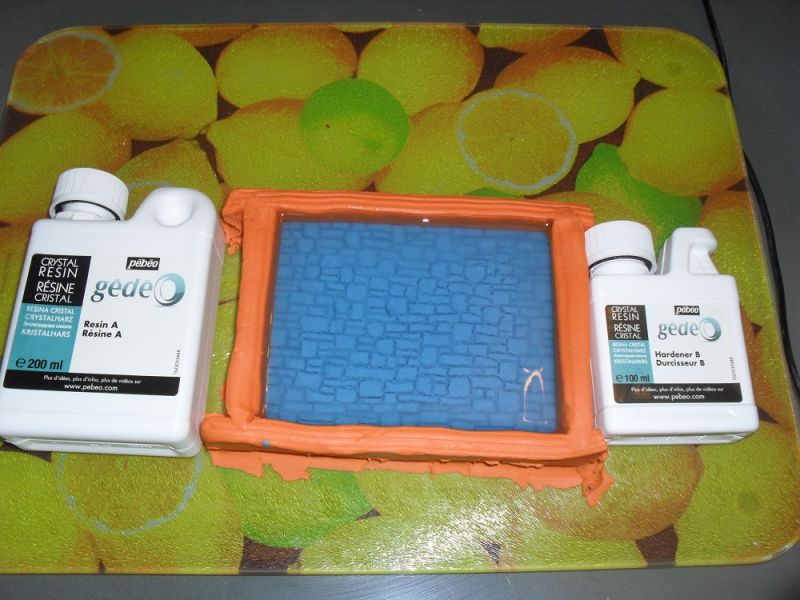
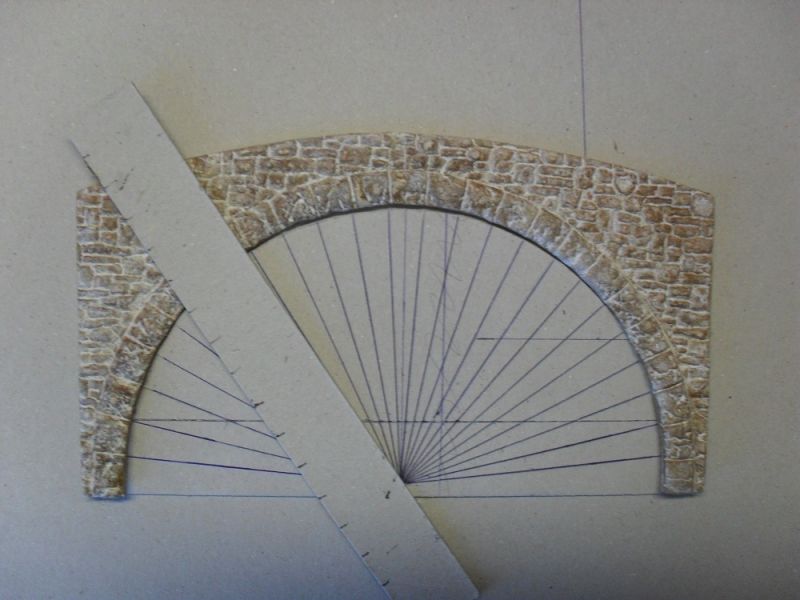
Before we leave, and something that I should have put up first, is how the stone wall press was made using plascicene for the mould and casting resin for the press.
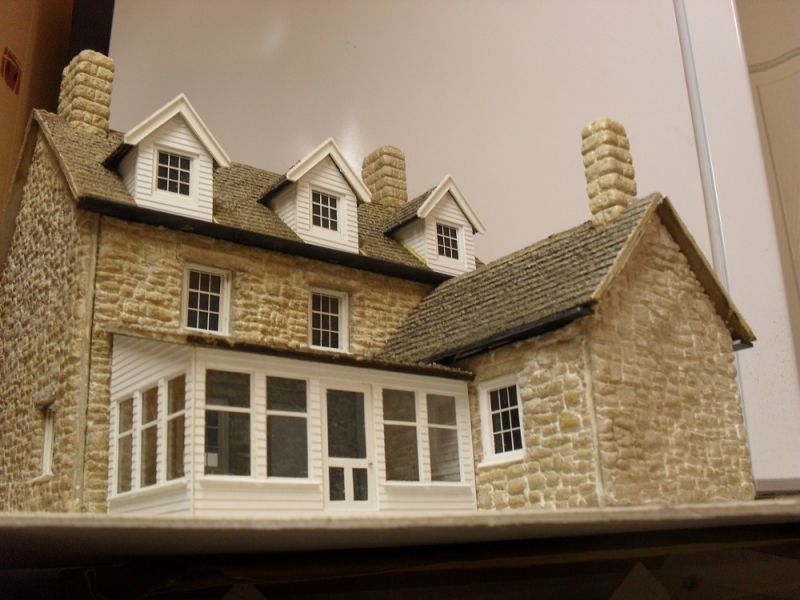
Then to come, quite a random selection of another watermill diorama that I built after a few years where I left the hobby to make a living and a racket playing guitar until nobody wanted to pay, or even not pay, to listen to me anymore !
Anyway, the stone wall press.
Posted

Full Member
Tony.
"The only stupid question is the one you don't ask"
Regards.
Tony.
Regards.
Tony.
Posted
Legacy Member
Considering the instability of fire cement if not treated properly these models have survived remarkably well but a controlled environment does help.
Allan.
Posted

Full Member
Great modelling. When I was young and easy sometime in the last century I helped relay a fair number of Cotswold limestone-tiled roofs after the ravages of wood worm had been repaired. I recall that the size of the tiles got smaller and thinner the higher we went. Less weight stress on the rafters. Thank goodness, I was the hod lad doing most of the grunt work. The first few rows took two of us to get each tile up.
Nigel
©Nigel C. Phillips
Posted
Legacy Member
Allan.
Posted
Legacy Member
This might also work using Das air dry clay but the way the compound is spread applies to both mediums where a 2mm thickness is best required by laying each 2mm thick card wall section flat down on the work bench between two 4mm runners then using talc as a releasing agent, roll the compound out perfectly flat with a rolling pin ( preferably when the wife's gone shopping of course ) then press the stone press into the compound whilst it's still soft.
Off set pressings will 'chop' the stones up even further thus resulting in more of a rubble stone finish - the more you offset the press, the more you chop up the stones.
Here then be the pictures but not in any particular order as they were chosen from my unbelievably disorganised files as and when I found them- so please excuse any repeats.
Allan


Posted
Legacy Member


Posted
Legacy Member

Posted
Legacy Member
Thank you for watching and I hope this has helped to inspire.
Allan.


Posted
Full Member
Take care, cheer's, Pete.
it was already on fire when I got here, honest!
Posted
Legacy Member
Thanks Jake.
I was thinking about opening up a new thread called 'Random buildings' or something similar. Any ideas ?
Then I could select pictures at random and show them and even give links to my Youtube video's which would do my ego a World of good !
Allan
Posted

Site staff
Thanks Jake.
I was thinking about opening up a new thread called 'Random buildings' or something similar. Any ideas ?
Then I could select pictures at random and show them and even give links to my Youtube video's which would do my ego a World of good !
Allan
Why Not ? go for it Allan…
Ron
NCE DCC ; 00 scale UK outline.
NCE DCC ; 00 scale UK outline.
Posted

Full Member
The more of your stuff i can see the happier i will be. Wot Sol said above works for me.
ATB
Stephen
Acording to a recent visit to a supermarket at check out time, I an not loosing my memory it has been downgraded which means i am not stupid afterall - Sorted! - What a relief
1 guest and 0 members have just viewed this.