Converting wagons for the D&S
Posted
#69704
(In Topic #3849)
Guest user
Now in the model Company world, they all used 3 link etc requiring buffers but the new organisation is updating wagons with air braking systems & knuckle couplings just like the real South Aust Railways did many years ago so the following posts will describe how I convert a wagon to suit the new organisation.
Posted
Guest user
The first step is to remove the existing coupling
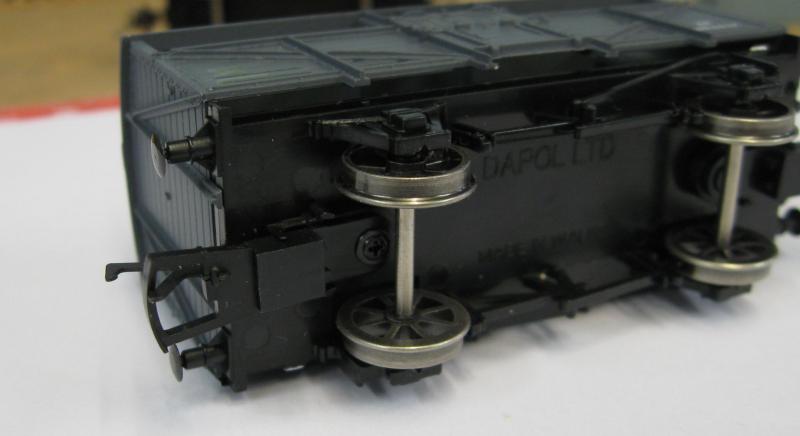
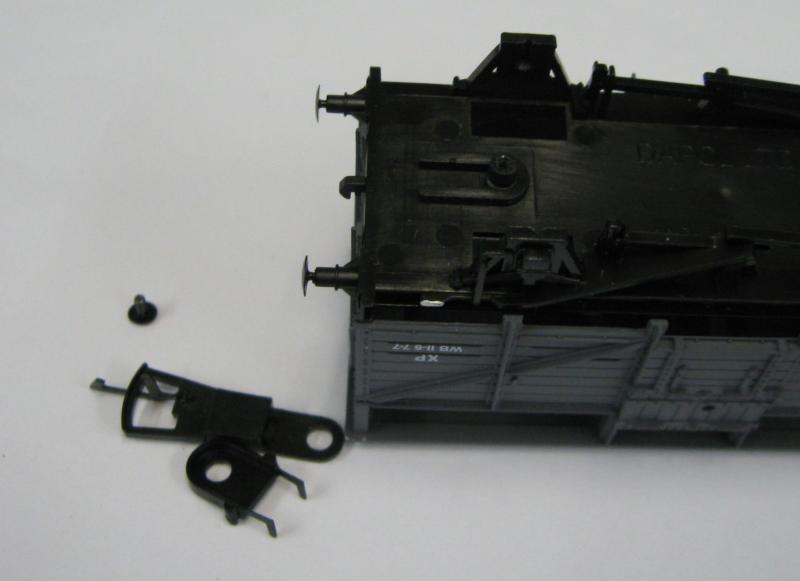
By what ever method ( I use Stanley Knife), remove the mouldings that are used for the existing couplings together with buffers & hook on the buffer beam,. The beam will get re-painted later.
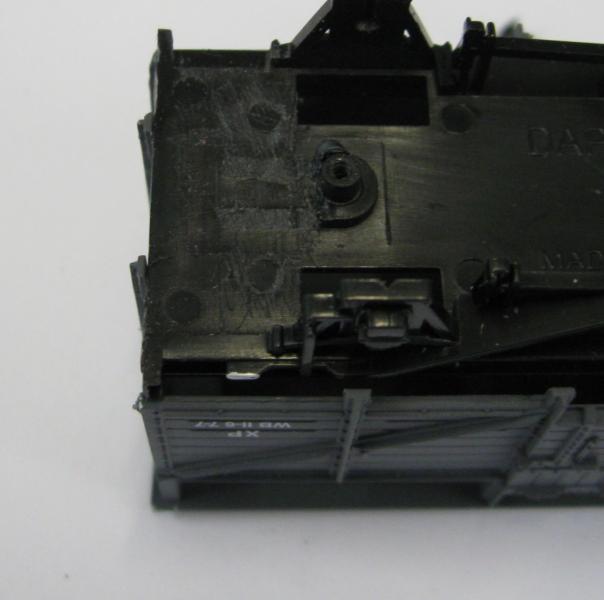
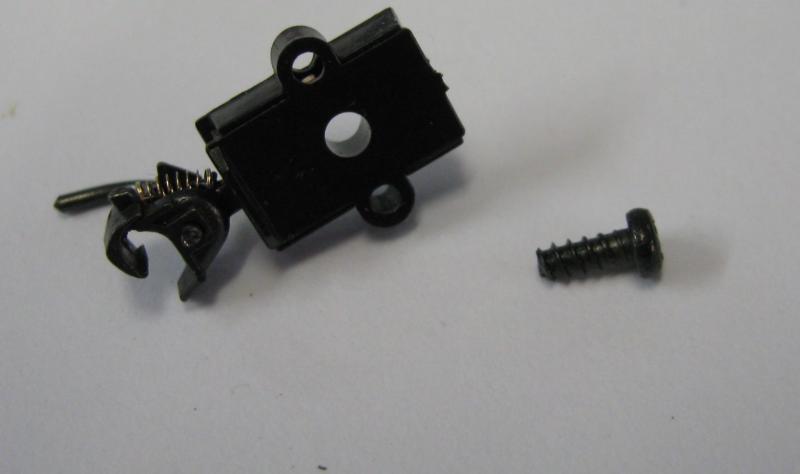
Next photo has a Kadee No 5 in a box with the screw that will be used to mount it.
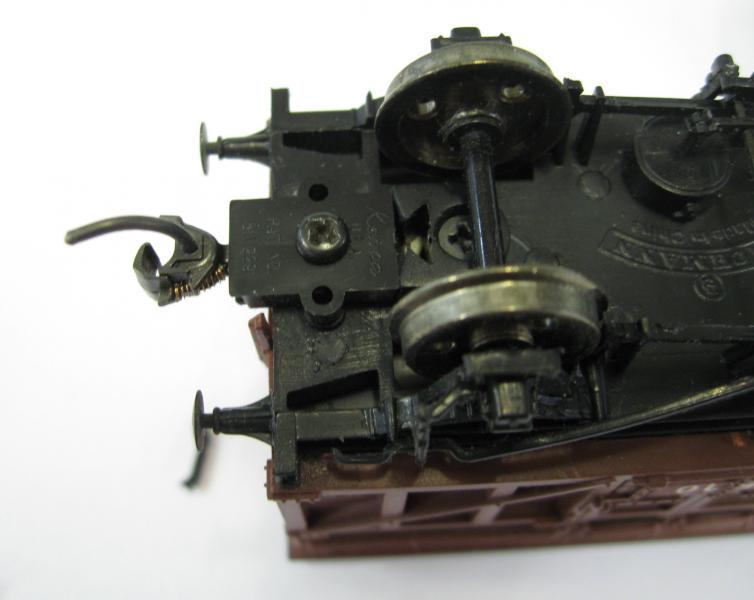
The next part is to drill a hole about 1/16th diameter into the floor/frame with the Kadee box hard up against the buffer beam - the white cross shows the hole

And now the coupler box is fitted
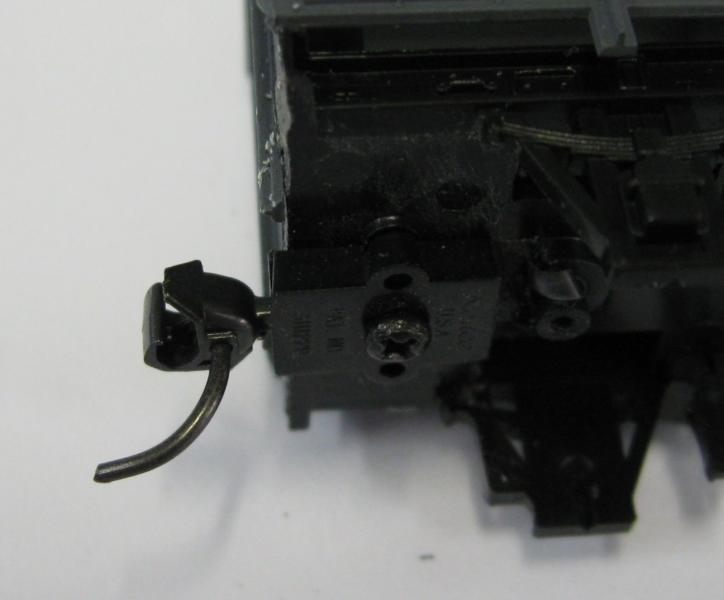
Using a Kadee height gauge, this wagon is so close not to need any shims

That bit has been done, now details in the next post.
Posted
Guest user
Details,
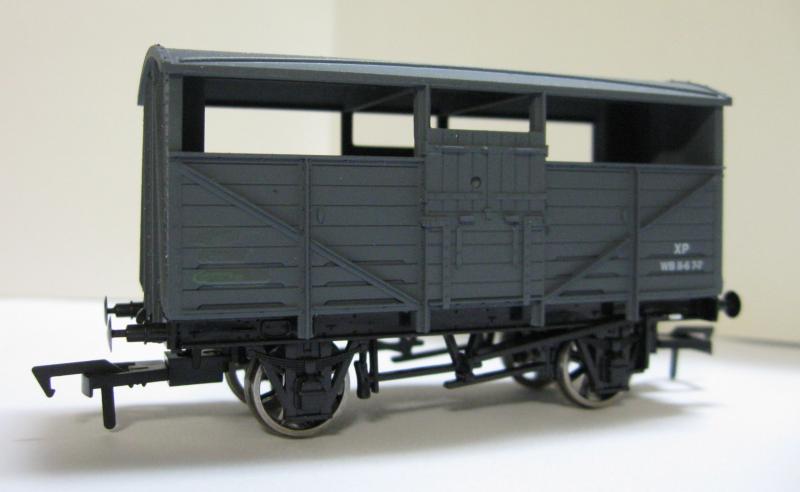
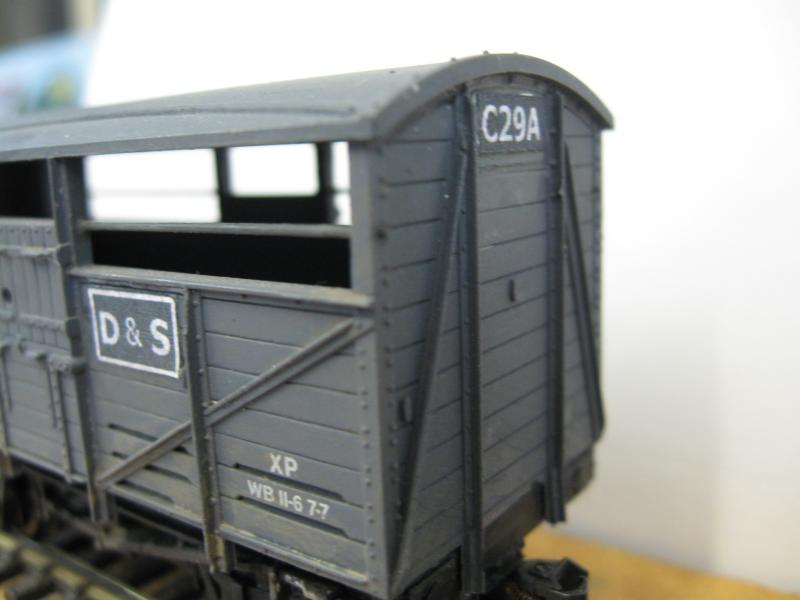
I re-number at both sides & add to the ends plus the Company logo using the method of printing out on my printer & onto paper & supa glue to the body ( described under my layout threads)
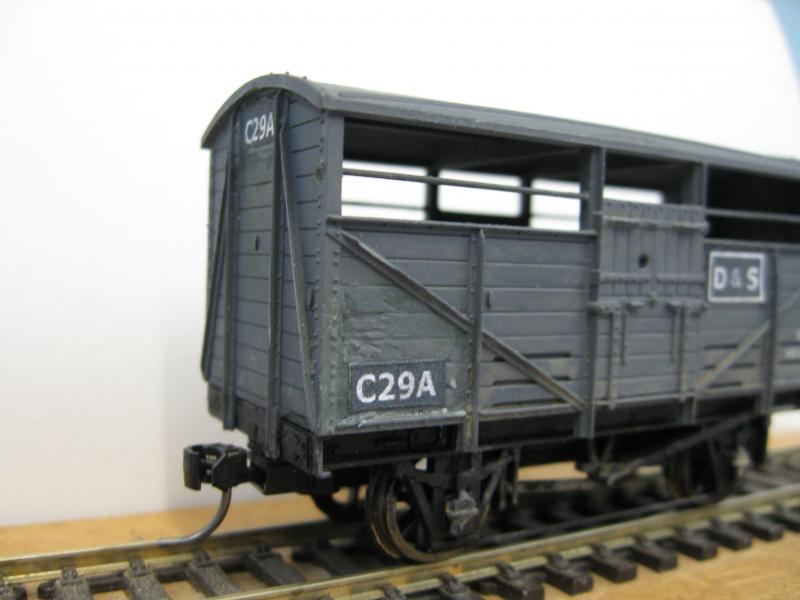
This particular wagon has had other numbers previously & getting then off was a pain so that is why the body side looks rough
. Weathering will camouflage this.
As this model is missing bars at the top
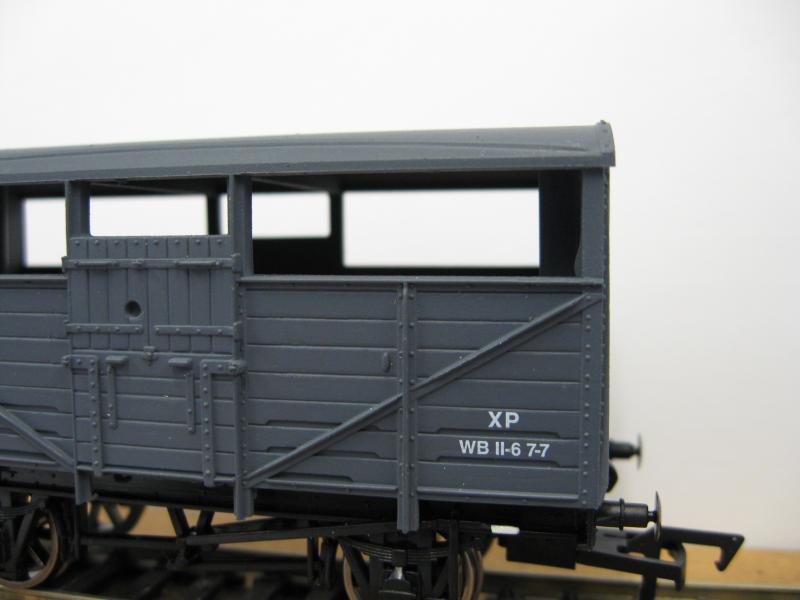
I use a small number drill like #70 & drill small holes at the ends & middle frames & glue in thin wire rod & painted
Because these wagons only have brake shoes on one side of the wheels, with Air braking ( whatever method). to prevent axle boxes spreading under braking, tie rods between axle boxes are fitted - in this case, wire rod glued to the bottom & painted.
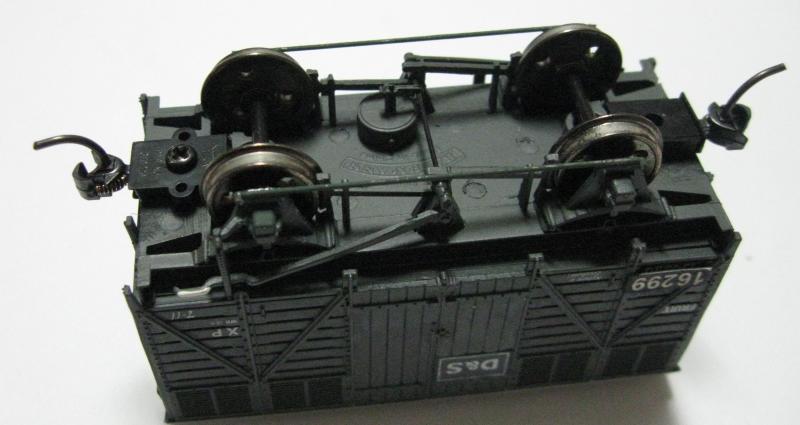
A touch of white paint on the brake lever handles then dull coat the entire wagon - weathering powders to be done later.
I think that is it.
Posted
Legacy Member
reg

Posted
Guest user
Posted

Full Member
Staying on the thread Kevin.
Posted

Site staff
For the weight of the wagon, you could use the NMRA recommendation
or another Association being the AMRA
Ron
NCE DCC ; 00 scale UK outline.
NCE DCC ; 00 scale UK outline.
Posted

Full Member
Michael
Posted

Full Member
There is also the Kadee #21 with a longer arm than the #5 which solves the positioning issue for many but not all stock. Those with longer buffers may still need repositioning as I found recently on my WC&PR coaches with white-metal buffers.
1 guest and 0 members have just viewed this.