Teasel Bay
Posted
Full Member
Early construction of a simple 00 garage layout
Hello Chris,Looks impressive … is it me or am I seeing a similarity to Dawlish in Devon for inspiration?
Well Done mate!
Trevor
 Last edit: by xdford

Posted
Full Member
Eventually I’ll get into the sand dunes and beach and put the ‘bay’ into Teasel!
Thanks for your kind words

Posted

Full Member
Hi Chris You had better be careful with sand clogging your Locos? Best wishes. KevinDawlish is a great place for ideas. Penhayle on here is another big source of inspiration as it is (was) an amazing layout.
Eventually I’ll get into the sand dunes and beach and put the ‘bay’ into Teasel!
Thanks for your kind words
Staying on the thread Kevin.
Posted
Full Member
Recently I've started building (the far) platform of Teasel bay. I assume this is platform 1, given the main station house and ticket office will sit on it. I'm not sure how the numbering works?
I plan to have the station detachable for building and maintenance. So I've sacrificed an old USB extension lead for the job. This gives me a negative and four positives to control the station/building lighting on this side. Interesting reading Chubber's thread on cheap cables. I used this here mainly for the ease of re-connection, plus a USB can easily handle the mA's the LEDs will draw.
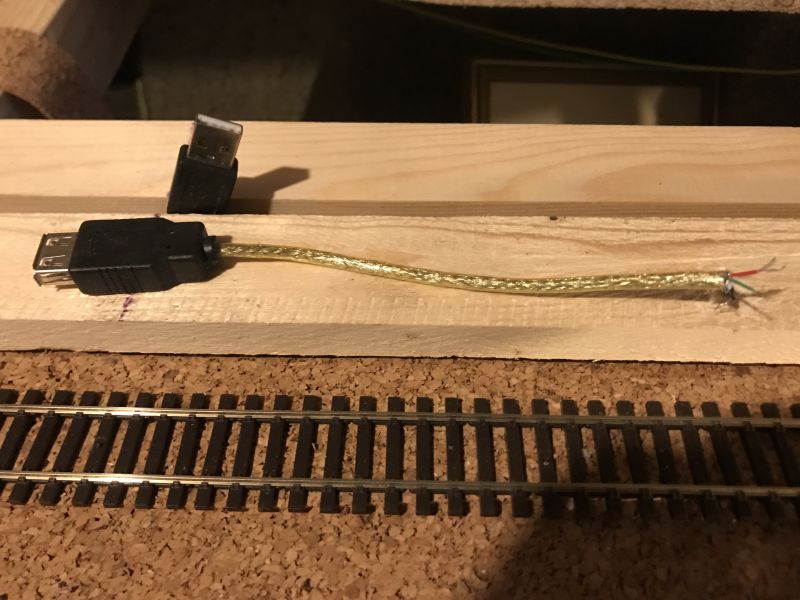
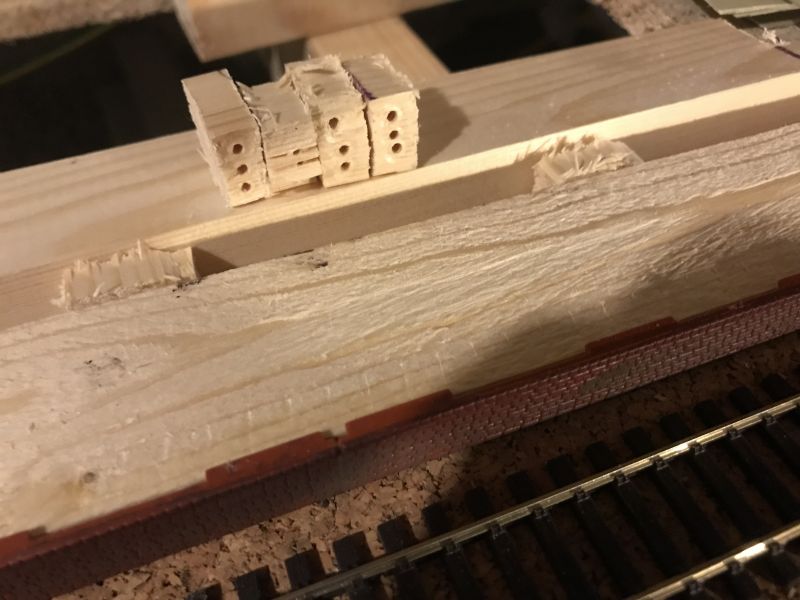
The centre of the base is hollow to allow wiring with drilled spacing tabs to allow the wiring through. The two sections of wood are then screwed together so they are pretty stable.
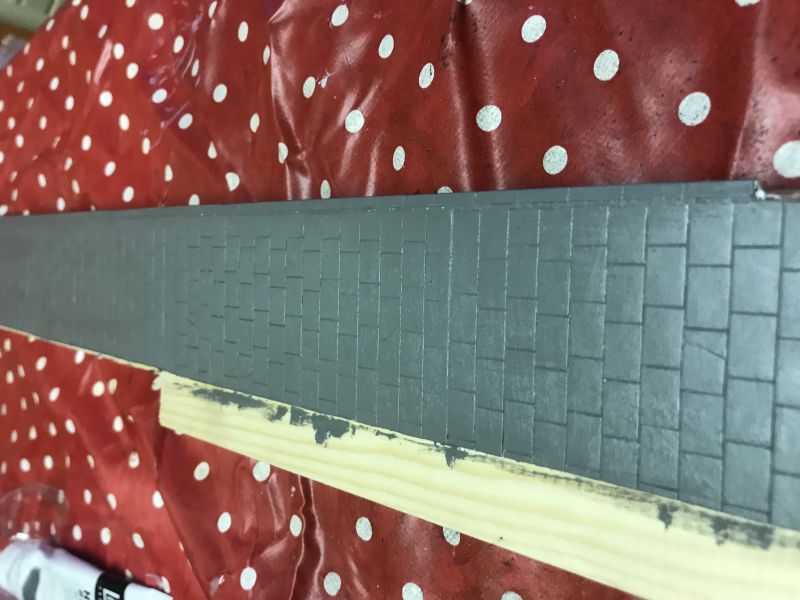
The station platform will be made from Wills platform kits. I painted the brickwork a mix of maroon and very dark red/black in a uniformed way and then rubbed with weathering powders. I can't remember the exact width I trimmed the main station, but for some I took it off the top, other bottom and a few using the middle so to avoid an obvious repeating pattern of the stone work.These were stuck using PVA and weighed down over night.
I filled in the joins between sheets and edging with polyfiller, so hopefully once painted this won't be noticeable.
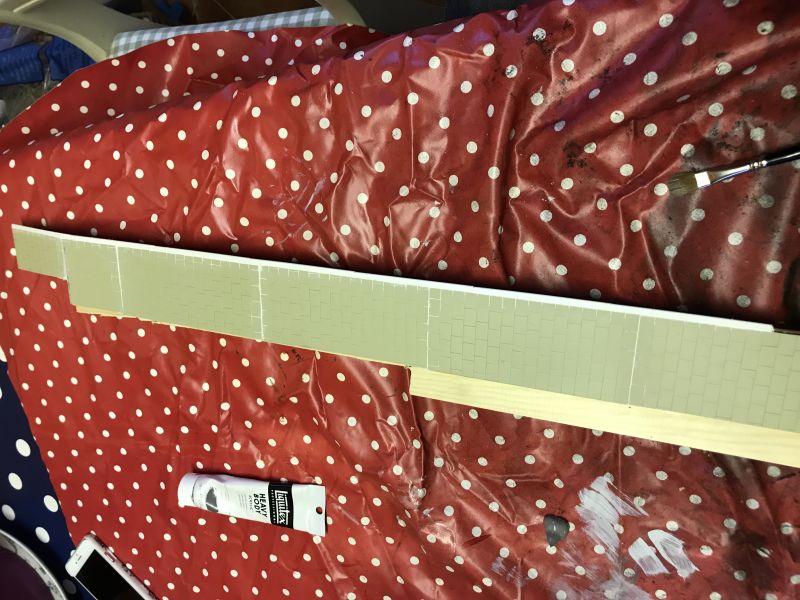
The platform then received a base coat of grey.
A few weeks ago the local model shop in Bury St Edmunds was having a clear out of its old paints, £1 for each so I snapped up a large array for the station! I lightly mixed and randomly applied them across the station. At this stage it looks more like a child's toy than what I was going for!!!
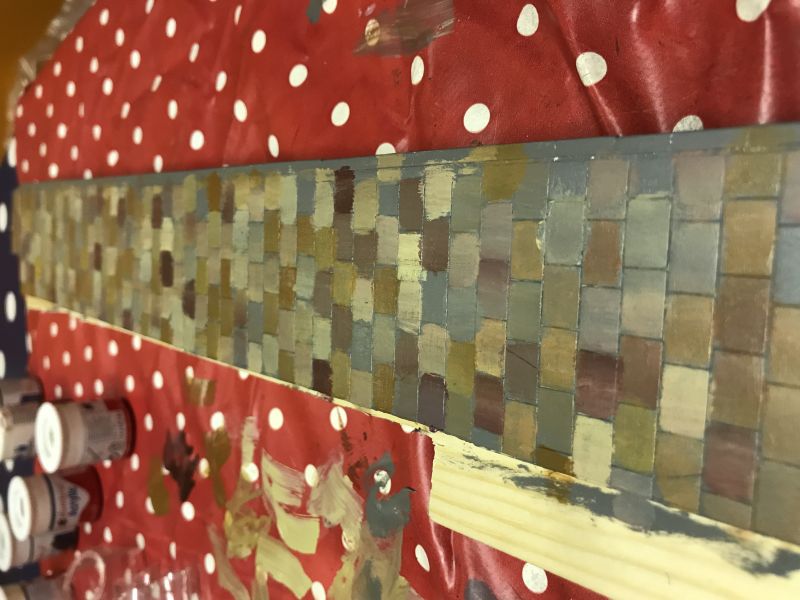
At this point I nearly started again, but I decided to try a grey wash (the same as the base colour) but this time mixed with about 70-80% water. This seemed to work very pleasingly and far better than I thought it would! I then lightly masked off the platform and roughly painted the white line so it had a worn look.
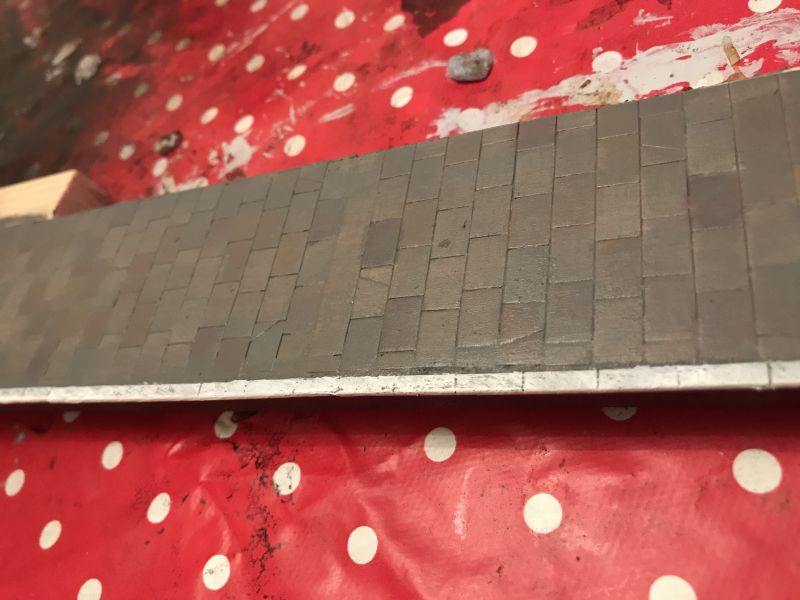
Once this had dried overnight I rubbed in a small amount of black, brown and orange powders to take off the sheen and dirty it up a little.
I'm pretty happy with how that turned out. I bought one ramp and one station kit to test it out, so once more kits arrive in the post in the next few days I just need to repeat for the other meter or so down the platform (oh and the other side eventually!)
Last edit: by TeaselBay
Posted

Inactive Member
Max
Port Elderley
Port Elderley
Posted
Full Member
Staying on the thread Kevin.
Posted
Full Member
Hey Kevin,Hi Chris. Thank you for your reply. You are doing good work there , I will have to follow your thread closely. I have a set of powders, not started on, maybe I will have to find out how to use them, I have been faffing around for three years getting nowhere, very “Prototypicalâ€, I keep changing the track layout. I guess that Chubber has inspired a lot of members with his thread .I am watching YouTube when I should be working on my plank/ s. It has been suggested that “ less is more “? But I am thinking of a branch line with a halt, or a signal box and level crossing ? And all this on4foot by fourteen inches, crowded or what. Best wishes. Kevin
I've read quite a lot on powders like you seem to have, but so far I've found that adding a tiny amount and building up seems to work nicely.
As for designing the layout, depends on personal preference and how much open land you want! I used AnyRail to plan out the basic design for Teasel, and then roughly laid out the design with old track to make sure it seemed sensible!
Chris
Last edit: by TeaselBay
Posted
Full Member
Staying on the thread Kevin.
Posted
Full Member
After finishing the 'prototype ' time to continue one with the other 2 meters, which at 1:76.2 works out as 152.4m scale in length station.
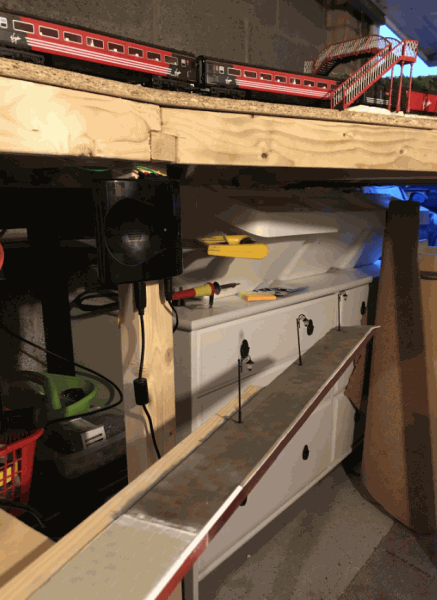
Showing the contrast between the raw plastic kit and the prototype section in a rare under "sea level" view. Gives you a chance to see the eLink controller as a Virgin 125 cruses overhead unaware of the construction project below.
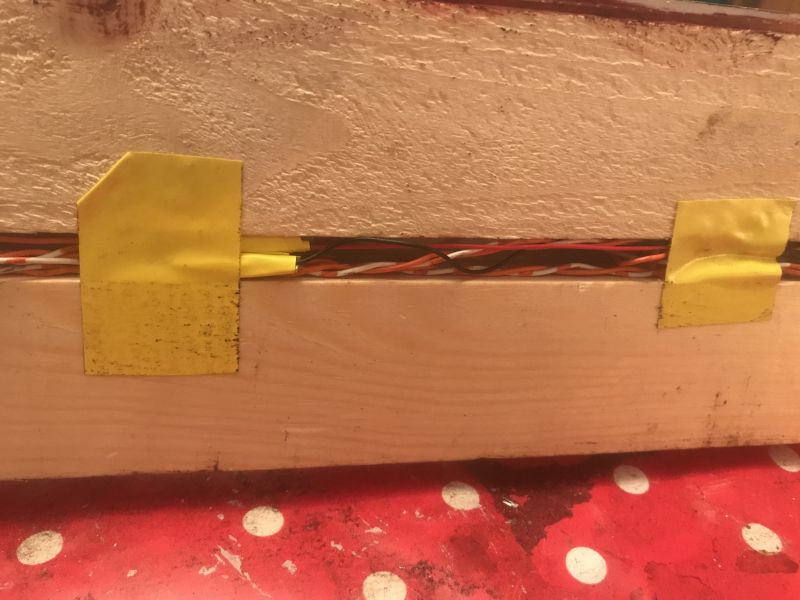
For low power consumption such as LEDs here, there is no problem using reclaimed CAT5 cables which have been split to the twisted pairs and an old USB extension lead to make the connection from the removal-able platform to the main board.
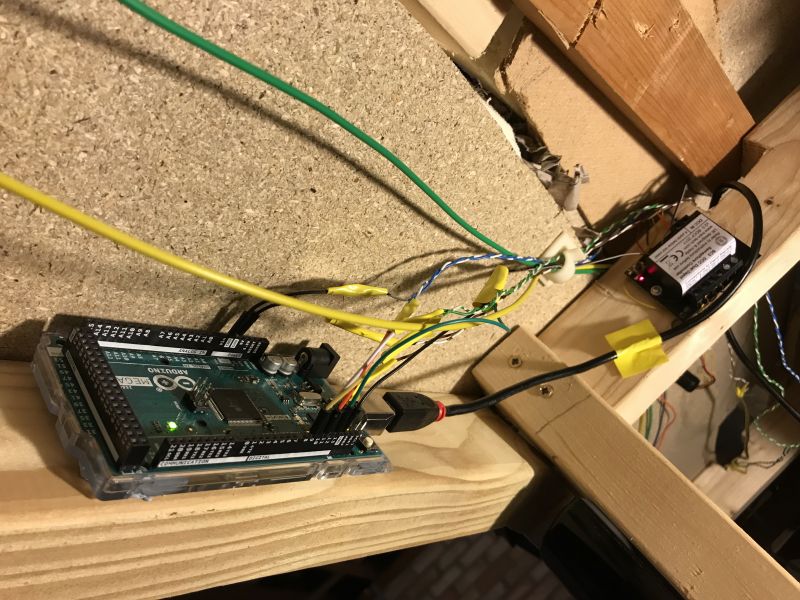
Under the base shows the Arduino's connections starting to fill up, which will be controlling the lighting from some software I'm writing. More information on that here in the computer software section.

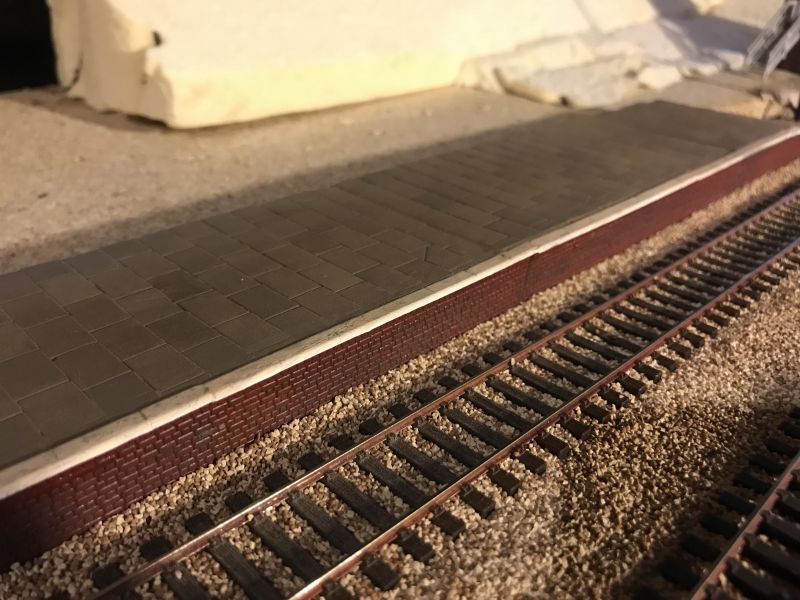
Quick view of the finished station platform and tests of the lighting. The station platform was a little more difficult at the back of the photo before the bridge as it curves around out of view. Testing of pulling various long lengthed trains/carriages along the platform at various stages prevented the platform snagging once complete.
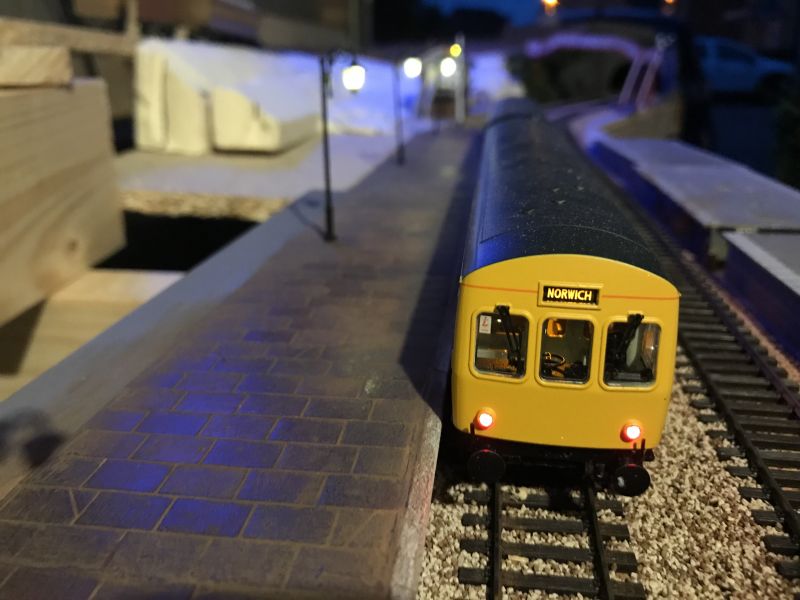
I did have an issue that the wood holding it together bent up at the end nearest the signal box, this was fixed by the addition of a single screw to pull it back down. Will also ensure the station doesn't move and encroach onto the track.
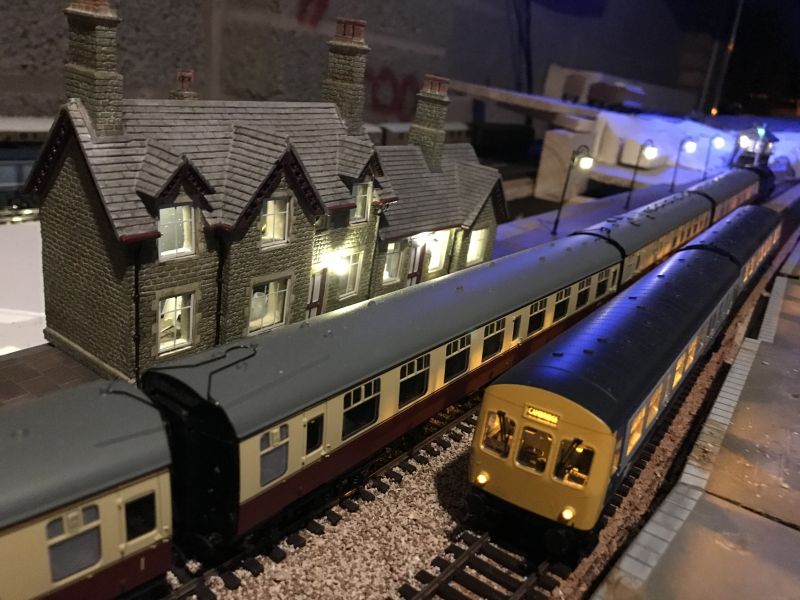
Eventually work will start on platform 2 to replace the Hornby platform sections placed. I'll try to get a few more photos of the lighting at night tomorrow.
Chris
Last edit: by TeaselBay
Posted
Full Member

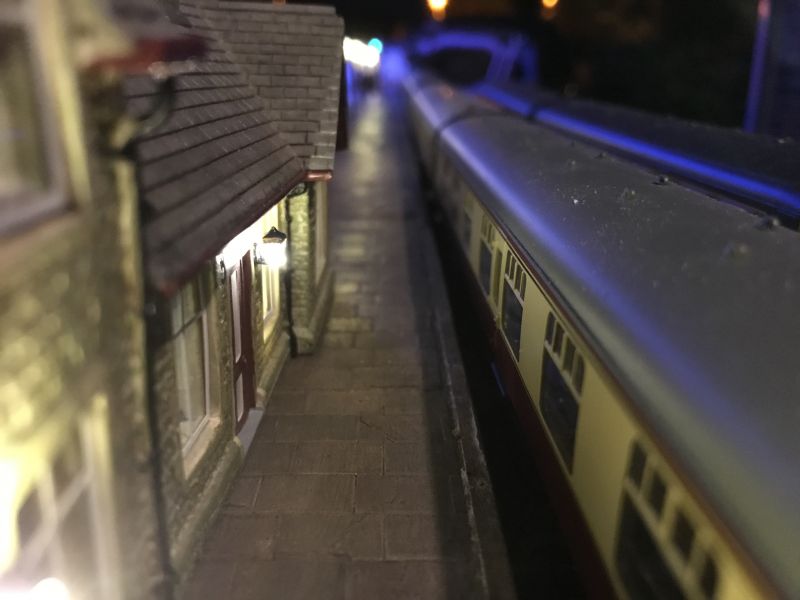
Same view from down on the platform
Out of the station masters window…
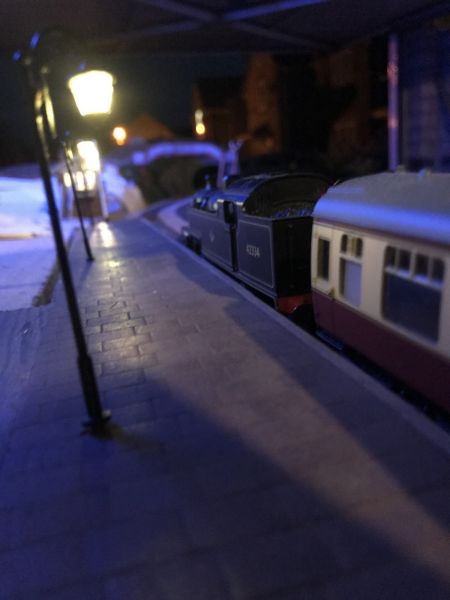
Back down on the station before the last train of the day departs..

Last edit: by TeaselBay
Posted
Full Member
Hope you like a little running video anyway!
[yt]AT6E0B7P-rc[/yt]
Posted
Full Member
Last edit: by Passed Driver
Staying on the thread Kevin.
Posted

Full Member
Coming along nicely, glad they behaved in the end.
Posted
Full Member
Just a quick update on tonight’s work after a trip to a model railway exhibition at Bressingham today.
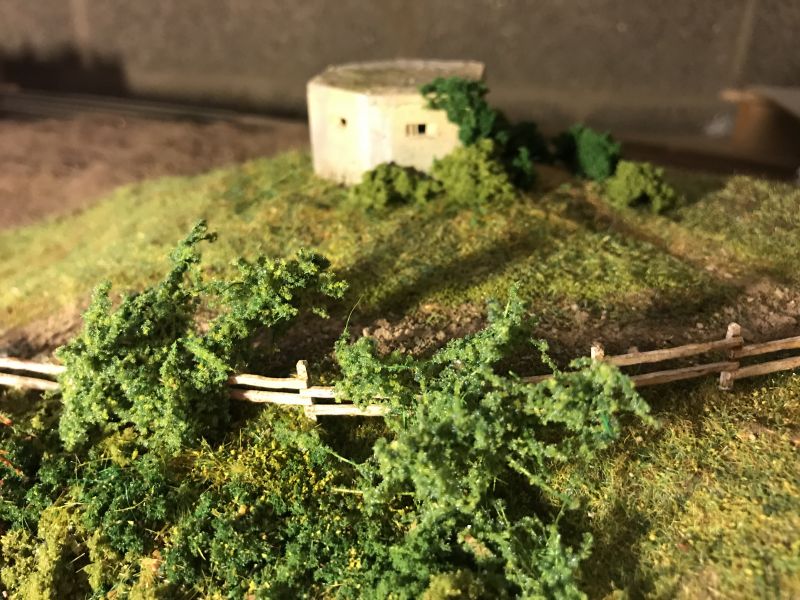
More vegetation springing up around the pill box. Starting to bed in now.
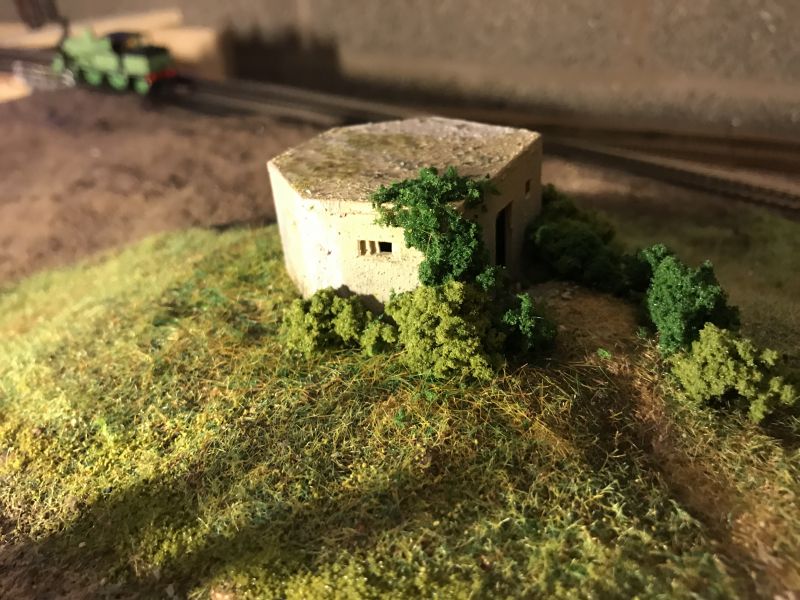
Eventually the pill box will be separated from the path by a dry stone wall. The trouble is I just can’t wotk out how to build it yet…….
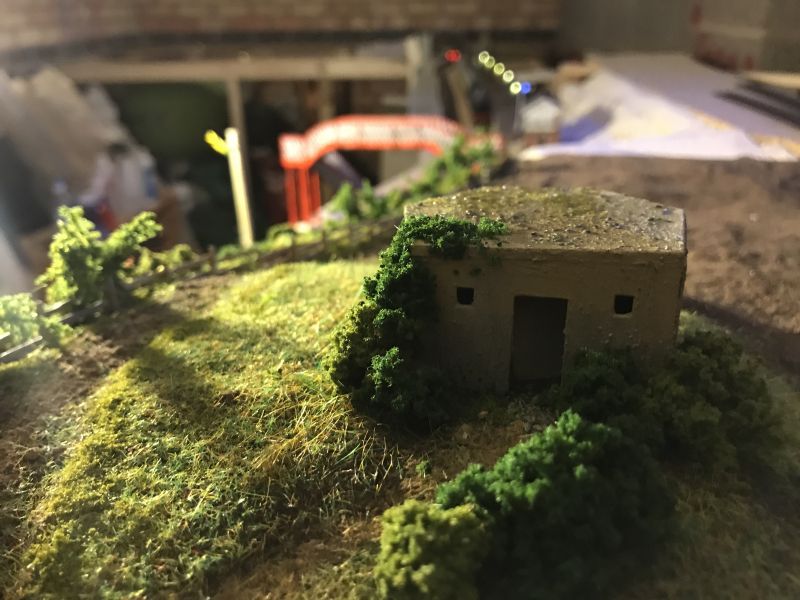
Hope the update is if interest.
Chris
Last edit: by TeaselBay
Posted
Full Member
Staying on the thread Kevin.
Posted
Full Member
I find mixing is important, im starting to get a good little collection of scatters and the like.
Posted
Full Member
Staying on the thread Kevin.
Posted

Full Member
Following your thread with interest! I really love the railway platform, you got that perfect! Looking forward to further updates!
Michael
Posted
Full Member
Kevin, all the work I’ve done so far I do a little prototype of first to try it out. If it goes wrong I can try different ways or just throw it away! I bought a cheap static applicator from eBay, works great. I’d be interest to see your self build? The bushes up the Pillbox are a mix of Woodland Scenics Clump foliage and foliage/grass. Railroad Creak on YouTube has some fantastic videos, well worth watching! Hope that helps a little?
Last edit: by TeaselBay
Posted
Full Member
Staying on the thread Kevin.
1 guest and 0 members have just viewed this.