Mike's late 80's BR layout
Posted

Site staff
Ed

Posted
Full Member
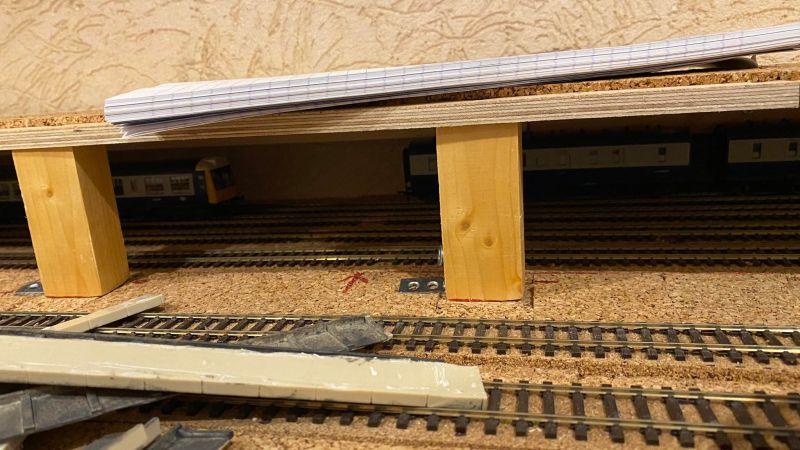
I am now part way through lowering the storage sidings and with lift out section at the room door will have a longer scenic area (mouldy raspberry inspired) on a gradient leading under main station to hidden storage.
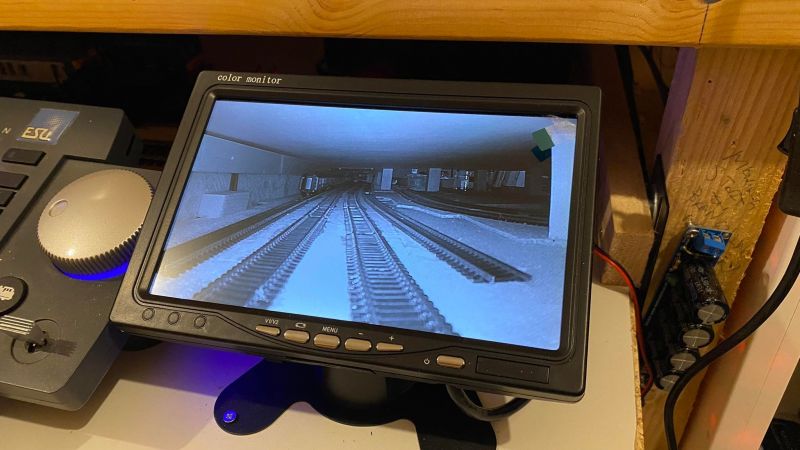
Your idea of reversing camera is just what I need to see what’s where in the storage area, can you tell me the seller on eBay please as I may as get one that works as good as you say.
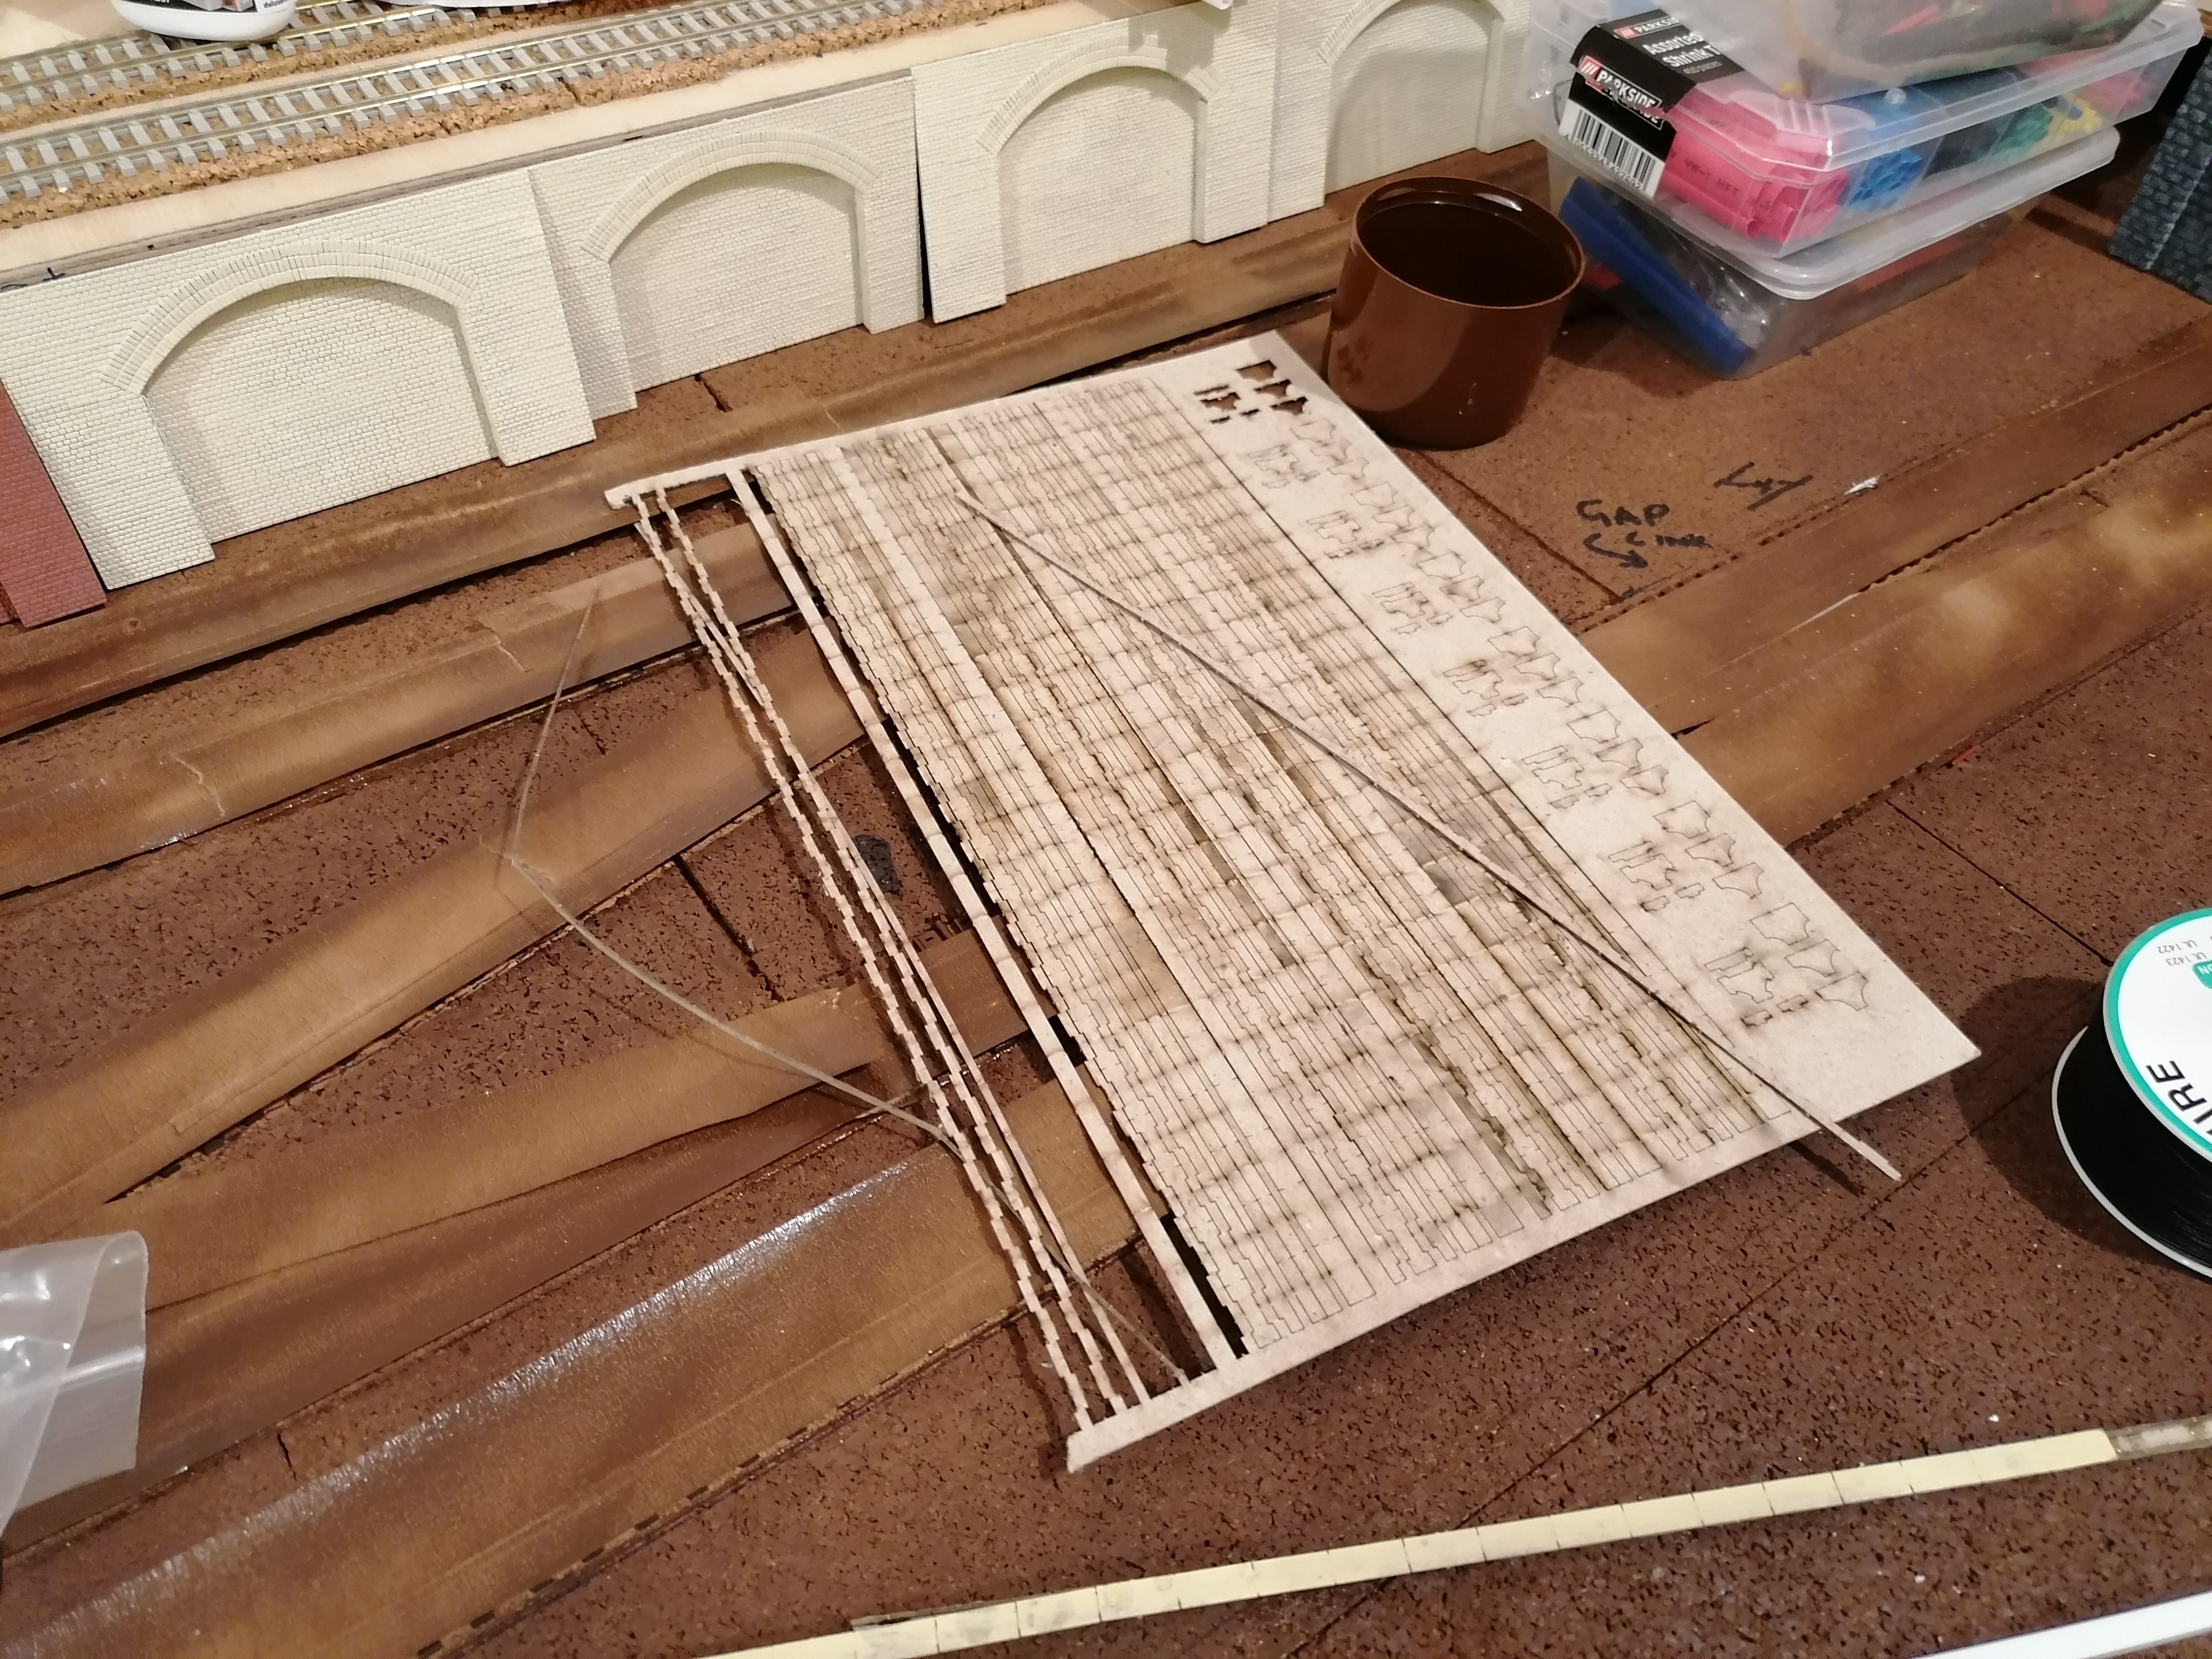
In that the scenery will completely cover the storage area I intend to make it sectional and also removable and have experimented and proved the strength of sections constructed from 5mm thick foam board which I have obtained in A1 size sheets.
A strong construction can be made by using hot glue gun and forming a U channel section with odd leg lengths, long or high at the back for the back scene and lower undulating at the front for hills/cuttings etc.
Extremely light and strong enough to carry track and resist flexing I hope as only made up 33†length so far but hope to make at least 48†soon.
 Last edit: by Barry Taylor
Posted
Full Member
https://www.ebay.co.uk/itm/363229001413
There are wireless options available but I got the 10m hard wire version from camera to monitor.
I wired mine to a standard 12v adapter. During test, I used the 12v output from my gaugemaster d series and that worked just as well.
My four tracks will be covered but I do plan on keeping the retaining wall removable to give me access to clean track and recover anything that is misbehaving!
I'm actually ordering a second duel camera for the hidden siding on the other side. I'll have a camera positioned at each end. The heathcote sensors just are not working 100%. One pass it will detect the train perfectly and light up "occupied" on my control panel, on another it won't so I think cameras are the way forward.
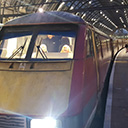
Had a little more of a play with the class 58 today.
Really frustrated - Rails of sheffield 8 pin decoder - no directional lights either direction.
Gaugemaster Ruby 8 pin - directional lights both ends when running left, neither when running right
Hornby 8 pin - no directional lights either direction.
DCC Concepts Zen - perfect! directional lights in both directions! Job done…. or not, this chip directly sits too high in the decoder slot and the body won't fit back on!
Can't make it up!
I need to work out how to use the ecos and see what the CV settings are for the zen and then replicate on one of the other chips which have the wired bit between 8pin slot and decoder.
Last edit: by 1867Adelphi
One day I'll settle on a trackplan….
but likelihood is it won't be today!
but likelihood is it won't be today!
Posted
Full Member
Quite cold here at the minute so I'm going to set up on the dining room table and have an hour or so each night away from the shed and building some kits I've bought.First up are a Wills kit signal box and a laser cut station building.
Advice please - Is the general rule of thumb to paint kits first then glue together or build it then paint?
One day I'll settle on a trackplan….
but likelihood is it won't be today!
but likelihood is it won't be today!
Posted
Full Member
Posted

Full Member
Any internal hard to reach places on a model that I would like to have painted I do first, the rest I generally do after the model is put together.Going to mix it up this next week or so.
Quite cold here at the minute so I'm going to set up on the dining room table and have an hour or so each night away from the shed and building some kits I've bought.First up are a Wills kit signal box and a laser cut station building.
Advice please - Is the general rule of thumb to paint kits first then glue together or build it then paint?
If you are lighting the buildings internally it’s a good idea to paint the inside to prevent light “bleed†where you don’t want to see it.
Cheers
Posted
Full Member
Thanks Marty.[user=2233]1867Adelphi[/user] wrote:Any internal hard to reach places on a model that I would like to have painted I do first, the rest I generally do after the model is put together.Going to mix it up this next week or so.
Quite cold here at the minute so I'm going to set up on the dining room table and have an hour or so each night away from the shed and building some kits I've bought.First up are a Wills kit signal box and a laser cut station building.
Advice please - Is the general rule of thumb to paint kits first then glue together or build it then paint?
If you are lighting the buildings internally it’s a good idea to paint the inside to prevent light “bleed†where you don’t want to see it.
Cheers
One day I'll settle on a trackplan….
but likelihood is it won't be today!
but likelihood is it won't be today!
Posted
Full Member
I put a question about it on one of the facebook pages I follow and someone from DCC Concepts posted and has told me to contact them directly as they make the RoS home branded 8pin decoders.
That's a job for this week!
Really enjoyed finally doing a bit of modelling this last week as I put together that station laser kit and had a go painting.
It's about 80% done.
I'm not going to glue the rear roof sections on. I'd like access later to maybe add an interior as when the LED's I fitted kick in it's quite obvious its a shell inside.
I also need to line the inner side of the roof parts as there is slight light bleed from the laser cut "tiles" in the mdf.
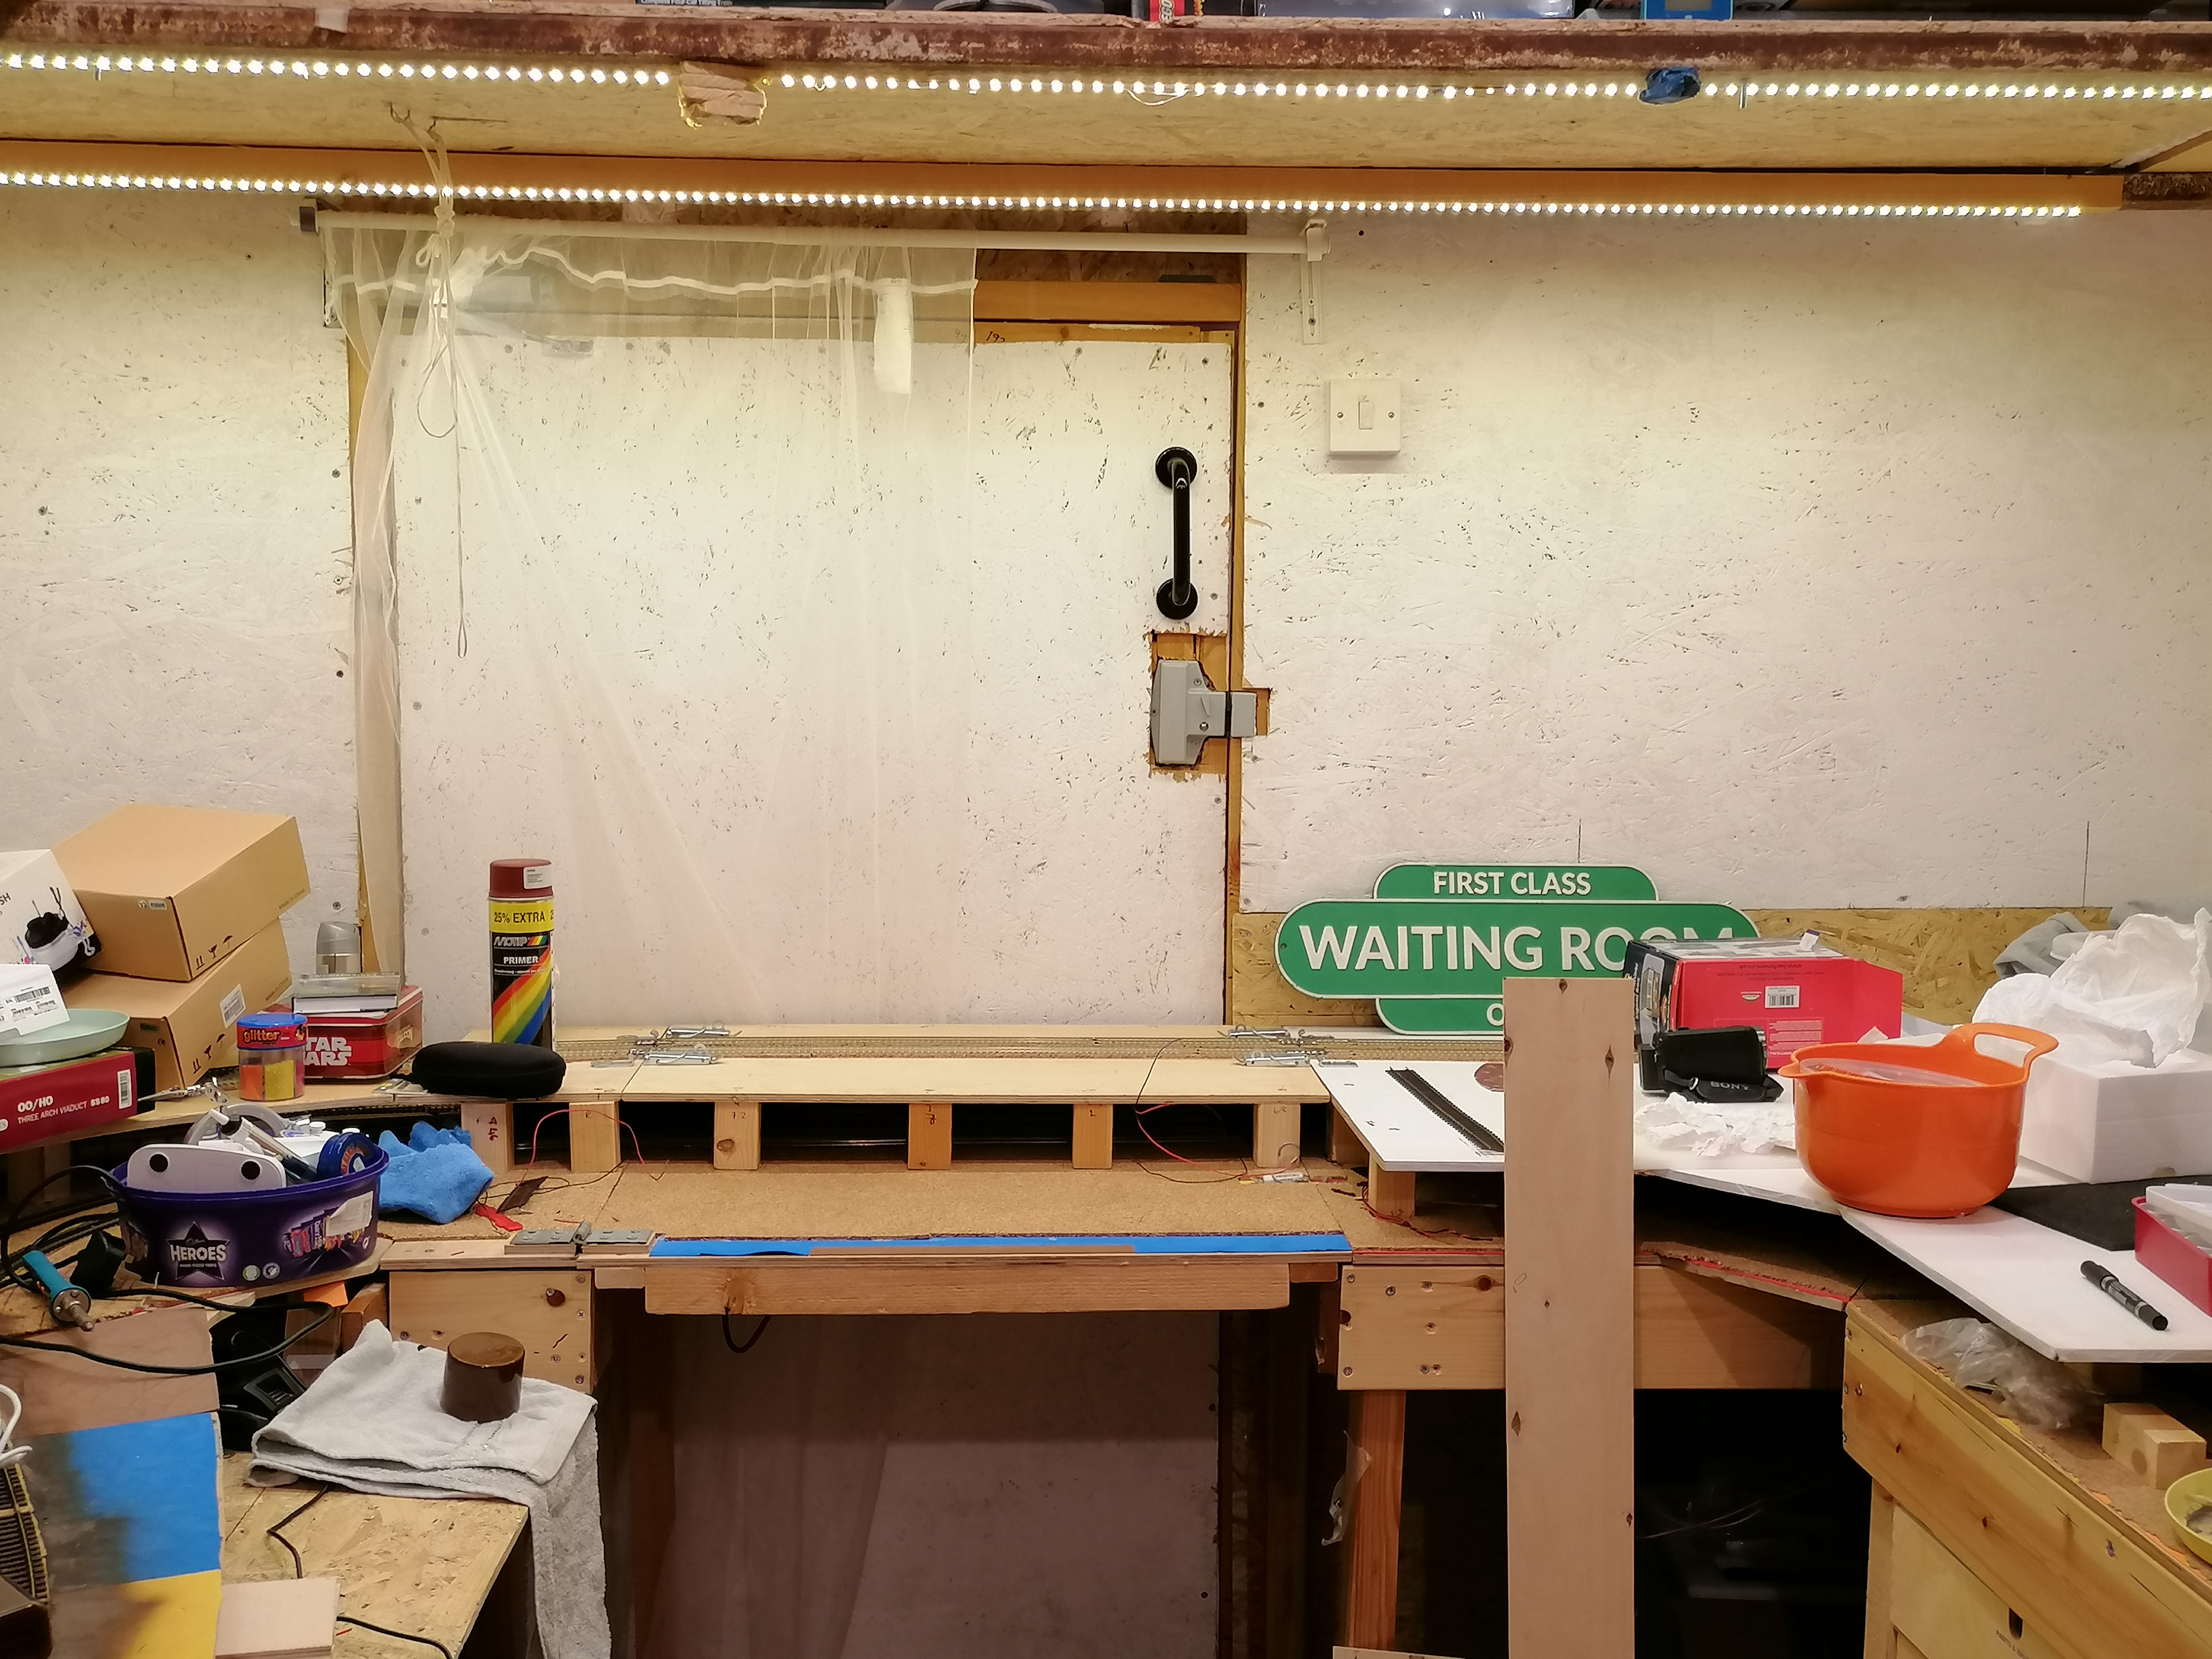
I've started adding the upper section boards again to areas I can now confidently cover.
Proper test of the camera - it works perfectly in the darkness the storage area is now in.
There will be removable retaining walls enclosing it.
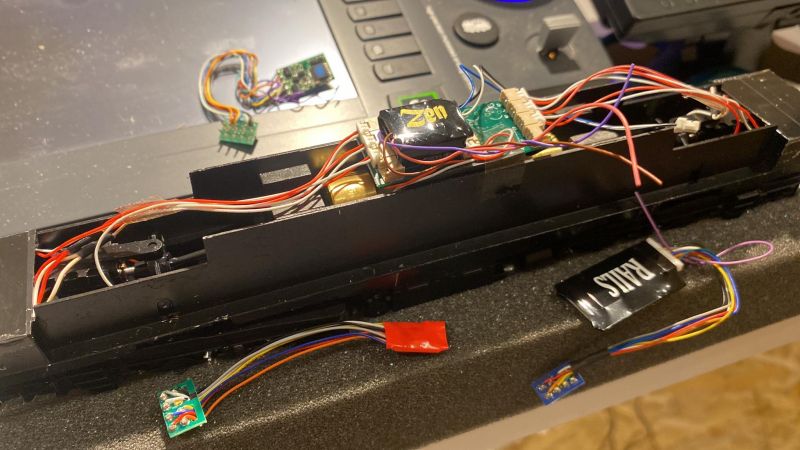
Had some more issues with decoders.
I added decoders to new class 128 and 121 dmu's.
Both run like dogs - the 121 actually gives up after a few meters.
When I first test ran them on DC 18 months ago I swear they worked well so I got onto the thought of having an option of switching between DCC and DC in order to re-test the two locos on DC and have an option available to run older trains not DCC compatible.
I looked at a couple of You Tube videos and followed one.
It's a on-off-on DPDT switch but on the DC side, I've added a second switch just to give some protection in case the main switch fails - As slim as the chance may be, a DC and DCC controller powering the track at the same time might not end well :)
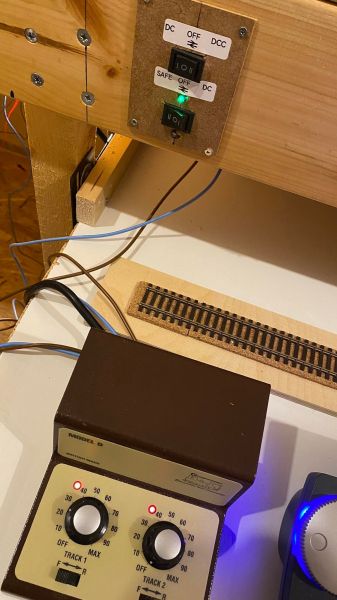
Bit of effort, need to tidy the cables up but easy switchable now.
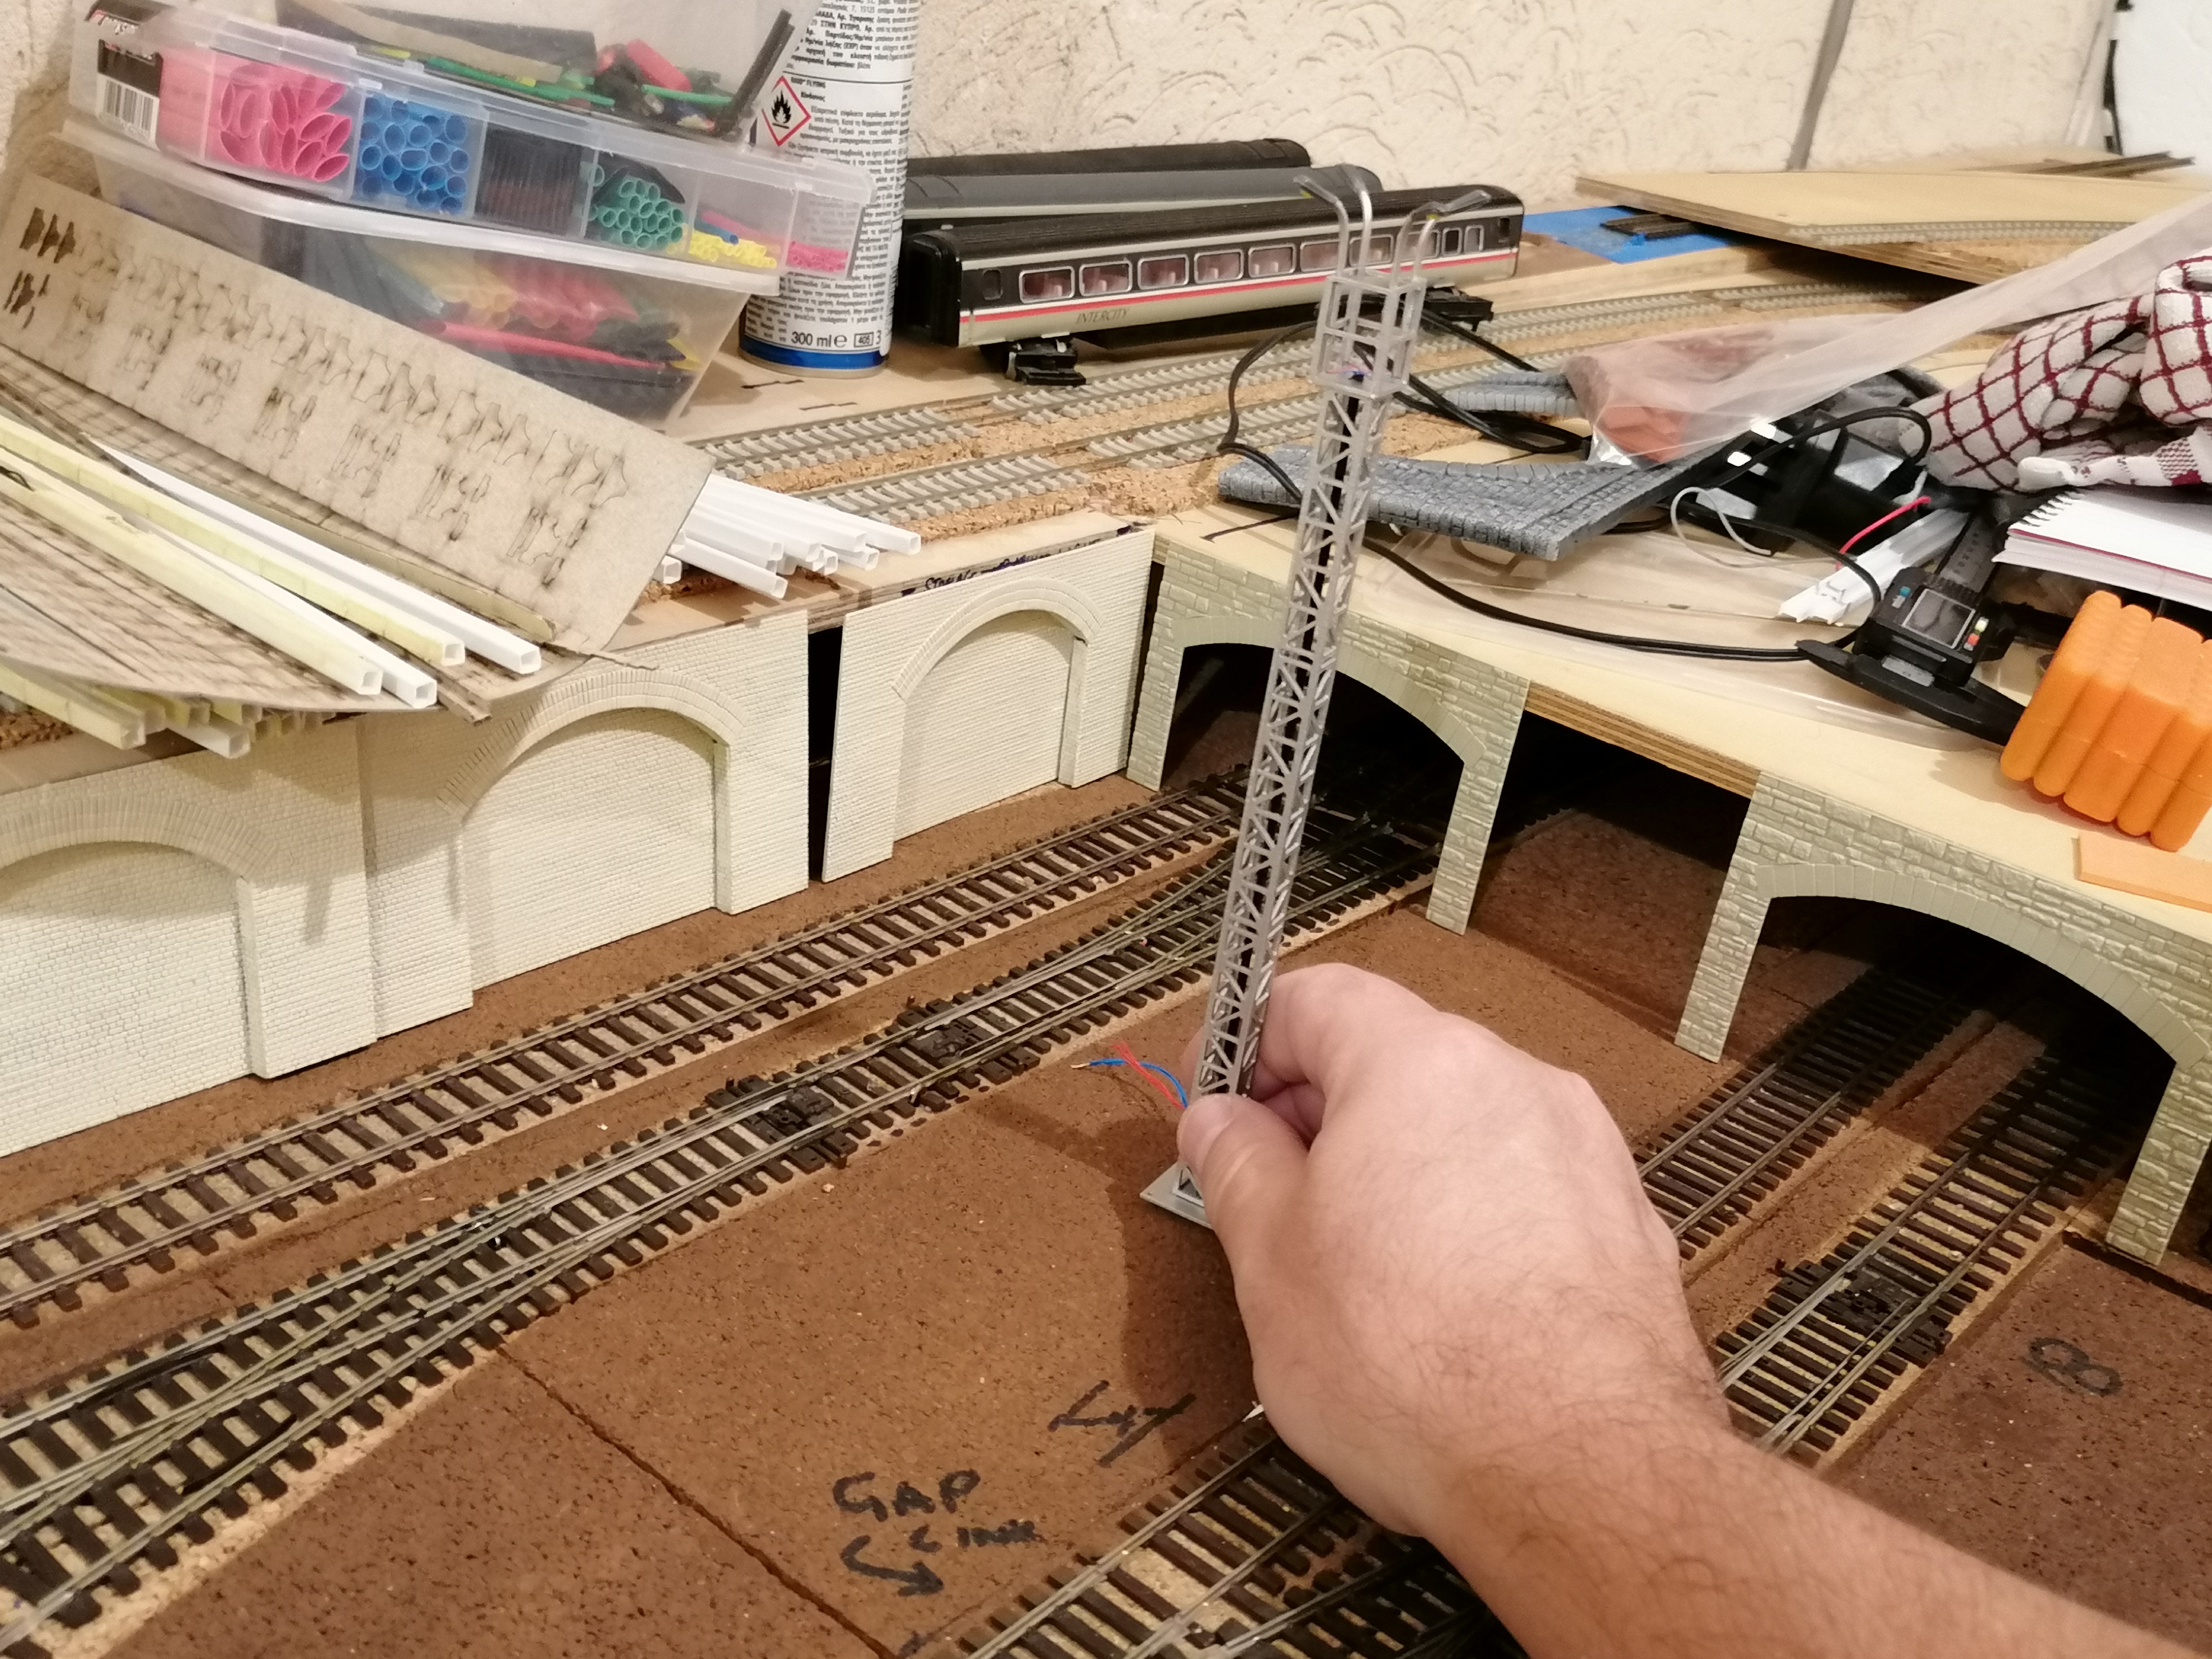
I've an eye towards work at the east of the station and the tunnels leading away from the station.
Looking at a few of the shelf tunnel portals to put here, I'm staggered at how high some are above the locos.
The Bachmann Scenecraft on I can literally fit another loco above!
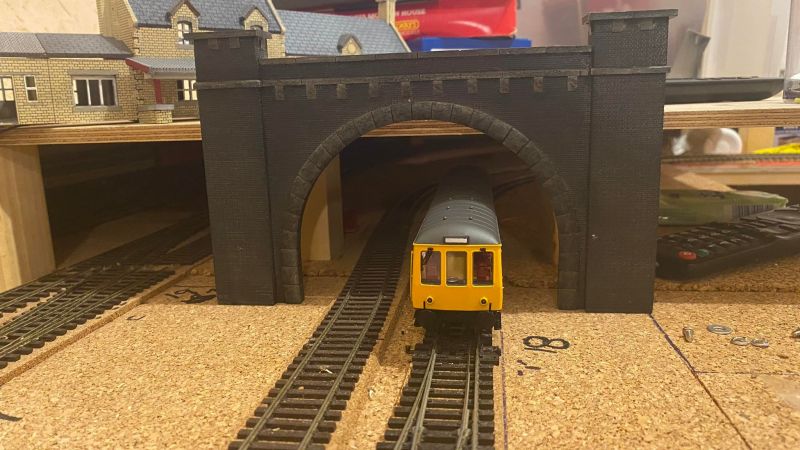
I know I can cut them down but it's a shame as the two I bought were not cheap!
I also might lower the board, not sure yet. If I do, I might look at scratch building portals.
I've Naturally also had a re-think on the main scenics at that side.
Coastal theme remains but I've re-thought things to try and make things both easier and flow better visually.
We all know I'll probably change my mind again.
Last edit: by 1867Adelphi
One day I'll settle on a trackplan….
but likelihood is it won't be today!
but likelihood is it won't be today!
Posted
Full Member
I was happy with how I'd got things in my head but now I'm working on the upper section I've become more and more dissatisfied at how things look, especially corners that I need to cover to hide tighter than normal curves.
So, this last weekend was spent literally staring and thinking of how to solve things / make things better without picking up a tool (apart from a 4 hour stint making up Wills Kits Retaining Walls… which was surprisingly therapeutic as I've worked out I need over 25 arches!!)
Problem is making things look authentic. With the way things are at the minute, I can make things work but it won't look right because things will look just dropped in place. I need to make the surrounding scenery fit - access roads etc. I can't make an access road suddenly appear from a bridge under the upper level because I have storage lines under! The hills look contrived as I want them to end quickly in order to merge into the town scenics of the lower end section
Wanting a panning sea front is also problematic. Unlike normal scenery, I can't have a road appear from the front where the layout is viewed from as, well, that's where the sea is!
I'v read through some old threads on here for a bit of inspiration and a common theme is corners are a pain in the backside.
They make it look all so easy on YouTube lol!
One day I'll settle on a trackplan….
but likelihood is it won't be today!
but likelihood is it won't be today!
Posted

Full Member
Posted
Full Member
Considering I've not posted since feb, I've not an enormous amount done. Bit depressing!
I lost my railway mojo for a bit, certainly an early August trip to the UK for us all saw a disaster of a trip ending in us all getting covid. I got a bad bout and once back on track haven't really had the chops to get back in the shed until this last couple of weeks.
I started watching a load of Everard Junction, Moldy Rhaspberry and Chandwell build videos and that seemed to do the trick.
I've actually really enjoyed this weekend and with a weeks leave coming up to have a nice break for her 40th and my 50th birthdays, I'm hopeful real progress will start to be seen.
Right…. Where to start?

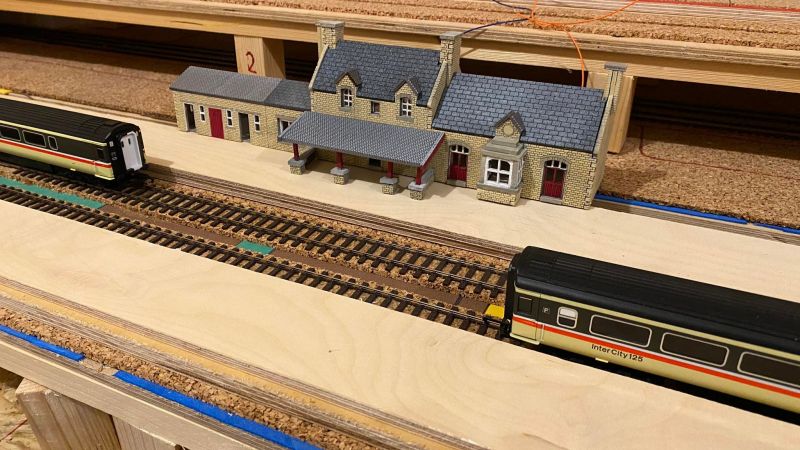
The track is pretty mcuh all done. I've made the top section removable for now
I concentrated on the long stretches. Coastal station and main station.. On the coastal side, above the station is where the two inclines meet the upper main.
As with other points. I've wired everything up using spare telephone Krone blocks and then RJ45 back to the control panel.
I started to build platforms and a base for the station and roughly position the tunnel.
I placed some buildings and platform tiling to see how it would look and its amazing how a few additions start making things look a lot better

Source


Last edit: by breakage
One day I'll settle on a trackplan….
but likelihood is it won't be today!
but likelihood is it won't be today!
Posted
Full Member
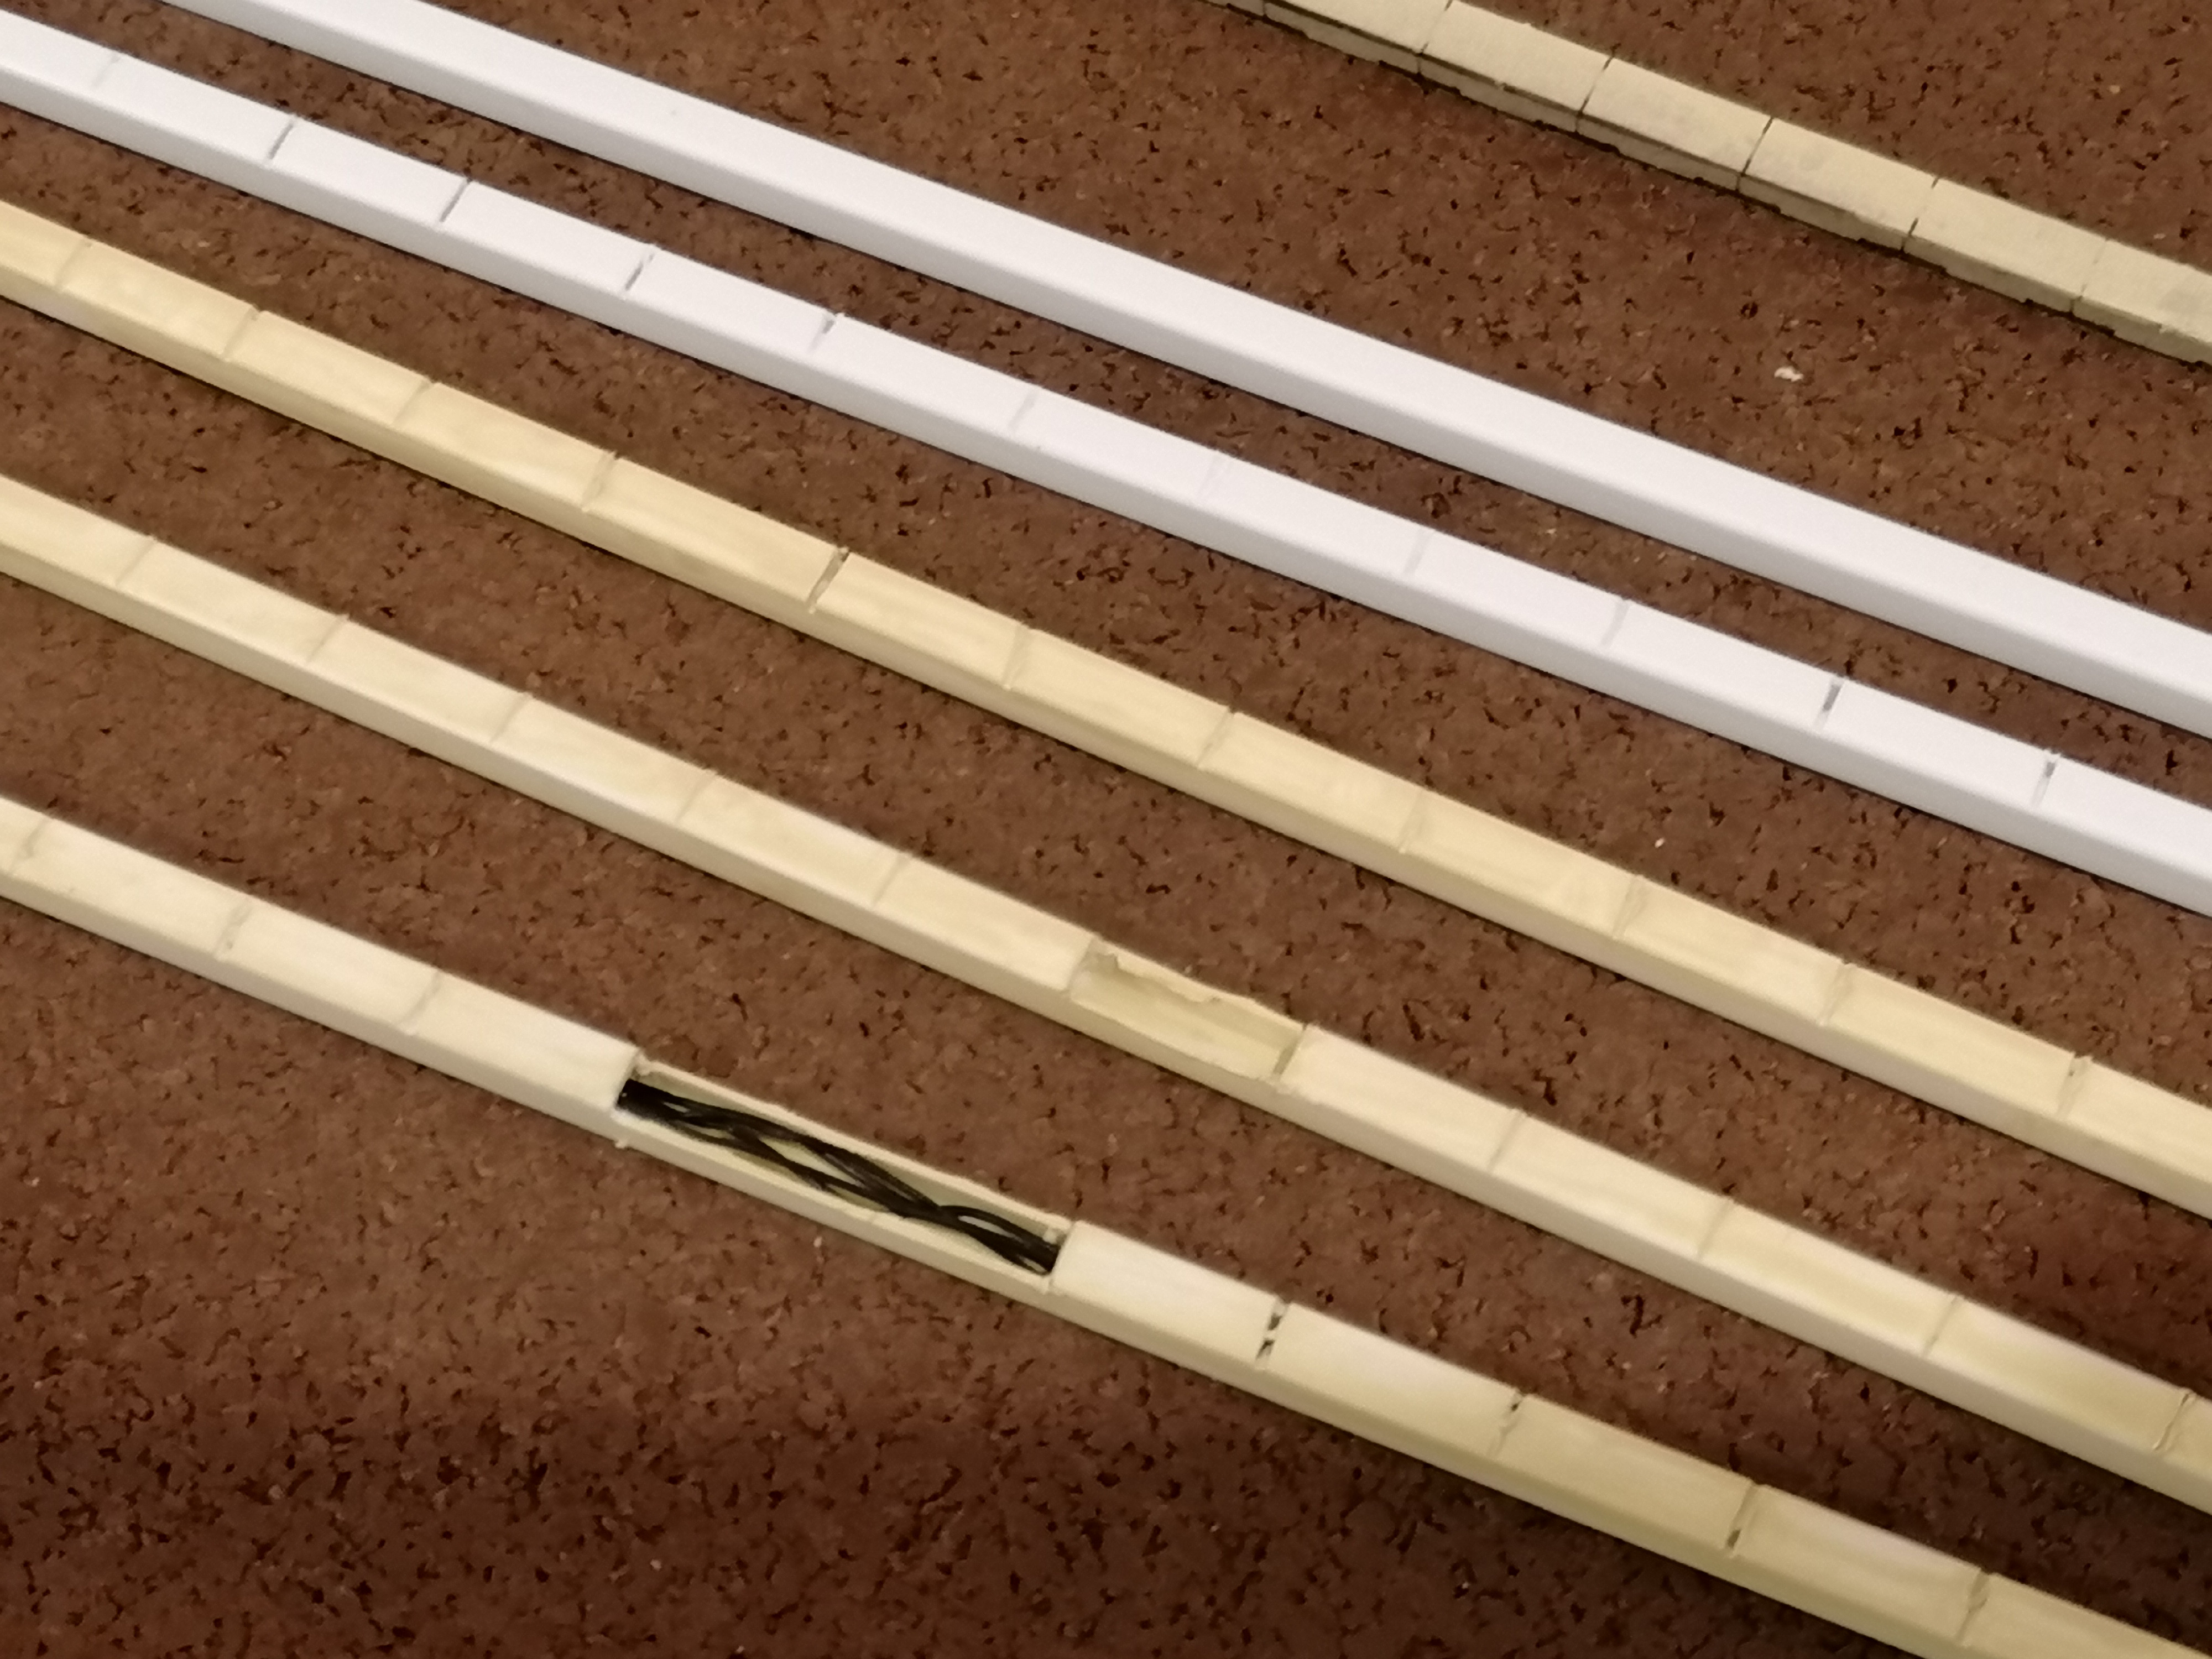
Having bought some of the Scale Model Scenery system, although ok, it's incredibly expensive to fit on the whole layout so I looked round for cheaper alternatives.
Below is the SMS trunking.
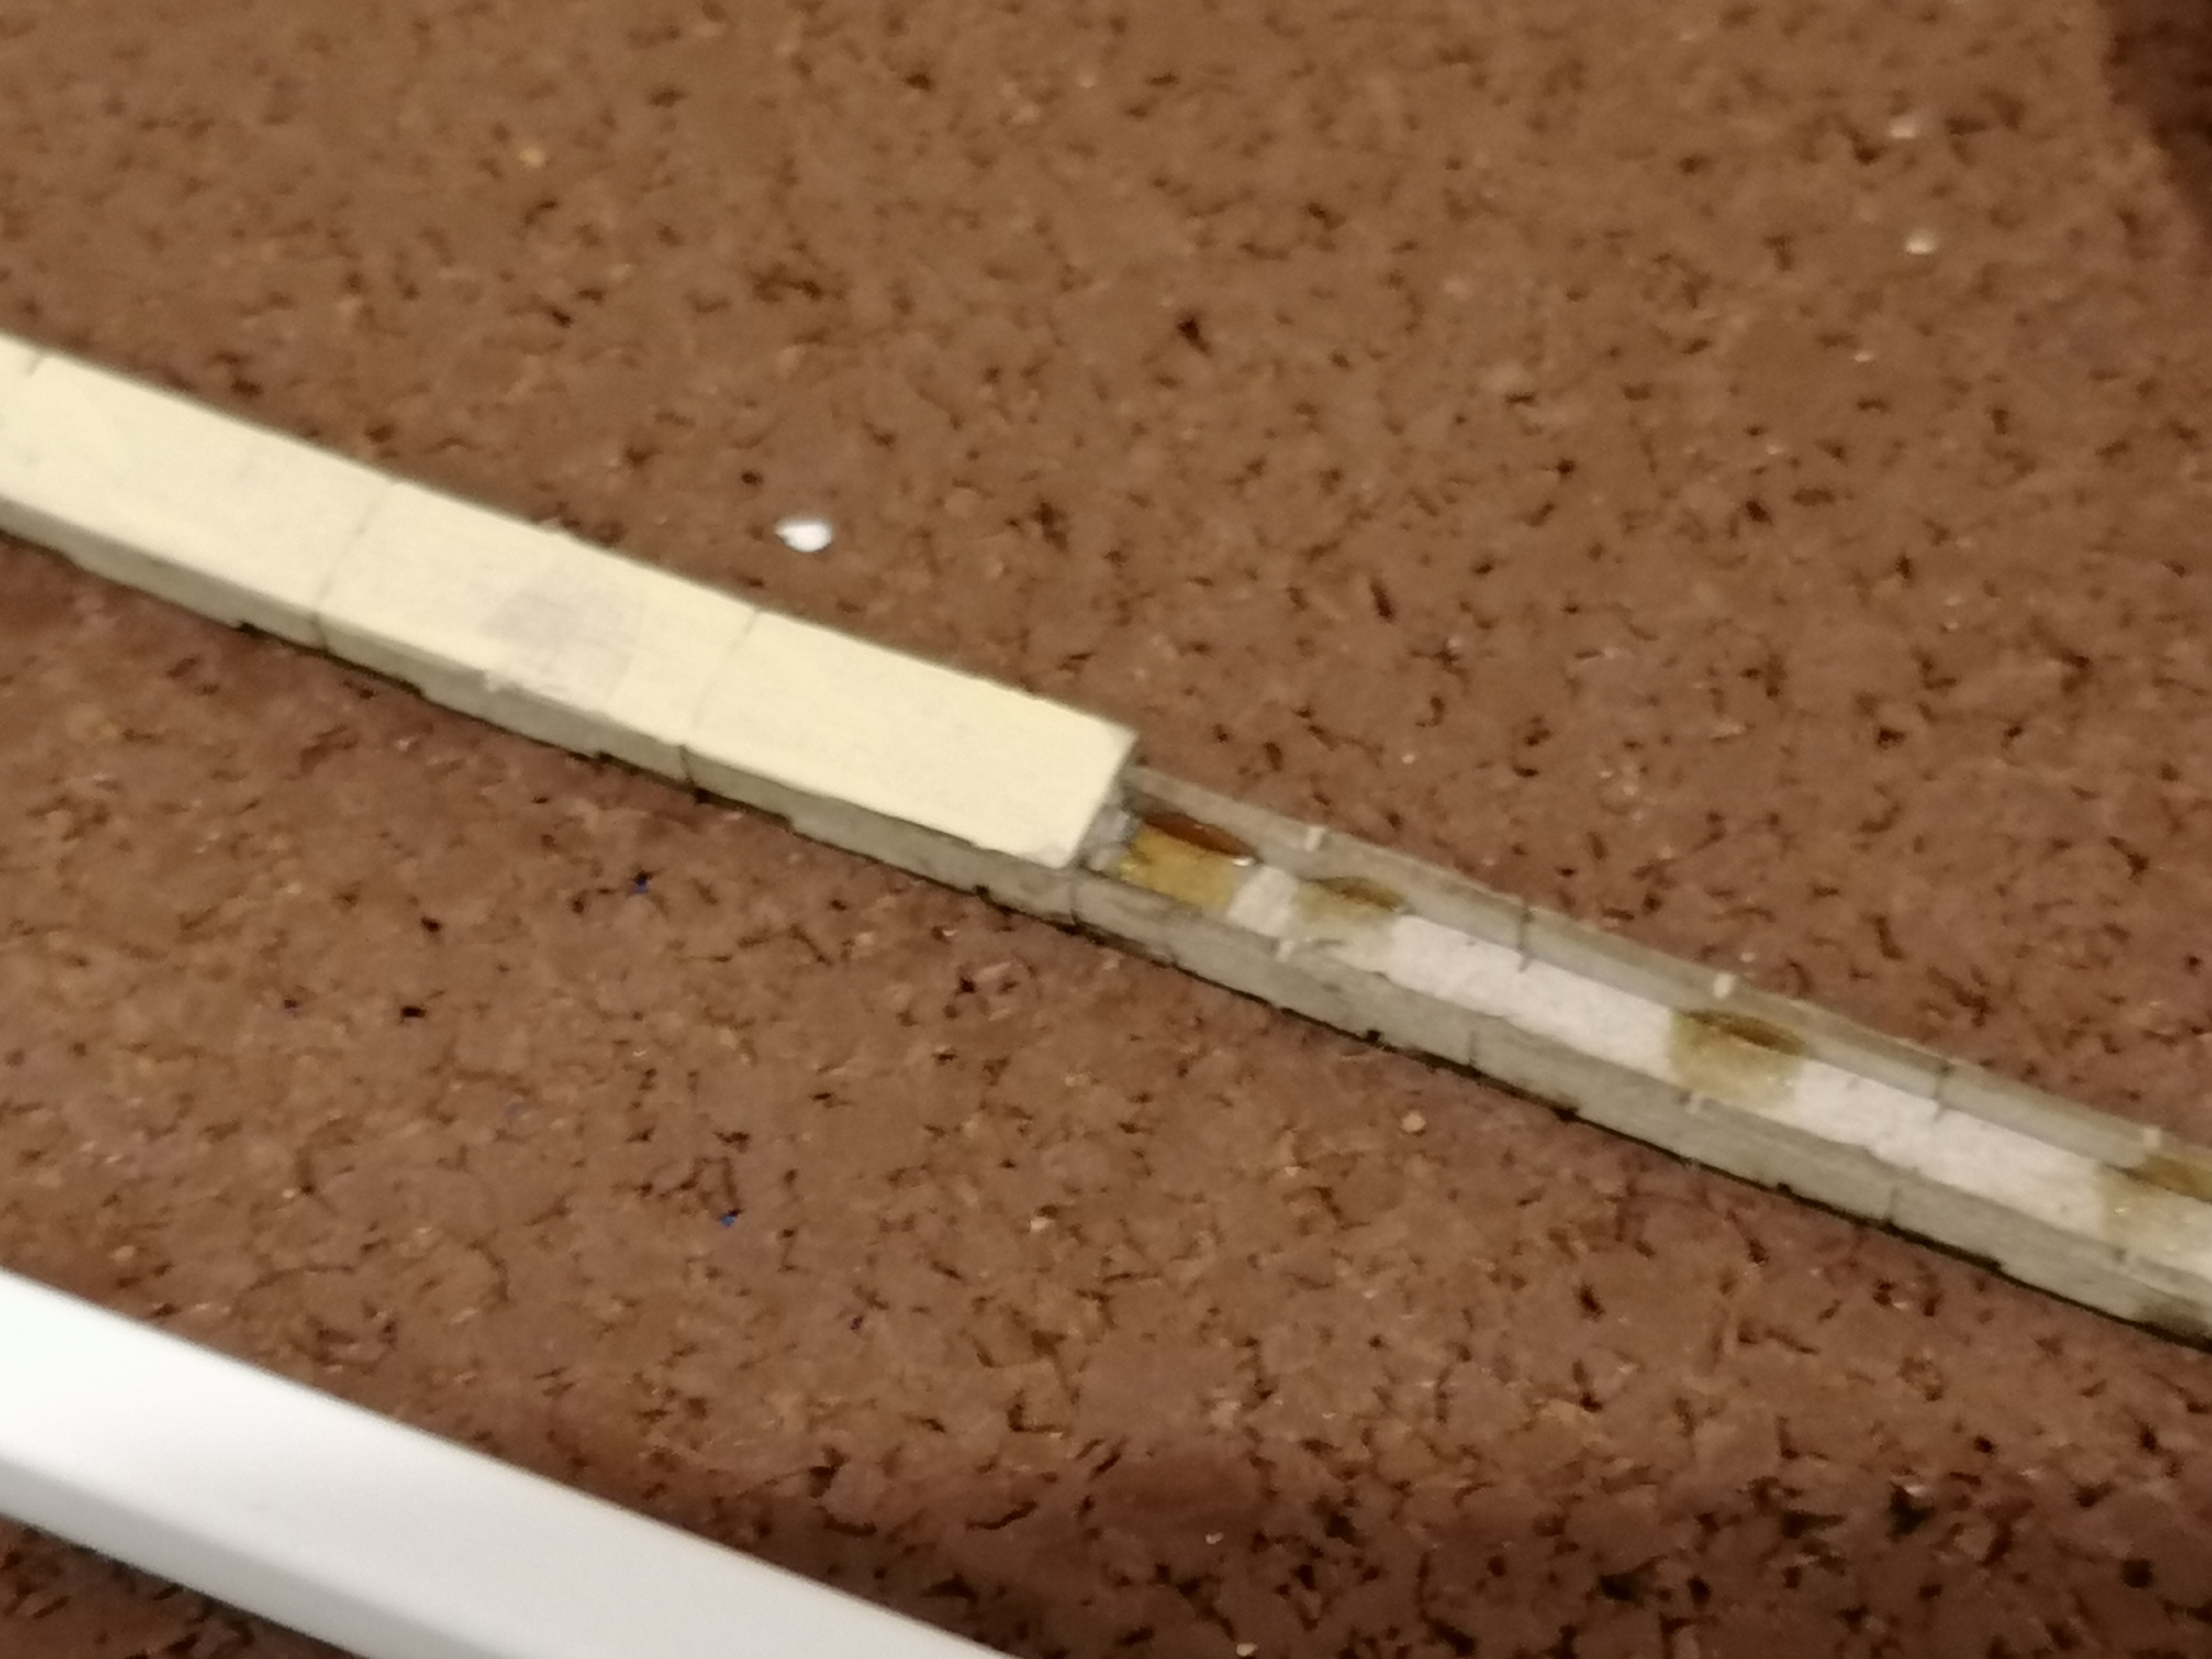
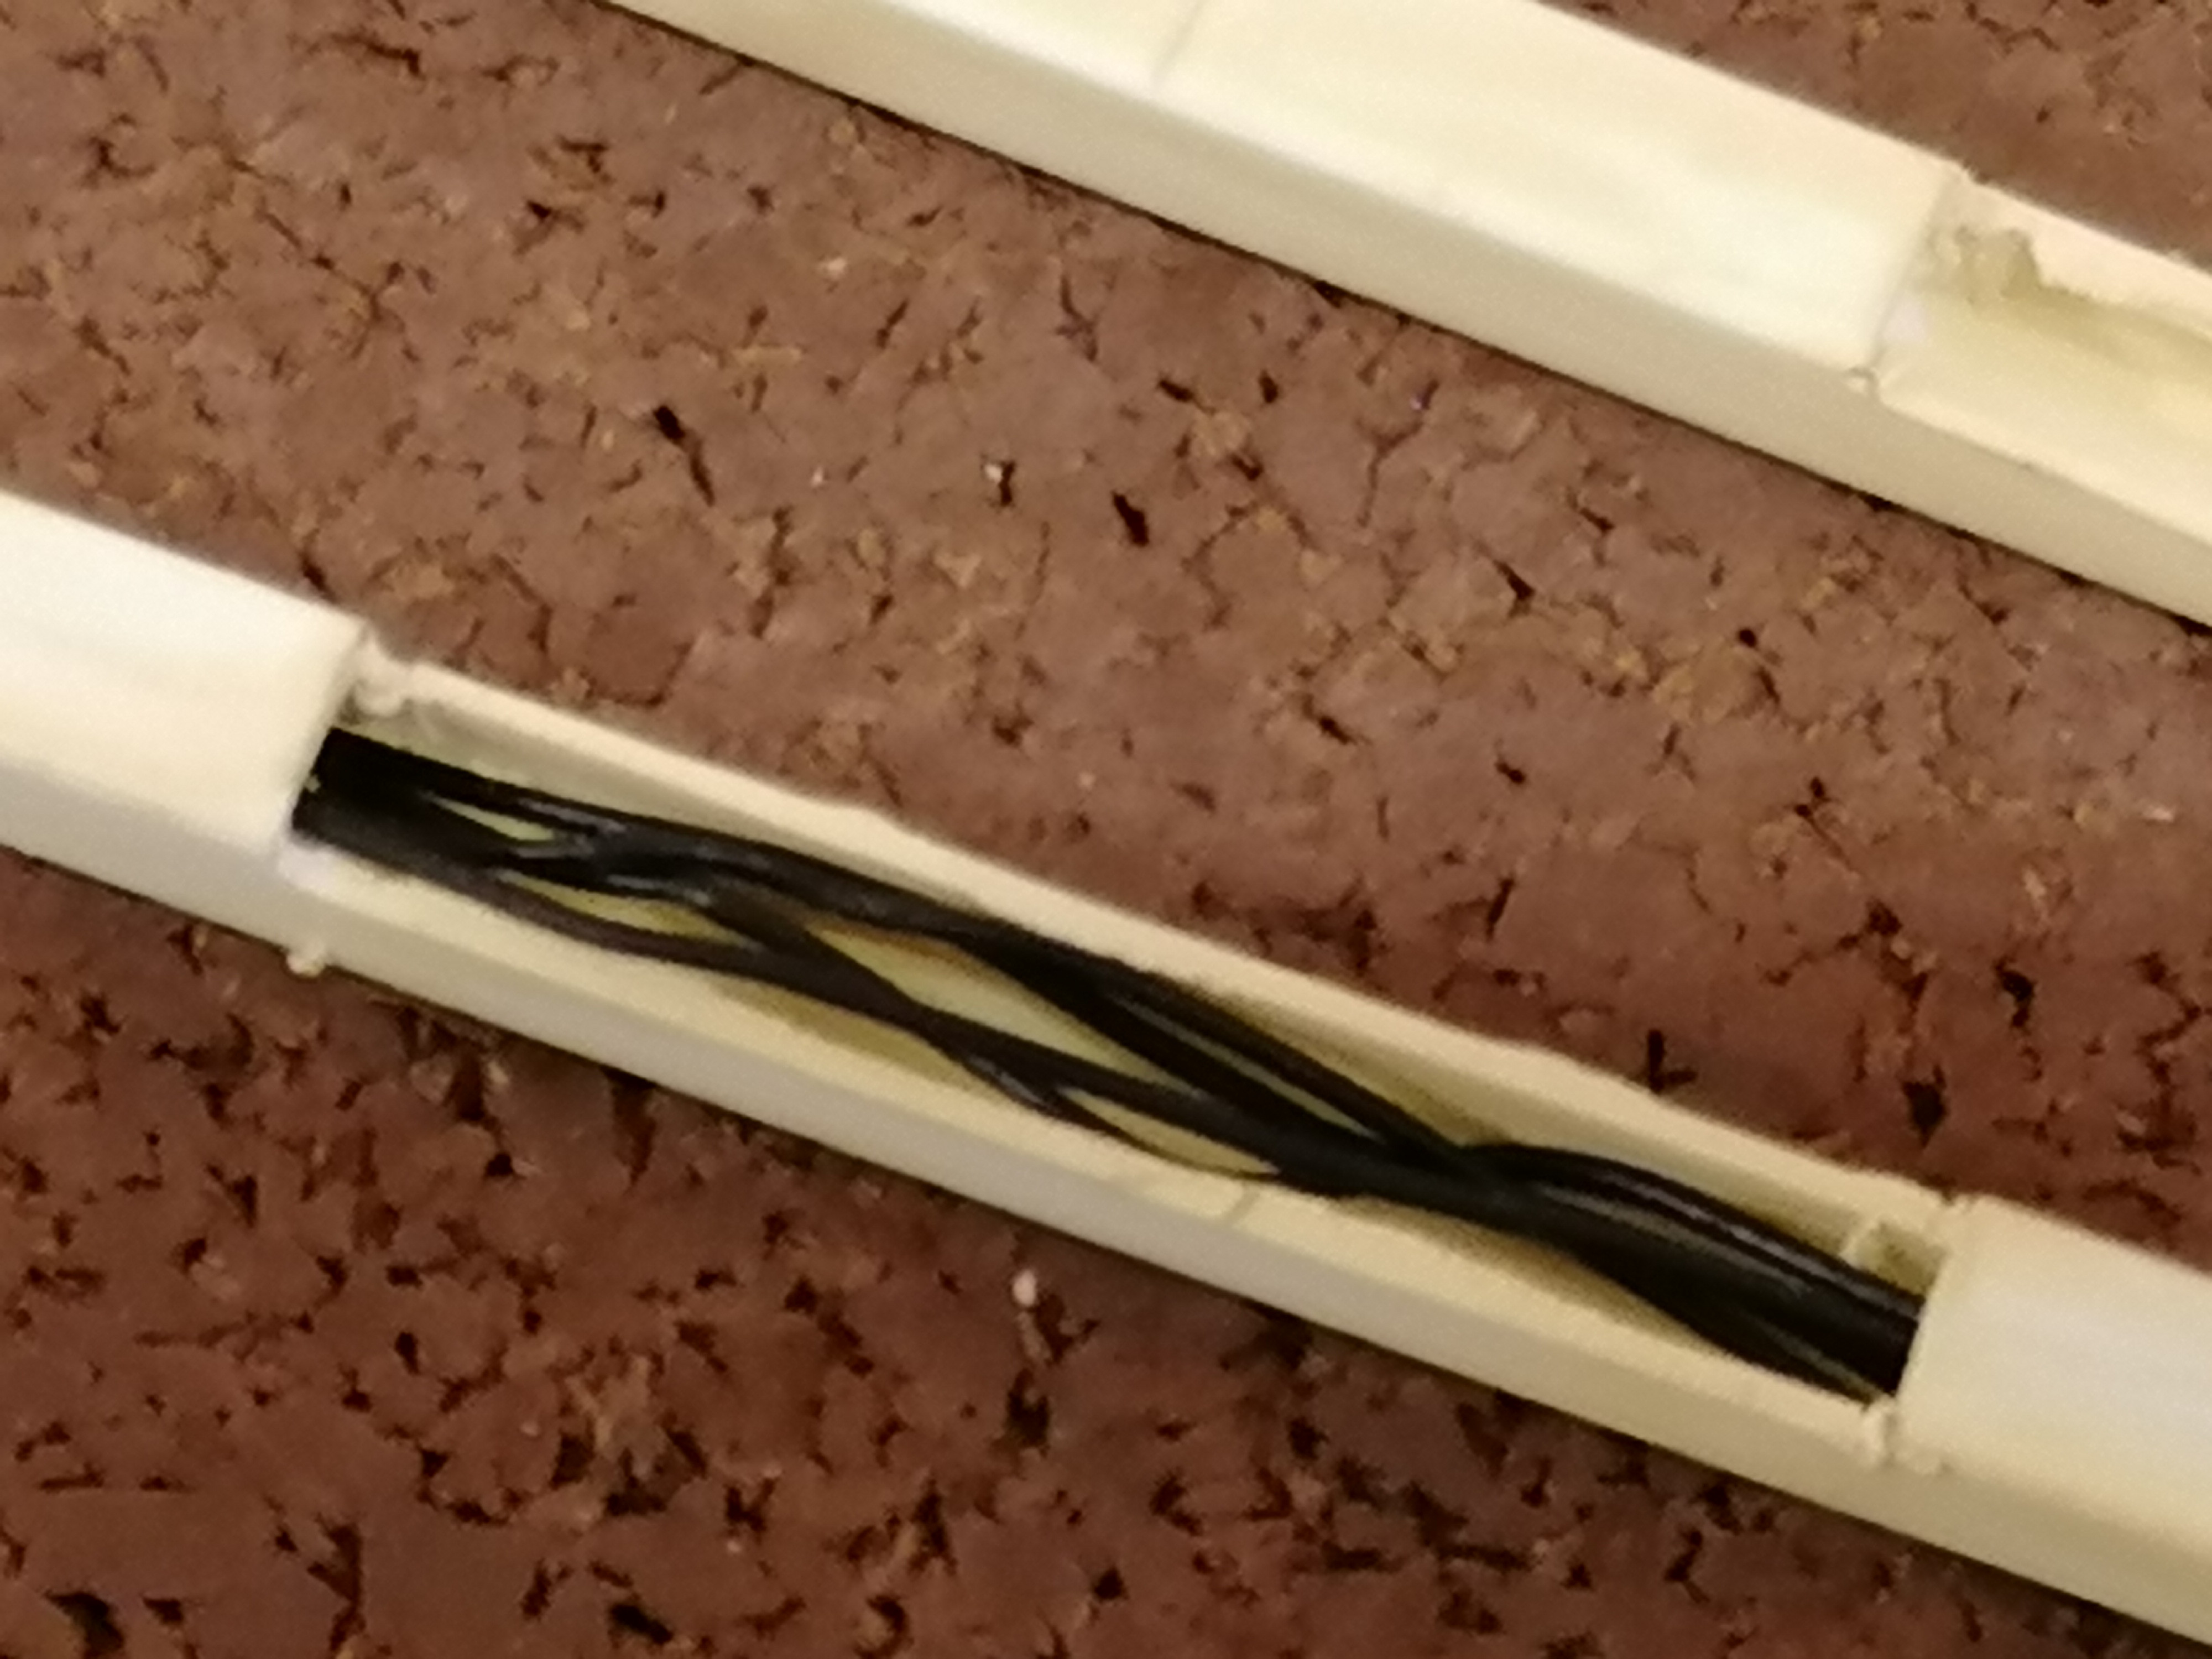
I bought some plastic trunking from Aliexpress.
After scoring the lids, painting (roughly at this point), taking a lid off with the dremmel and then feeding in some flower wire, I think it looks ok - certainly for scenic sections where the troughing will be buried beside the tracks. I might use the SMS ones for more open visible sections
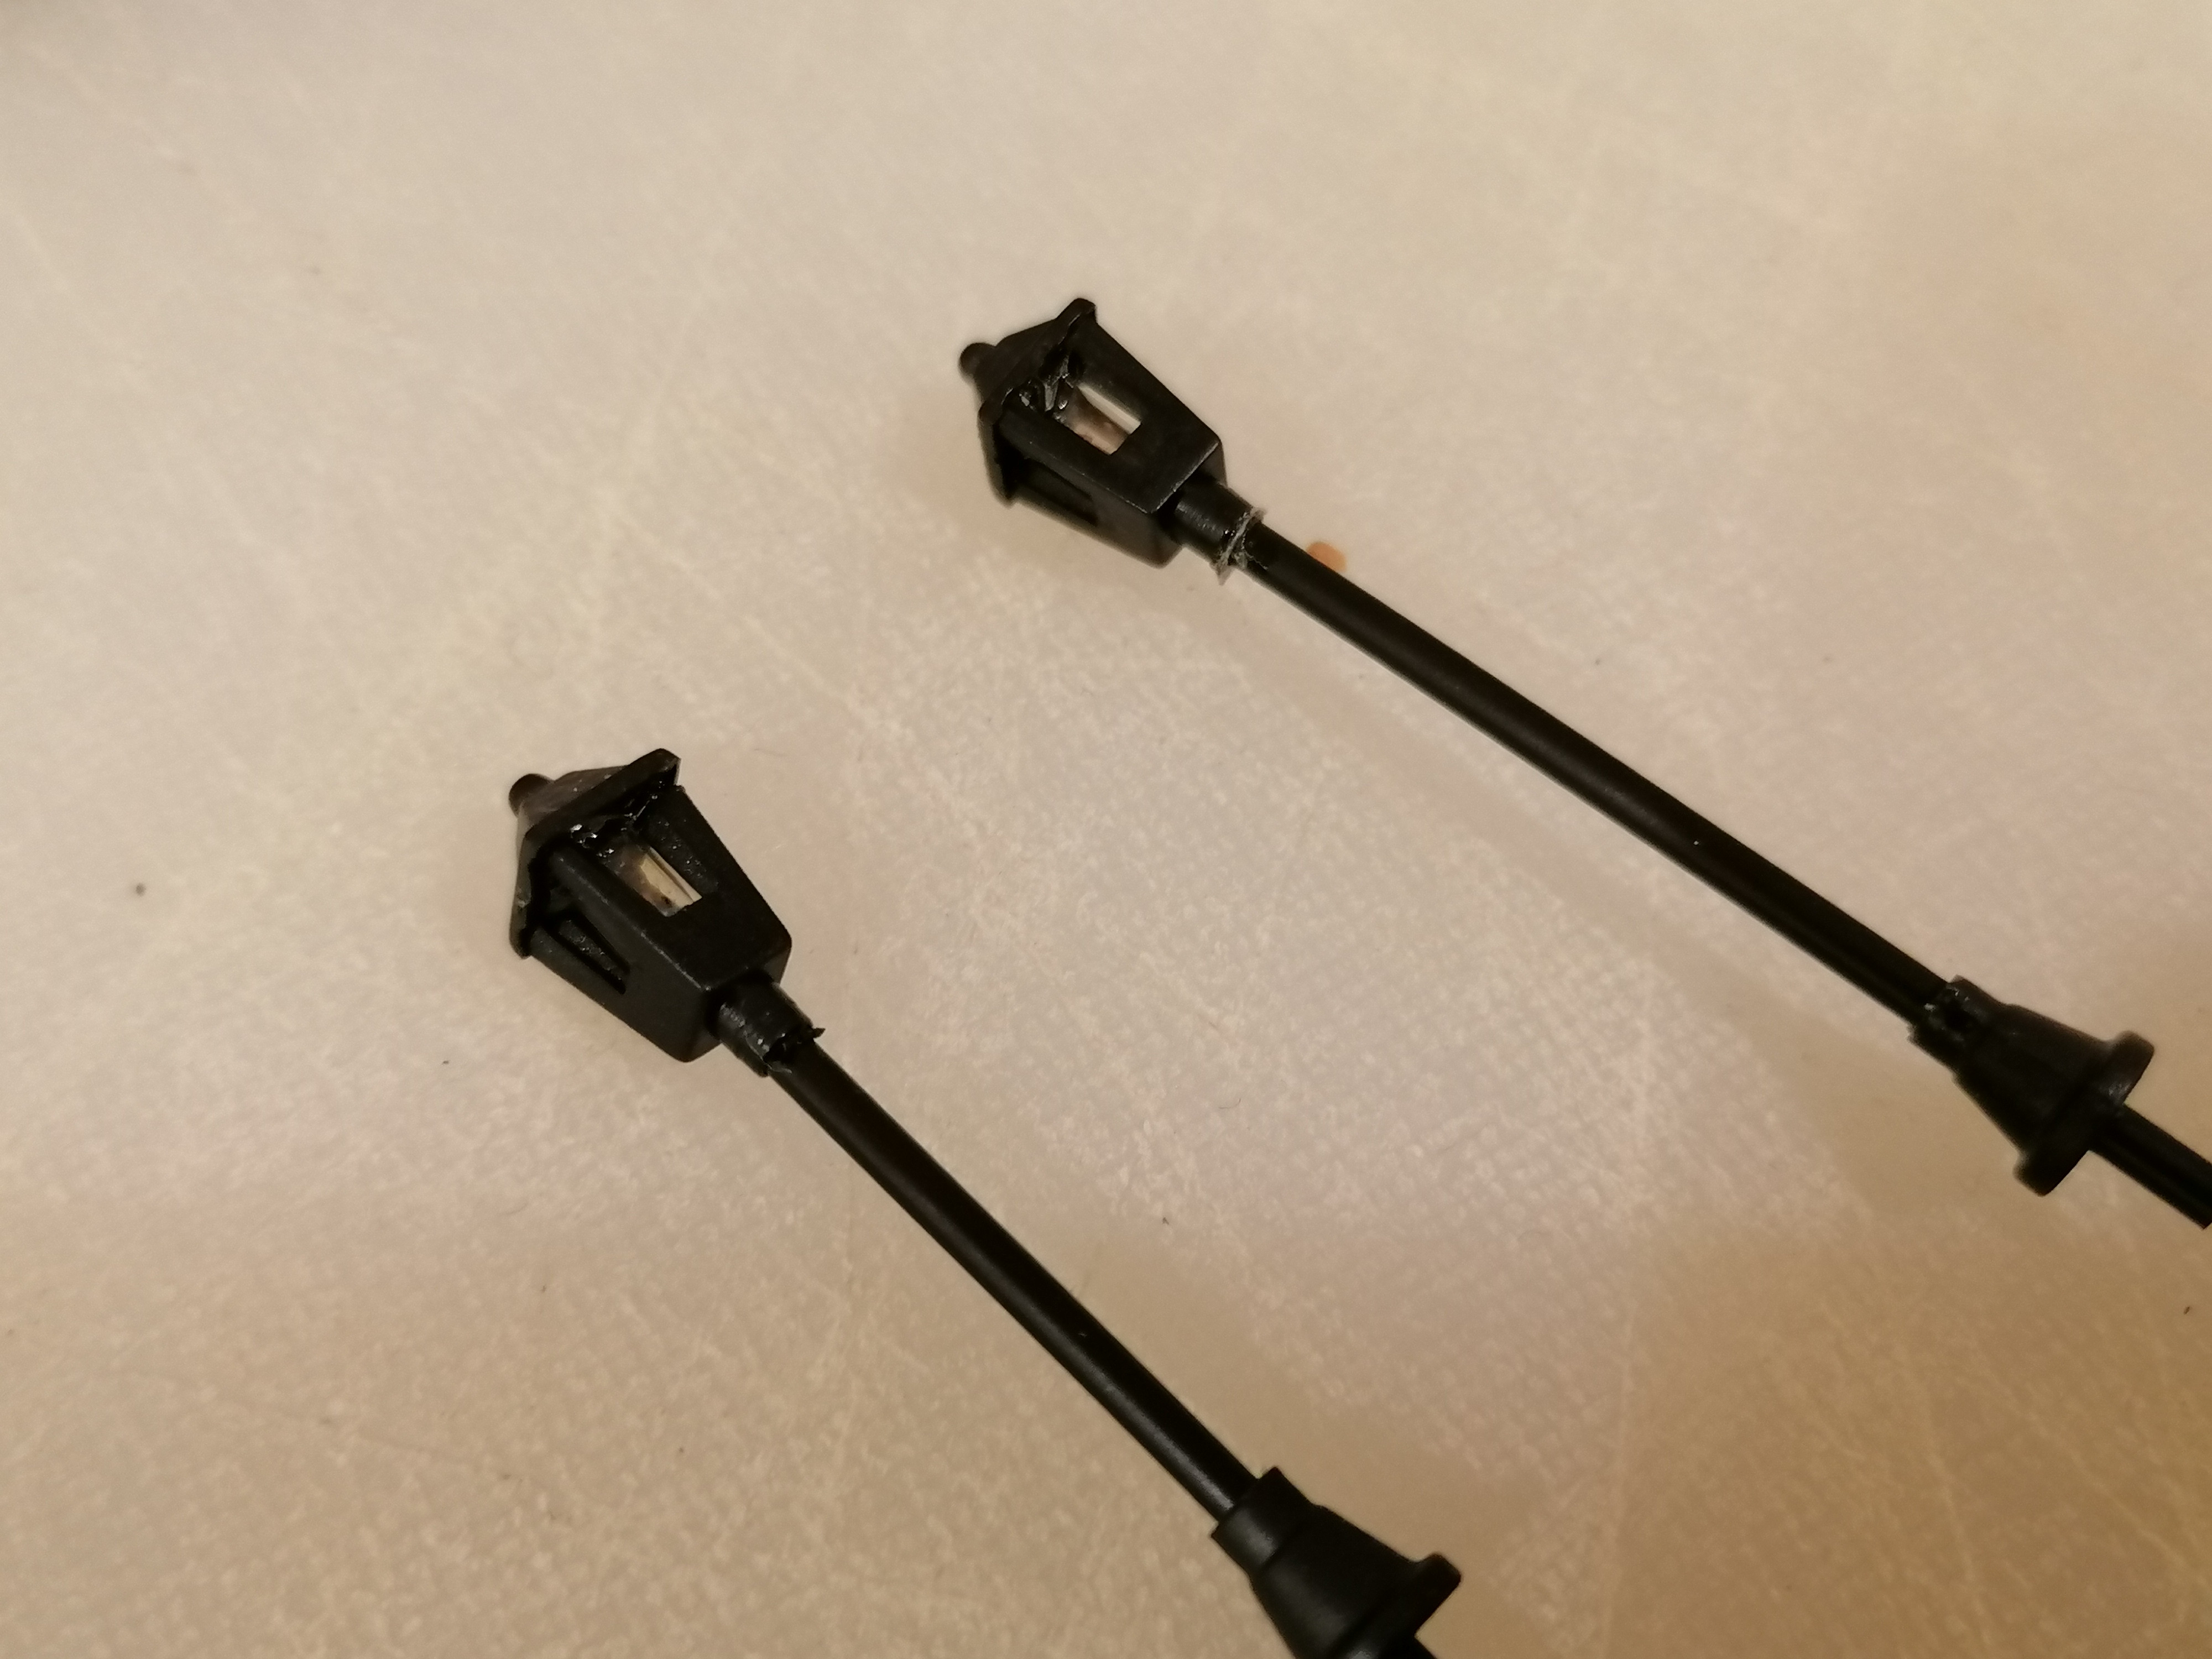
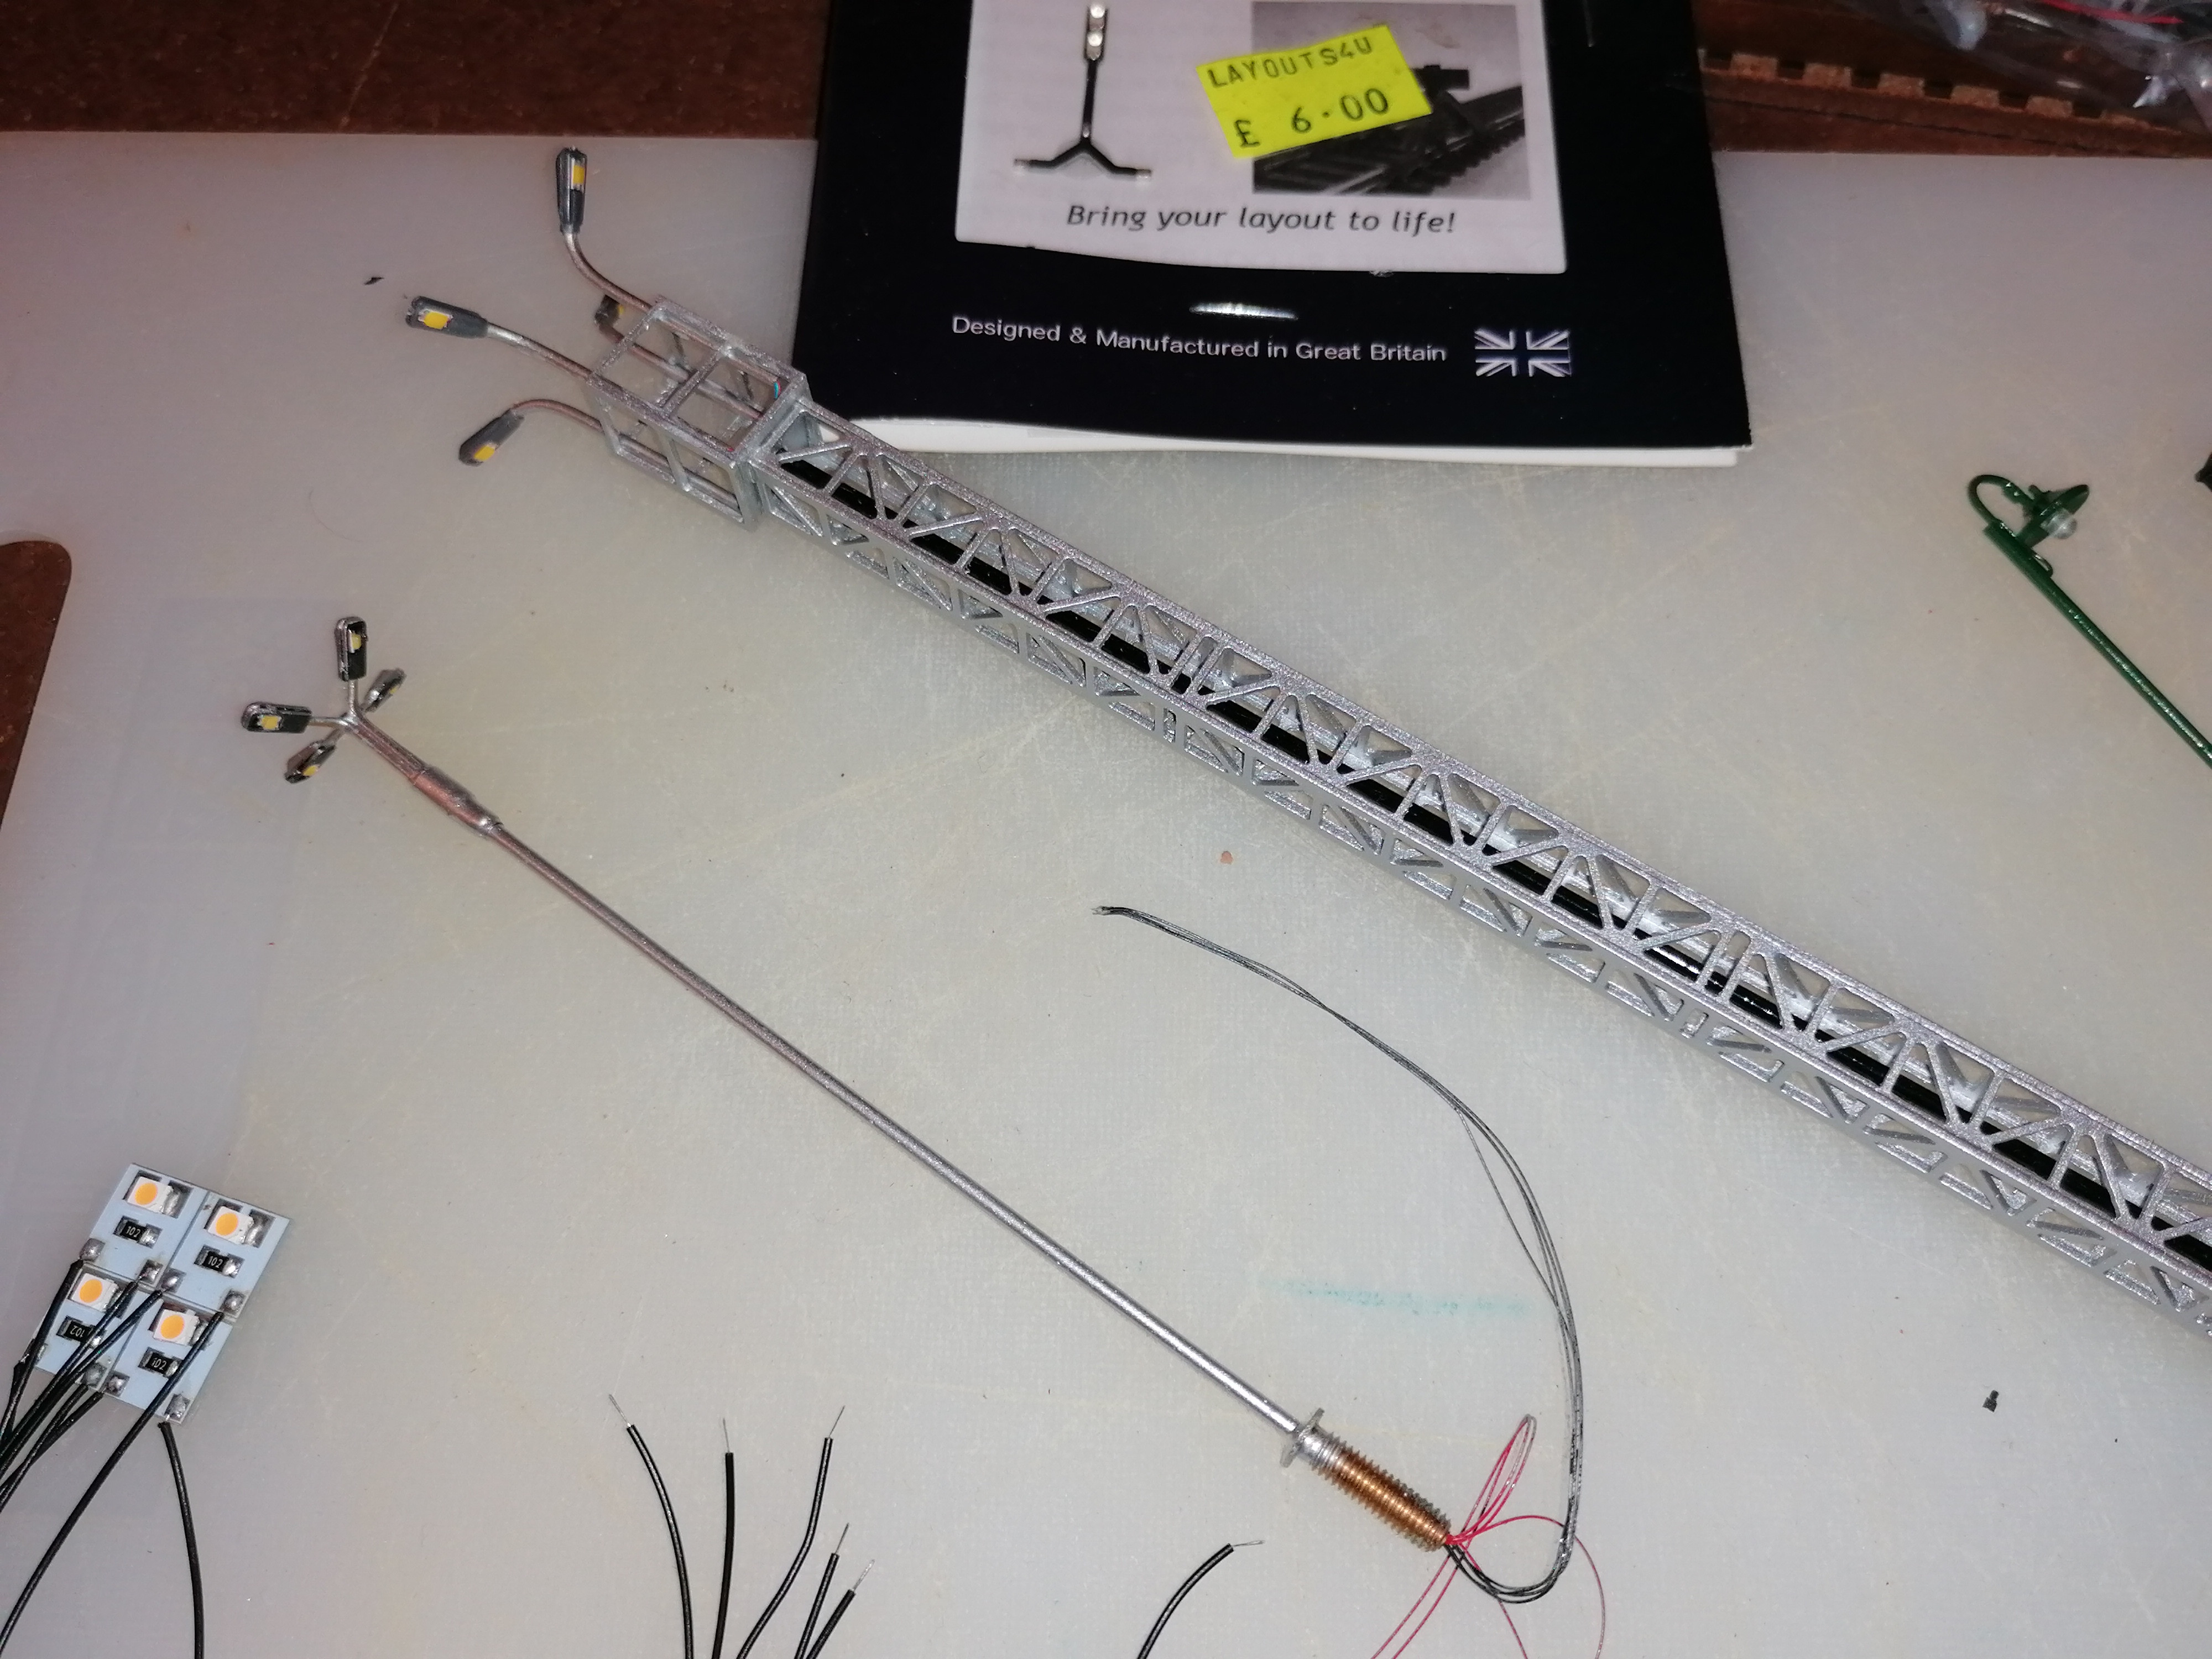
Over the last few months I've had a delivery of a load of LEDs.
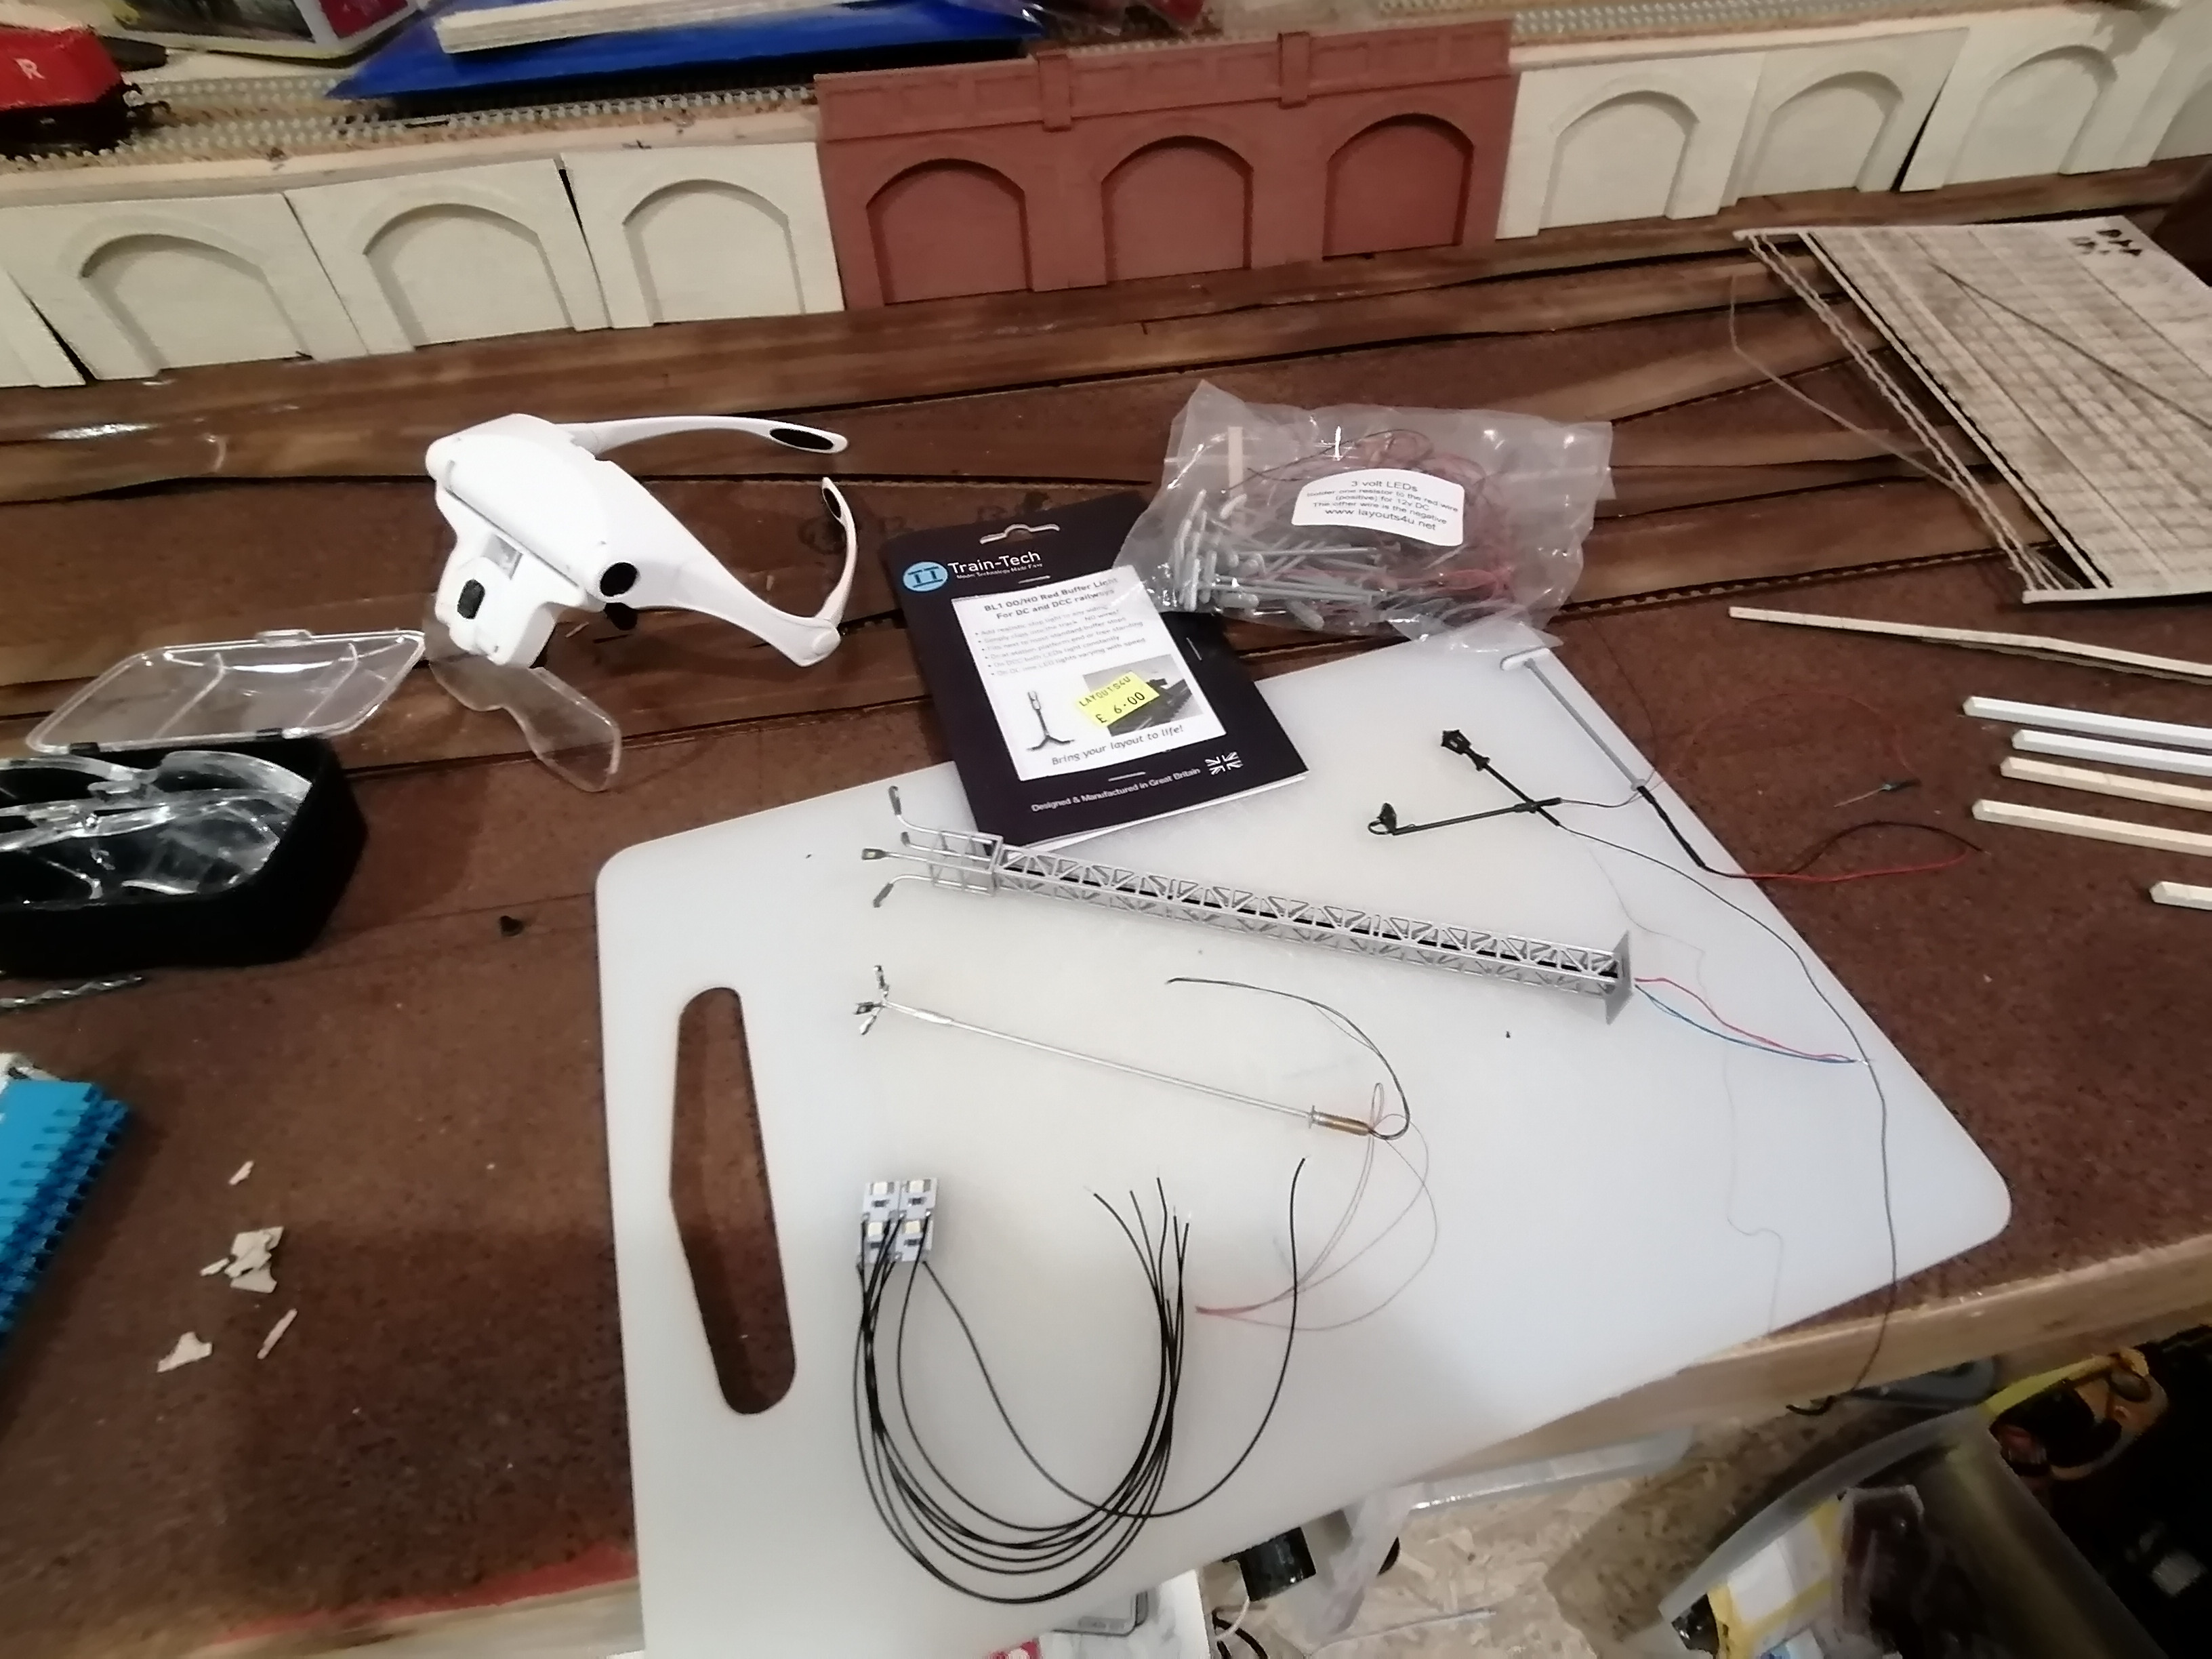 The modern lights are going to be used on the main station.
I've got to decide what of the other two to use on the country station.
I'm thinking the black ones, painted maroon might look nice?

Speaking of LEDs, I finally managed to rig up some lighting above the drawbridge section as with the big storage shelving above that area, it always gets dark. Looks a lot better now.
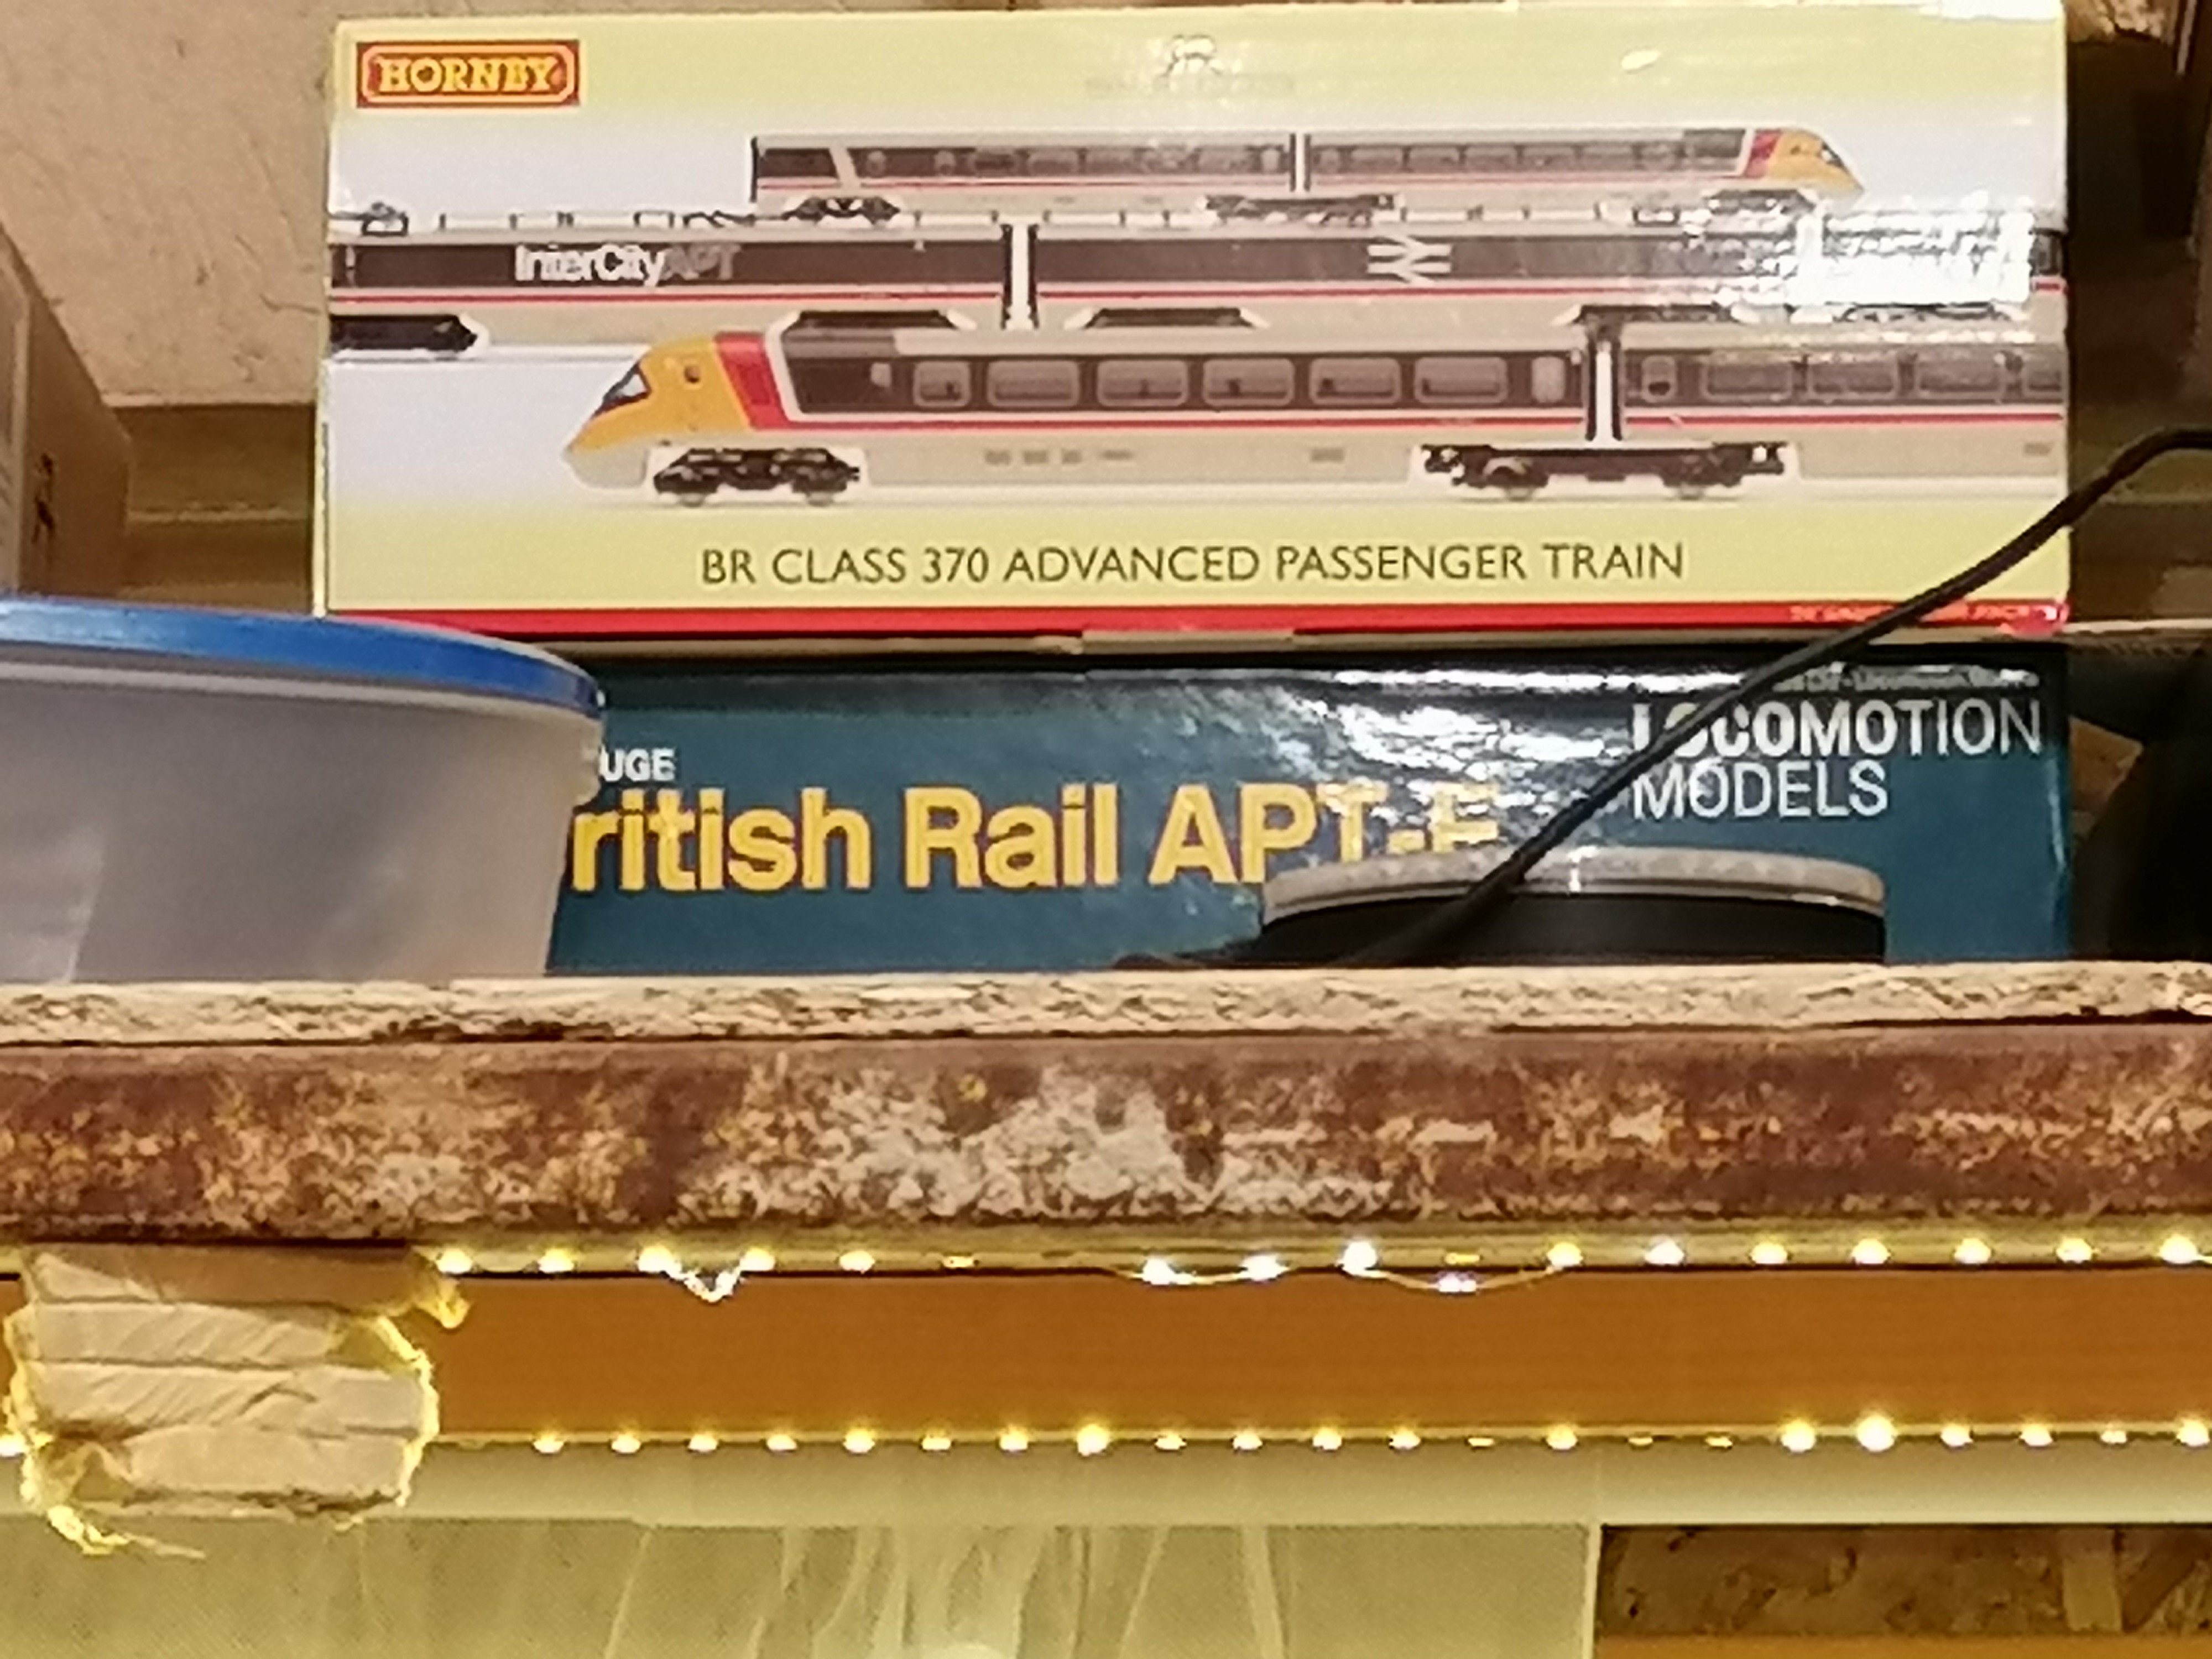
I bought the APT and the APTe and both are still sat in their boxes waiting for me to pull my finger out.
Annoying thing is the APT has been superseeded with a newer version that fixes the problems on the one I've yet to open! LOL!
One day I'll settle on a trackplan….
but likelihood is it won't be today!
but likelihood is it won't be today!
Posted
Site staff
Ed
Full Member


This whole wall will all be removable so I've got access to the 4 lane storage/fiddle section. Its all LED lit so I've good visibility.

One day I'll settle on a trackplan….
but likelihood is it won't be today!
but likelihood is it won't be today!
1 guest and 0 members have just viewed this.