00 Gauge - Ottersford Junction, GWR 1920's
Posted

Full Member
5 times longer in coming than Brunel took making the real thing!
[user=380]Kaiser[/user] wrote:Michael - typical Headmaster you've marked the paper without reading it through!Hi Matt/Marty/Bill. Marty is right about how close the poles are. I've tried filing down a steel pin but now either the pole snaps (old plastic!) or I stab my finger when the pin goes through - I think it's more than just a little swarf. I have to shine a torch through to see where the holes are (should be!) as well. I think it's either pull them all out & put in post & rail fencing or Marty's idea of a lot of vegetation - leaning towards the latter. Sandra said just wrap the wire around the post but that's not at all G.W.. Bill's idea would work as it can only be viewed from one side - still have to cut 160 slots though!
No wonder it takes so long to do anything. I thought "few fence posts, dab of paint, thread the wire - couple of hours". Took me longer than that to file down the pins!
Thanks for the river comments Marty but you must share some of the credit. The fall did shake me up but I broke all the basic rules - 3 points of contact etc. I thought "I can just reach this last branch without having to move the ladder if I just turn around" so momentarily 0 points of contact with the inevitable result. Like most accidents, a momentary lapse of reason (to quote Floyd).
Keep well all & jolly modelling.
 Peter - can I get a .3mm drill bit?
As I'm the nutter who details signal box interiors when they won't be seen I don't know if I can have a 'wireless' fence.
Anyway, here's another gratuitous photo of a pretty intruder:
All stressed out, got addled brains?
Ride your bike or play with trains!
Ride your bike or play with trains!

Posted

Site staff
Cheers
Matt
Wasnie me, a big boy did it and ran away
"Why did you volunteer ? I didn't Sir, the other three stepped backwards"
"Why did you volunteer ? I didn't Sir, the other three stepped backwards"
Posted

Full Member
Not sure what the smallest I have is but, as Matt says, it's tiny. Any smaller, you'd have a job seeing it, in which case, I wouldn't bother with the wire Mal - you most likely won't be able to see it !!!
This is similar to the set I've got - I just googled "micro drill set" and this happened to be in the southern hemisphere - maybe you could find similar in S.A……..
http://www.jaycar.com.au › 20-piece-micr…
20 Piece Micro Drill Set 0.3 - 1.6mm CAT.NO: TD2406 $12.95 - Jaycar
Sorry - it appears the link only gets you to Jaycar but their catalogue number is there too ….
'Petermac
Posted
Full Member
All stressed out, got addled brains?
Ride your bike or play with trains!
Ride your bike or play with trains!
Posted

Full Member
Do you know if the collet of the Dremel will fit those tiny drills? I had some issues last summer with mine and had to find another chuck to hold a smallish cutting disc for some stone mosaic I was finessing in a new shower room. For small drills, I’ve now use sets all having a common larger diameter shank, which fit into all my drills and pin vices, so life is a tad easier.
Good luck and best wishes,
Bill
 Last edit: by Longchap
At 6'4'', Bill is a tall chap, then again, when horizontal he is rather long and people often used to trip over him! . . . and so a nickname was born :)
Posted
Full Member
'Petermac
Posted

Full Member
I have a couple of sets of collets of different sizes. Eileens Emporium (UK-SA postage???) or Ebay (SA at all?). Not sure what the model shop situation is in SA and if they are delivering during the lockdowns. Any decent shop should stock this sort of thing. The DIY sheds in the UK sell Dremmel bits and pieces so that could be another option.
The good news is that the collet sets are only a few £££.
Hope that helps
Barry
Shed dweller, Softie Southerner and Meglomaniac
Posted
Full Member
So it wasn't until September 2023 I made a bit of time available by putting aside other jobs. Because I'd been determined to keep up progress I hadn't covered everything, so first job was a big clean up. I have printed a lot of Scalescenes stuff, & I was disappointed to notice extreme colour deterioration on some of the printing, none of which had been exposed to direct sunlight, some of which had been left face down.
One of the walls on the viaduct were also affected. I've disguised the join in the backscene by a big tree but unfortunately only the last sheet was OK the rest all looks very 'misty'. II've put this down to using compatible ink cartridges in the Canon. A new set of Canon carts is now over £100 so I was tempted to use compats at a third of the cost, & when you print them it looks OK. However it seems the Canon carts have an 'anti-fading' ingredient (why didn't I find this out before?) so when you consider the amount of work that goes in to making anything it's not worth the saving. Replacing the viaduct wall was a mission as I'd ballasted etc.
Speaking of ballasting - I HATE BALLASTING. I made the mistake of using the Woodlands track base. Good thing - quiet running. BAD things - expensive, can't use track pins because pushing a pin through takes the sleeper out of the ties, raises the track height so all your clearances are out so platforms, bridges etc. have to be raised & in open areas the ground has to be raised. Then there is ballasting. You can't use the normal way of spreading the ballast then spraying or dripping glue solution as the ballast just washes off. You have to spread neat glue on the shoulders, then lay the ballast, then gently drip the solution careful not to move the ballast, & you must absolutely soak it thoroughly or it won't stick. (First time I did it expecting the solution to dissipate, when I ran the vacuum over a couple of days later most of it came off!) Wish I'd just used the cork underlay as in Easewood - doesn't fill the sleepers but looks a lot neater, less messy & way easier.
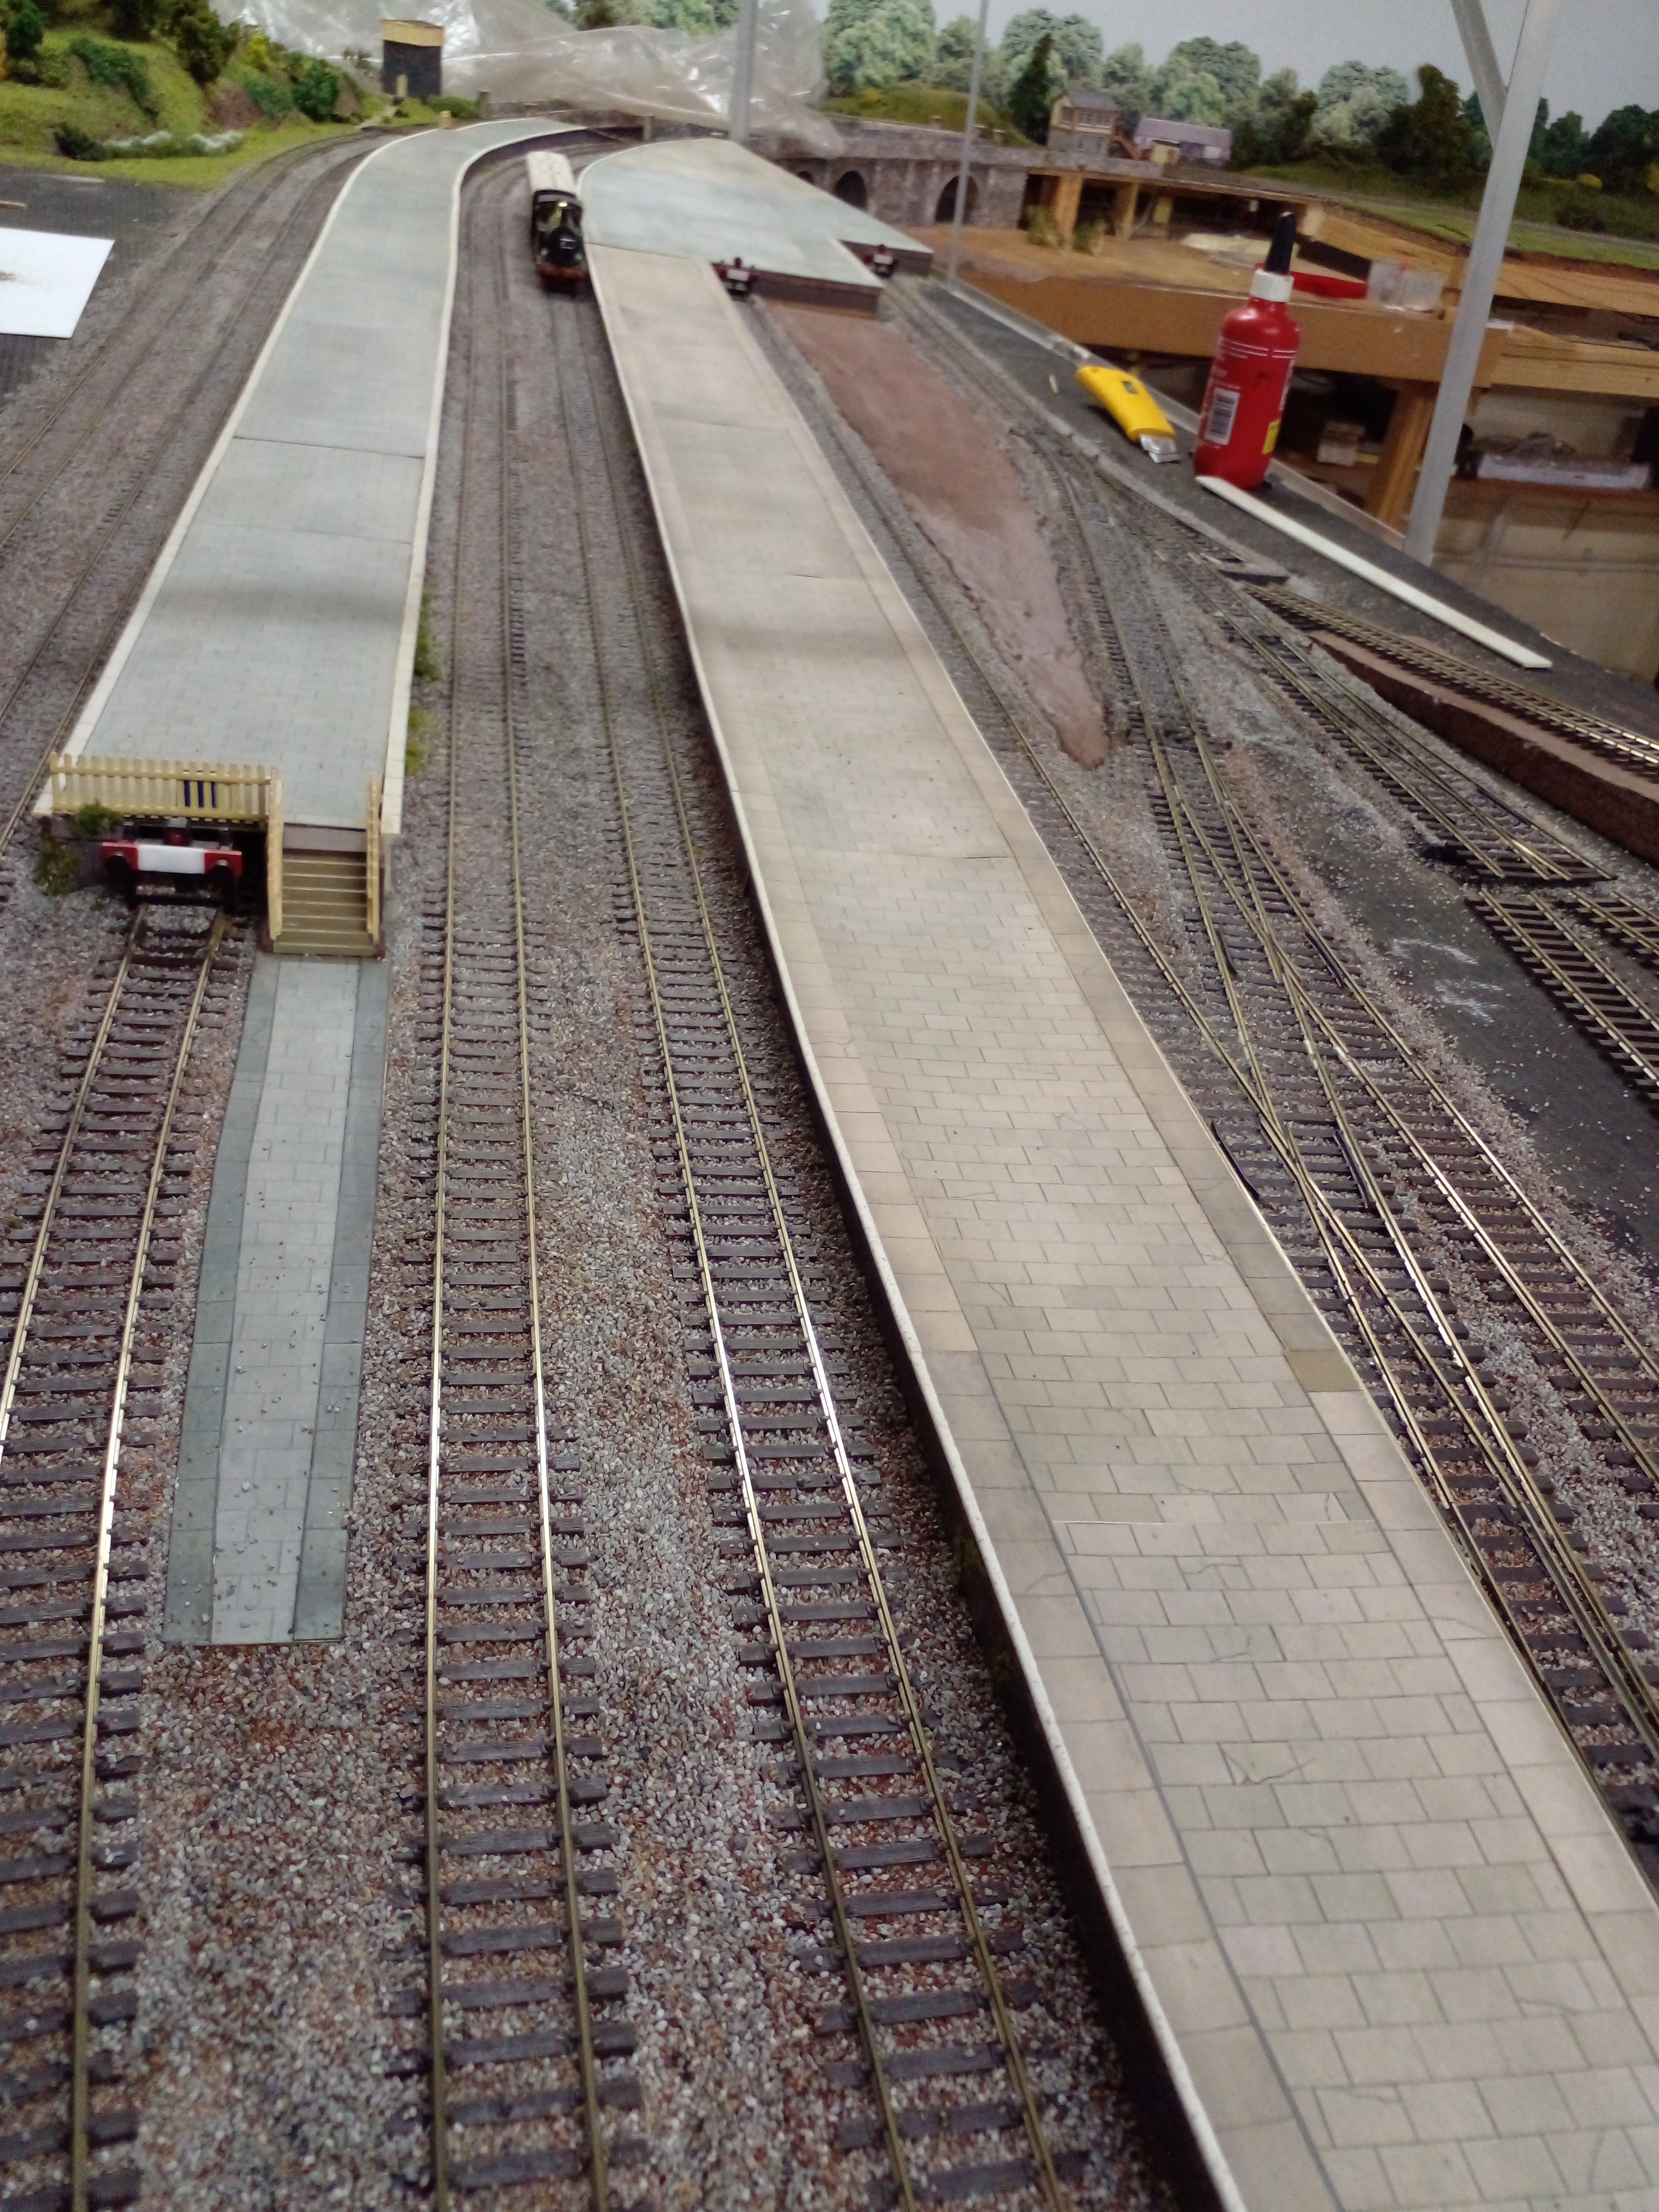
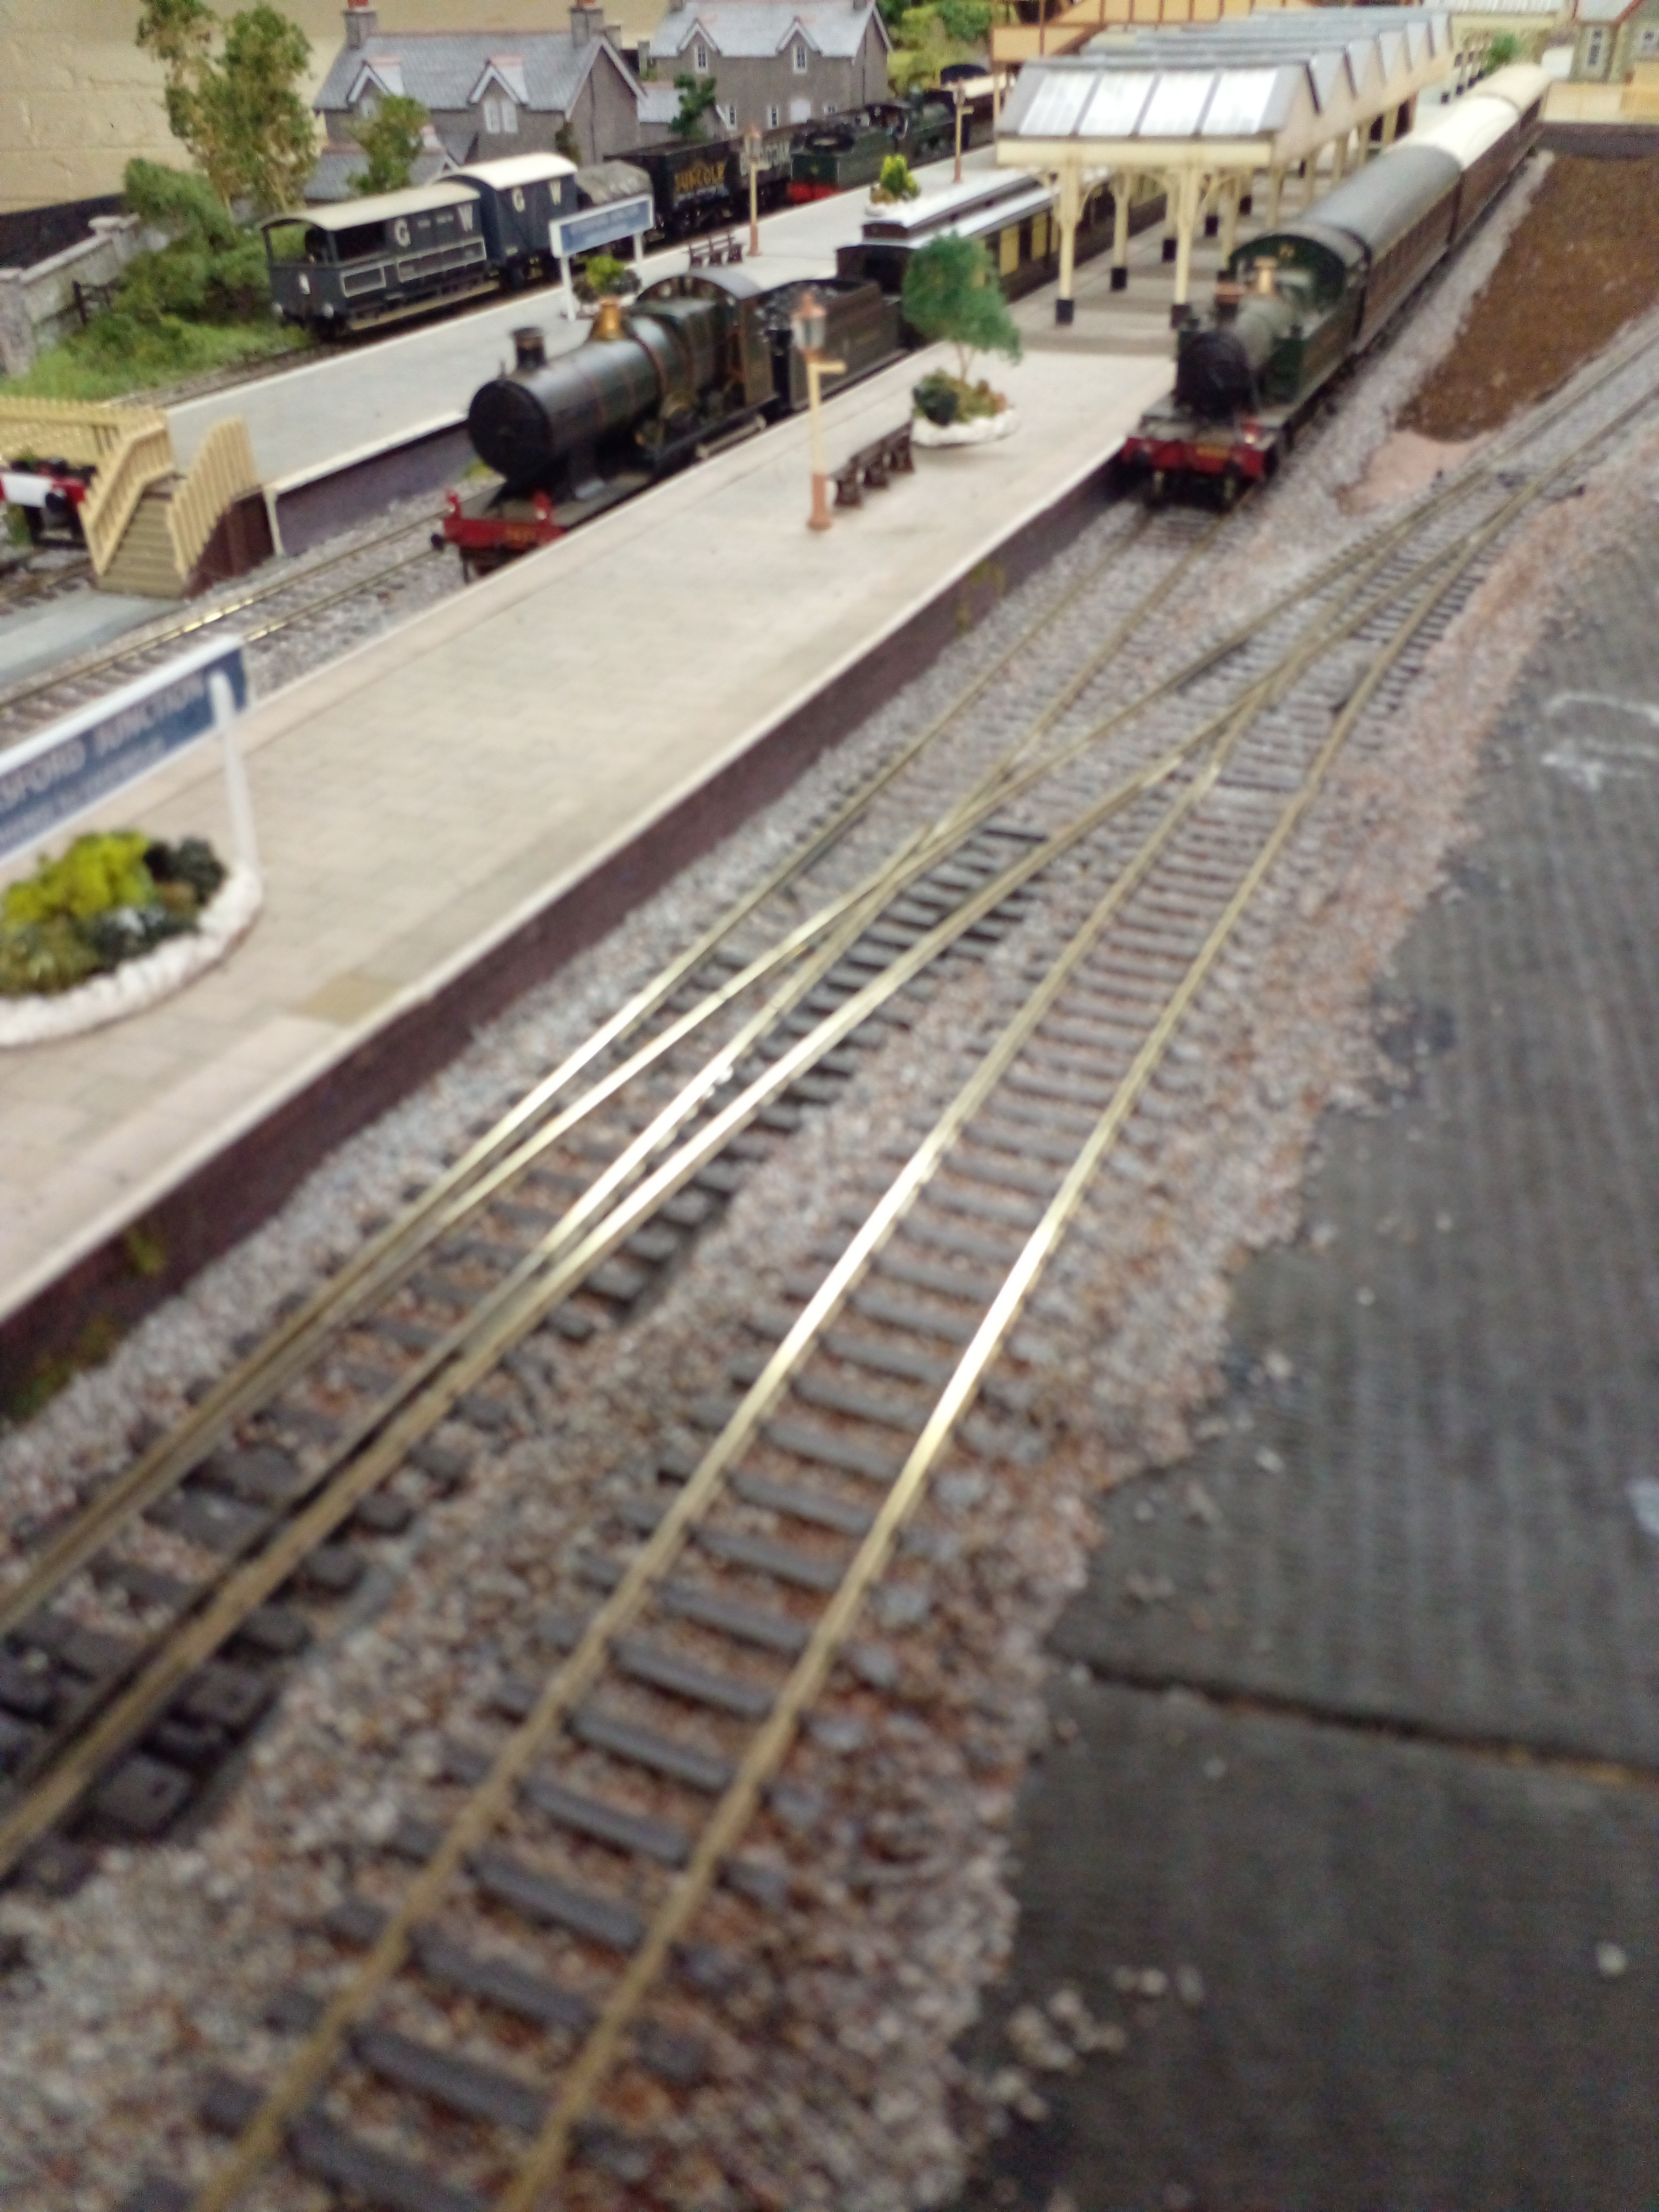
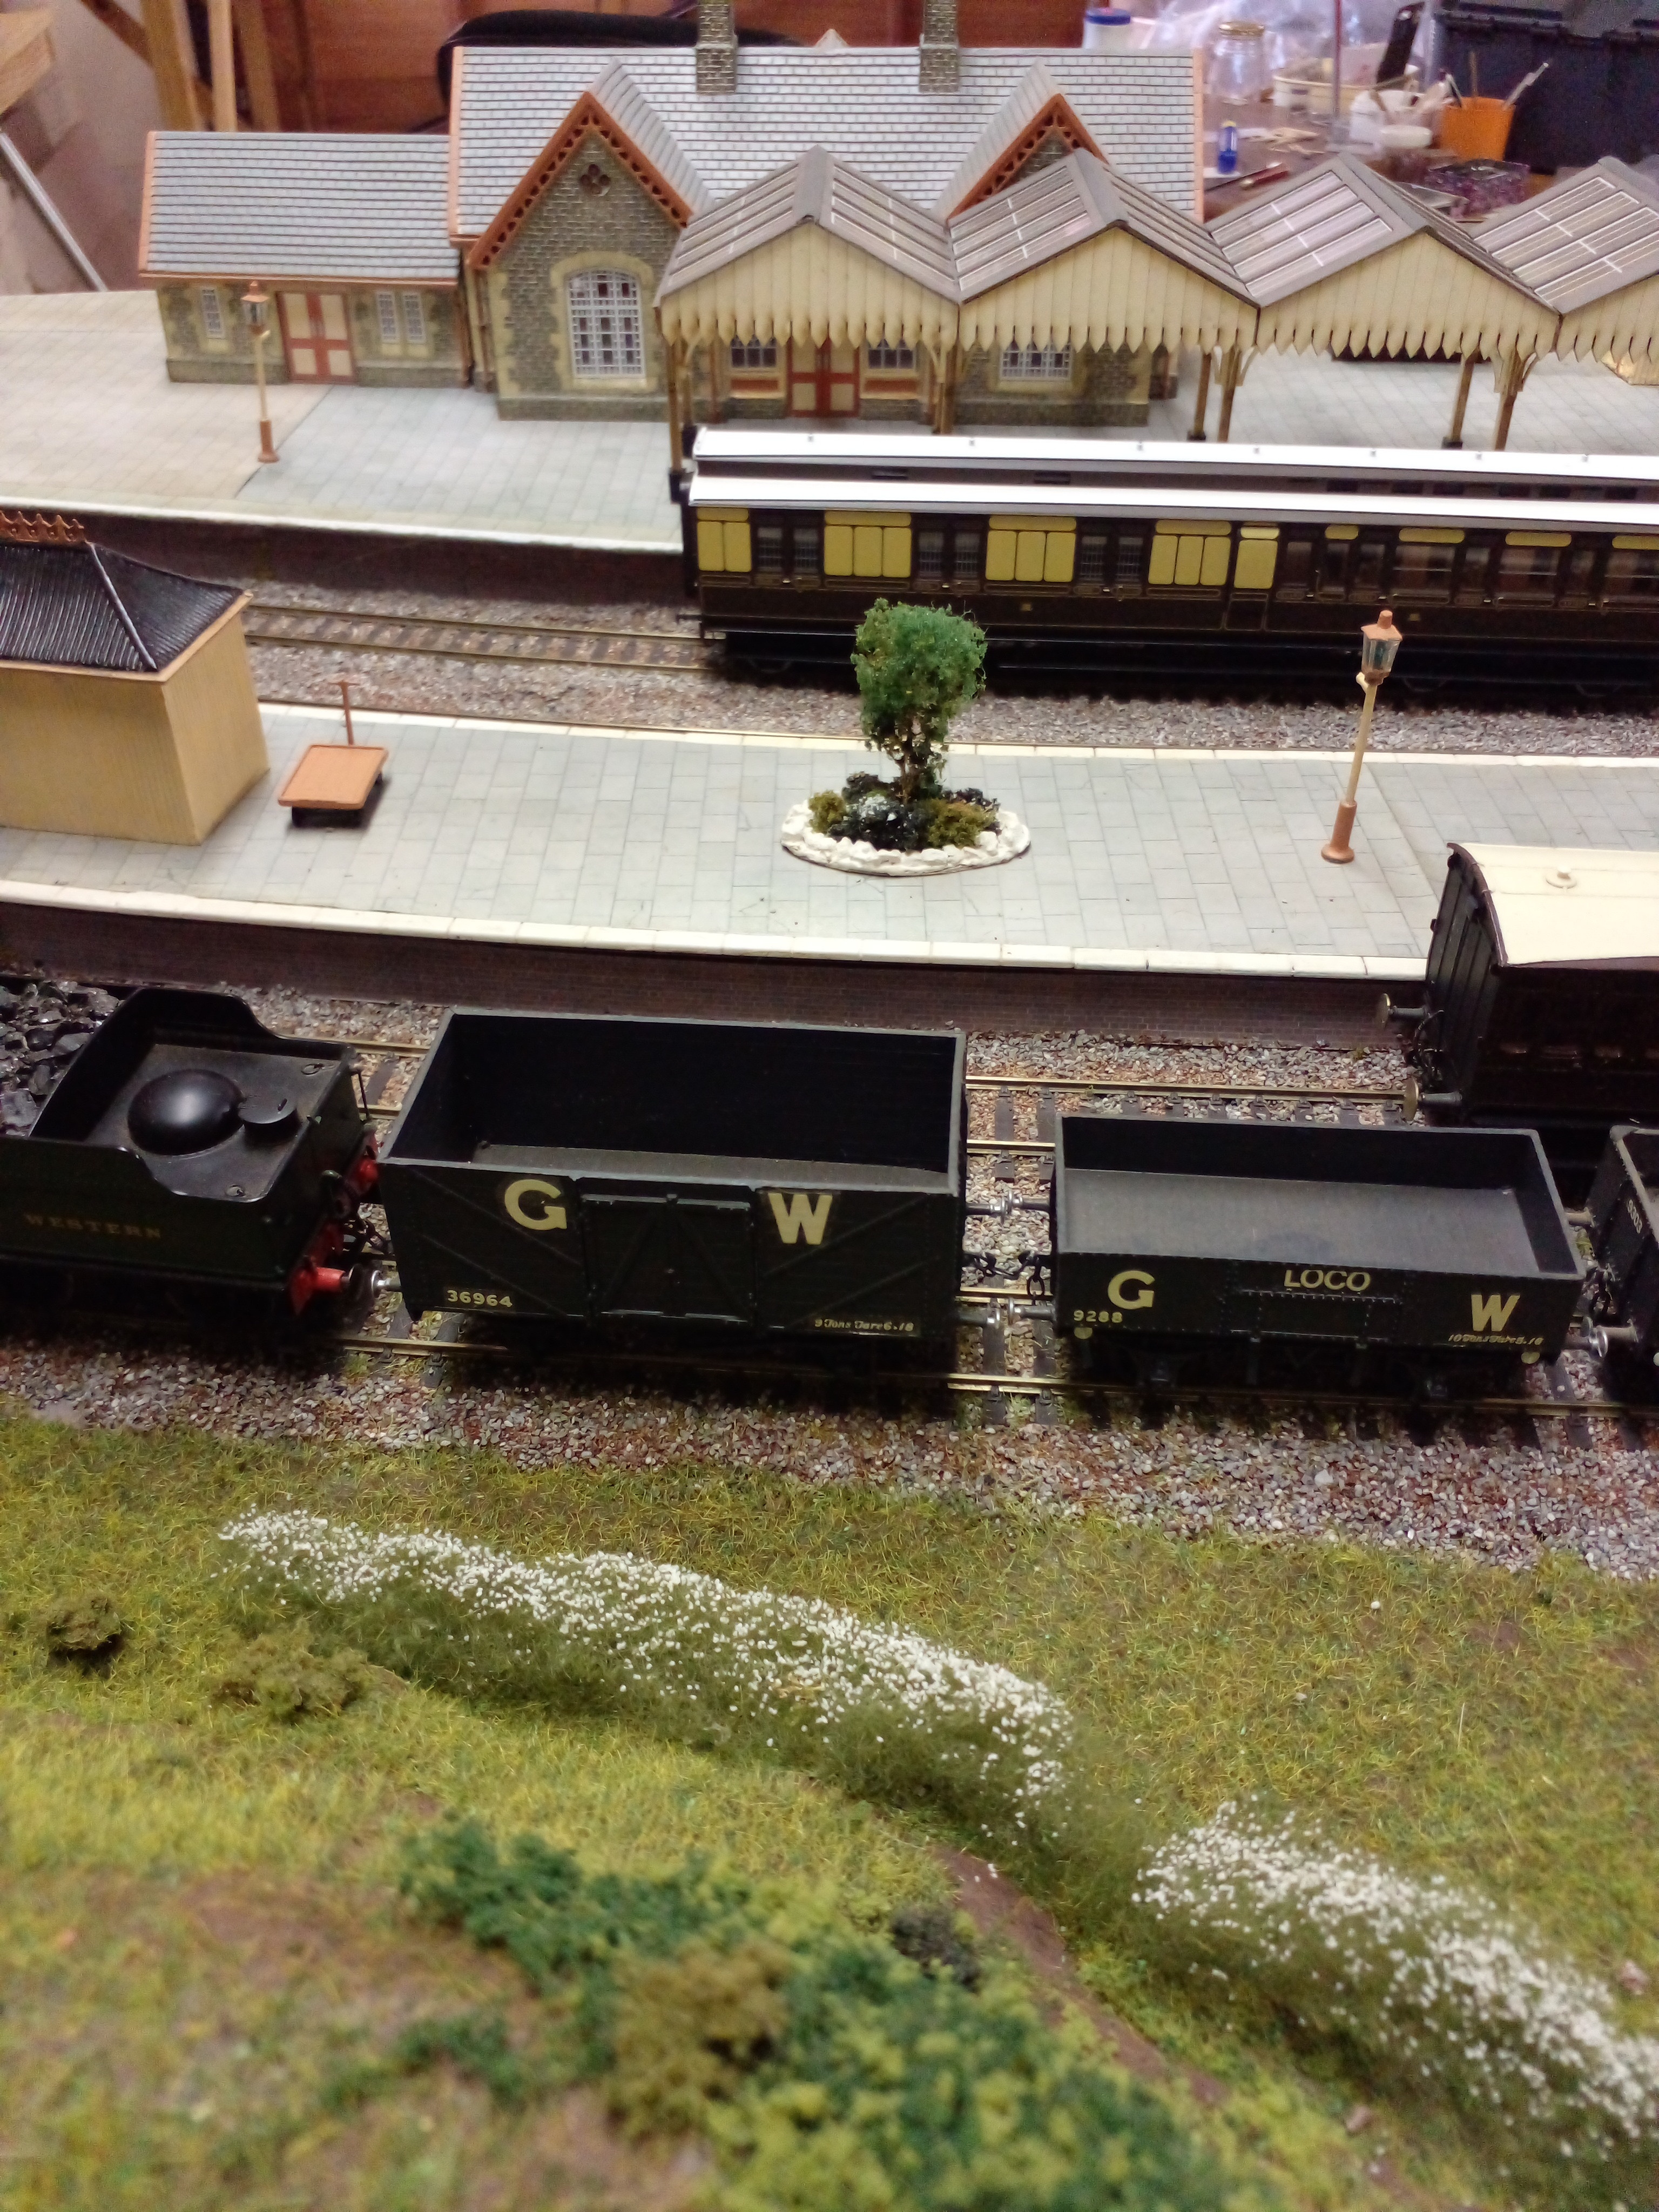
Anyway. here's the station area & throat finished. Because you have to use so much adhesive, I've had problem with a few points even though I was mega careful.
You can see the differences in the platform surfaces colouring - can't do anything about it so we'll have to put it down to additions made when the G.W. took over the Easewood to Ottersford Railway.
More progress I hope later.
Pip Pip
All stressed out, got addled brains?
Ride your bike or play with trains!
Ride your bike or play with trains!
Posted
Full Member
All stressed out, got addled brains?
Ride your bike or play with trains!
Ride your bike or play with trains!
Posted
Full Member
I know what you mean about colour fade on Scalescenes prints. I have some buildings where there's only a hint of the original detail left and they've never seen the sun - just strip lighting which I'm told, is equally bad. I haven't noticed a huge difference in colour fastness between generic inks and genuine HP ones. There is however, a massive difference in price !!
Some people recommend using a UV blocking artists spray but they cost a fortune here in France. The fading became such a problem to me that I almost kicked card modelling into touch in favour of plasticard but then realised I can't paint to save my life. In the end, I bought a laser printer which doeswn't offer such a high quality print as the inkjet did but it doesn't fade …………………………..or hasn't yet.

Similarly, I used Woodland Scenics ballast on Maxmill Mk 1 and struggled to keep it in place when applying diluted glue. It's ground up shells I think - very fine but also very light and the very devil to wet. If memory serves me right, I initially misted it from a height with "wet water" then used an eye dropper to flood it very carefully with the 50/50 PVA/wet water mix.
'Petermac
Posted
Full Member
All stressed out, got addled brains?
Ride your bike or play with trains!
Ride your bike or play with trains!
Posted
Full Member
All stressed out, got addled brains?
Ride your bike or play with trains!
Ride your bike or play with trains!
Posted

Site staff
Posted
Full Member
All stressed out, got addled brains?
Ride your bike or play with trains!
Ride your bike or play with trains!
Posted
Site staff
https://yourmodelrailway.net//forum/index.php?page=topicview&id=test-forum%2Ftest-posting-images&topic_start=120&post_id=289659&keep_forum_root=11&redirected=1#post_289659
Posted
Full Member
I'm just going to post this to see if OK because you don't get a preview!
All stressed out, got addled brains?
Ride your bike or play with trains!
Ride your bike or play with trains!
Posted
Full Member
Going to try more pics:
(Well that didn't work!)
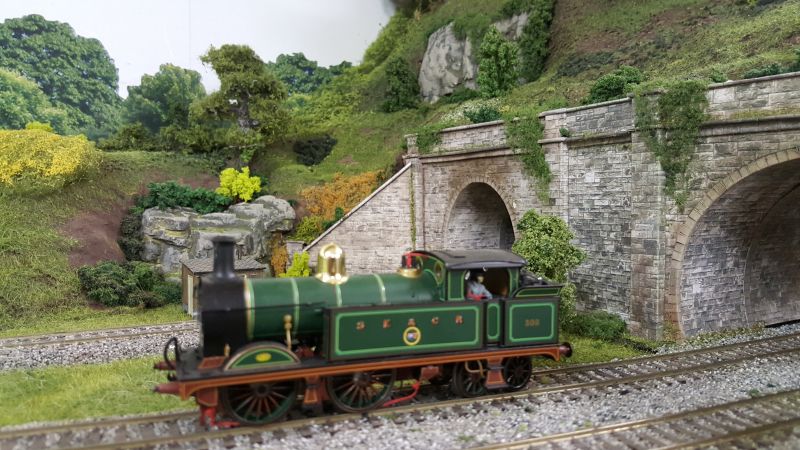
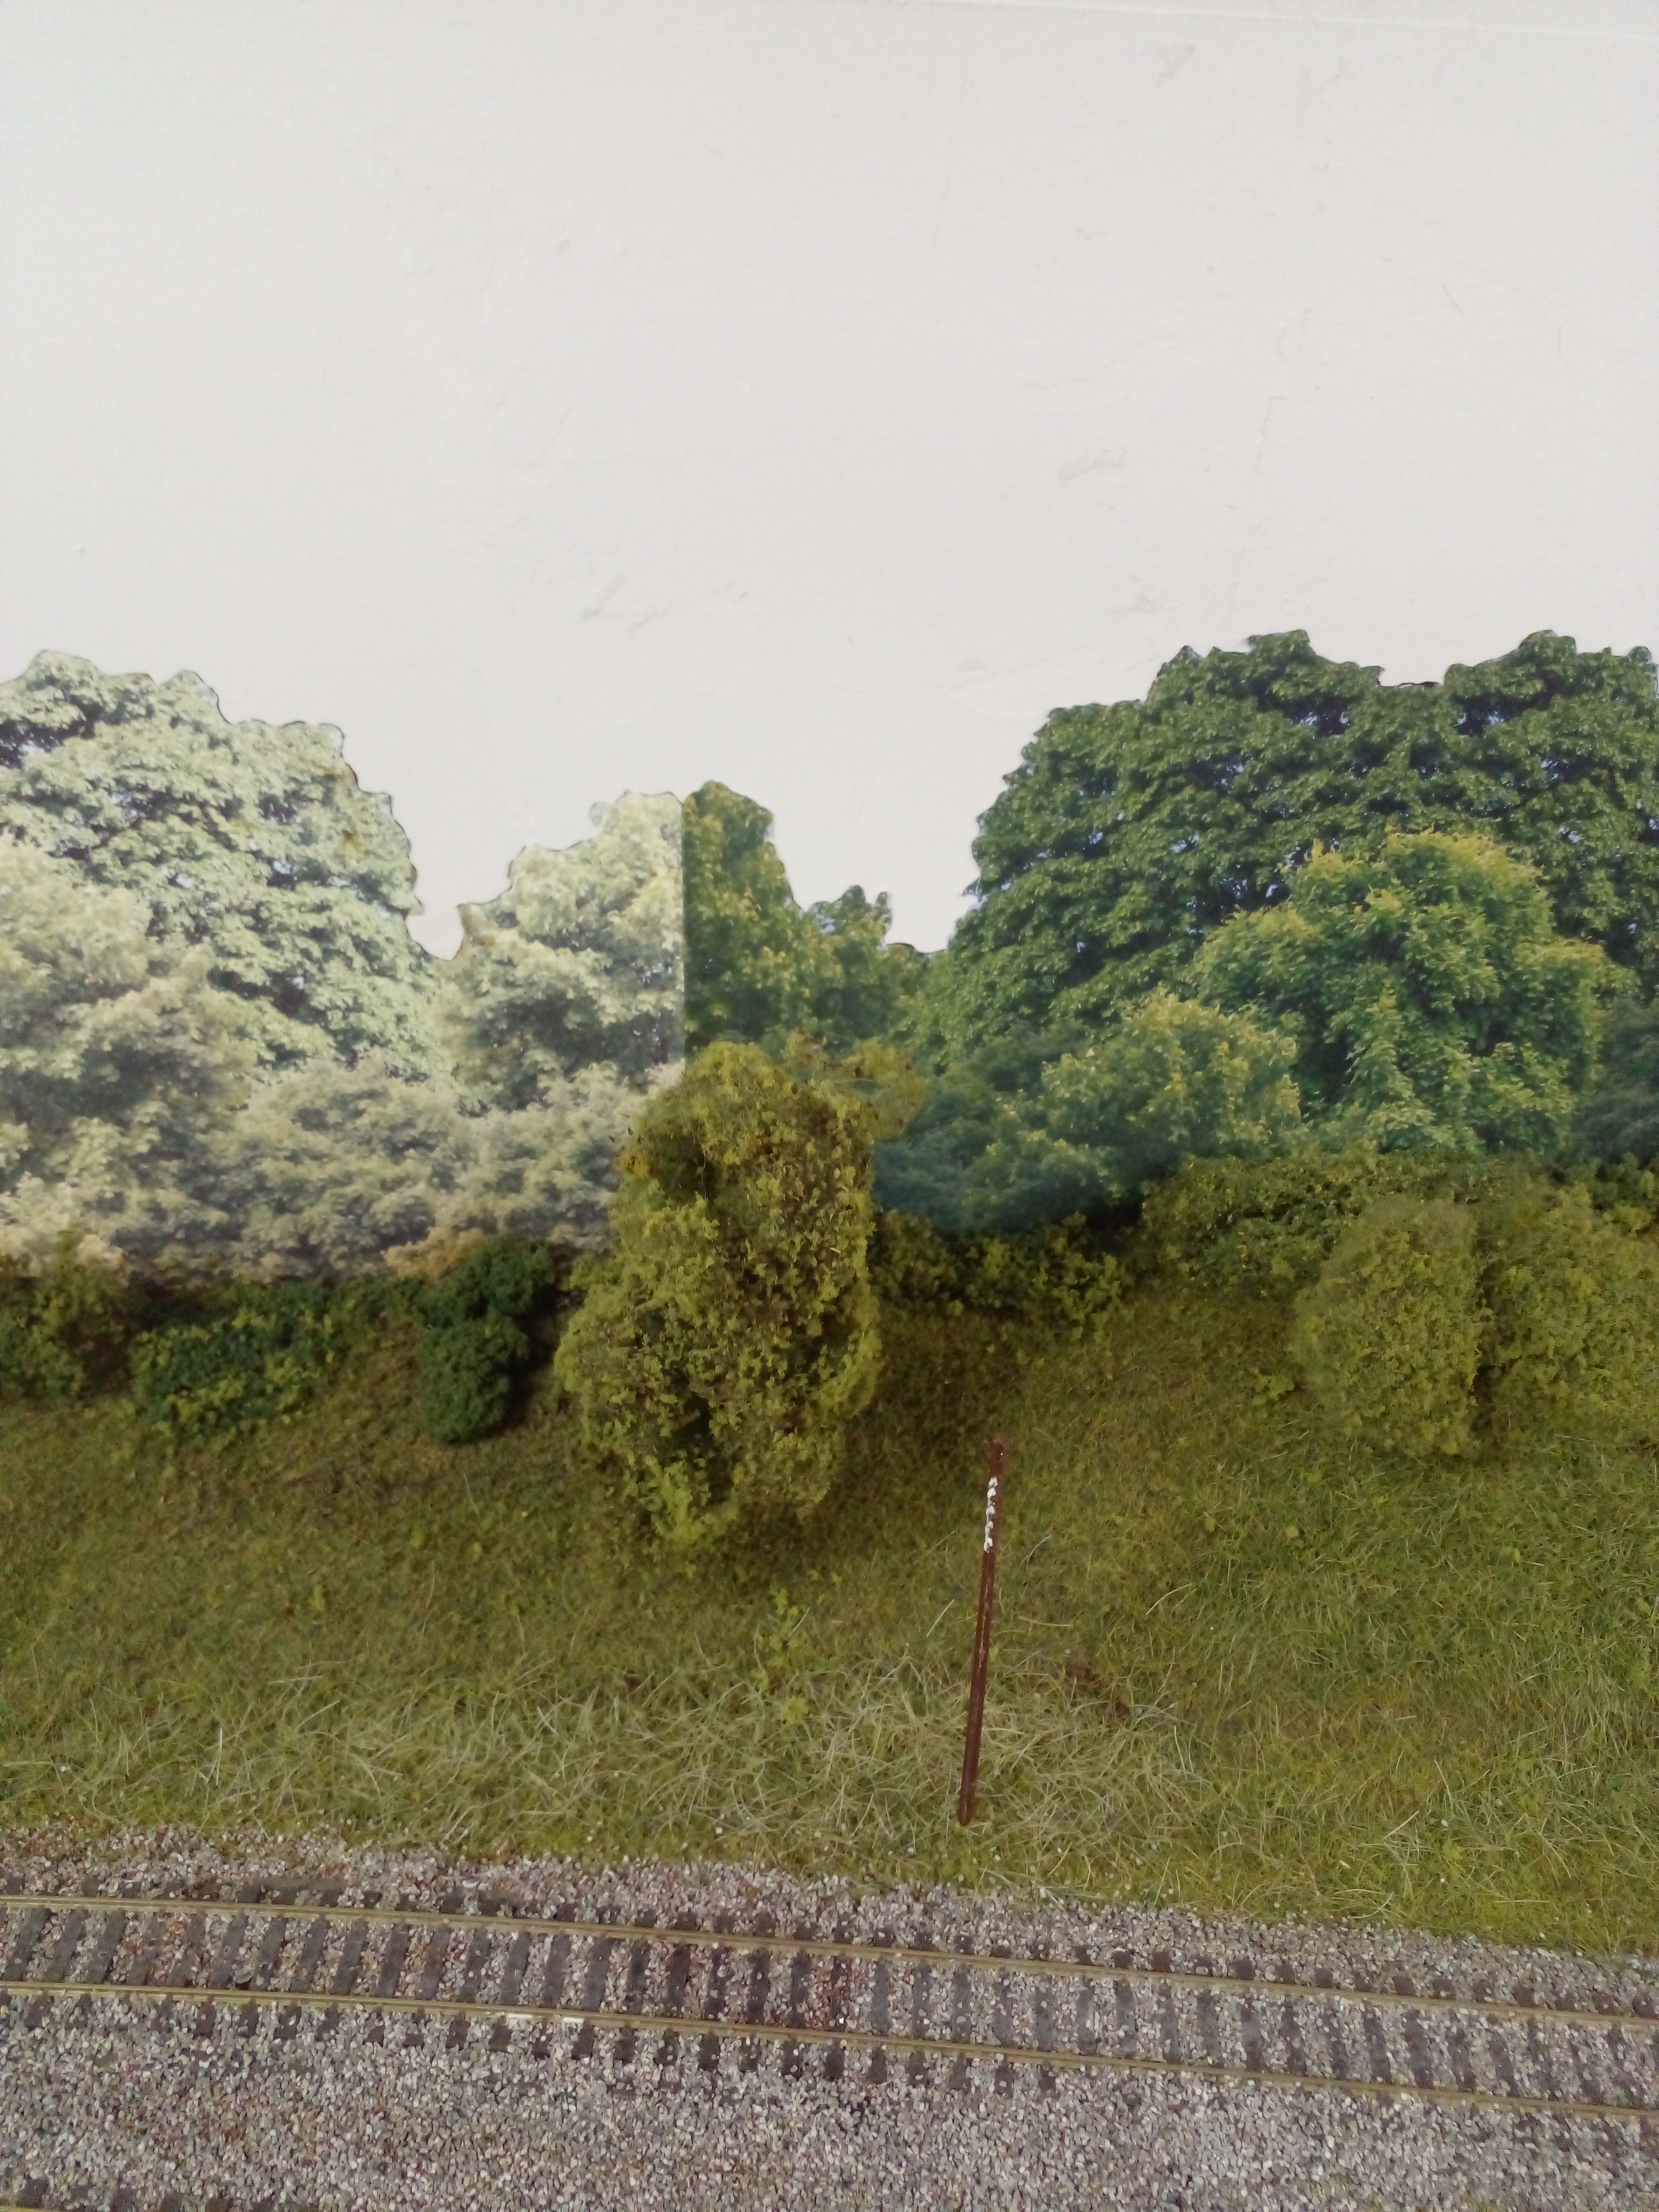
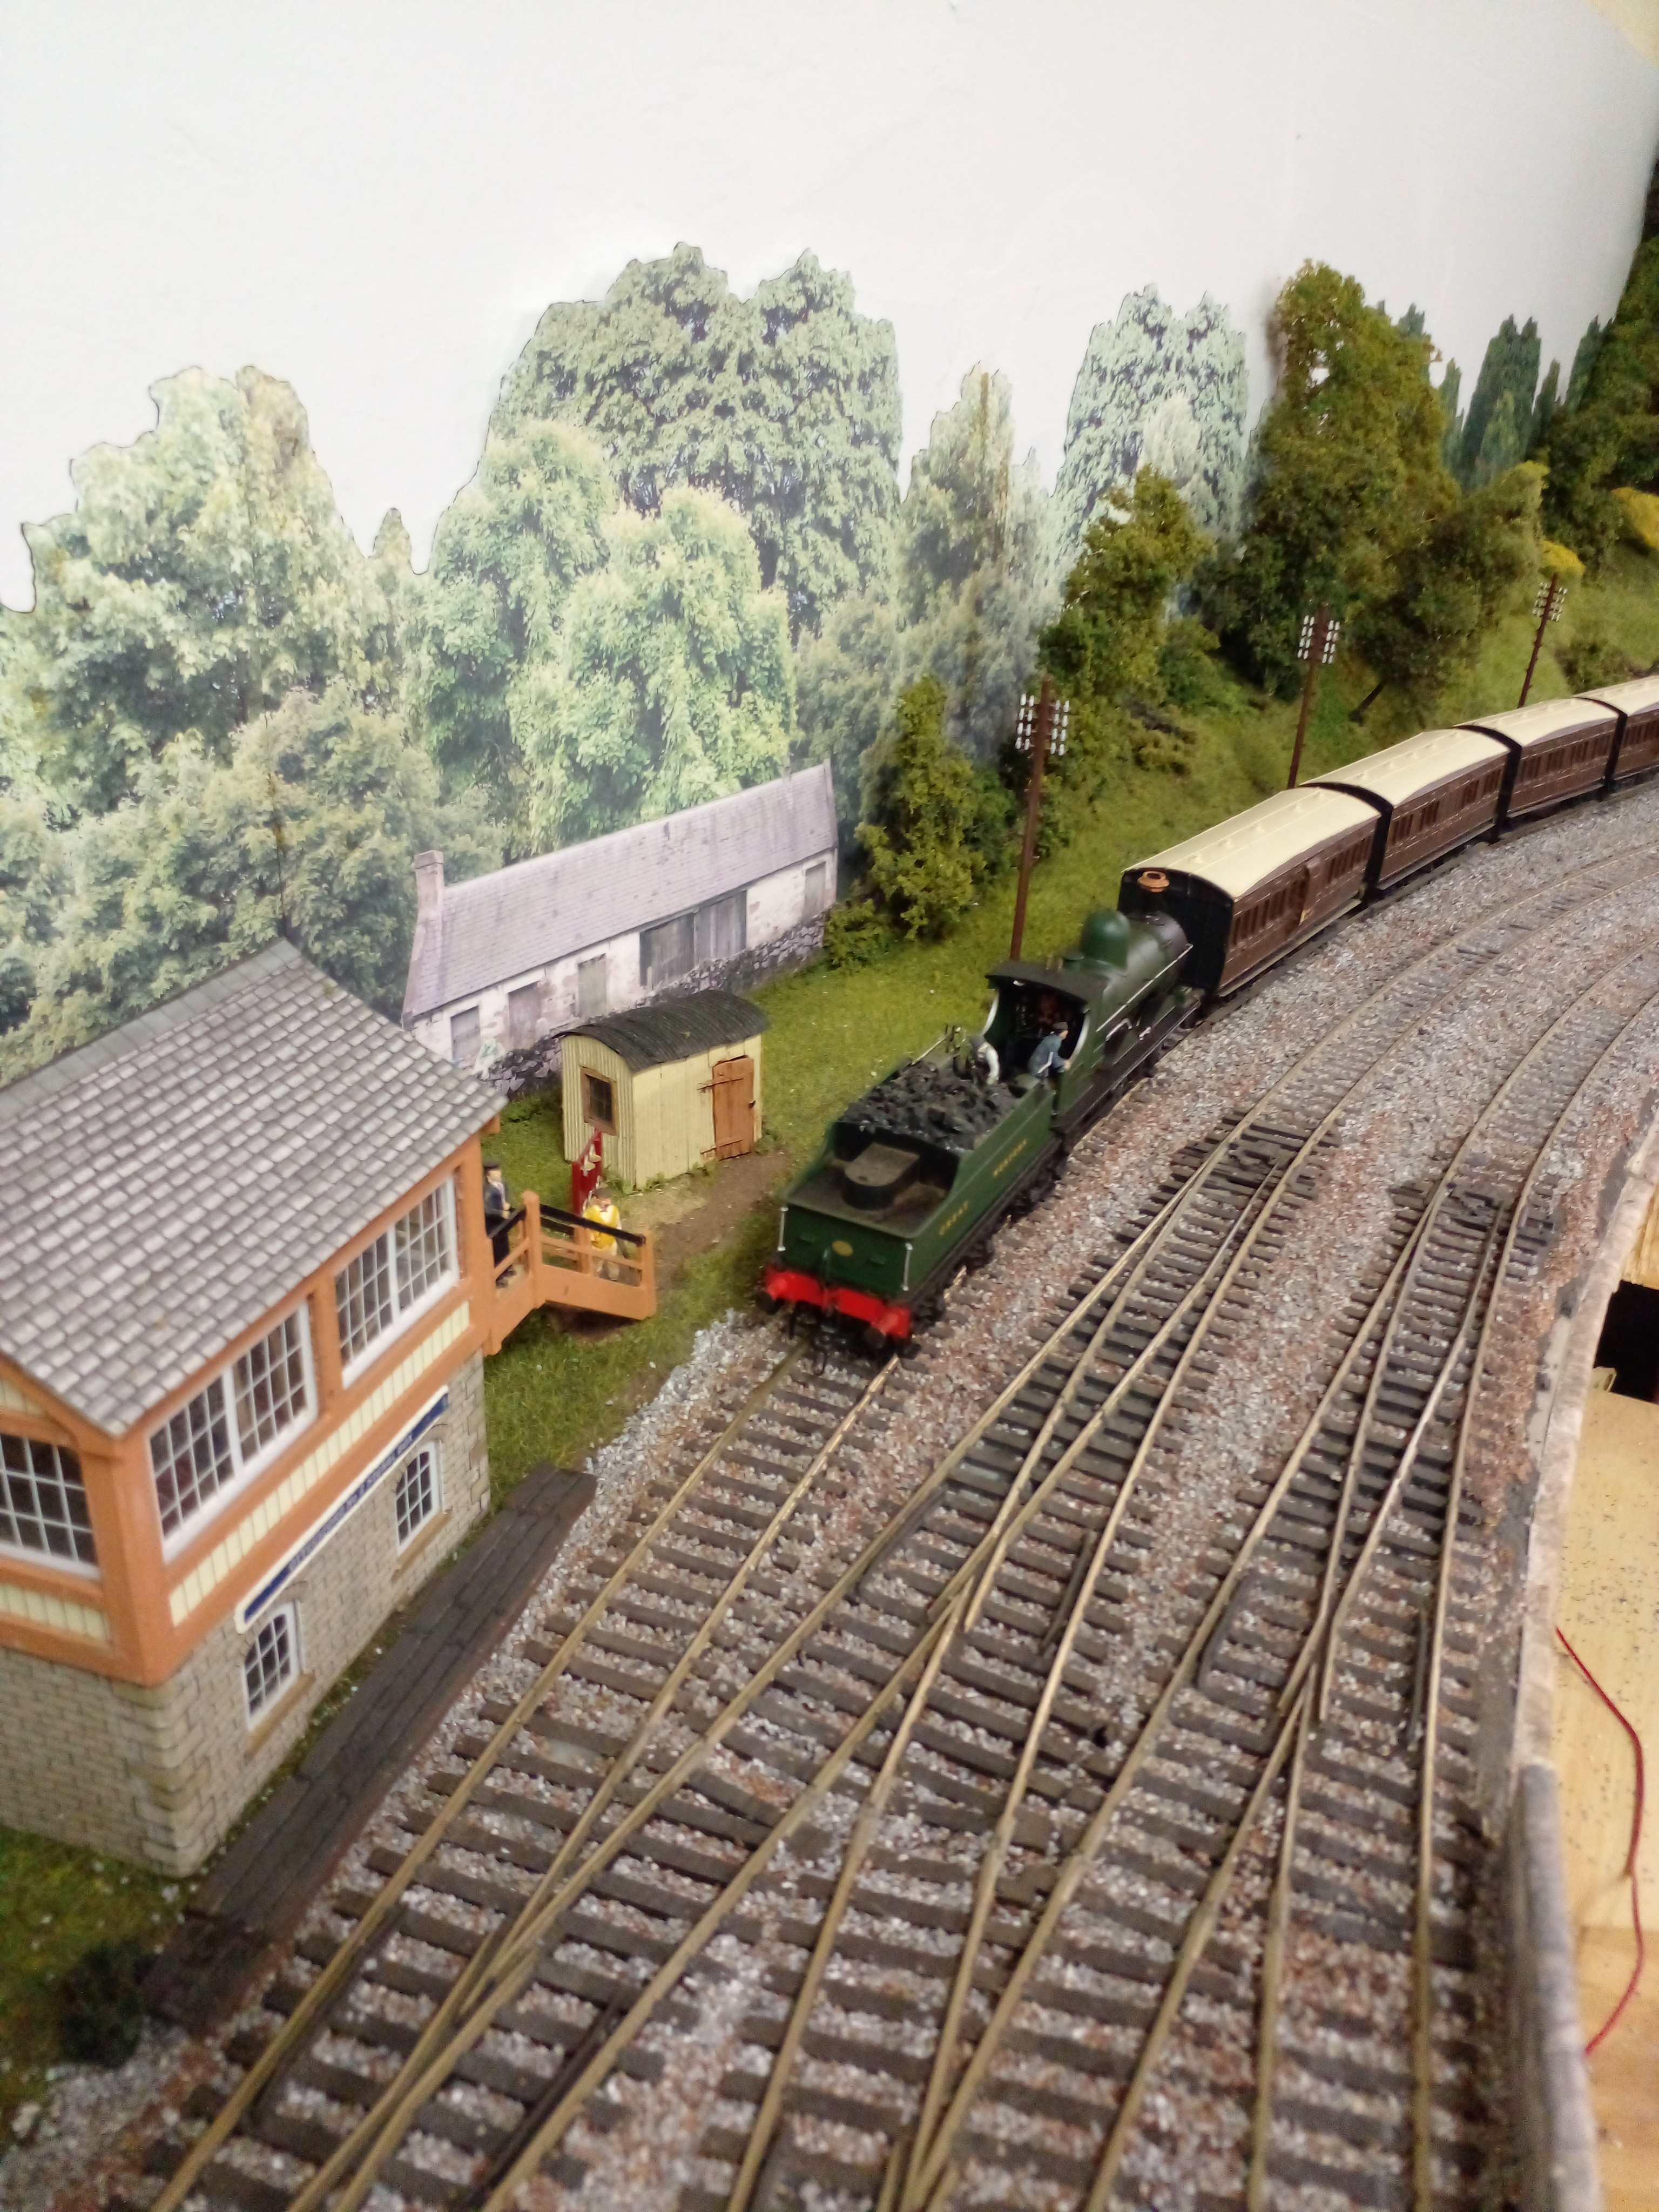
The Easewood branch train hurries to make the London connection with Dean Goods in control. The game keeper is asking the signal man if he has seen any suspicious activity - best he doesn't look in the lamp hut. You can see how some of the backscene has faded badly - far right is how it should be. A large tree hides the change.
All stressed out, got addled brains?
Ride your bike or play with trains!
Ride your bike or play with trains!
Full Member
All stressed out, got addled brains?
Ride your bike or play with trains!
Ride your bike or play with trains!
Posted
Full Member
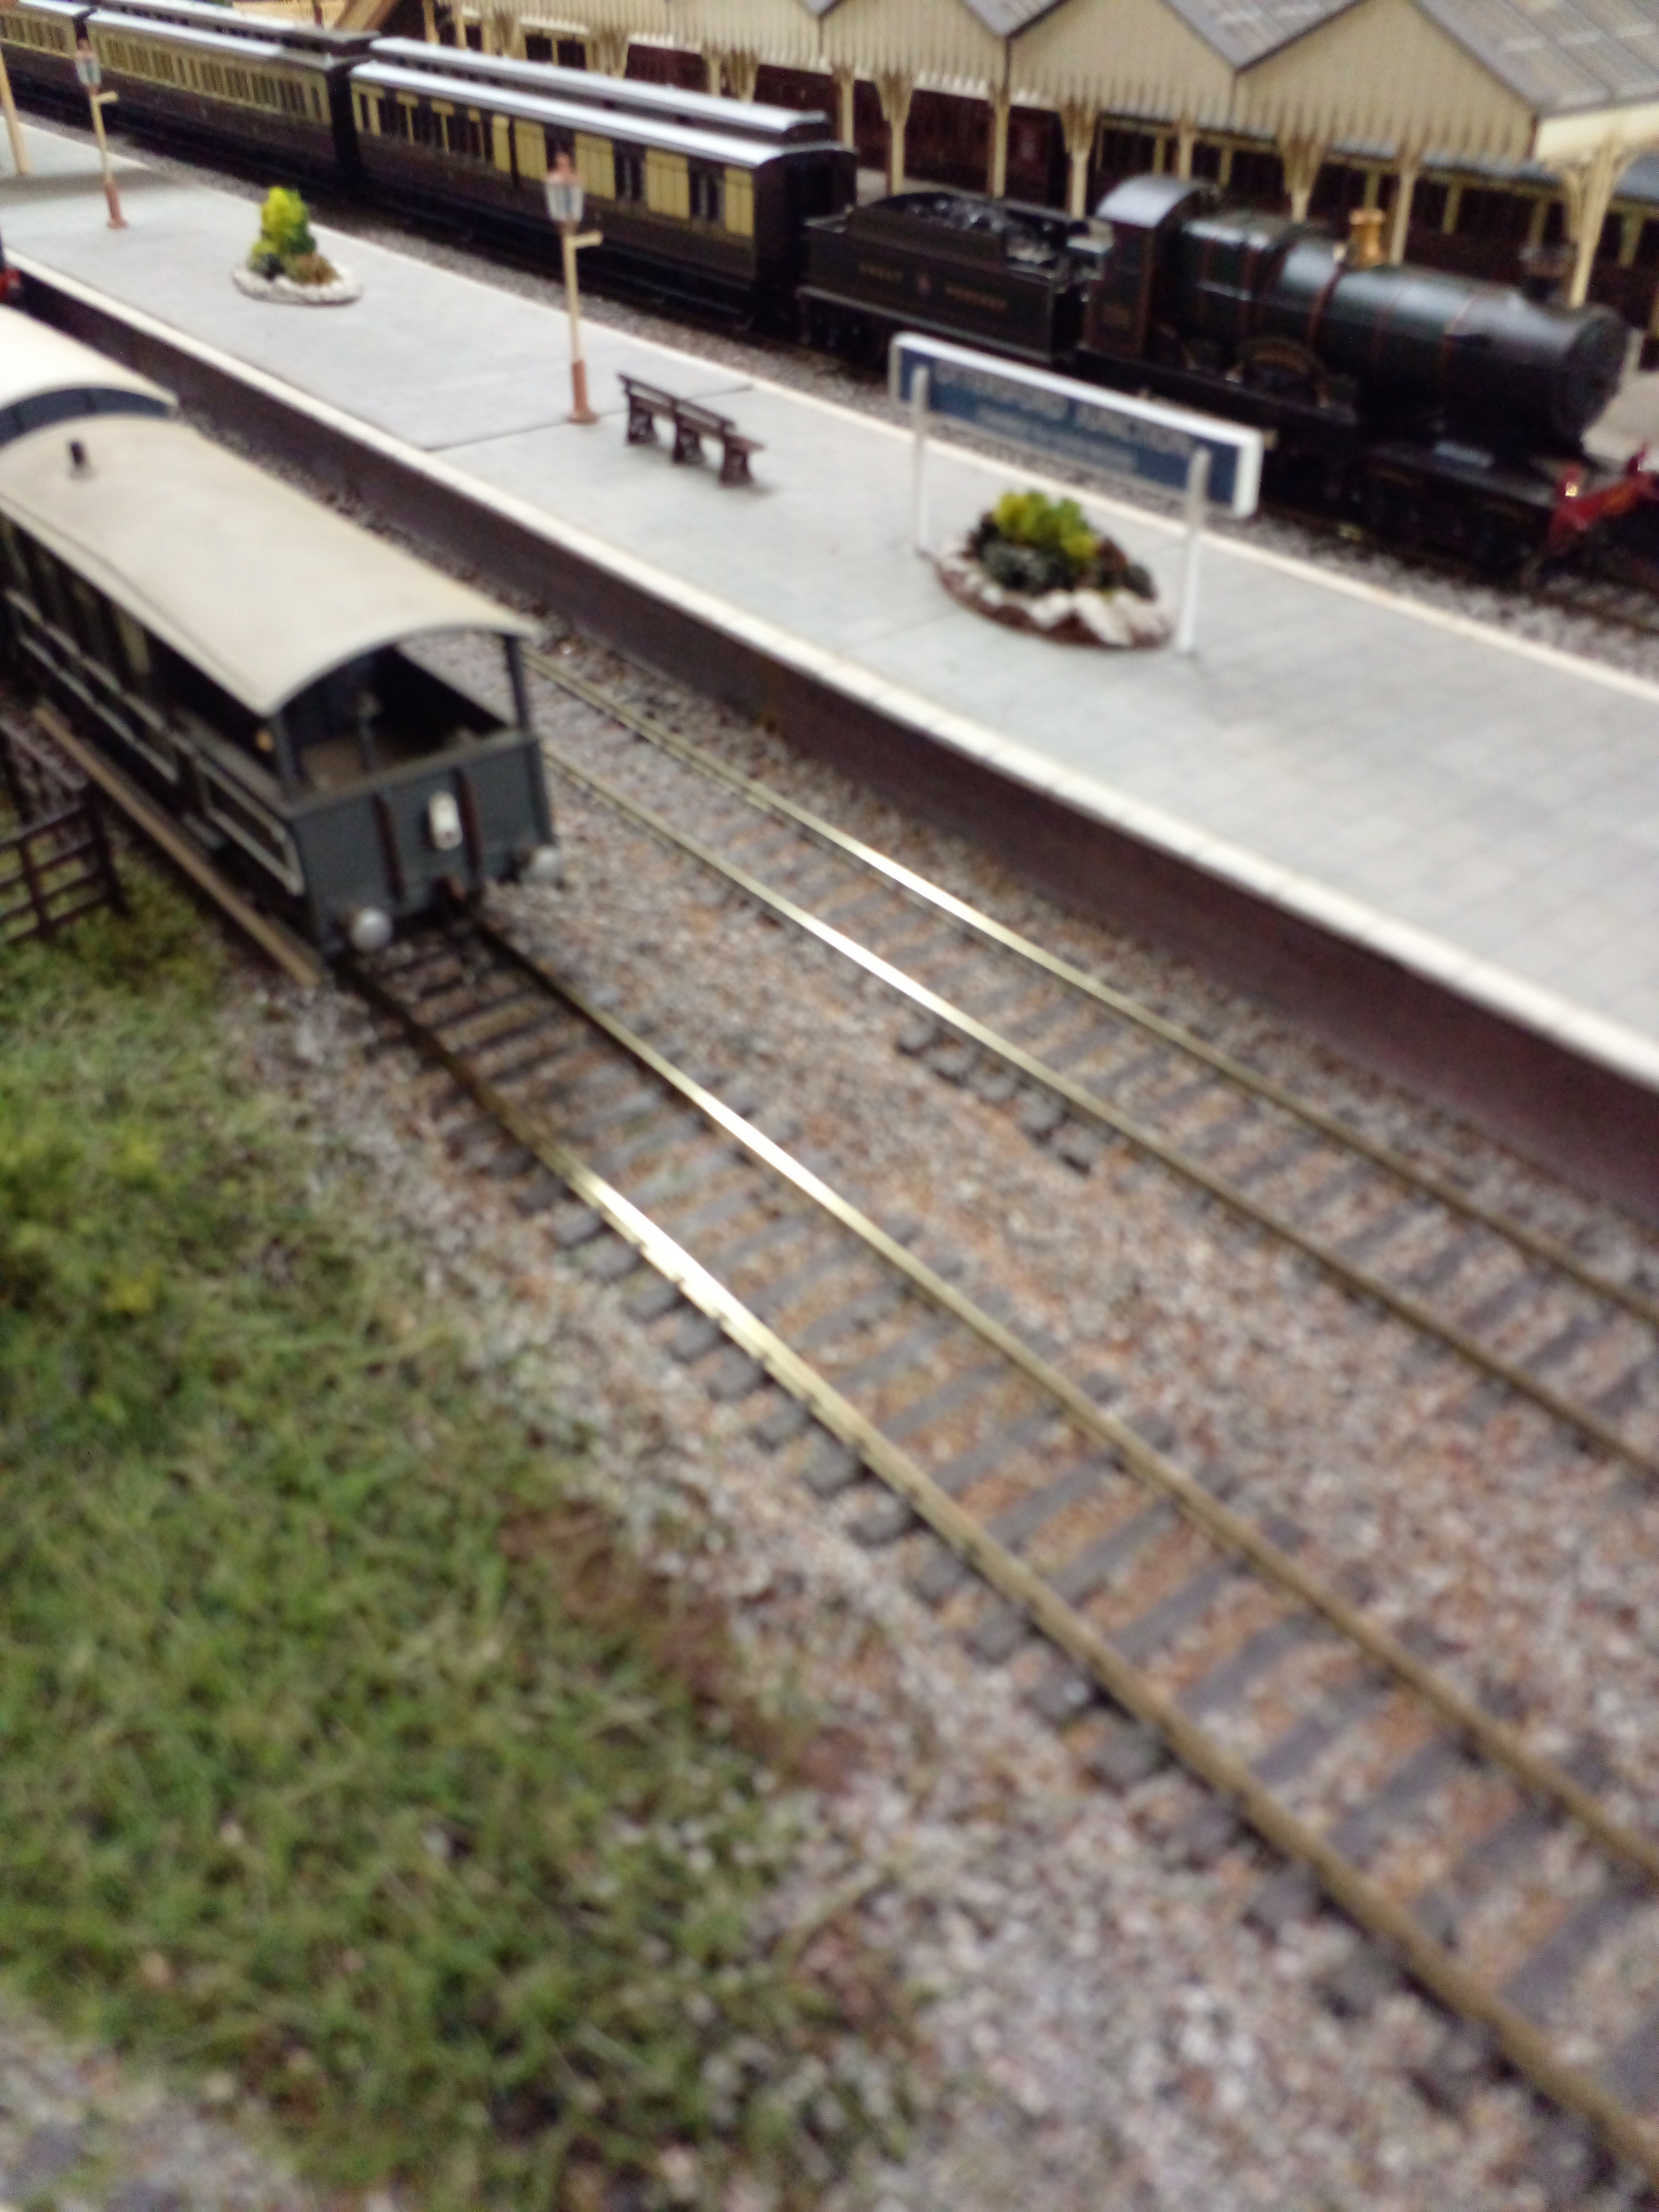
This is City of Bath at the head of the express. I must have had the station lamps a while - Merit box said 2/6 for 10 pieces! I've had to paint them but I see Hornby ones are now £10 for 4 (still need painting).
Another view of City Of Bath with 44XX in the bay with local stopping train.
The very expensive Hornby station building is an attractive enough model but useless as a station building because it doesn't have an entrance (or an exit whichever way you want to look at it). I've 'westernised' it but when I get a chance I'll build the Scalescenes one.
(Taken a chance with 3 photos so let's see.)
All stressed out, got addled brains?
Ride your bike or play with trains!
Ride your bike or play with trains!
Posted
Full Member
Doc. says it's probably anxiety with all the recent stresses or could be start of Parkinson's! Oh joy.
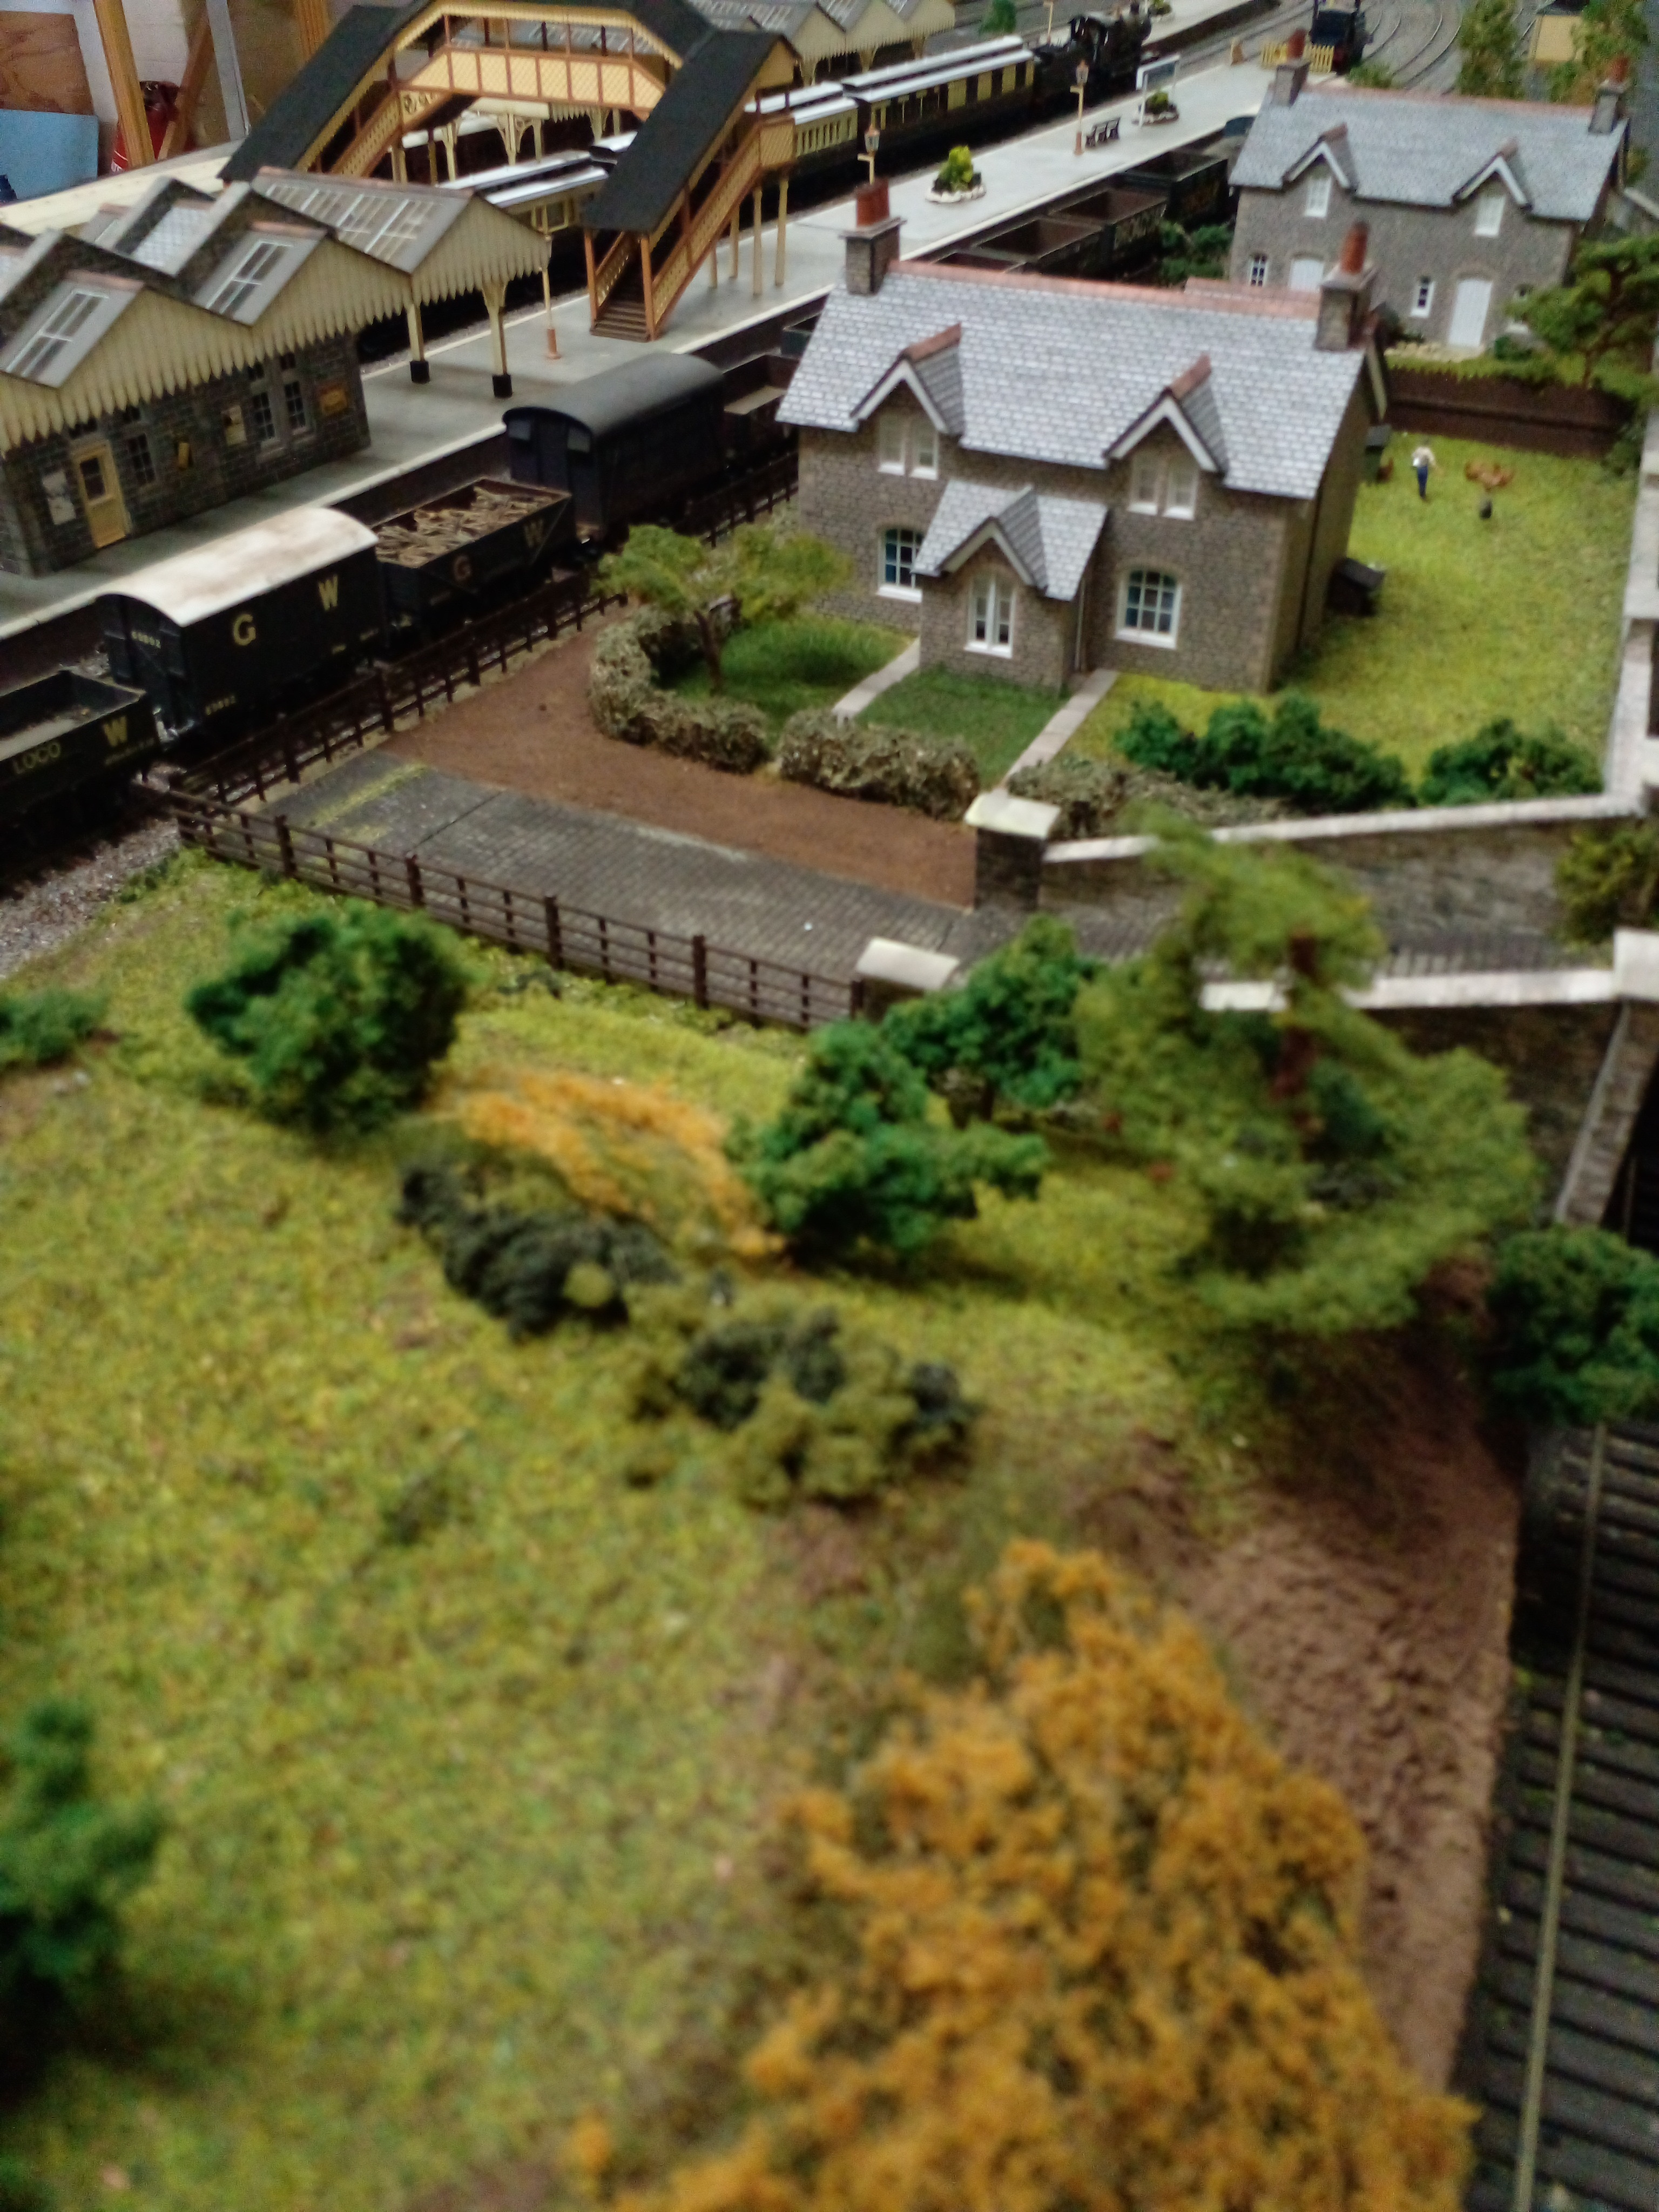
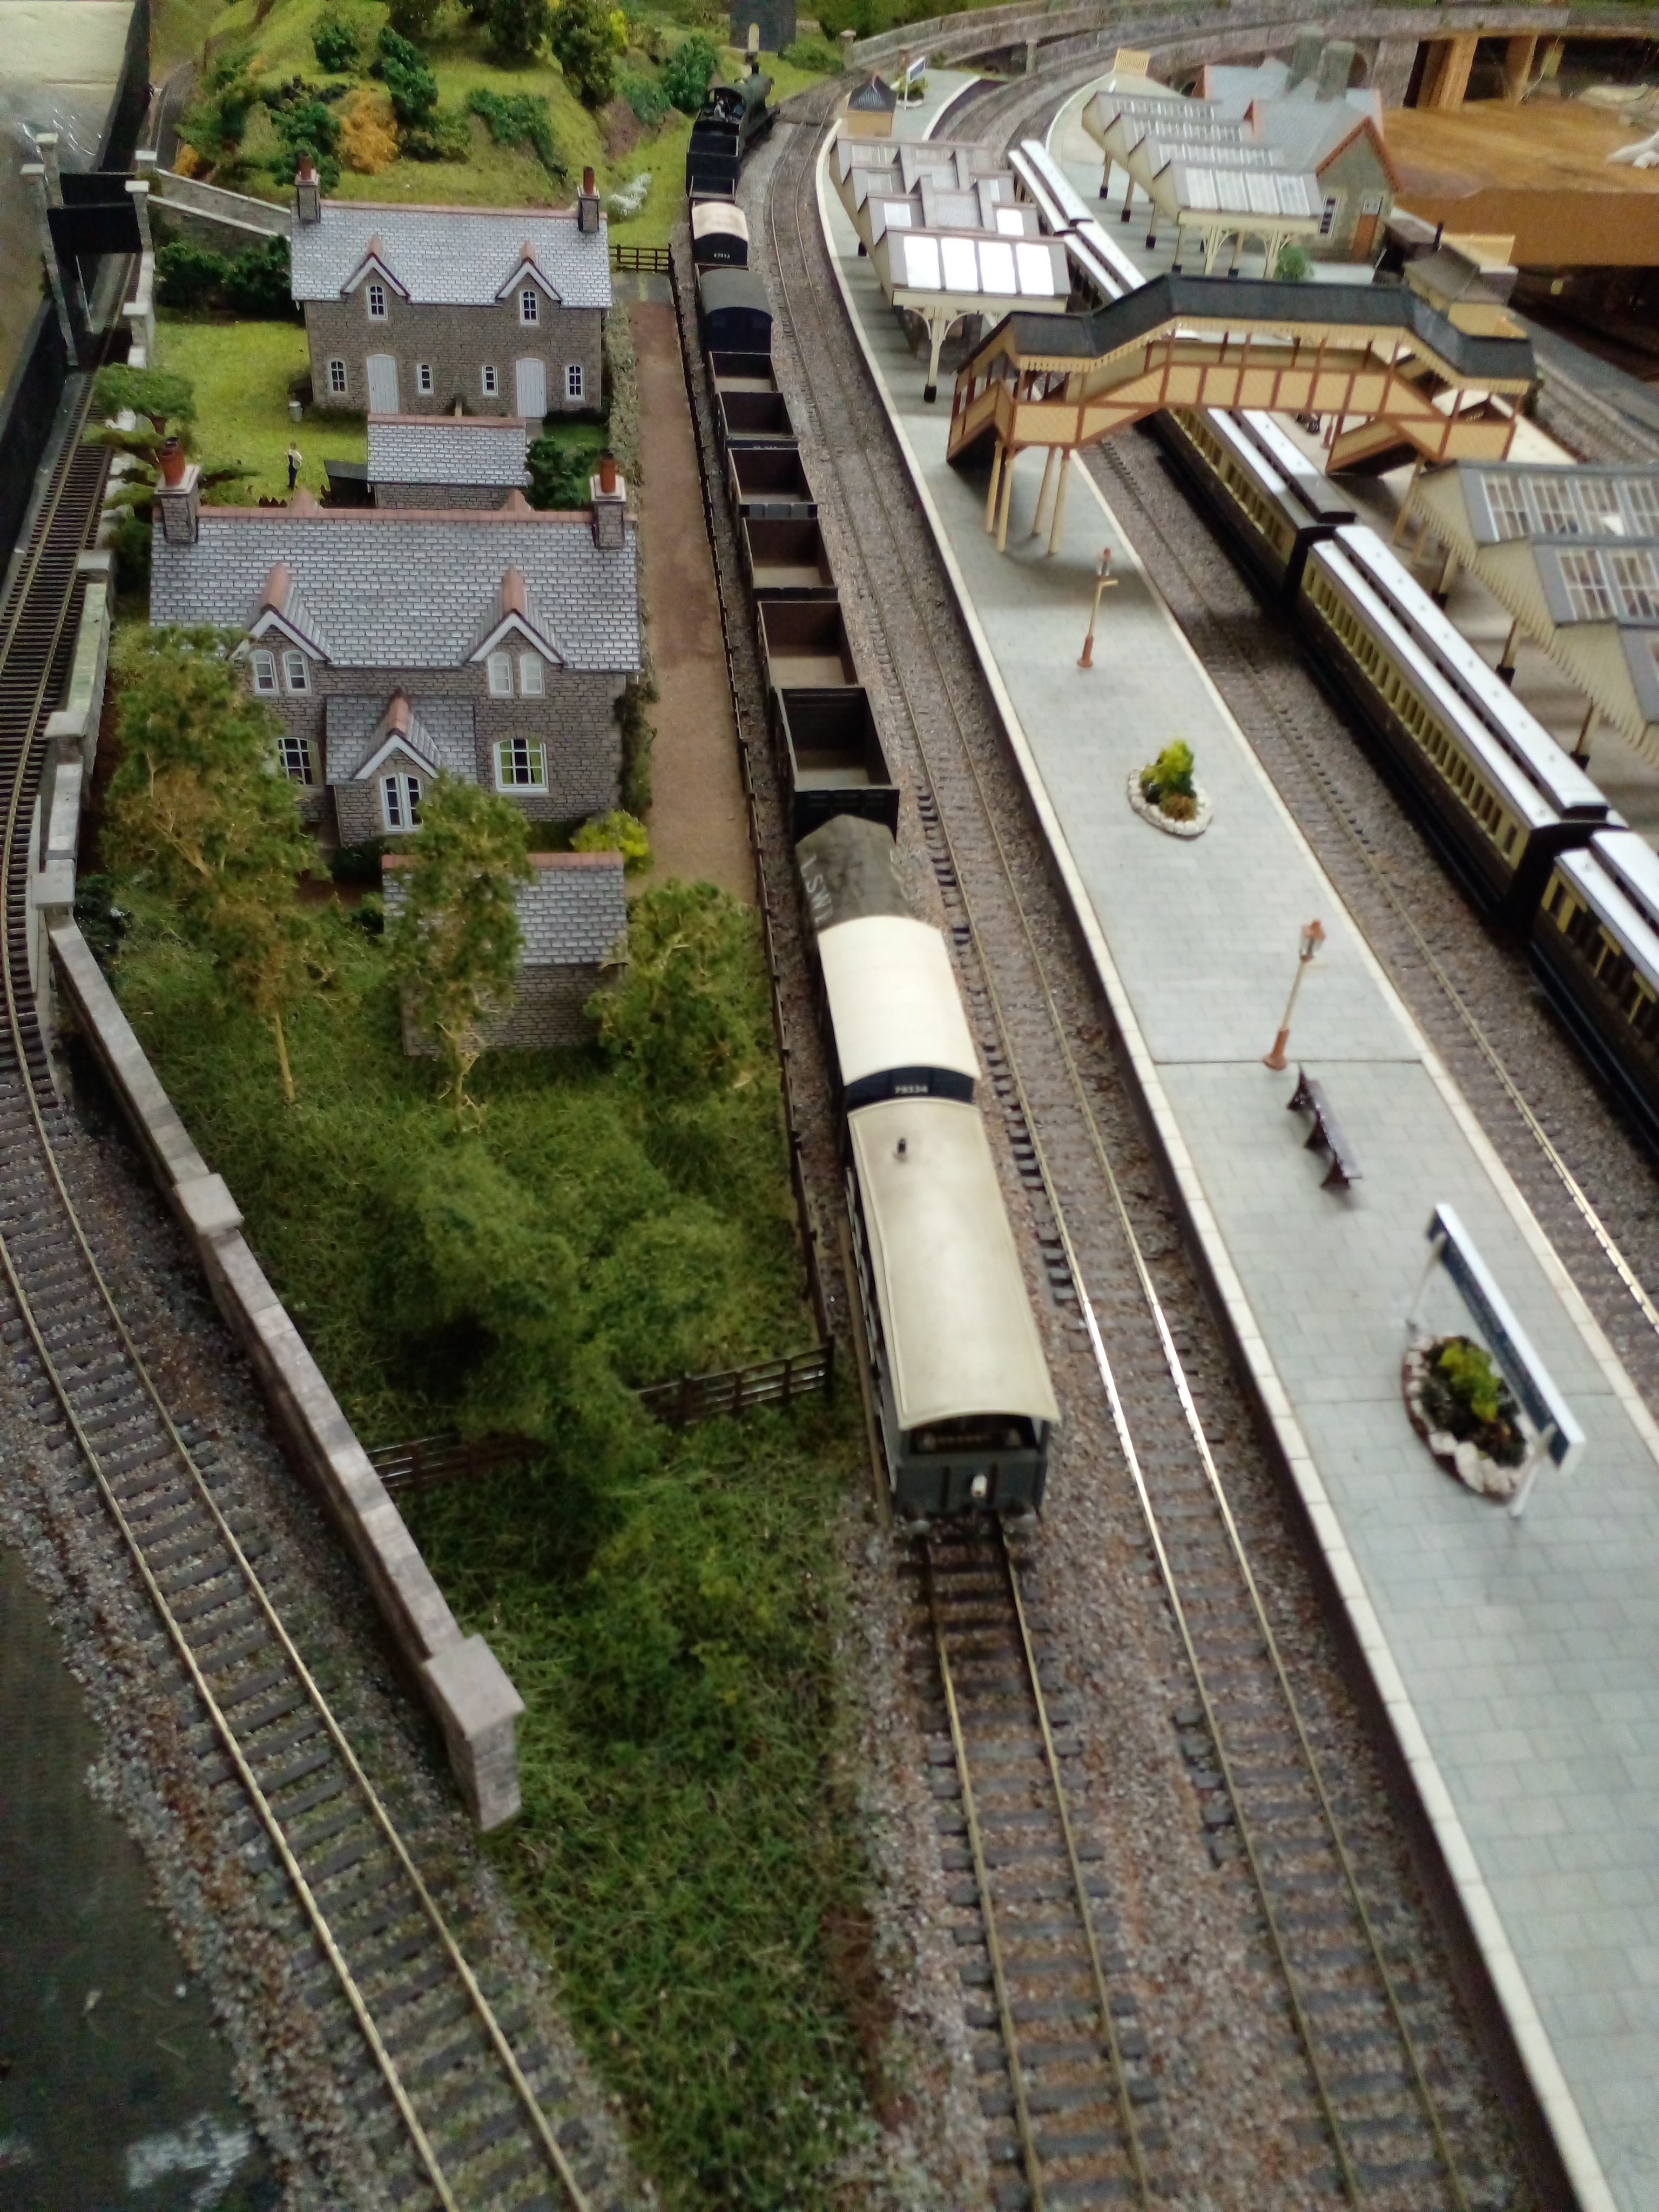
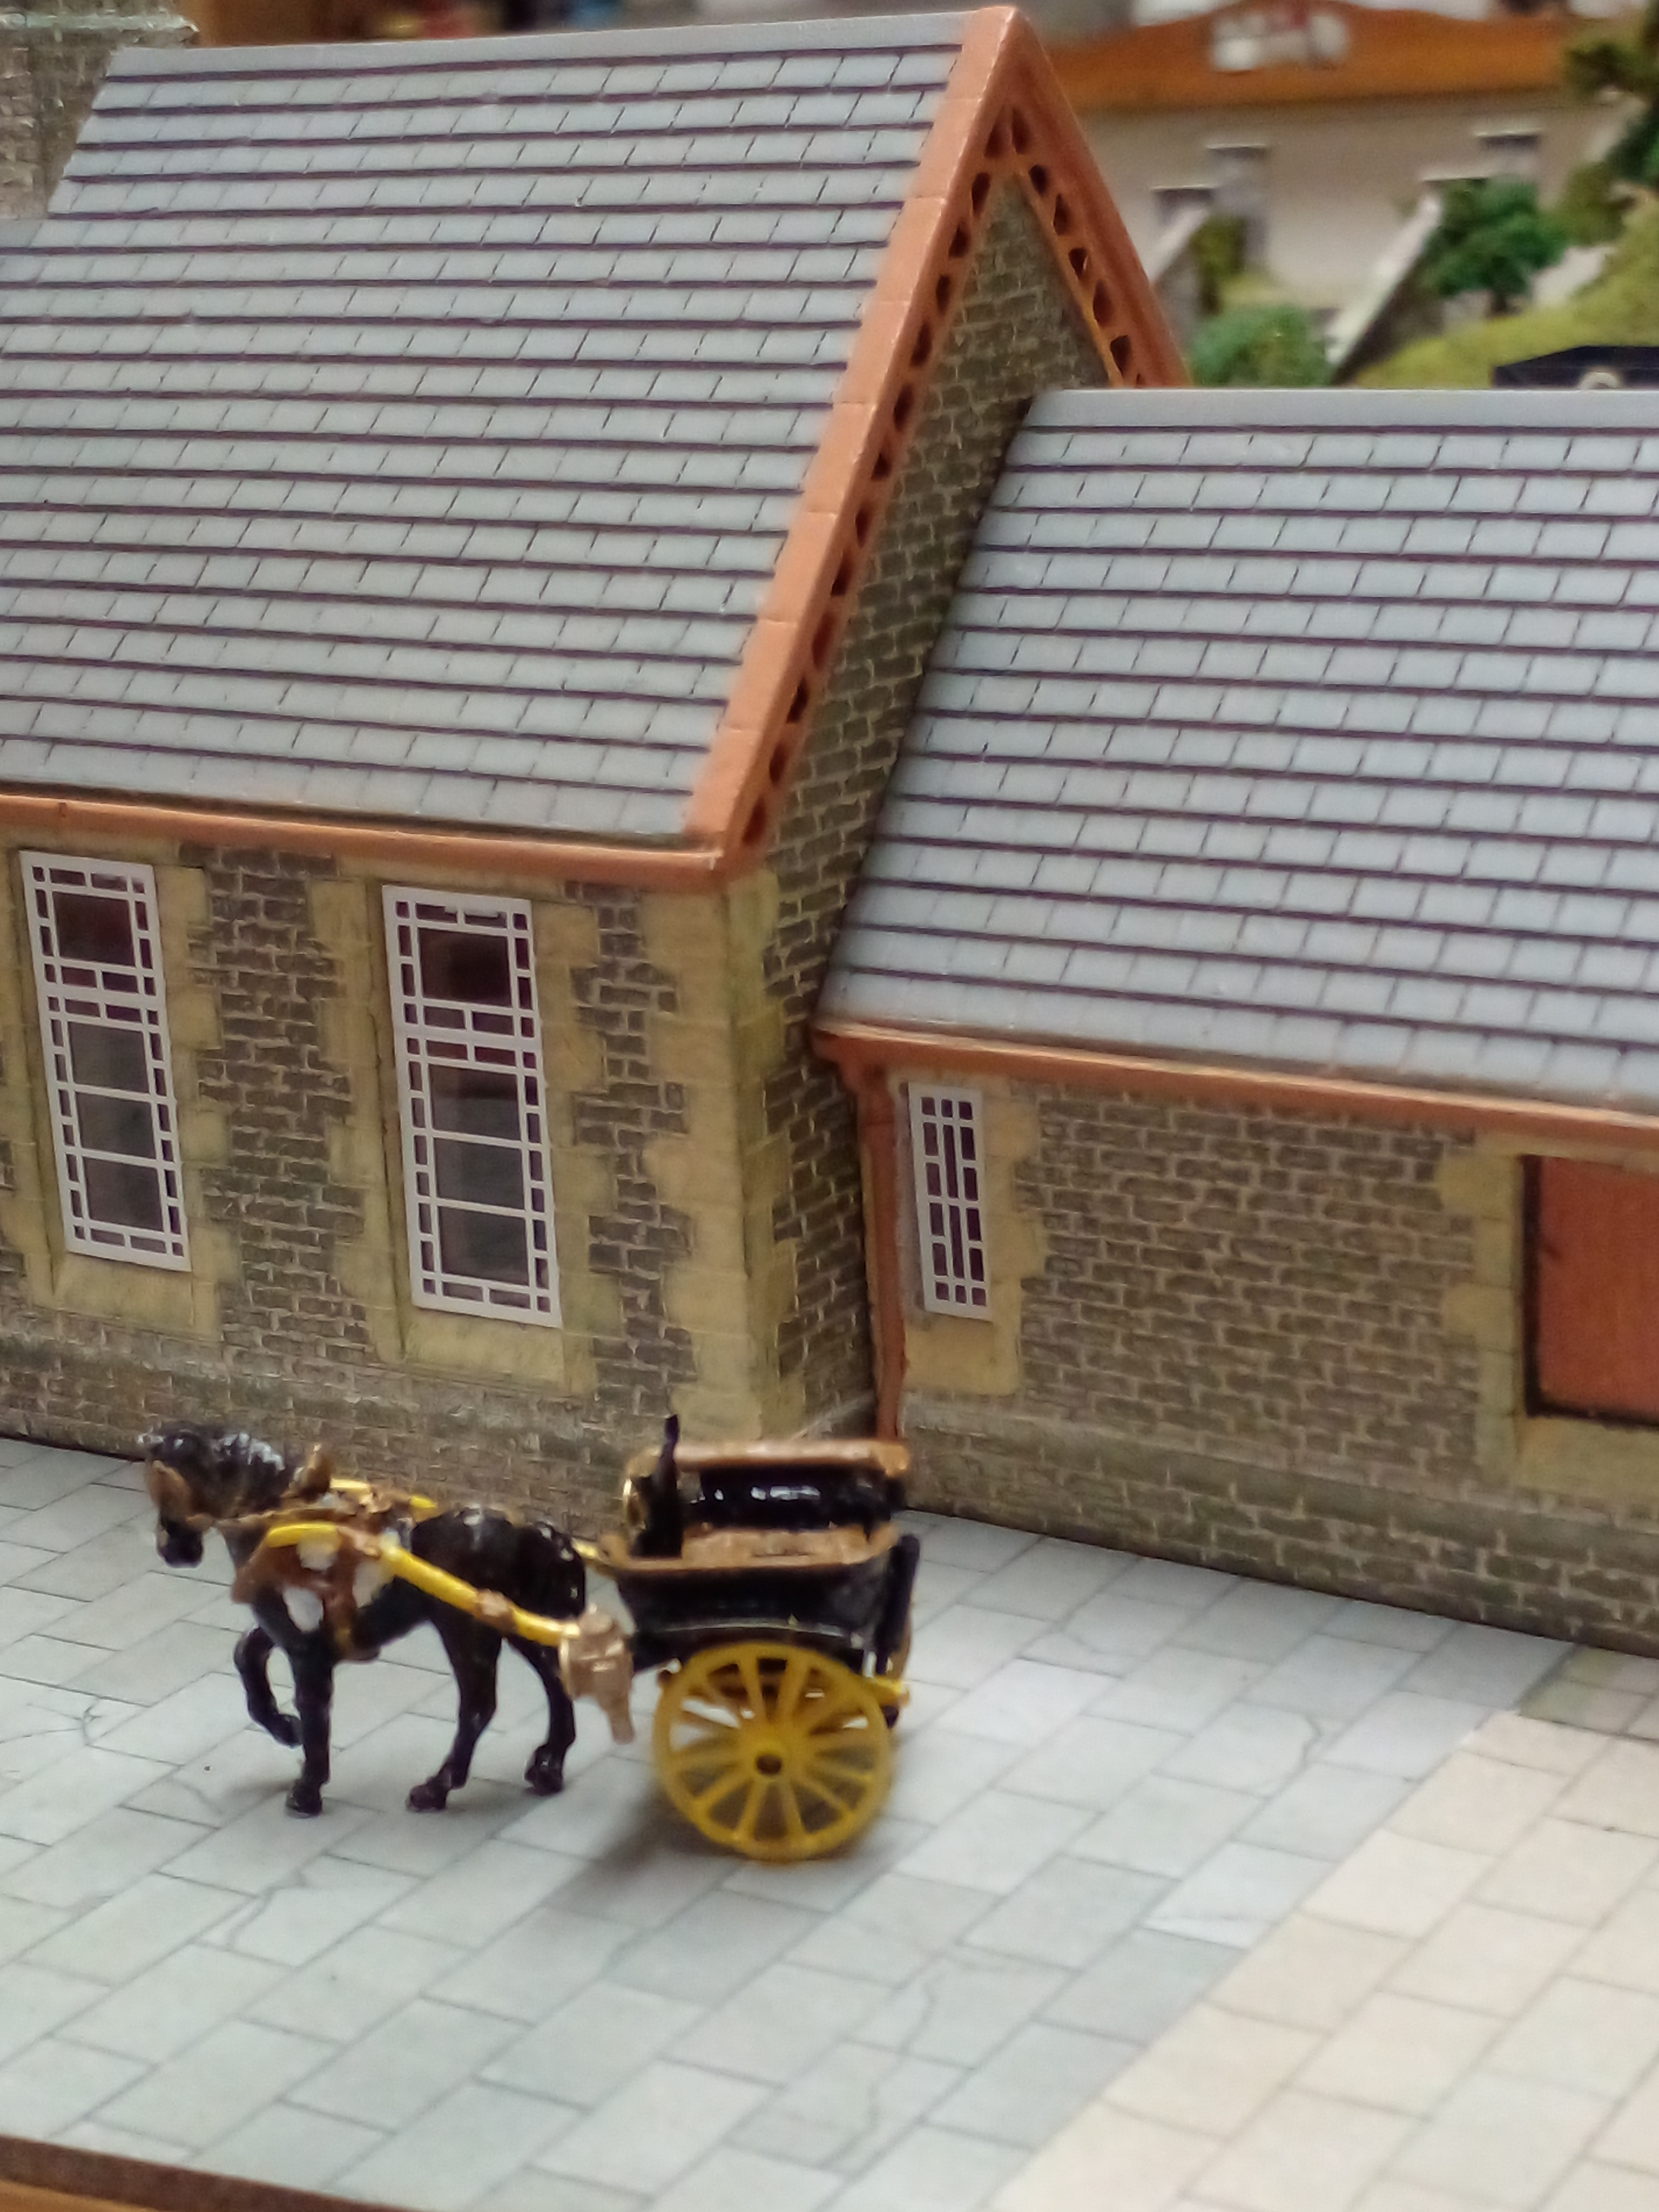
Another view of the cottages. You will notice a dearth of peoples in all these shots & when planning these large layouts you don't realise how many things you are going to need. Already 100+ trees & nowhere near enough. People, even for a 1920s country station. Signalling - vital part of the railway scene & I haven't even started (& have you seen the prices of signals?). In fact the price of everything for this hobby. I'm lucky that I bought so much over the years in times of plenty (now broke on a pension that was frozen in 2016) that I can't envisage having to buy much to make a lot more progress.
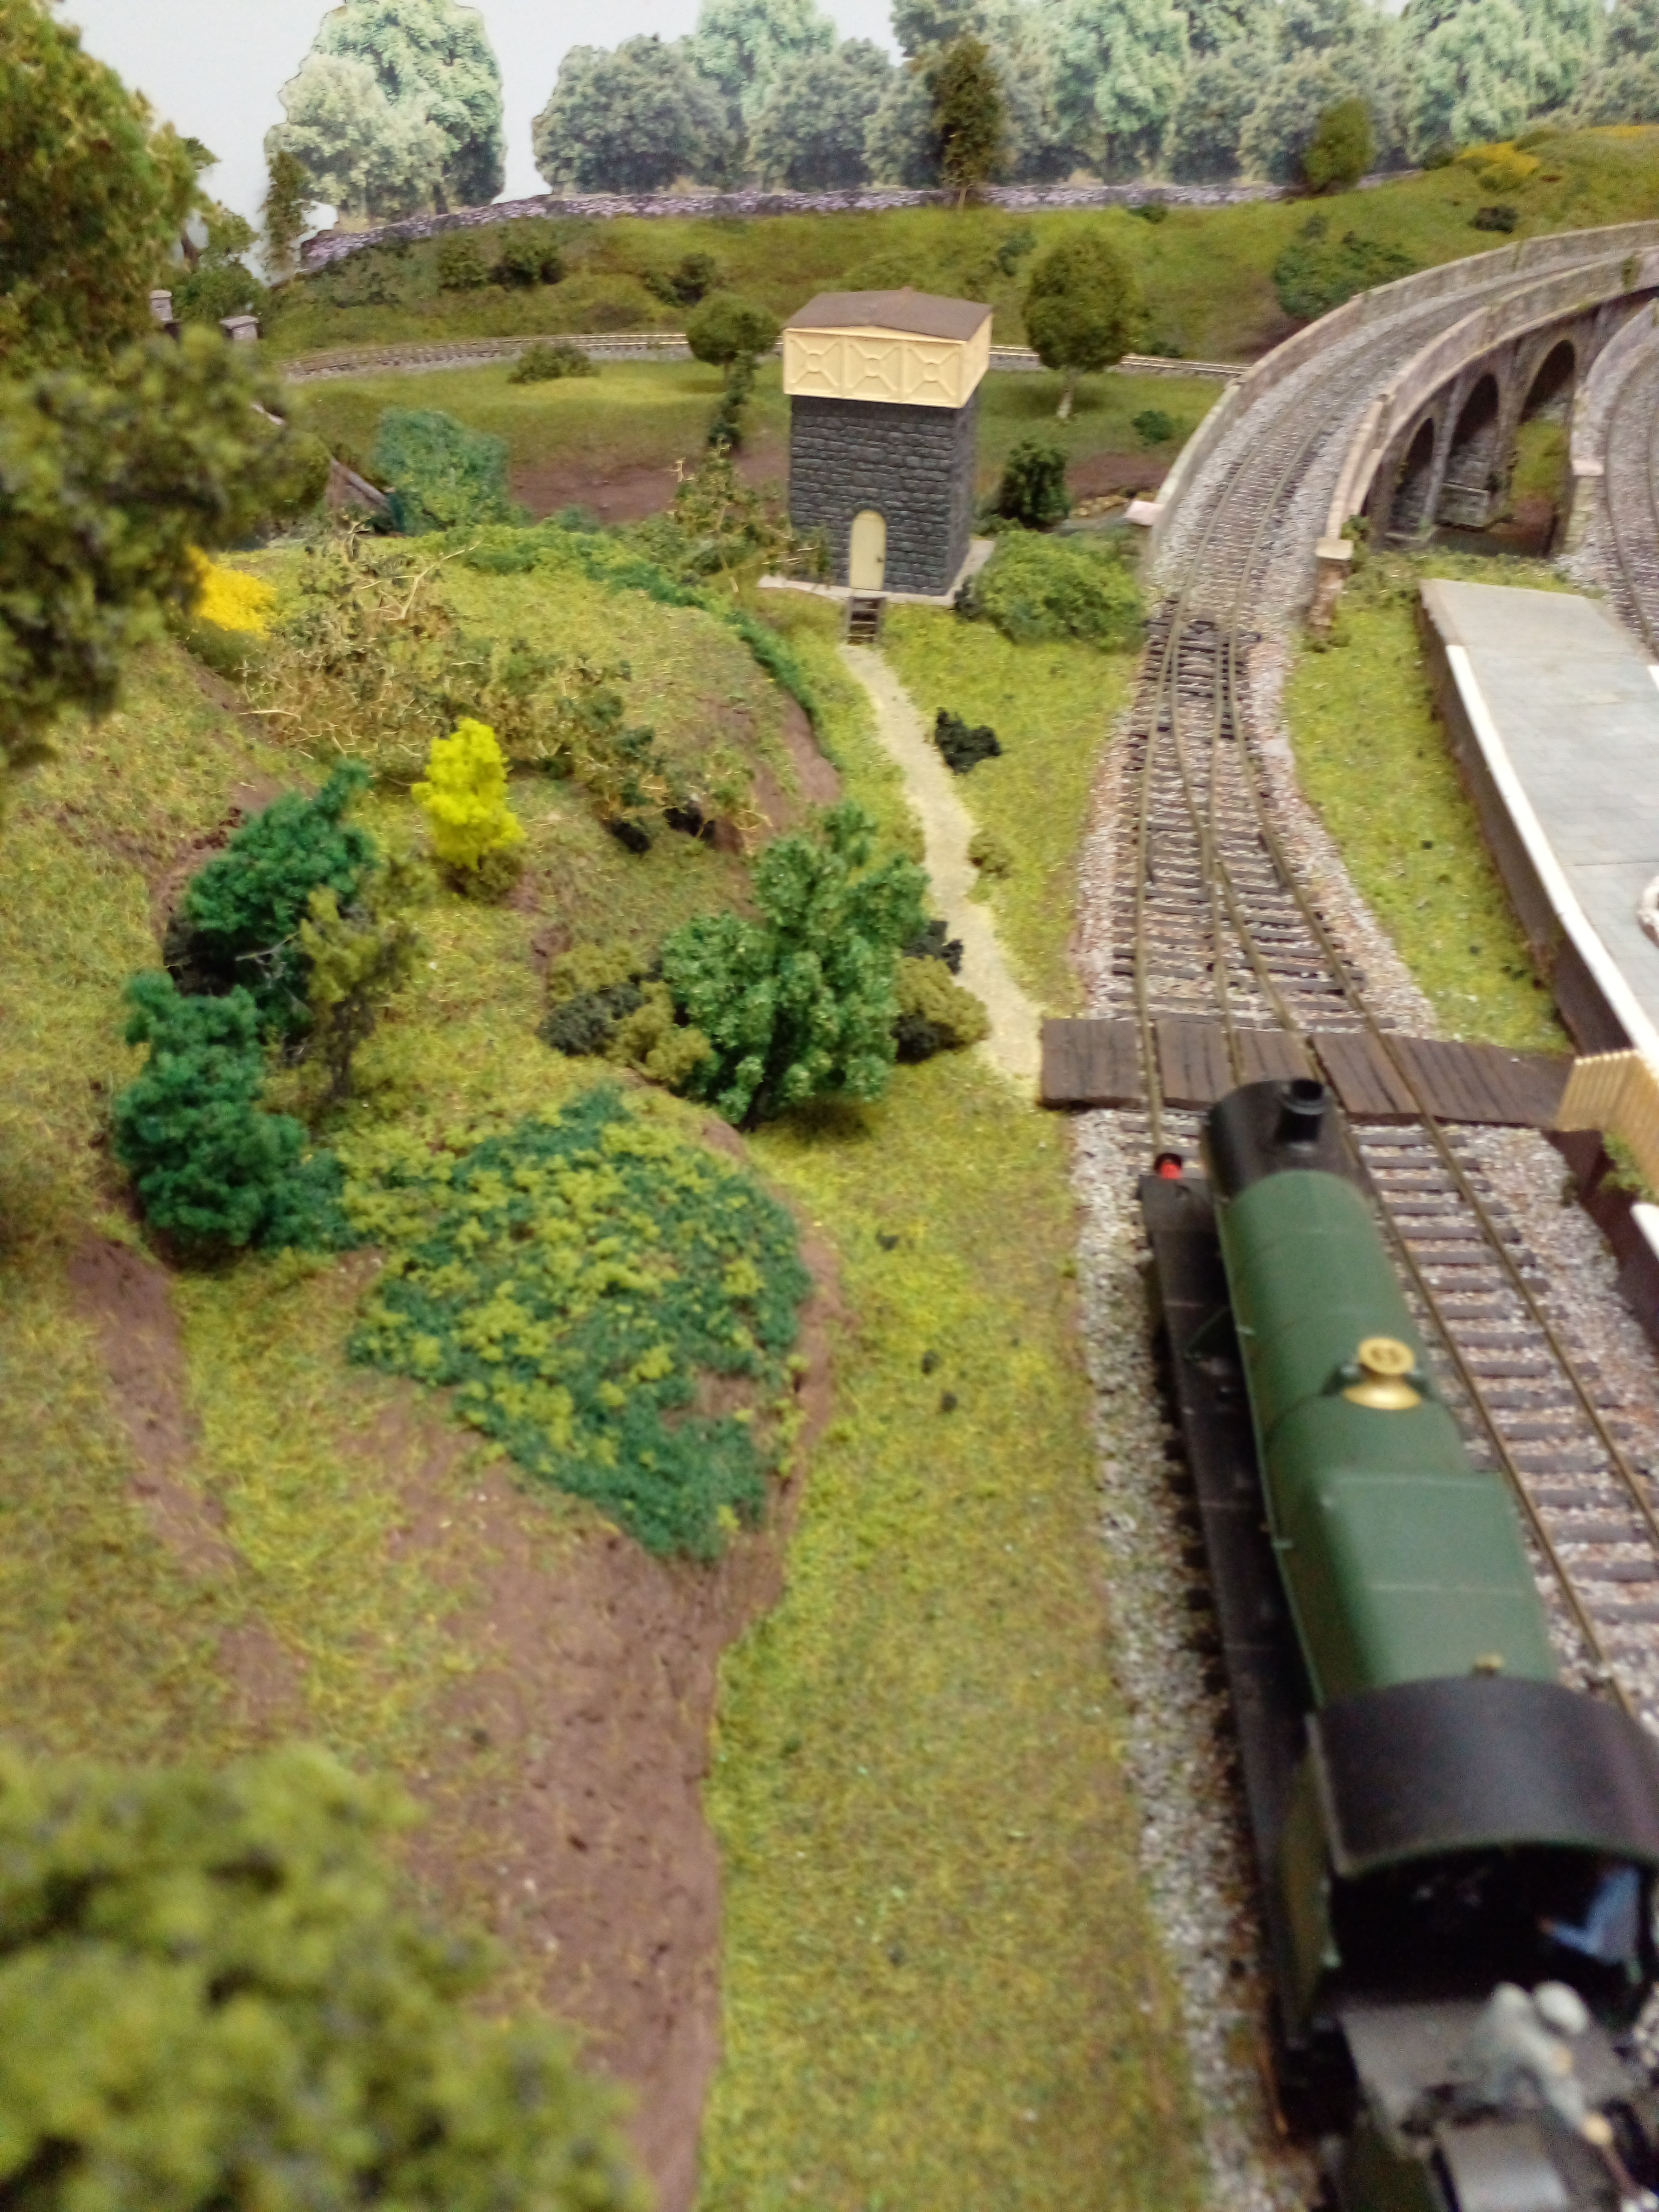
Another view of the 'finished' end. The water tower pumps water from the Otter (& conveniently hides a point motor).
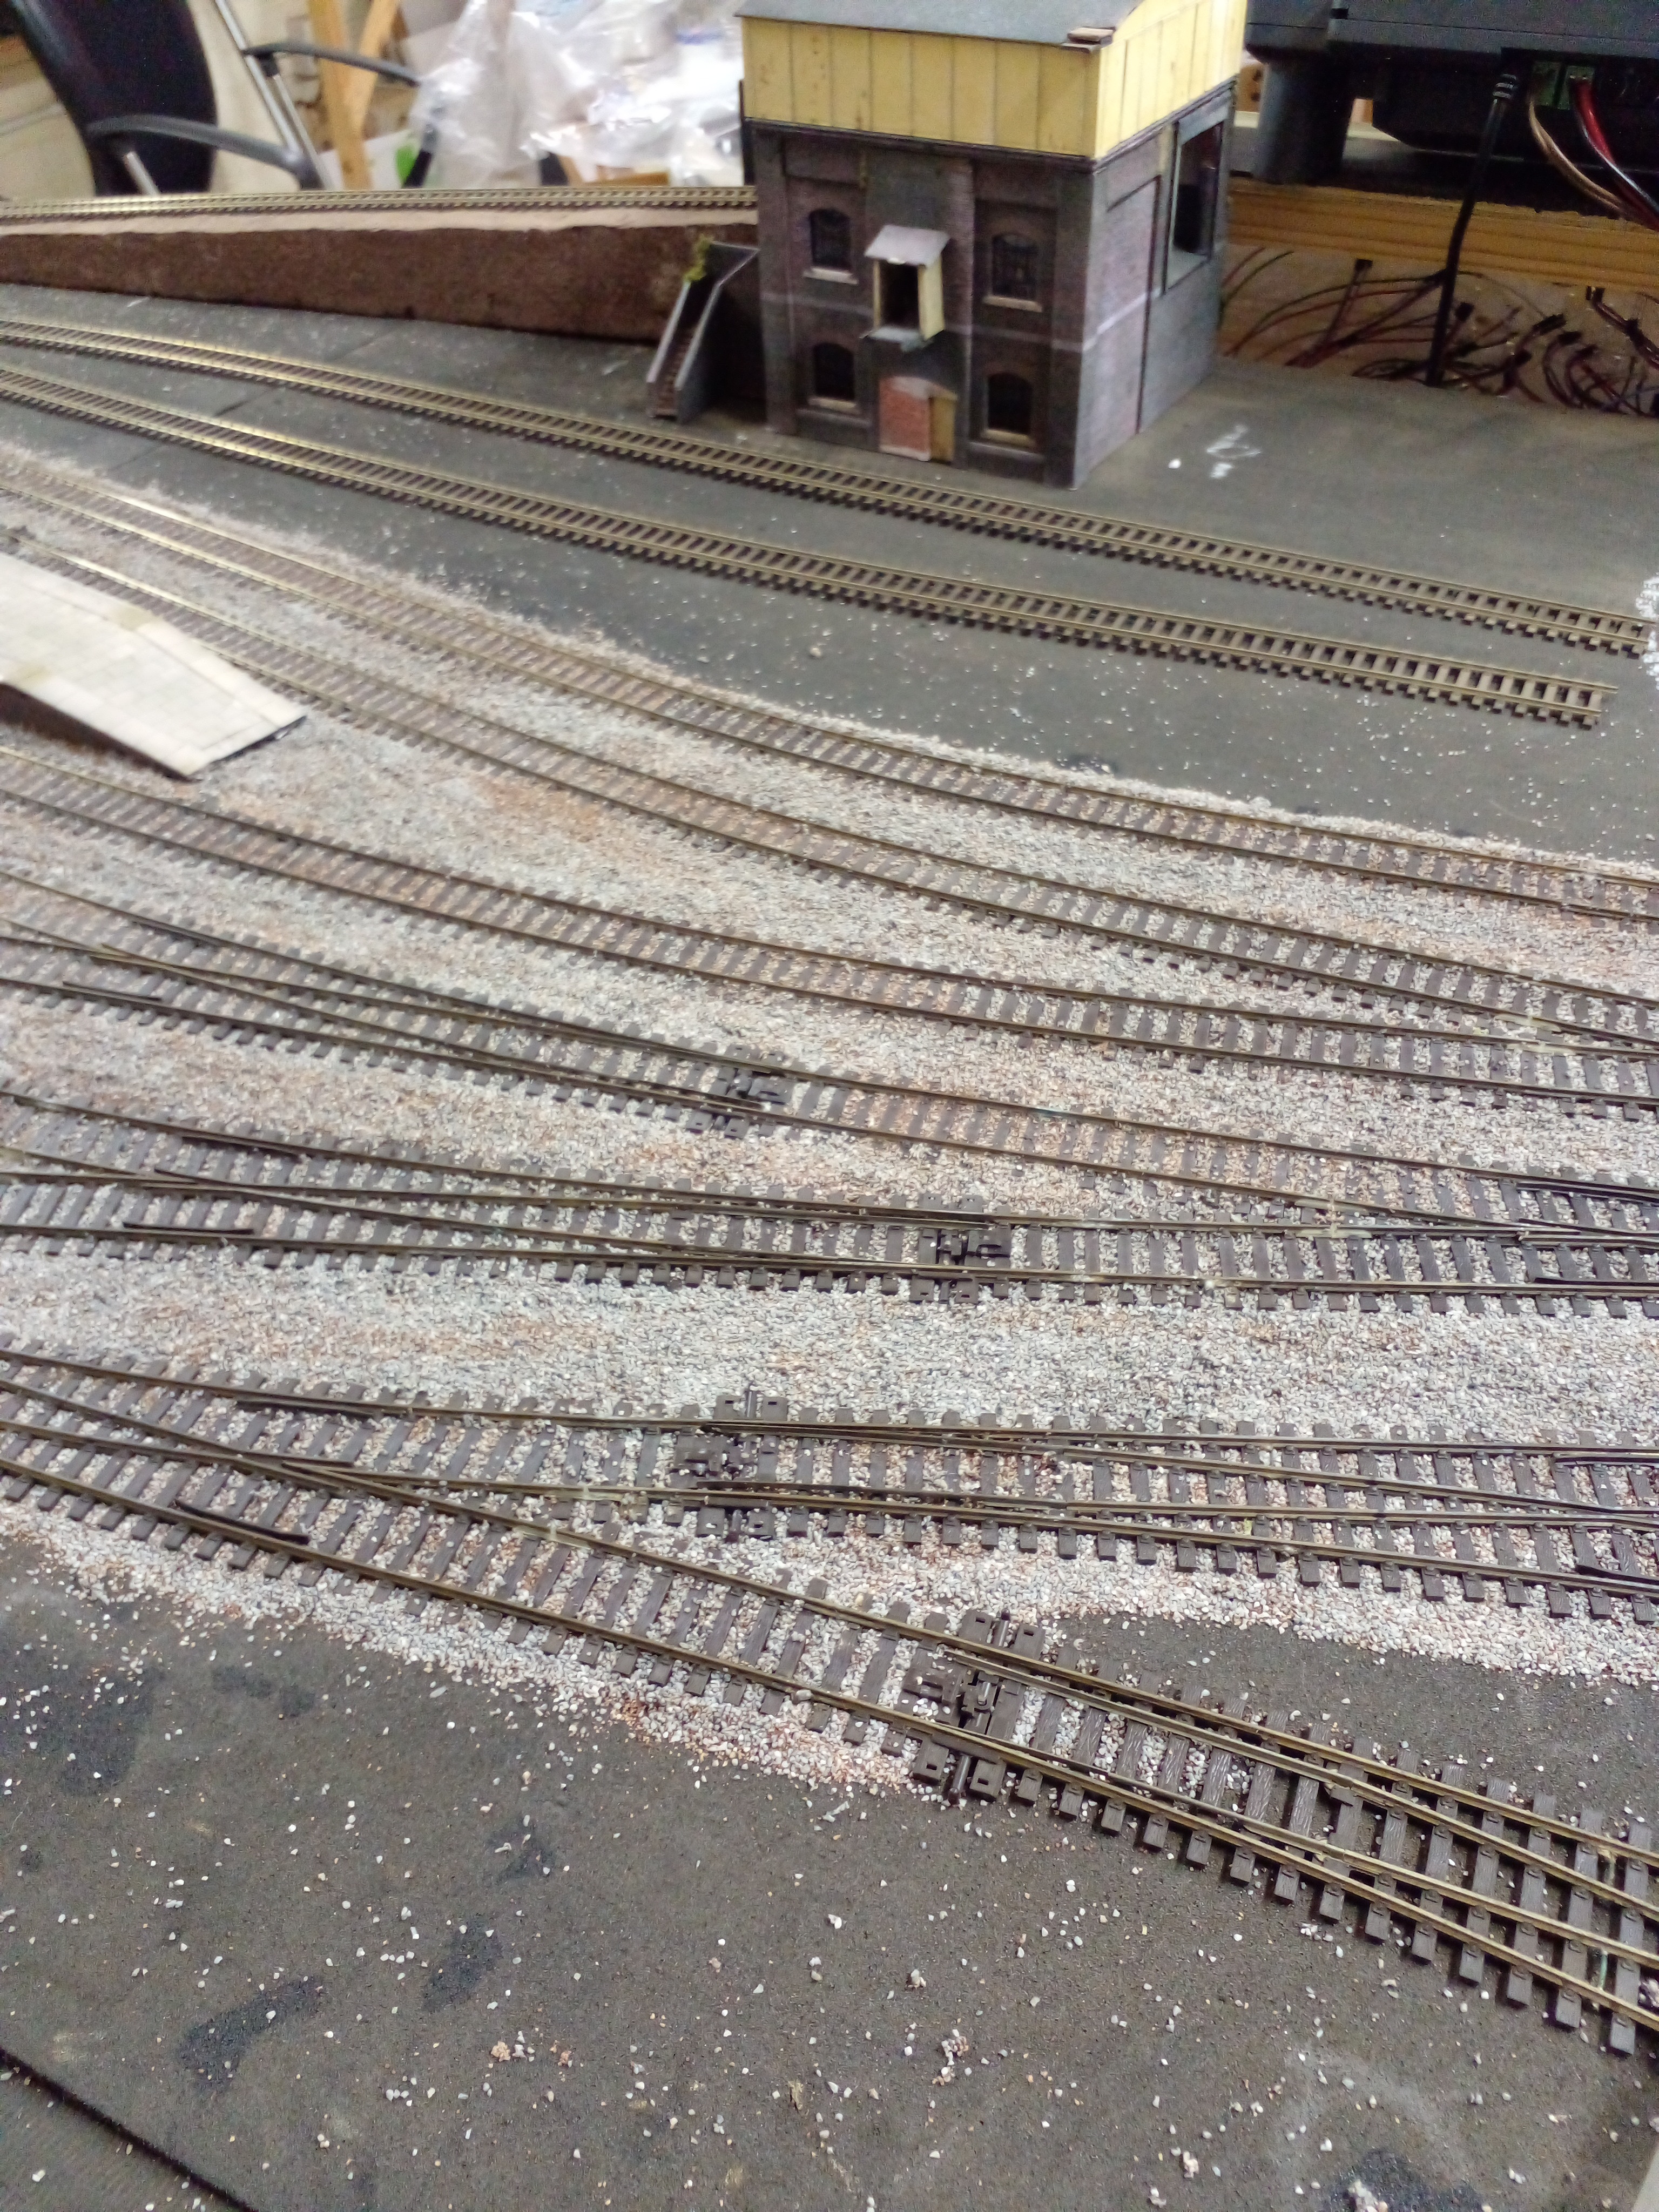
We've been back to regular power outs since January so not much more has been done. I'm not sure which bit to do next - dock section, loco yard, goods yard or link to Easewood. A tip for anyone in the planning stage - put your turntable in before the wiring is done. This is directly under where the turntable should go:
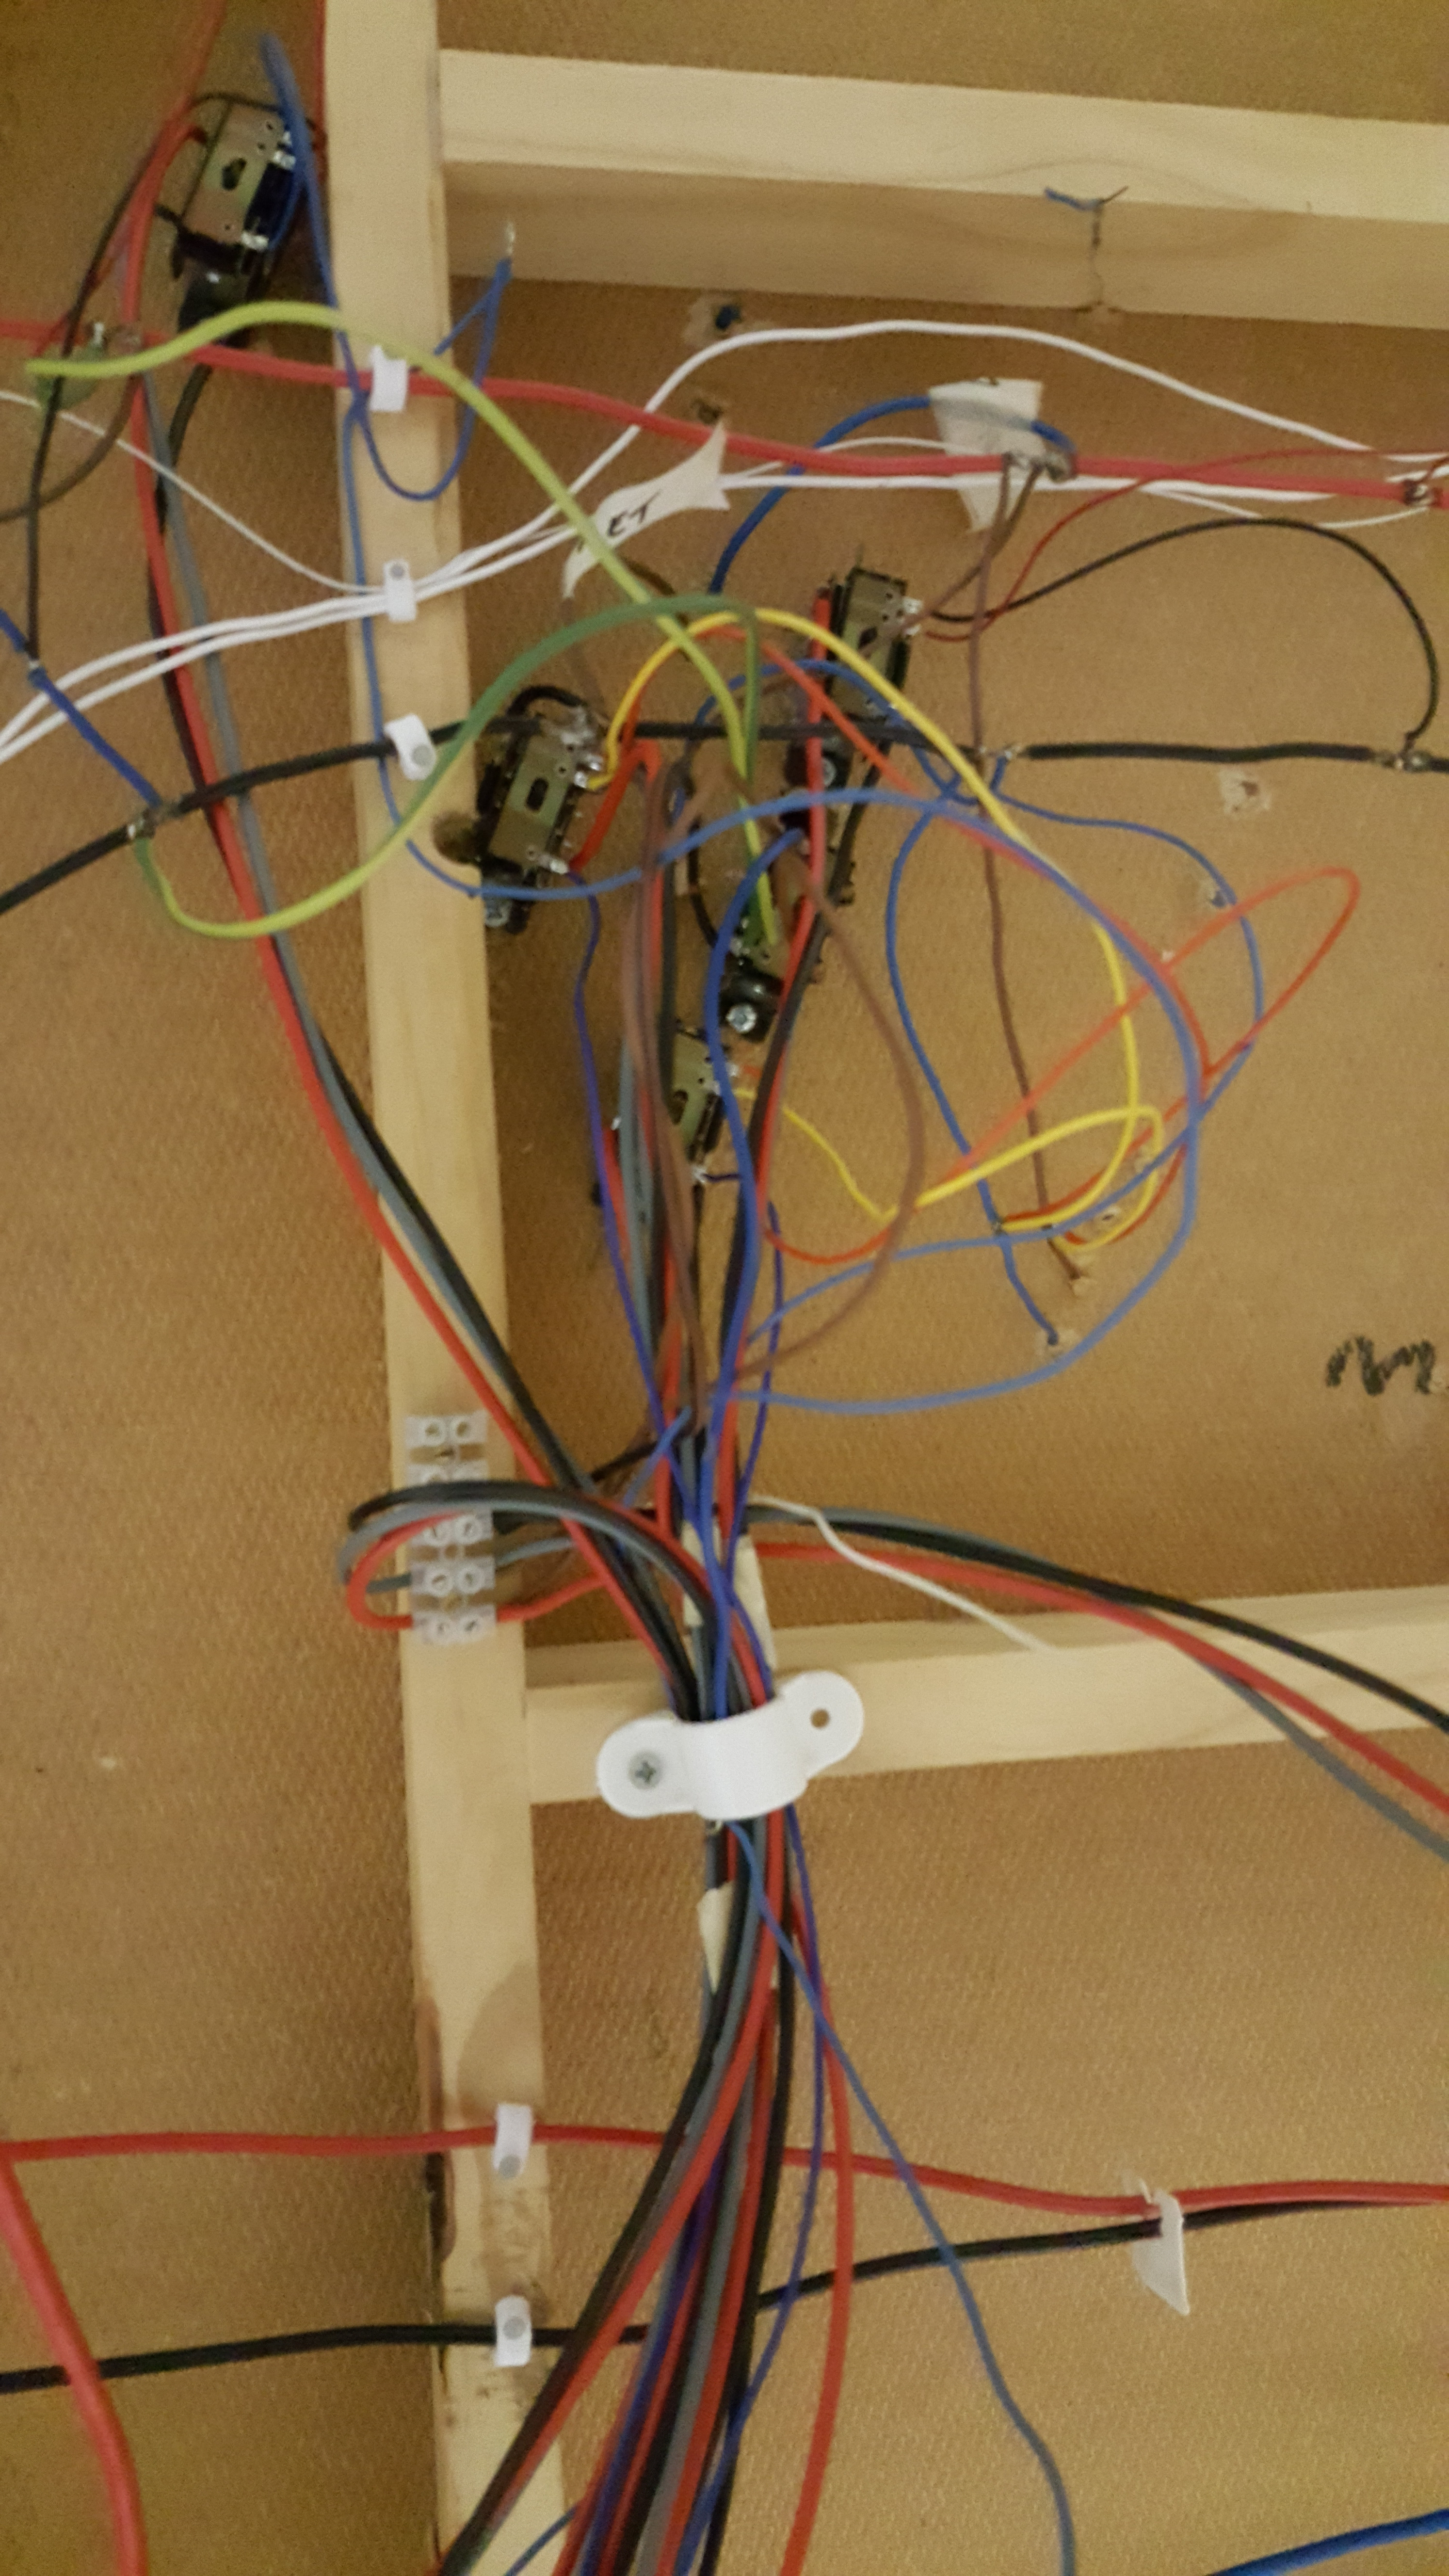
So I think I'll have to forget the expensive motorising kit & have a Mexican turntable!
Will post more when any further developments.
Good luck to all. Mal
All stressed out, got addled brains?
Ride your bike or play with trains!
Ride your bike or play with trains!
1 guest and 0 members have just viewed this.