My first Scratch Built Back Scene, (Warehouse)
Posted
#101908
(In Topic #5418)

Full Member
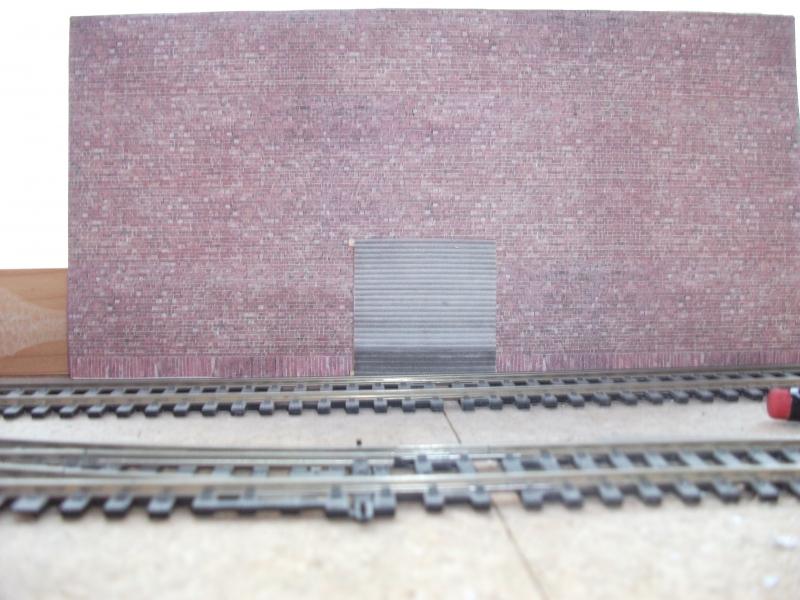
Right firstly i downloaded Doofer's file and printed it off and then went to Scale scenes and got my older version of red brick, then i set to work.
First i found some old foam board and stuck my red brick paper onto it, left it to dry.

Then i got 4 match sticks and stick the roller door to them, giving me a 3d effect and then stuck it to the brick paper,
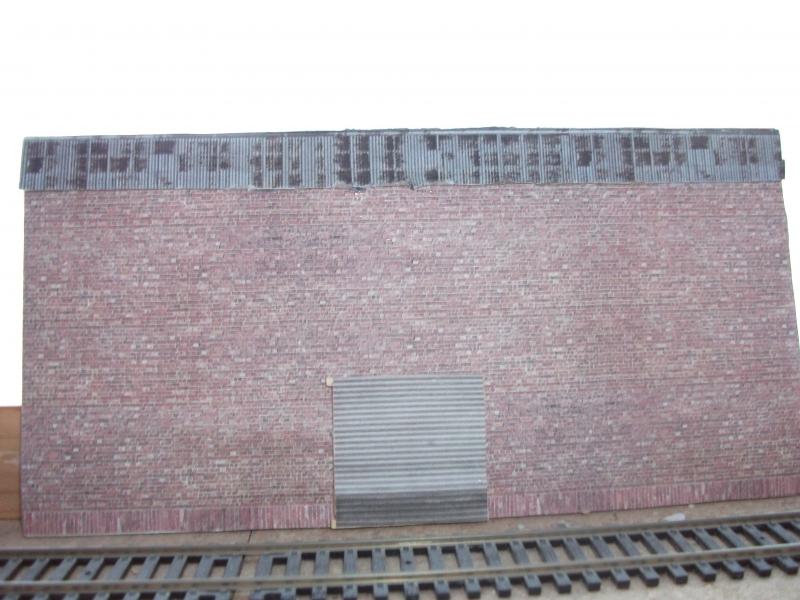
Next i cut the ridge tiles and stuck onto card and then to the brick paper,
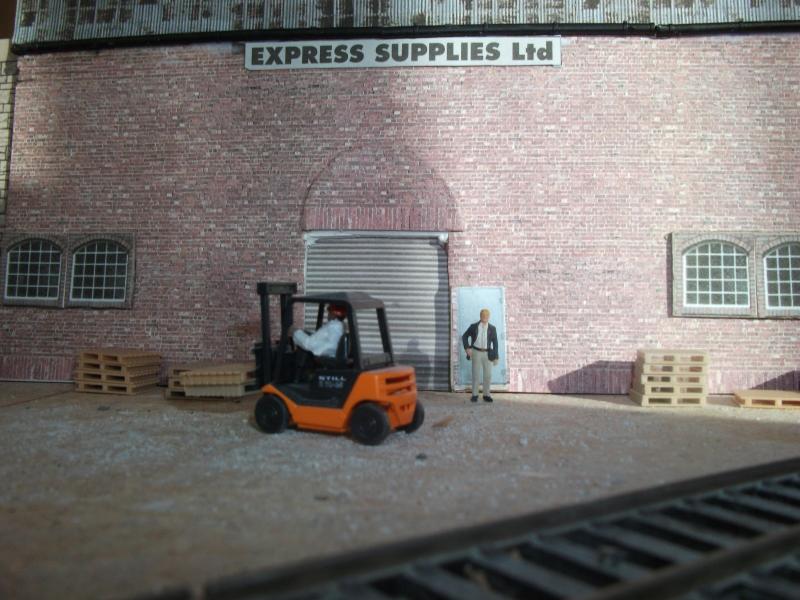
Next the windows where cut out and stuck on card and then to the brick,

Then the door was done the same way, I bought the circle cutter that Owen mentioned toady and made a kind of arch to go over the door,

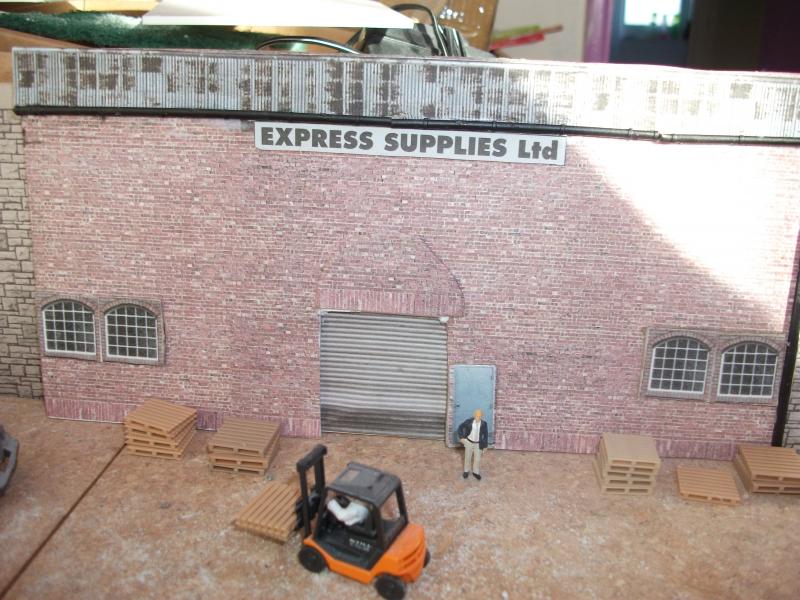
That was it finished, all though i have to add drain pipes, bit of touching up here and there but i reckon for a first attempt it is not too bad. Now this will be part of my cattle dock area and so what do you think, should i put it here,

or will it be best here, this is the side wall that face's the cattle dock.

Ok please tell me if its rubbish or whatever. This is my first go at this kind of thing and i want to learn, so please advice me.
Phill
 Last edit: by phill

Posted

Inactive Member
Les
Devon Junction
Kernow Junction
Kernow Junction
Posted

Full Member
Chuffed Doofer
'You may share the labours of the great, but you will not share the spoil…' Aesop's Fables
"Beer is proof that God loves us and wants us to be happy" - Benjamin Franklin
In the land of the slap-dash and implausible, mediocrity is king
"Beer is proof that God loves us and wants us to be happy" - Benjamin Franklin
In the land of the slap-dash and implausible, mediocrity is king
Posted
Full Member
Phill
Posted
Guest user
Great that you have had a go Phill, I have been waiting to see who would be the first to try Doof's project, and it looks good, try the things that the guys mentioned, for me I like the postion of the first photo.
:cheers
Posted
Full Member
Here are 2 new pics of the update,
For my first ever project i dont think it is too bad. Could do with a few tweaks but have to wait till tomorrow now. Must say it was enjoyable to do.
Total cost was £1.99 for the brick sheet, £2.99 for the pallets, so a grand total of £4.98p, now thats good i reckon.
Again comments good or bad welcome. By the way the gutter on the right is done that way on purpose, its a old building prone to years of wear and tear :roll:.
Phill
Last edit: by phill
Posted
Guest user
I am impressed by your efforts mate, keep up the good work.
Posted
Full Member
Doug
'You may share the labours of the great, but you will not share the spoil…' Aesop's Fables
"Beer is proof that God loves us and wants us to be happy" - Benjamin Franklin
In the land of the slap-dash and implausible, mediocrity is king
"Beer is proof that God loves us and wants us to be happy" - Benjamin Franklin
In the land of the slap-dash and implausible, mediocrity is king
Posted
Inactive Member
Les
Devon Junction
Kernow Junction
Kernow Junction
Posted
Guest user
If I may, to reinforce the fact that the guttering has come apart you could run a little bit of weathering or discolouring straight down the brickwork underneath it. This will show where rain water has escaped the gutter.
Posted

Inactive Member
Max
Port Elderley
Port Elderley
Posted

Full Member
What did you use for the guttering ? It looks good.
A suggestion for the future if I may. If you move the windows closer to the door - say about half way - they'd look more in keeping. Where you've put them, the thickness of the wall is only the thickness of the window frame. Just an observation……….
Also, the idea of some rainwater stains from the broken gutter would set it off well. :thumbs
As Doug says, the beauty of these Scalescenes downloads is that they're now yours - you can print off as many pages of brick (and the corrugated iron) as you need until you die !!!
'Petermac
Posted

Full Member
Posted
Guest user
 thumbs For a first attempt it's really good. I agree with the suggestions being made and I'm glad to see them - that's the way we all learned.
Now if you do the rainwater thing, remember to be very, very light with the way you do it. Just the smallest amount of colour, with the brick almost visable through is the way to go. It will be a good chance for you to have a go at "dry brushing".
keep it up, good buddy, we need someone to show Perry how good a real (GWR) engine shed looks.

Posted
Full Member
Regards the weathering by the guttering, how and what do i use if i may ask. The guttering i bought from the model shop by the way.
Thanks for all your kind comments, makes it worth while and yep i have learnt alot in just doing this little project.
Phill
Posted
Guest user
:cheers
Posted
Guest user
1 guest and 0 members have just viewed this.