Members Monthly Project - August 2012
Posted
#141401
(In Topic #7635)

Legacy Member

Posted

Full Member
Well i have got a project on the go at the moment away from the other items on the bench as it wont go on the layouts, as to whether it gets finished this month i'm not sure though :roll:
I was looking around my local Tescos & saw they had some boxfiles at a very reasonable price so one went in with the shopping as i've always thought about doing a file layout / dioramma.
A project such as this gives me scope to try different techniques on a smaller scale but still making it successful enough to envisage how it could be applied to a layout enviroment.
First off was to remove the spring clip of the file i drilled off the rivet ends on the inside of the box but retained the heads gluing them back in later once i'd checked they where flush with the inside.
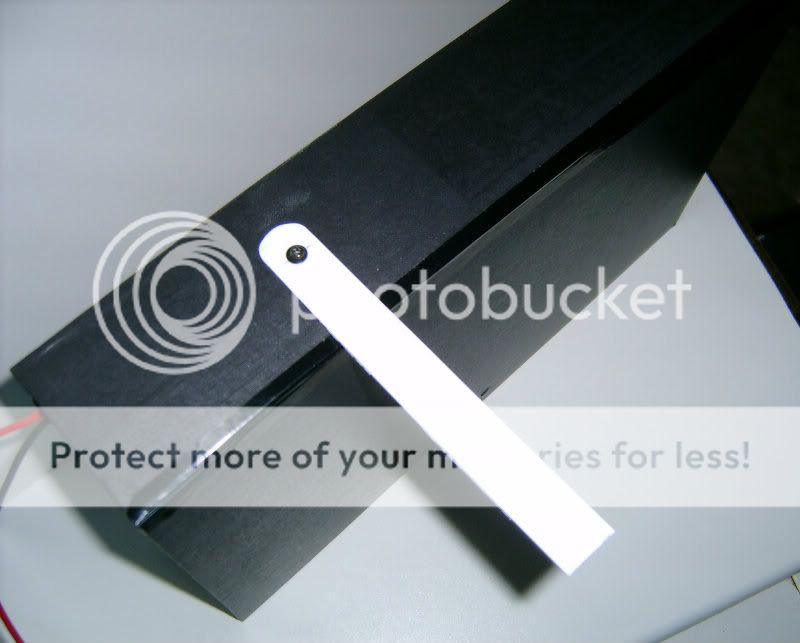
The plastic ring on the spine of the file was removed carefully, the hole that was left came in handy allowing me to put a 3mm small bolt with a nyloc nut through to the inside holding on a piece of 80thou plasticard that would support the lid when open.
Next i cut equally down each side of the front to allow the side to fall away revealing the interior the covering of the file is enough to provide a hinge i did put some parcel tape before cutting both side but it didnt work out this doesnt matter as the tape will be covered later, a piar of very thin hinges could be let into the base/front with contact adhesive applied to glue them in for a stronger join.
Now i wanted to provide for the electrics of the scene even though its a small area it would be nice to have something to run, with this in mind i drilled two holes towards the back left edge & fitted two gromits to neaten things a little.

Fitting wire in the box while concealing it was an objective & at the same time it tried an option to wiring under the boards if foam was used on a layout, a 6mm thick piece of foamboard was cut for the base & two insides & glued in, on a layout this could be deeper insulation foam used in construction of houses.
A simple plan of track was decided upon with the points / flexi track i used code 55 laid on Woodland Scenics foam trackbed both glued down with Copydex, the loco cant move from one track to the other using the points within the box but the tunnel could be extended to another file at a later date ?
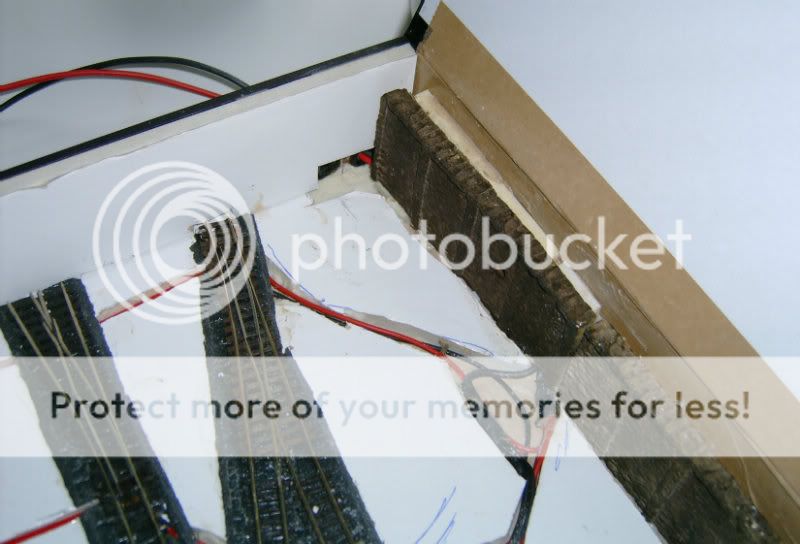
Wiring for either DC or DCC applies to this set up & i placed insulated joiners on the frogs, the droppers where soldered as usual to the underside of the rails & a path was cut for them to sit in the foamboard exiting out of the box on the left.
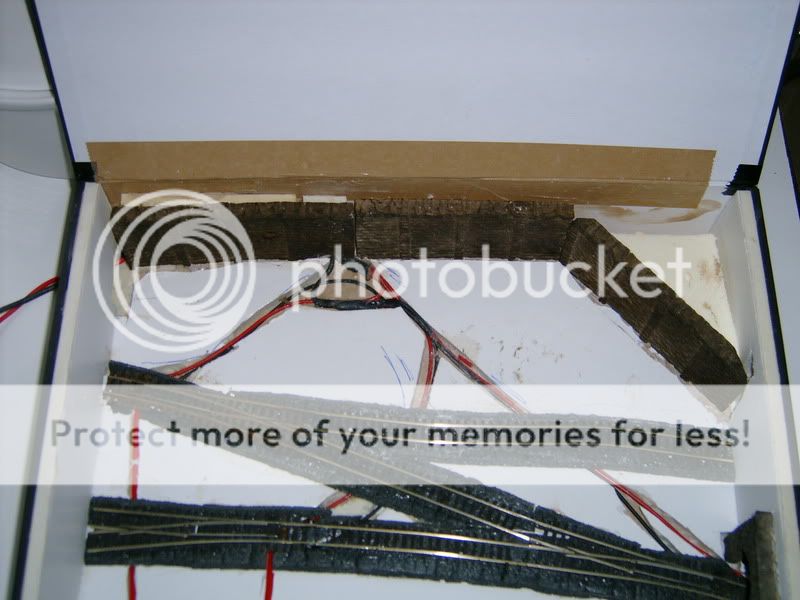
Here can be seen the wires sunk in the foamboard base layer.
Better view of things along with the three rods for points temporarily in place.
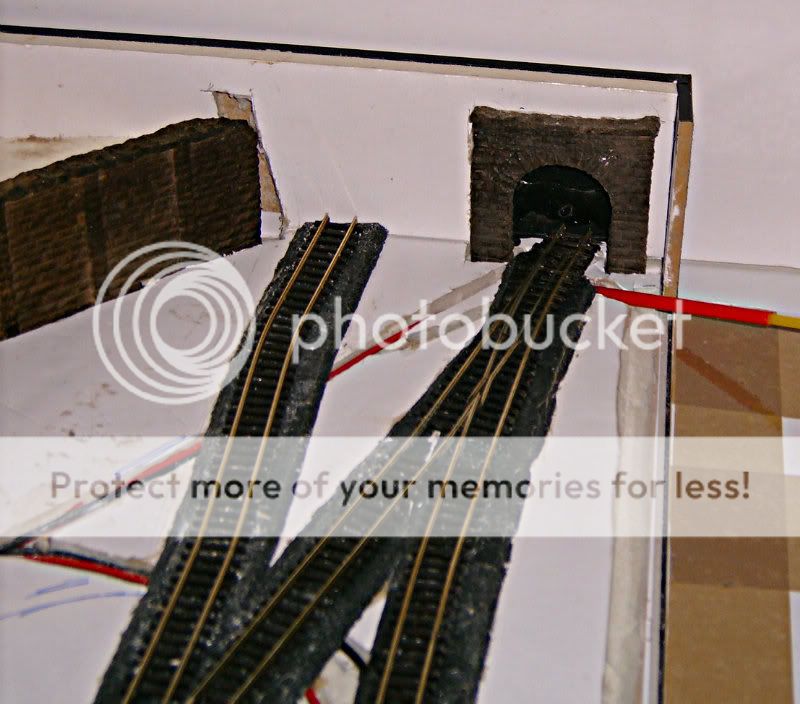
Looking towards the plaster tunnel

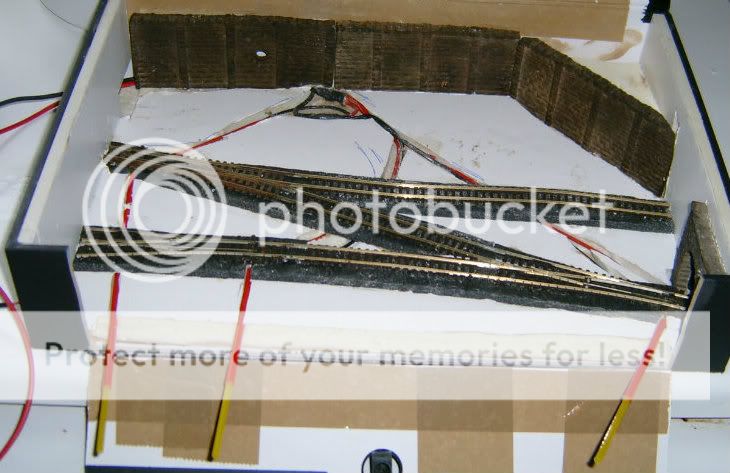
After a trip into town a couple of months ago i came home with a couple of tins of Colron woodstains which where on half price offer at Wilkinsons :D i decided to try these on the plaster castings for colouring as a change to paint apart from the smell i'm pretty pleased with how they turned out after only one application by brush, they fit well & provide a 3D background something i always like to see if possible ……….. the wall at an angle i'm thinking of possbily a road overlooking the railway ?
Point control is another area i want to change when doing a layout & although the length of rods is small with this i still used the same materials, namely aircraft control rods which being plastic wont rust when they've been put on the points on anywhere near moisture with scenics,

Here you can see the inner yellow rod with a piece of brass wire glued in which fits in the point activating bar hole, the outer red rod & the rings which where made up from floral wire for the opposite end to allow a hook to operate the points manually.
The rods concealed in the foamboard, following several dry runs /checks the outer tubing was roughened up with wet & dry paper to give a key for the glue.
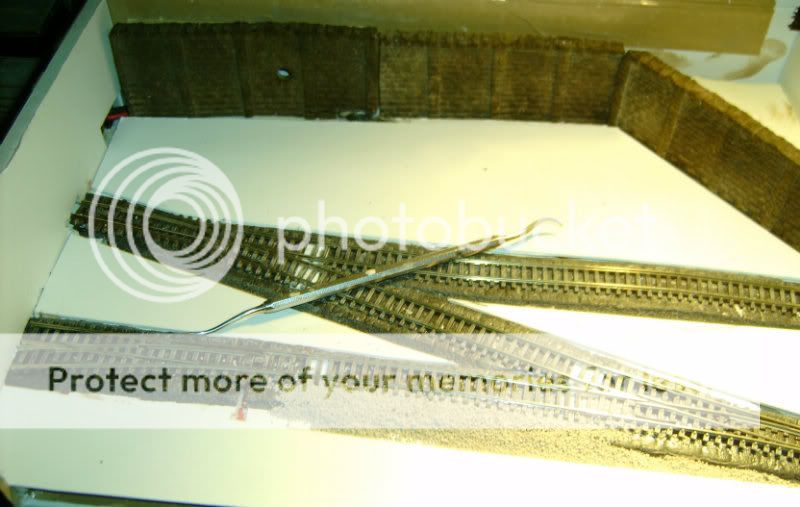
Where the sleepers had been removed to allow soldering i replaced them with special sleepers from Peco a little plasticard for packing was needed, to prepare the track for weathering a light drybrushing was done here you can see the rear point has been weathered & rusted already from a section of track i've lifted.
Covering the cut outs for the wires & points came next the method i chose was thick mounting card which wouldnt warp hopefully, i had made a start on ballasting when i took the picture why my trusty dental pick is in the box i've no idea …. something always worth asking when you go to the dentist if they havbe any tools they dont need that are past their best for their work but still plenty of life in them for modelling,my dentist provided me with a fistful to tools on one visit & sent his nurse to look in a drawer for some burrs a rep had left he hadnt taken to ….. i was suprised when i got home to find in the box he gave me around a hundred new burrs which will keep me going for a while.
Thats a start on things now the track has been ballasted & a wash of black /green pigments applied more pictures & progress soon ;-)
 Last edit: by upnick
Posted
Legacy Member
Posted

Banned
I use the same method for point control as yourself, the only difference is that I use thin welding rods, used for welding stainless steel. These rods are approximately 1mm in diameter and 1000mm (40") long, very flexible and they don't rust.
Cheers, Gary.
Posted
Full Member
Sounds a good idea i'll have to look some of the rods out & try them ;-)
Posted
Full Member
Part of my modelling is i start new projects before the end of the last :roll: mind it keeps me busy.
1 guest and 0 members have just viewed this.