Members Monthly Project - October 2012
Posted
#143927
(In Topic #7830)

Legacy Member
Operating coloured light signals on DCC - Novice
Autumn is with us now so how about a volunteer for the monthly project.
Posted
Legacy Member
Posted
Legacy Member
Posted

Full Member
There are lots of "small" projects in the archives but nobody seems to be doing anything like that just now. I've noticed a drop in activity during the last couple of weeks.
Also, if you live "abroad", there's a long lead time waiting for bits to arrive - certainly there is for me.
On the other hand, it could be something like fitting street lights or even, fitting a point motor, - something very simple. :hmm
'Petermac
Posted

Full Member
Bob
Posted
Legacy Member
Posted
Full Member
Operating coloured light signals on DCC.
I was at the the Peterborough Model Railway Exhibition with Reg (Sparky) yesterday and spotted the Train-Tech stand. On the display was a layout with all points and light signals controlled by DCC. Nothing new here I hear you say, however, they did have some rather neat innovations.
I have been toying with how to link up my signal lights with my points using micro switches that operate when the point motor moves. I had a prototype working, but the wiring is quite complicated, and of course it was a DC solution rather than DCC. Another alternative is to use a DCC accessory decoder, but again there is still the need to run wires from the signal to the decoder. In addition to the signals they also had some DCC stop lights to attach to buffer stops and their own of accessory decoder, with a built in CDU. I decided to buy some of these products and try them out. This project will look at the signals.
What I saw on the Train-Tech looked like the perfect solution. Their signal has a decoder built into the base and the signal plugs directly into the track, where it draws power and commands. I use the Prodigy Advance system and the demonstration display was using a Bachmann Dynamis, so I was not sure I could get it to work.
This is what the signal looks like in the package:
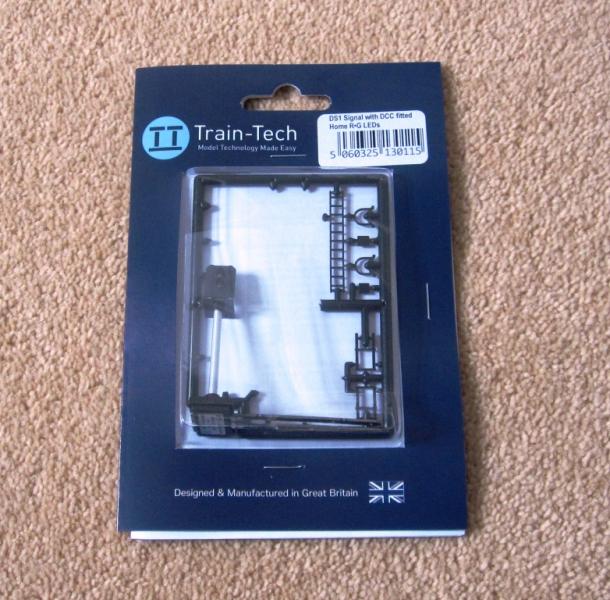
It is not dissimilar to the Eckon style signal, but there is less building to be done. For this project I will use a non detailed kit as it will need to be moved around a fair bit and i don't want to damage it.
Out of the packaging, you can see how it fits on to the track. The two clips use the Hornby and Peco power slots, just sliding in to the ready made holes on most of the basic track. If you want to you can cut off these clips and hard wire the signal using a pair of droppers from the tracks. The droppers connect to the two holes next to the signal base, but will need to be soldered:
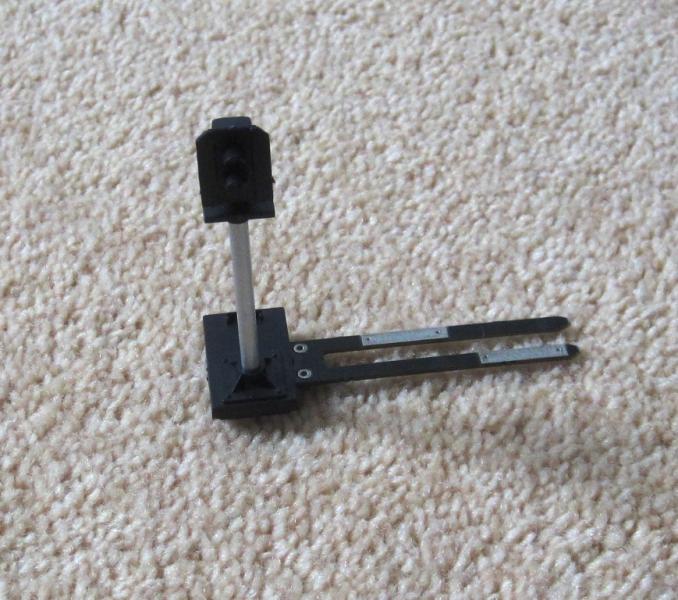
Underneath the base the area where the decoder is located can be seen. Also the two metal contacts are important as they are used when the signal automatically identifies itself to the controller.
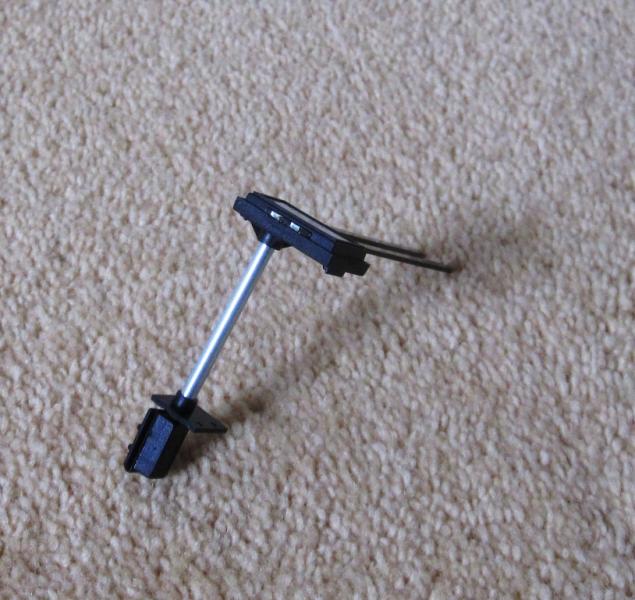
So far so good. Next plug the signal into the track and that is all the wiring that needs to be done:
The next bit is to power it up and see how it can be controlled with the Prodigy.
Bob
Posted
Full Member
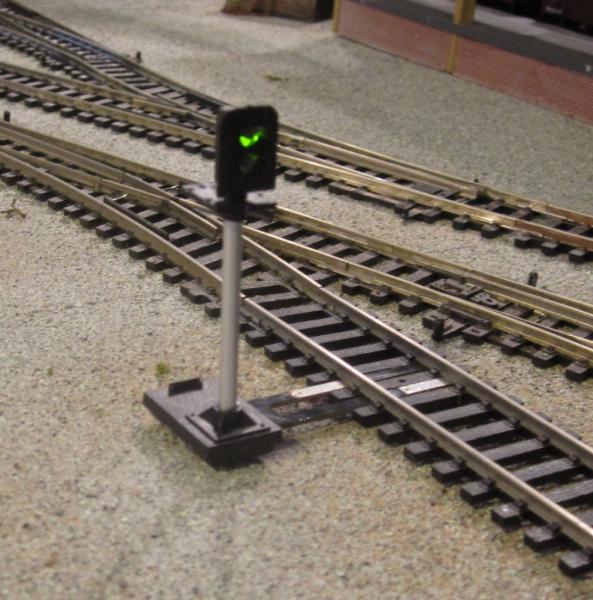
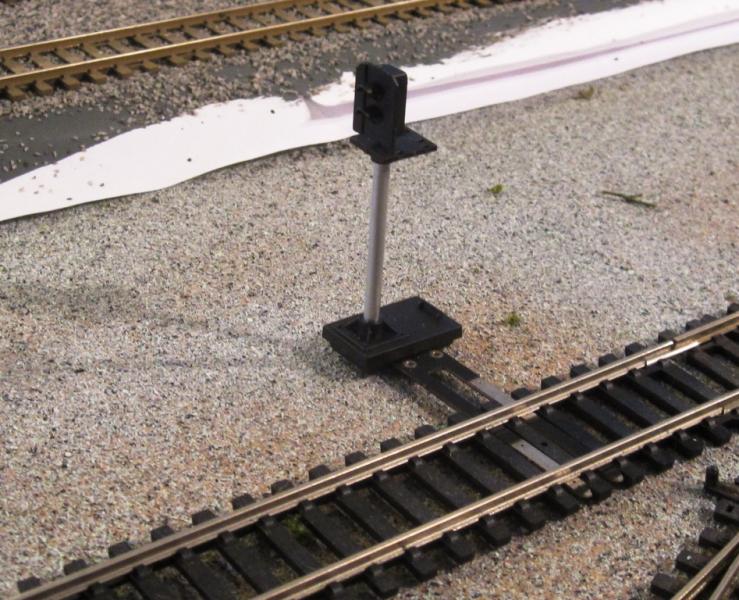
Now to work out how to control it as at the moment it is fixed on Green.
Bob
Posted
Full Member
Does it have to be given an address - rather like a loco - so it can go, for example, backwards (red) or forwards (green) ………. or is it controlled by the accessory options ? :roll::roll:
'Petermac
Posted
Full Member
It certainly looks good in green - and unobtrusive too. :thumbs
Does it have to be given an address - rather like a loco - so it can go, for example, backwards (red) or forwards (green) ………. or is it controlled by the accessory options ? :roll::roll:
Hi Peter. Each signal has its own address. I will now go through the process of setting it all up.
Bob
Posted
Full Member
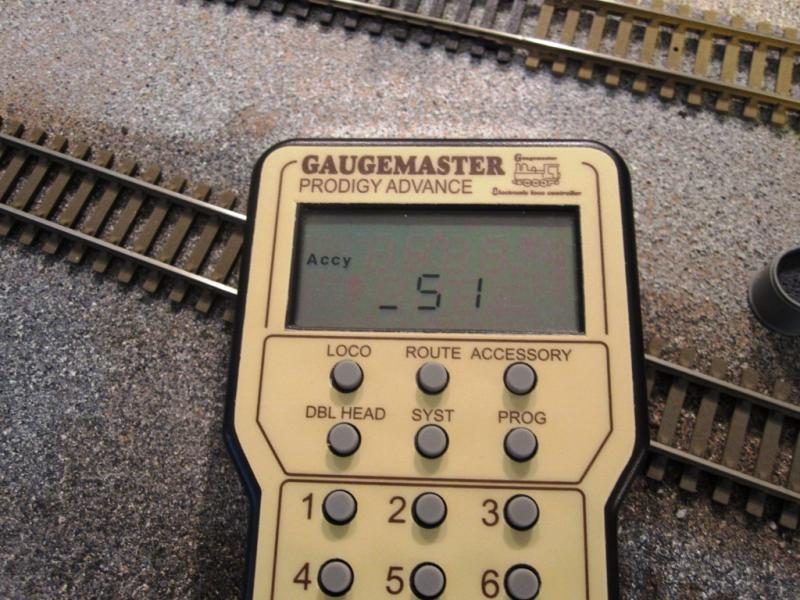
the fist thing you have to do is allocate a number, it can be any number at all. I chose 51. It is important to remember that for signals and points you need to work with the accessory button, not the loco programming ones.
With the power on and a green light showing you have to "short out" the two little connectors on the base of the signal (The ones I pointed out in photo 3 above). You can use tweezers, but I used a short length of wire and just touched the ends to the connectors. As soon as you do this the signal starts flashing rapidly red and green.
Then press accessory on the controller:

Enter the address number, in this case 51:
Press enter
The controller now asks 1 or 2?
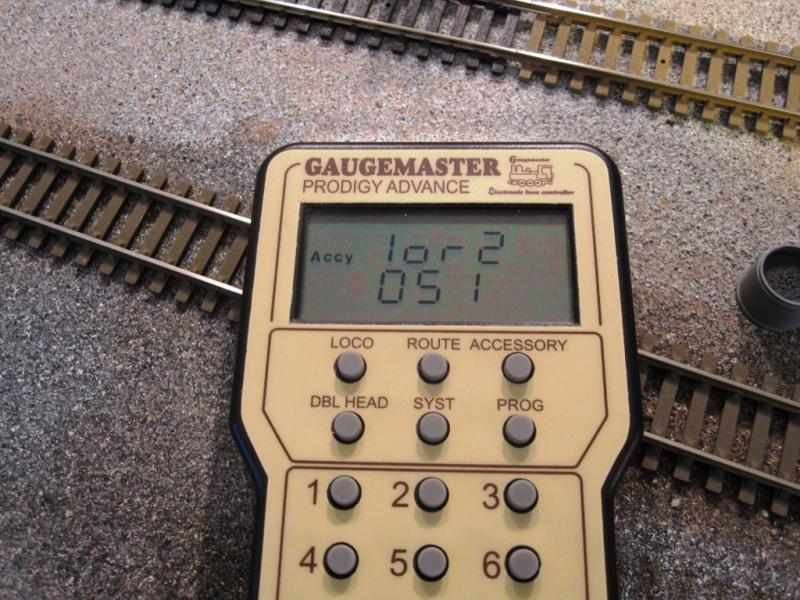
I pressed two and the lights which were now steady on green changed to red:
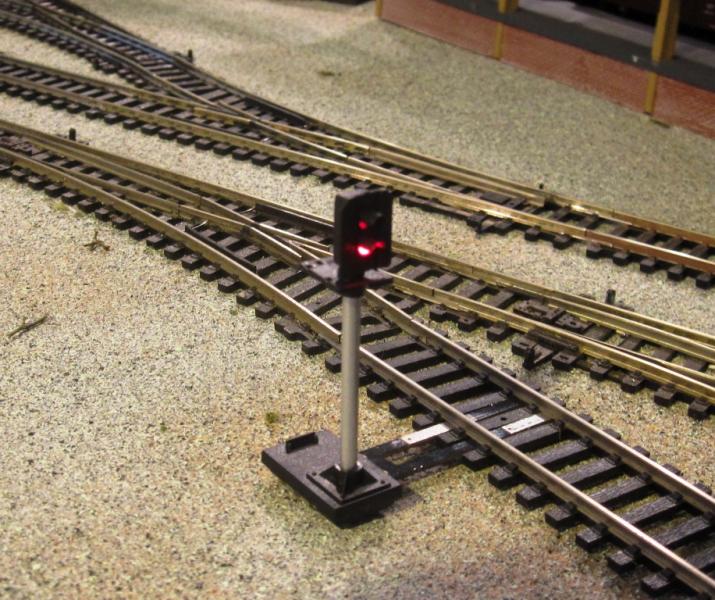
The change is realistically slow and completely silent. To change back to Green. Press accessory, it asks 1 or 2. Press 1 and it goes back to Green. That is it. A second signal in that area could be address 52, then 53 and so on. The clever bit is that you can connect your points to an accessory decoder to operate. So if the point is given the address 51, when it operates the light address 51 can change when the point is thrown. This will be the next phase of setting up my points and lights for DCC operation, although I am not sure I will get that bit finished before I go back to Africa, which means Christmas.
I will also be keen to see what the signals look like once they have all the parts added and are bedded into the ballast. If I have one comment; I think the signals are a little short and looking at the blurb it seems they are modelled on a platform signal. I will write to Train Tech to see if the can add about 1cm to the height of the post for the future.
Overall, these signals are a very easy and effective way of bringing on board DCC control.
Bob
Posted

Site staff
Ron
NCE DCC ; 00 scale UK outline.
NCE DCC ; 00 scale UK outline.
Posted
Full Member
Neat Bob , but how do you remember what the code is for each signal? On a panel, I understand but if the layout is a walk-around following the train, what then?
Good question. In my case I have given my signals the same address as the points. The points are numbered in sequence, so when point number 24 is thrown, light number 24 changes. The only other way is to have a track diagram showing all the lights. I have to have a list of loco addresses, so I guess this would be similar. The kits do come with some scale stick on numbers which might assist.
One of the good things about the Prodigy is that you can programme routes, so you could do it this way if you wanted to keep the lights separate from the point control. I currently have manual lights on the other half of my layout and if I am honest I continually forget to change them, especially those not visible from where you happen to be sitting.
I find with points that even though I have a track diagram I have quickly learned the numbers and do not need to refer to the chart. I have set my points up in blocks, so one area is series 1-10, the next is 20 - 29, the next will be 30 - 39 etc.
Bob
Posted
Full Member
Might be worth putting Train-Tech in the index Bob. Here is the website:
http://www.train-tech.com
Bob
 Last edit: by Bob K
Posted

Full Member
Thanks once again
Posted
Full Member
Excellent project, great company too with some neat items i assume prices are down to each retail as no prices on site.
Thanks once again
Thanks
The company does have a price list, which I picked up at the show, unfortunately it is in UK. However, I know that a single 2 aspect signal costs 24 pounds. The multiple Accessory decoder works out at 37 pounds and the buffer stop lights cost five pounds each. Obviously the more complex signals are increasingly expensive, with 4 aspect, junction and route indicators etc.
I thought 24 pounds for the signal is OK, as you get a nice model of a signal, a decoder and there is no need to buy a switch or power supply. All that is not too much different from buying, say a Berko or Eckon signal and then adding swtches etc and wiring it up.
I am sure an email to Train-Tech would result in a copy of their price list.
Bob
Posted
Full Member
A neat project with an excellent result.
I presume, provided you programme your lights at the same time as the points, and with the correct colour/route set, you won't need to remember if it's 1 or 2 for red or green, you'll just throw the point, and the signal will set accordingly. :roll::roll:
As you say, they would look better slightly taller. :thumbs
Hope Africa treats you kindly this trip - keep safe.:cheers
'Petermac
Posted
Legacy Member
1 guest and 0 members have just viewed this.