Using cassettes on a limited space N gauge layout
Posted
#266531
(In Topic #14527)

Full Member
The layout is 4'6"x2'6; cassettes are cut from plastic cable trunking, from Homebase 25mmx16mmx 2M, fasten track with pieces of double sided tape, or glue of your choice.
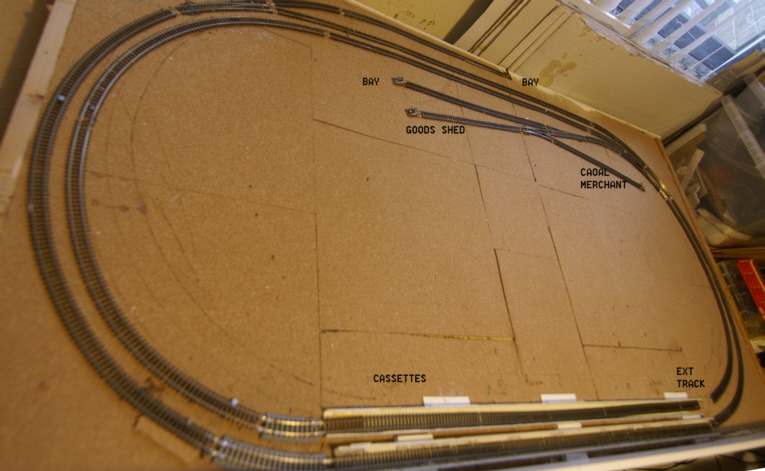
I use a fixed piece of Kato track with Kato joiners on both rails, the Peco track in the cassette slides easily into them (the thickness of the plastic cassette raises the track to the same level as the Kato joiner) at first the Kato joiner sometimes stayed on the cassette when disconnecting so I now solder them on to the Kato track and hot melt glue the kato track to the cork surface. (but not the insert for short cassettes) I use pieces of plastic angle glued down to align the cassette
At the other end of the cassette I use the Kato extending track, this can extend from 3" to 4.25"
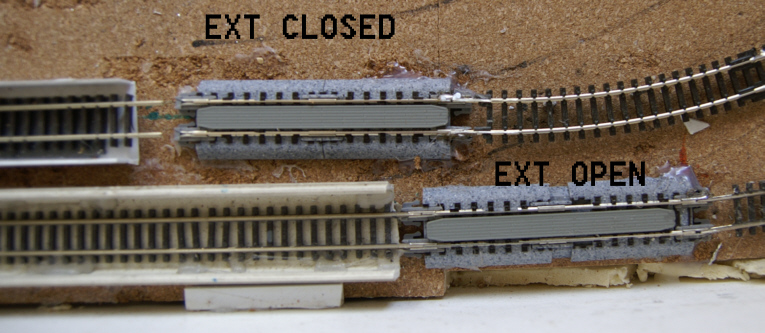
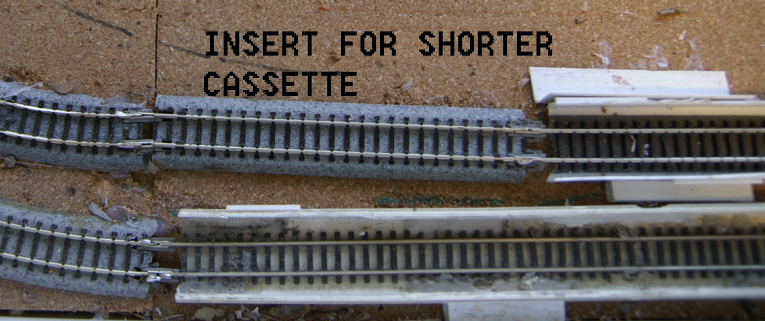
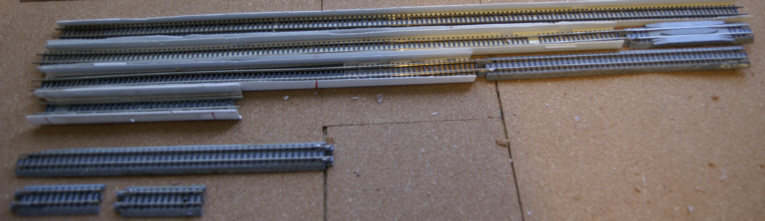
To cope with different length cassettes I can insert one or more pieces of Kato track at the "fixed end" the lengths of Kato straights 10", 5" and 2.5", the extender can open by 1.25" so a full straight approximates to 2 coaches (Maunsell 59 footers)
Cheers MIKE
I'm like my avatar - a local ruin!
I'm like my avatar - a local ruin!

Posted

Site staff
Ed
Posted
Full Member
If both eyes were working it would make things easier but with the left eye a bit dodgy close up work is not as easy as it was.
A few more hours testing then I'll think about power wiring , and wire in tube for the 6 points, as the furthest from the edge of the board is less than 8" that should be no problem. Once that is all sorted then comes the dreaded ballasting, I've still got some genuine Meldon quarry N gauge ballast so as it's 1930s SR that will be prototypical.
Cheers MIKE
I'm like my avatar - a local ruin!
I'm like my avatar - a local ruin!
Posted
Site staff
Ed
Posted
Full Member
With all 6 points being fairly close to the edge I'll use wire in tube for all of them, my usual way of doing it is to cut a slot in the cork covering the baseboard to hide the tube, and use small slider switches to operate things and do any frog switching needed, drill a hole through the "knob" bend the end of the wire and feed through said hole, the throw of the switch is about the same as needed to throw trhe point plades (N gauge)
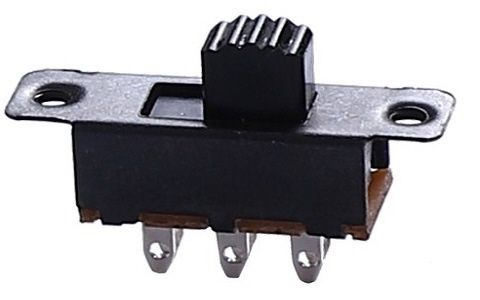
This is from a previous layout

Cheers MIKE
I'm like my avatar - a local ruin!
I'm like my avatar - a local ruin!
1 guest and 0 members have just viewed this.