Chairs, Frogs and Sleepers.............
Posted
#263627
(In Topic #14361)

Full Member
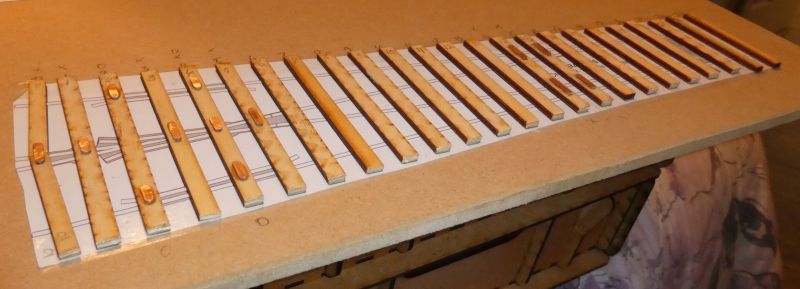
Most of these had been won on Ebay auctions over the recent past together with some pre cut ply track and point timbering during my concerns over the availability of C&L products.
I seemed to have accumulated quite a sizeable amount and it1s a pity to see it all gathering dust.
So, in 7mm Finescale fashion a long standing `quickie` project has been born…..
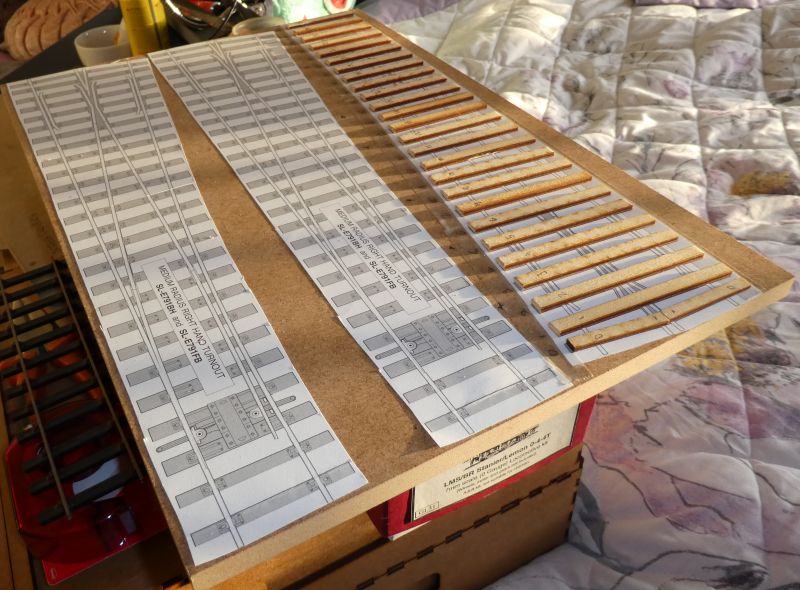
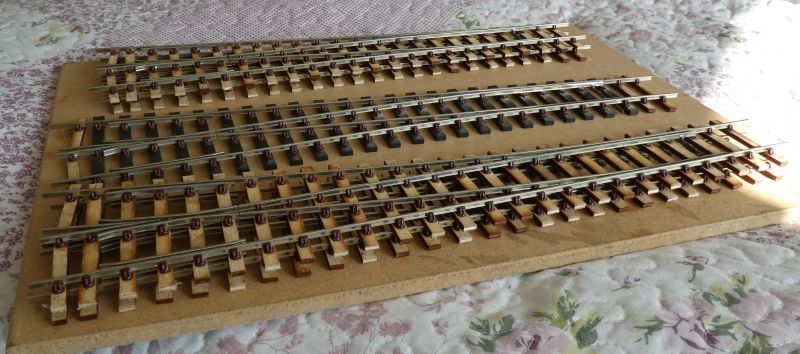
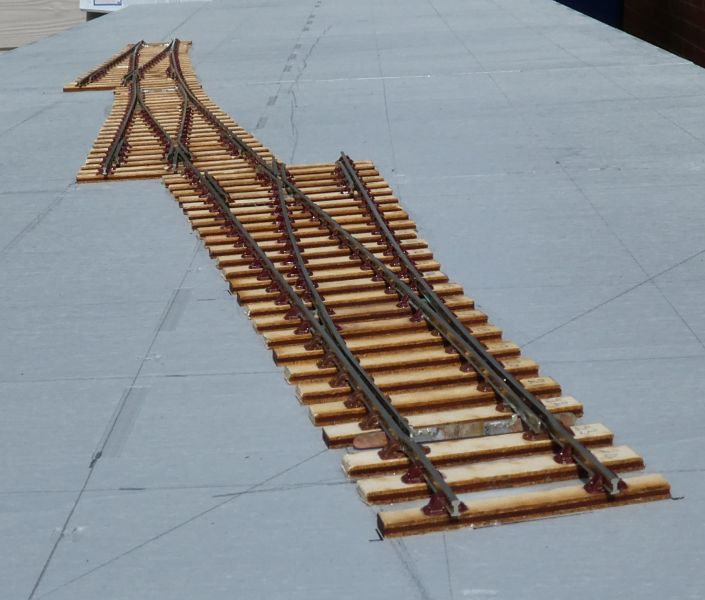
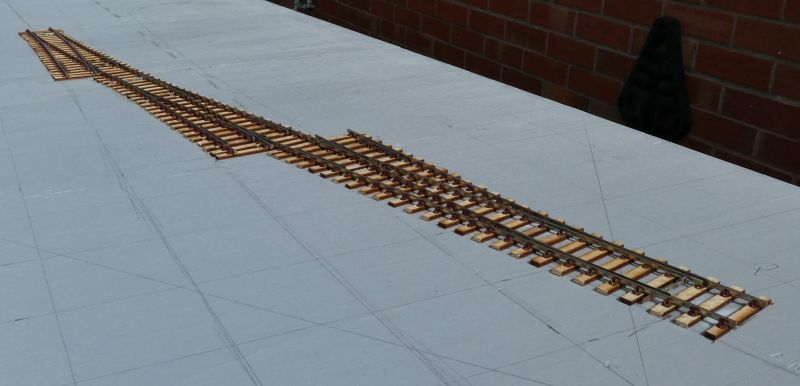
Many years back I had purchased Peco point templates which are a match for their Individulay frog and switch parts. To save time these templates have been finallly utilised to make a set of five O Gauge points but using a set of gauges to reduce the track gauge to 31.5mm through the crossing V in order to rid the problem of wheel drop.
So, January the 1st, off I wented……..
Almost all of my many years of railway modelling has been competed in the comfort of the kitchen table and now I`ve turned 70 and my fingers struggle with rigorous modelling tasks, I`ve continued to rationalise my tool box by taking advantage of all those that are cordless or small enough to be used in a limited environment.
So this year I have `modernised` my soldering weaponry to cordless as well…….

With my trusty Solder-pro gas iron things have proceeded at a faster pace….
The age old usage of 1mm paxolin copper coated strip to form the electrical track droppers and keep the frog and wing rails in place .
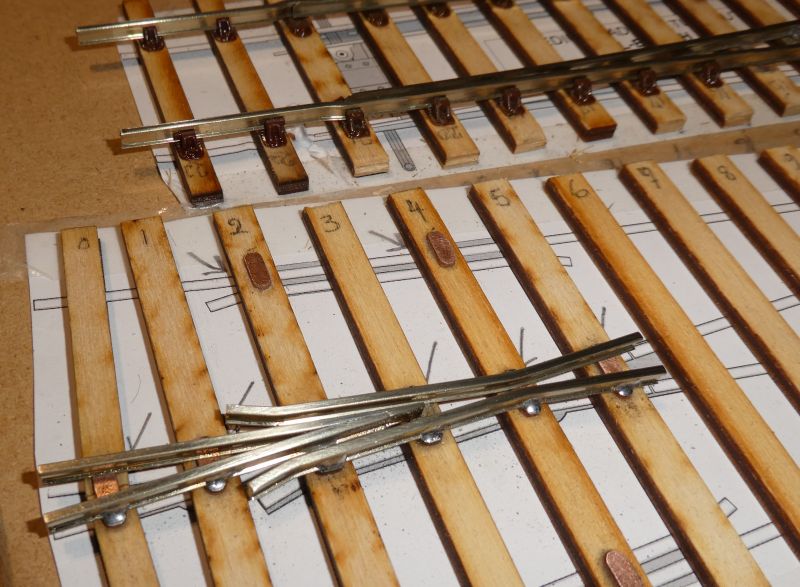
The rest of the pointwork is completed with plastic cosmetic rail chairs. I was lucky to have enough C&L GWR pattern chairs left over from my Sarsden project rather than use the Peco products.
The hardest and toughest work for my aching fingers was fettling individual chairs around the soldered connections.
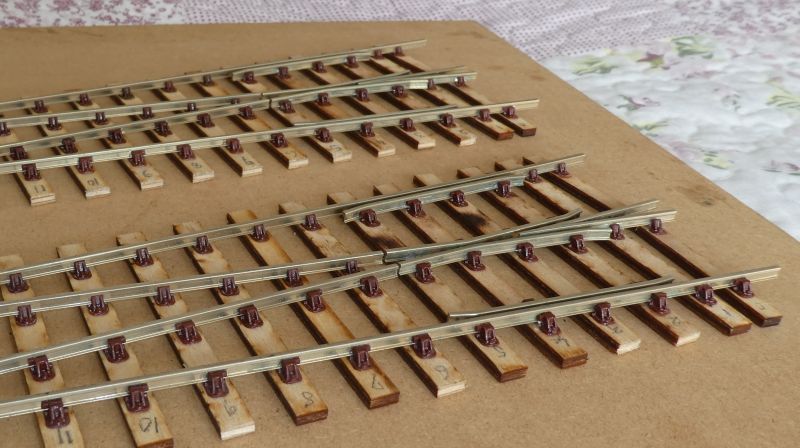
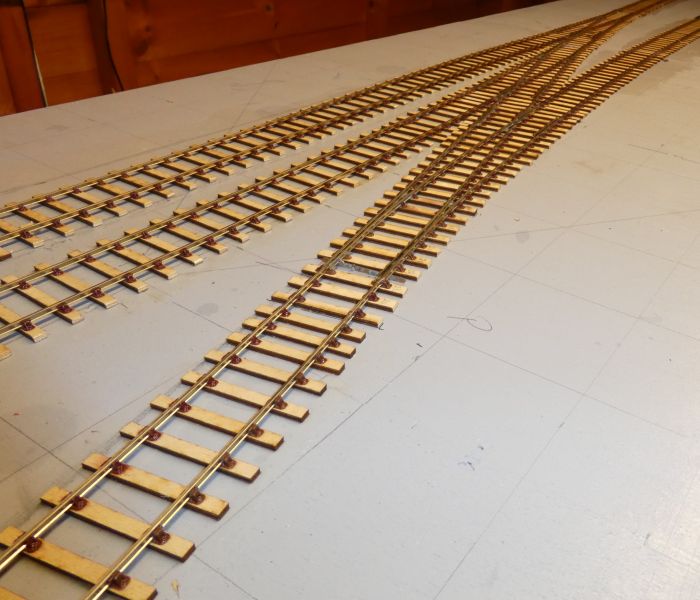
Pointwork tribulation complete…..
This has all led me to Grainge and Hodder………. more to follow folks
Twobolt John

Posted

Full Member
Try using solder braid to get rid of the solder blobs. Saves carving up the half section chairs.
Nigel
©Nigel C. Phillips
Posted
Full Member
Twobolt John
Posted
Full Member
Great product !!
Eighteen years back in my 4mm modelling era I made a set of wiring looms using ribbon cable and a home made transformer box giving a range of up to 16volt power out puts that have been used for all my layout creations and saved a lot of time with layout wiring.
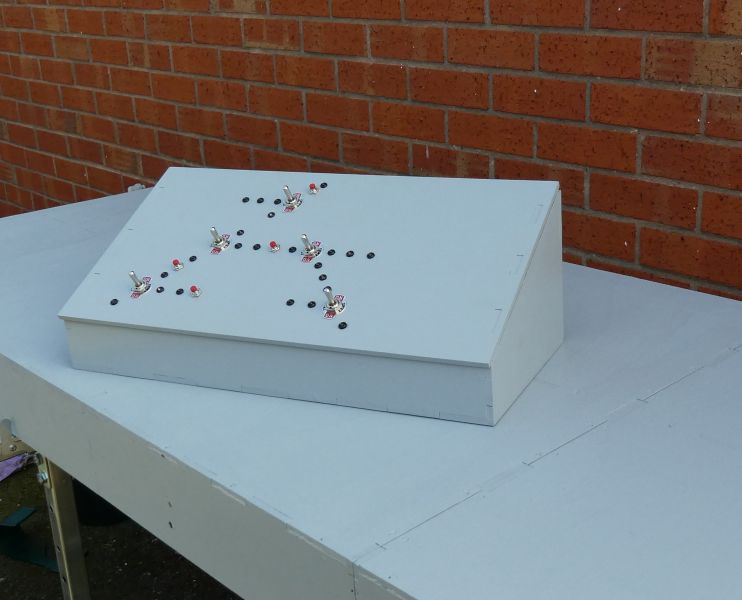
This time my analogue point, magnets and signal wiring will be all non soldered connectors…….
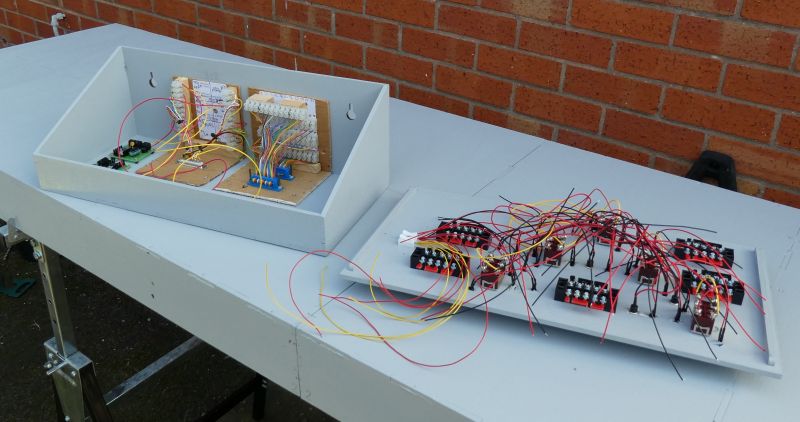
Loco control remains DCC using NCE Powercab.
Twobolt John
Posted
Full Member
Twobolt John
Posted
Full Member
Terry
Posted

Full Member
Aren't you supposed to "gap" the CC sleepers ?
'Petermac
Posted
Full Member
Me no understand

Twobolt John
Posted
Full Member
'Petermac
Posted
Full Member
John
Twobolt John
Posted

Site staff

Wasnie me, a big boy did it and ran away
"Why did you volunteer ? I didn't Sir, the other three stepped backwards"
"Why did you volunteer ? I didn't Sir, the other three stepped backwards"
Posted
Full Member
:oops:I know the sleepers are wood. I just wanted to check that the rest of you knew ………… :cheers
'Petermac
Posted
Full Member
Nigel
©Nigel C. Phillips
Posted
Full Member
Cheers Pete.
Posted
Full Member
Back when it`s more a dream world.
But remember folks…. this is not a Train Set…
It`s a Scale model railway Operation ;-) ;-)
 Last edit: by Twobolt
Twobolt John
Posted
Full Member
Cheers Pete.
Posted
Full Member
It looks great John. :thumbs
'Petermac
Posted
Full Member
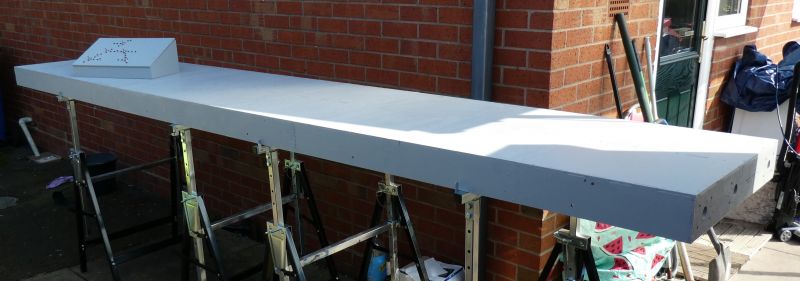
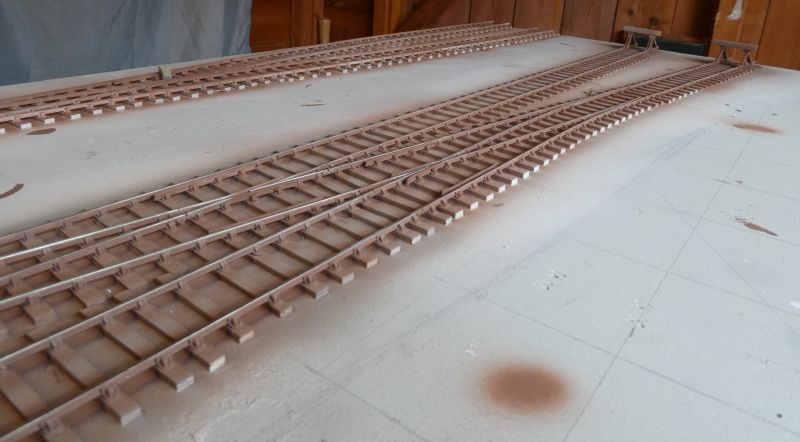
Trackwork has been wired up with provision for remote auto coupling using electro magnets and Flippem couplers.
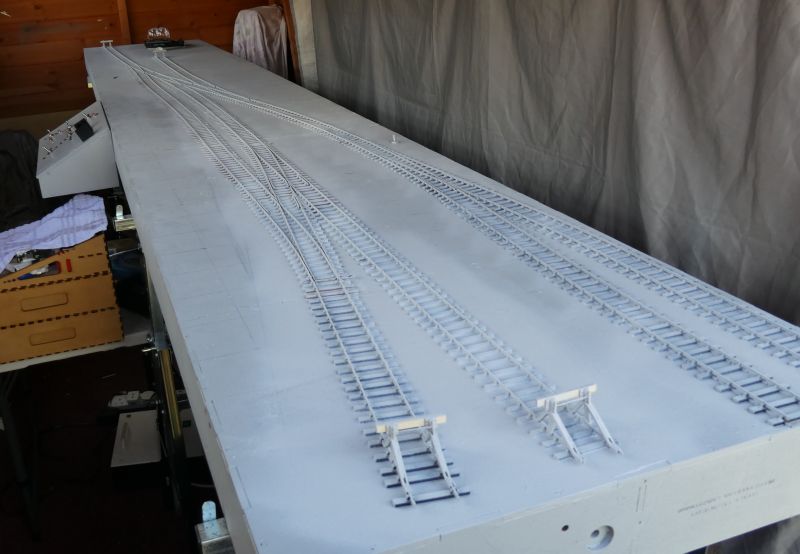
all airbrushed with etch primer first and then track colours from Phoenix/Precision.
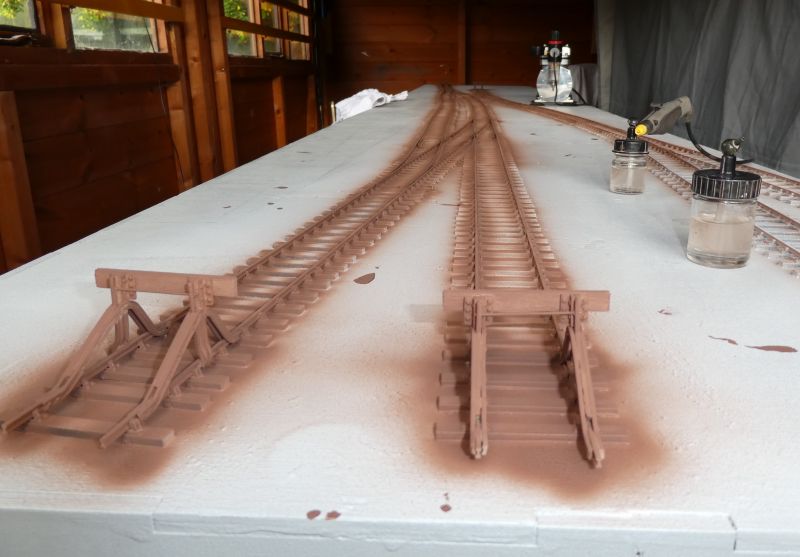
It scrubbed up quite well…
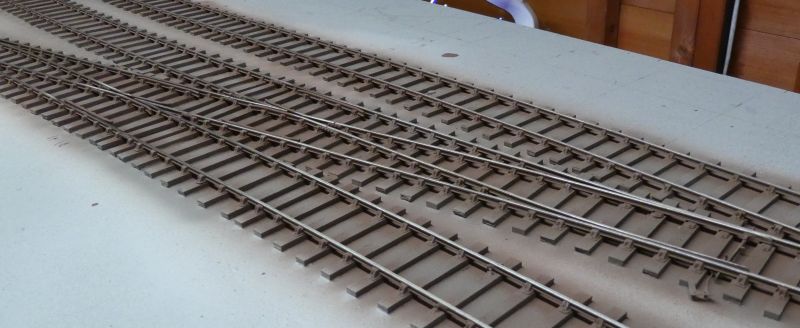
Everything tested and working as I hoped for…..
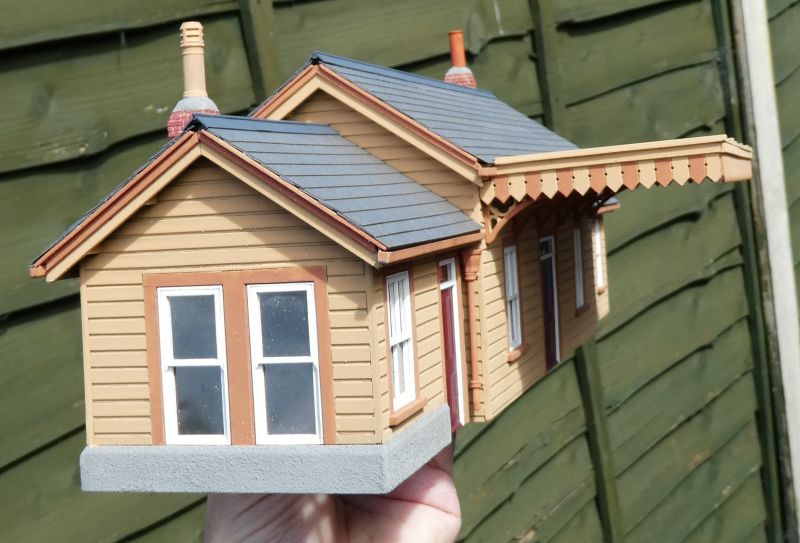
So I have got on with making some Railmodel ex Lasercraftdevon laser cut building kits starting with a kit based on Chudleigh.

Twobolt John
Posted
Full Member
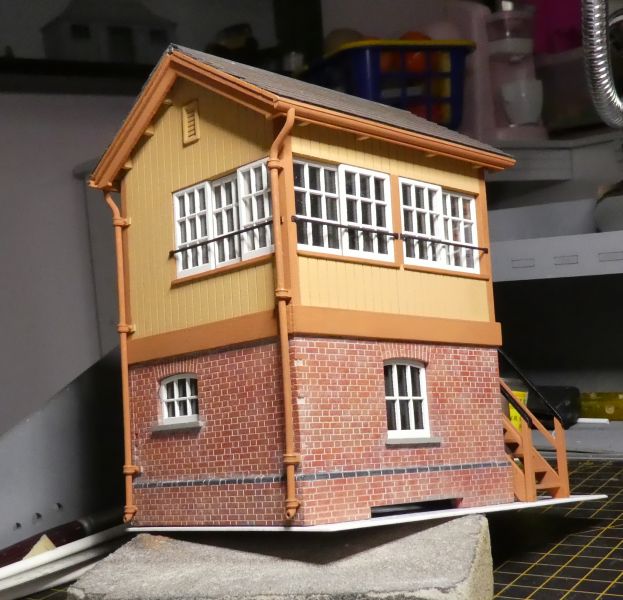
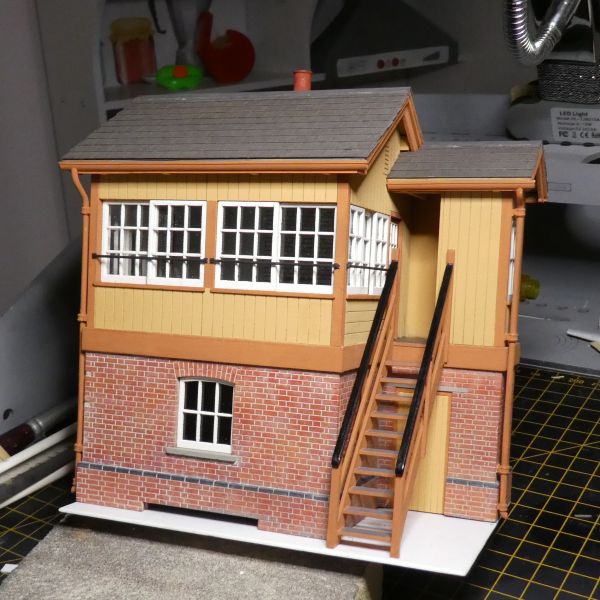
Burn`t more midnight oil last night and have nearly completed a Railmodels signal box kit.
Hopefully, today I will get the signal box nameplate from Intentio models………….
Twobolt John
Posted
Full Member
Cheers Pete.
1 guest and 0 members have just viewed this.