Rob P's Coaching Stock Workbench
Posted
#224572
(In Topic #12248)

Full Member
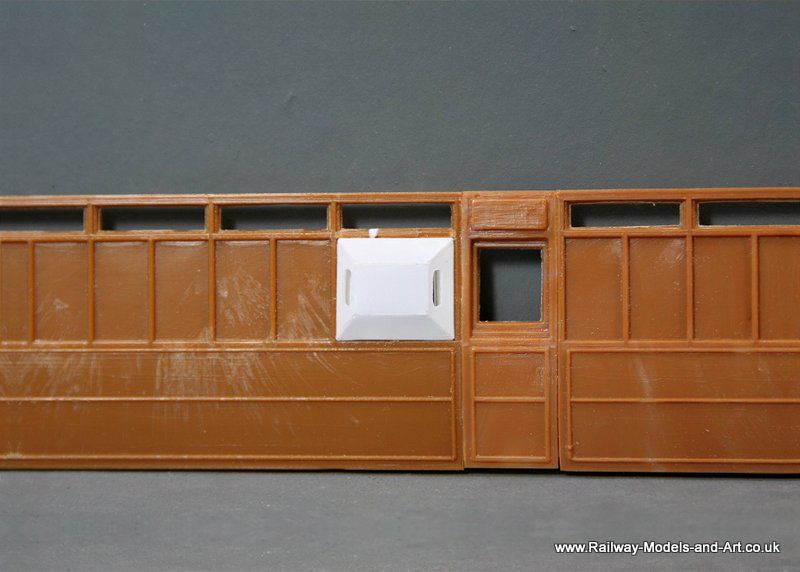
There was a small moulding fault on one of the sections so I elected to use it in the side that I was cutting out for the ducket. The ducket itself is one of my Silhouette cut examples Oddly I needed to cut a couple of different sizes because the ones that I had left from the last build were slightly small in the hole.
There was another issue with the solebars for the kit which were all twisted as they came. An email from Don to Ian Kirk had some replacements in the post next day. I had already stuck the sides together so it wasn't worth asking Ian to replace the section with the moulding fault. I just cut the section out squarely and let in a piece of styrene rod. Once dry I filed it to shape (much like they would have repaired damage to a coach in service). -
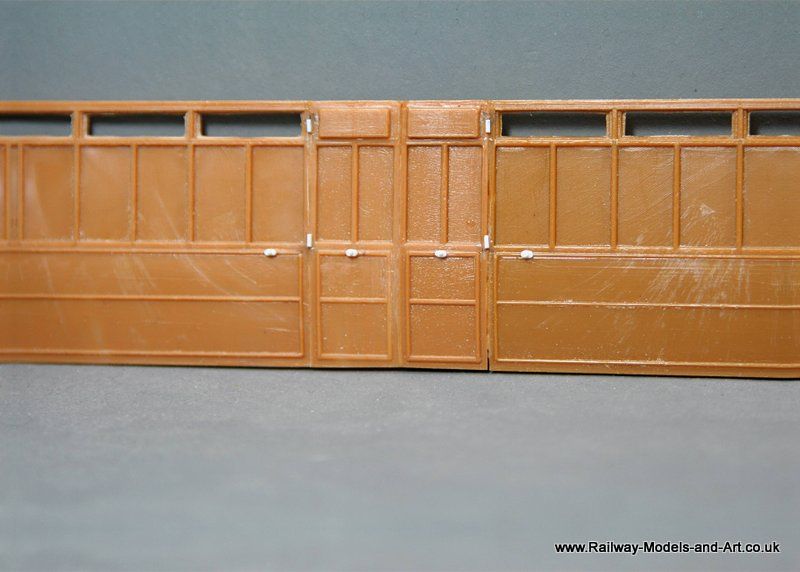
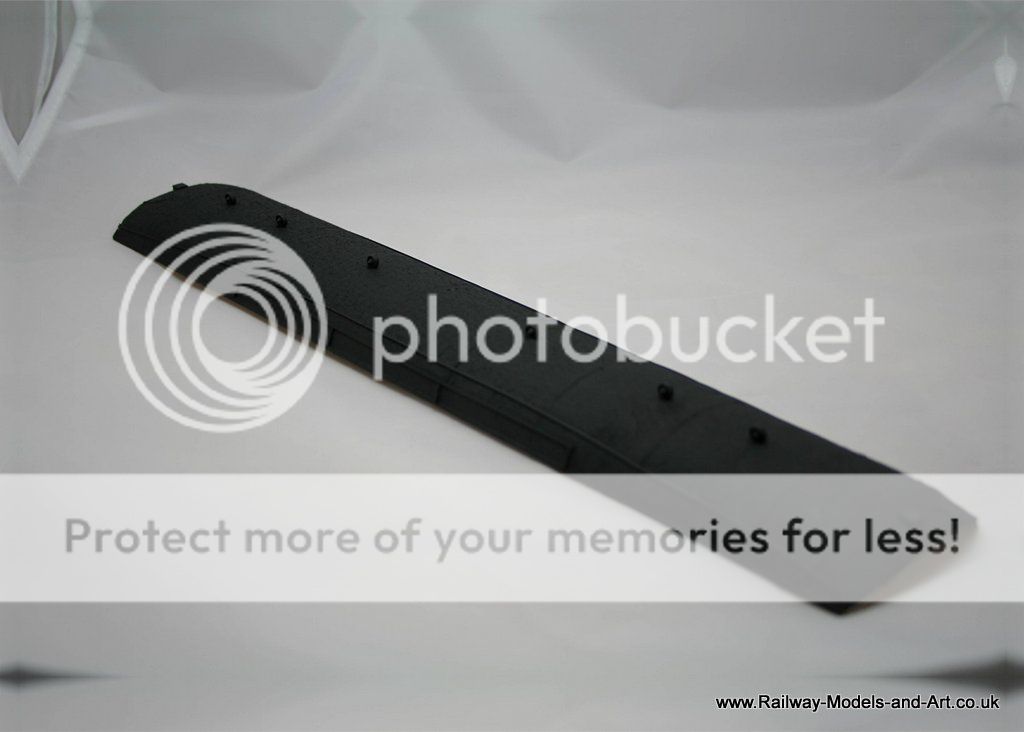
Three weeks ago I had added the base plates for the bump stops, I added the bump stops themselves on Saturday. After leaving them over night to set I filed them to uniform length using a scrap of 10 thou styrene with a hole in it. I also add the upper hinges but I will leave the lower ones until later because they are a bit vulnerable.
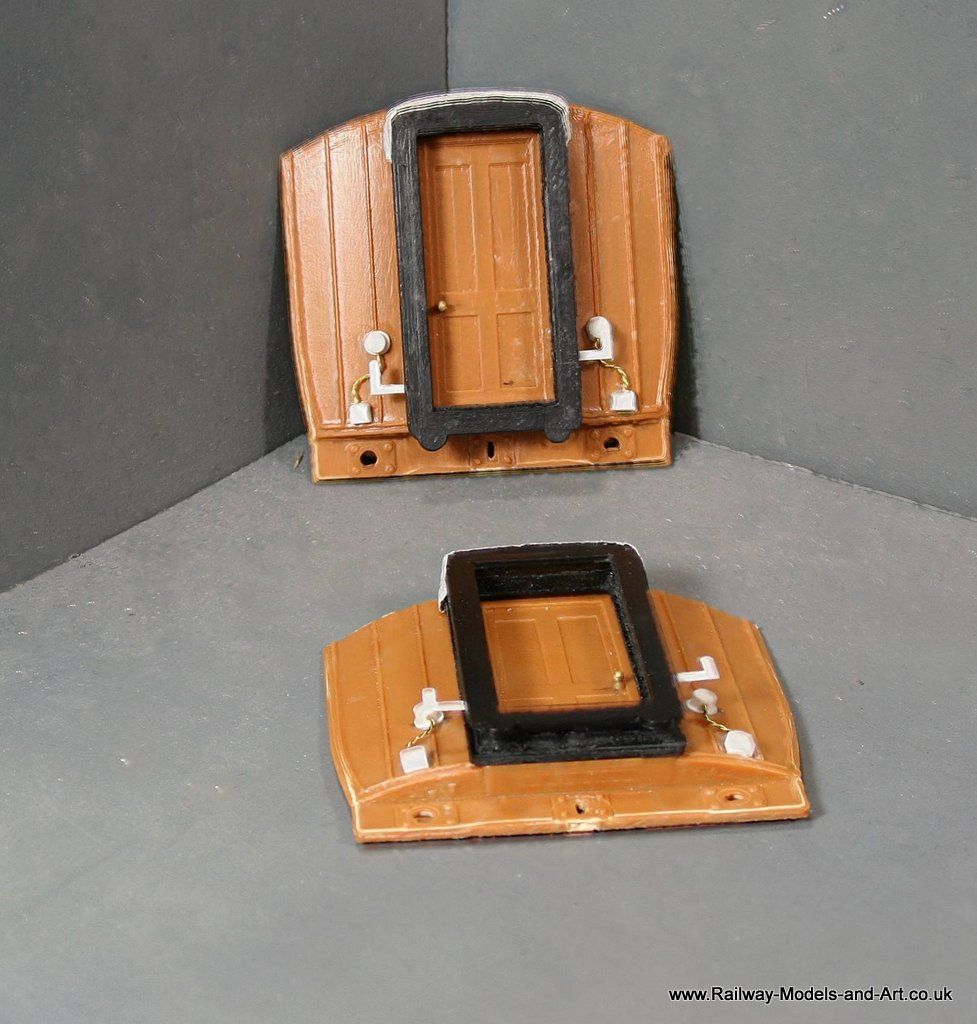
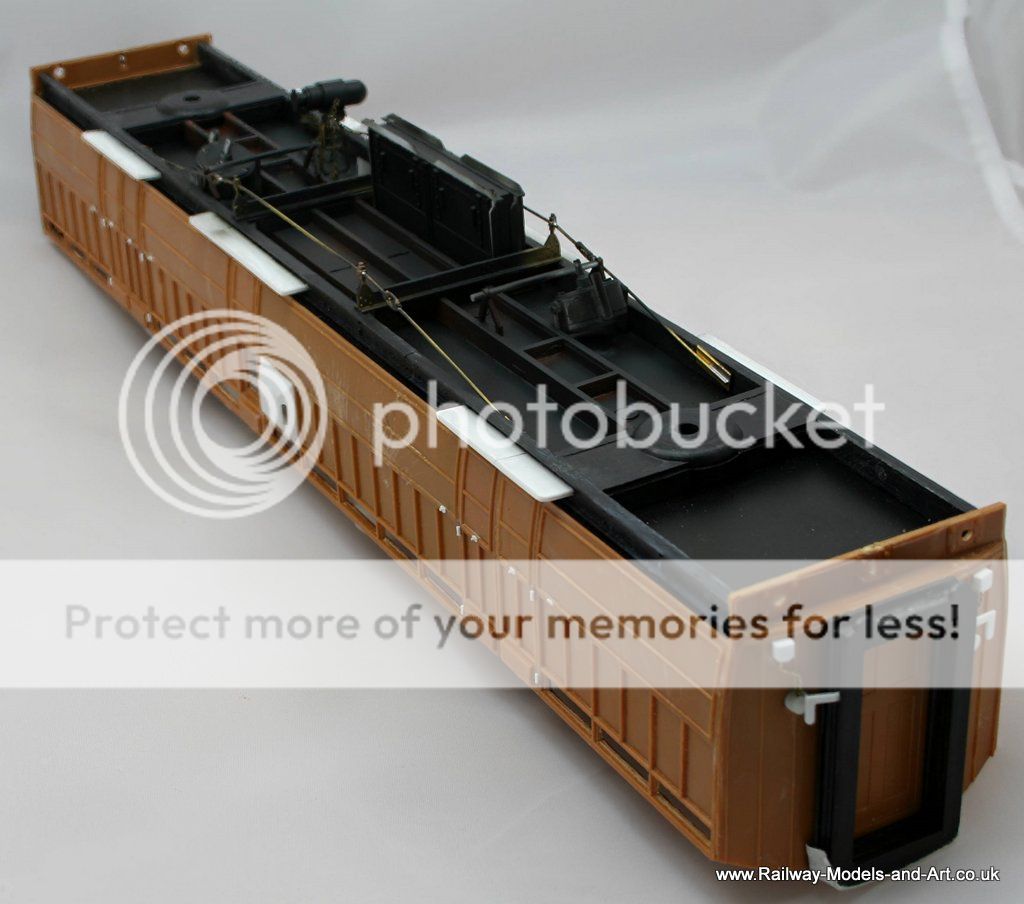
I also worked on detailing the ends - I like to build up as many sub assemblies as I can before putting it together.
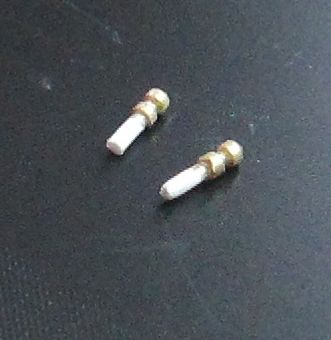
First I made a couple of door knobs from some styrene rod.
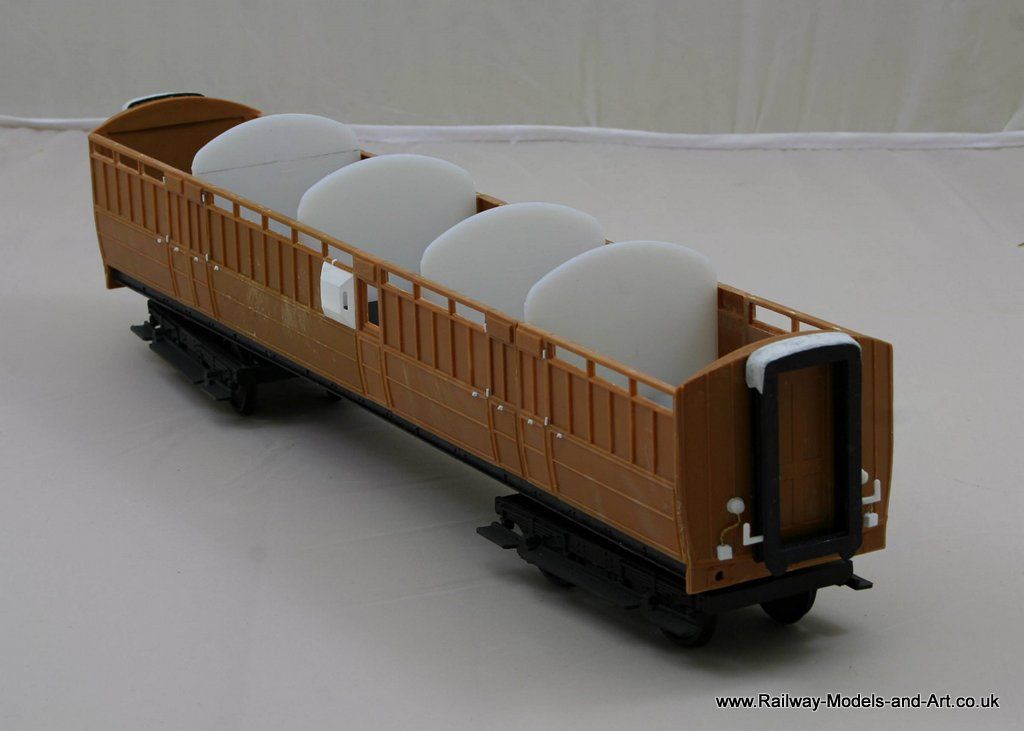
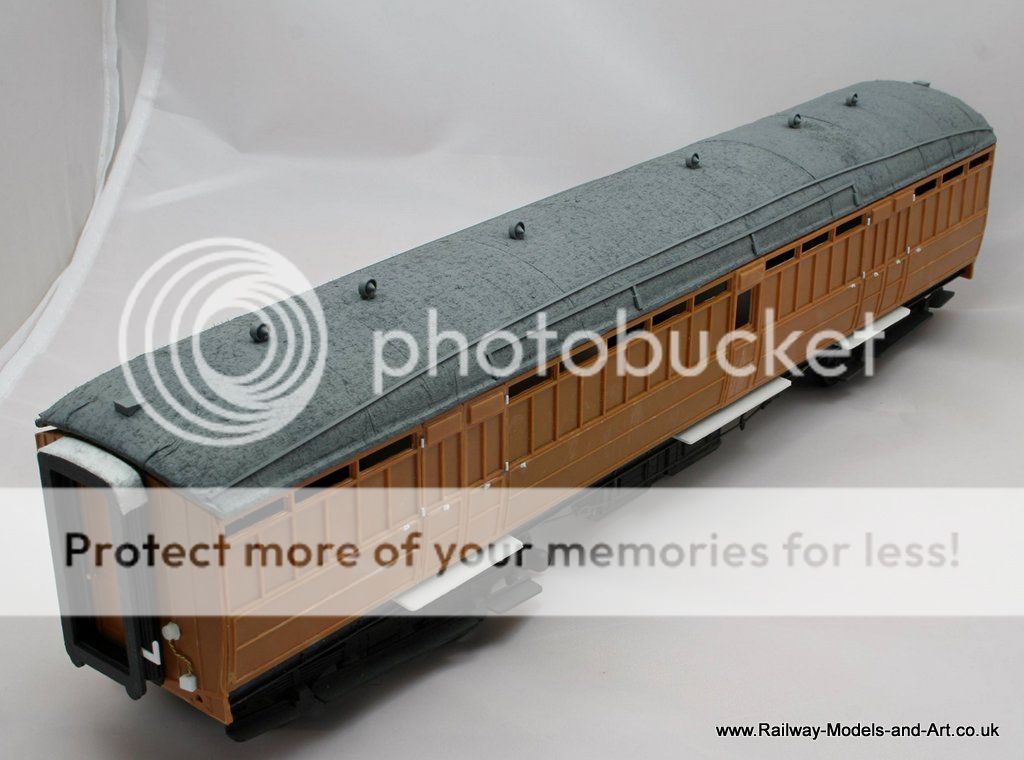
Then I added them to the doors in the ends along with lamp irons and lighting connectors. I used my ever handy lense tissue to make the canvas tops for the corridor connections.
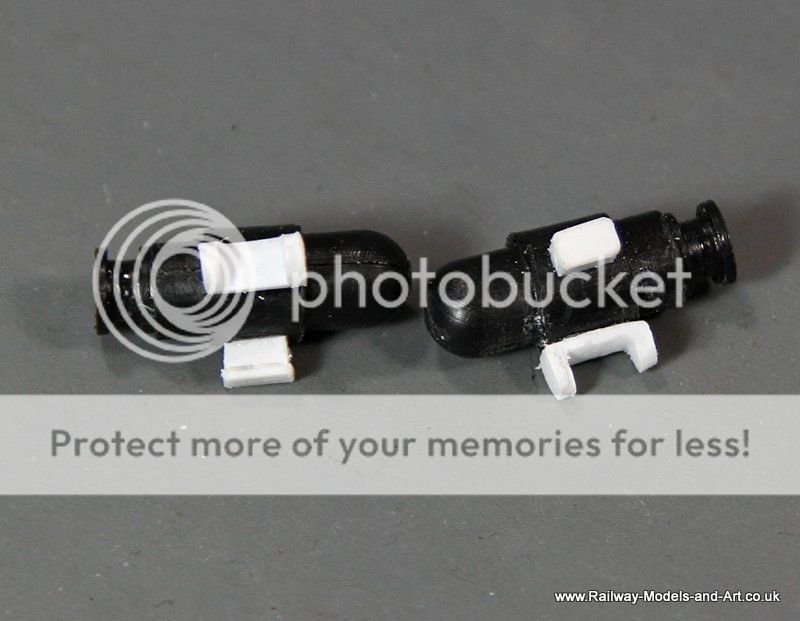
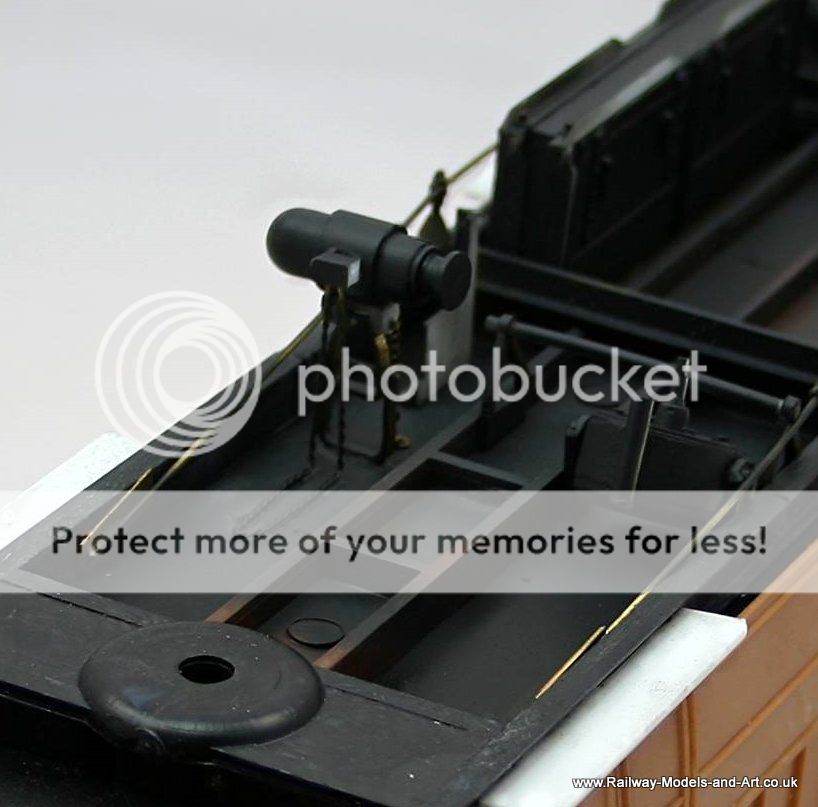
And finally I detailed up the Dynamos. These are a bit plain as they come and I had initially stuck a H section stem but seeing a 1/32 scratch build of a Pullman coach over on RMweb shamed me into doing something better. - I still need to make the mounting brackets yet. There are two because Don has asked me to build and all third to go with the other two as well.
Regards Rob

Posted

Full Member
John
John
Posted

Full Member

Posted
Full Member
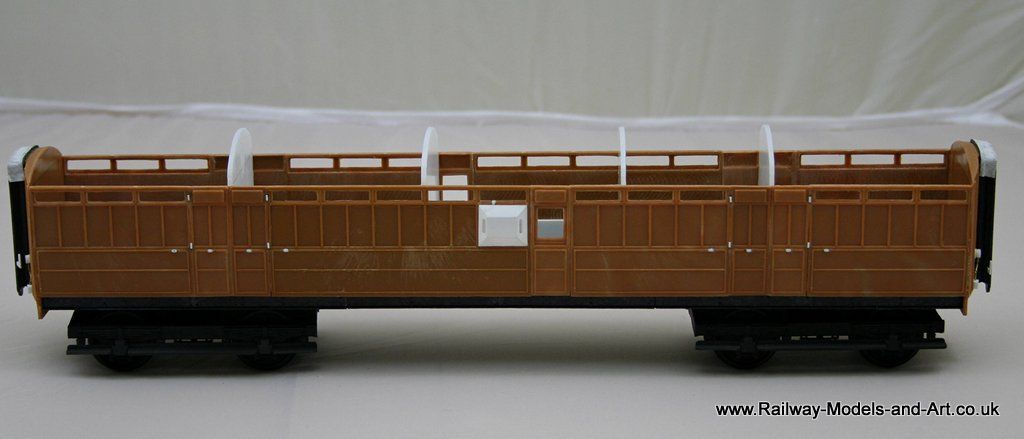
I forgot to add a photo of the canvas cover
Regards Rob
Posted
Full Member
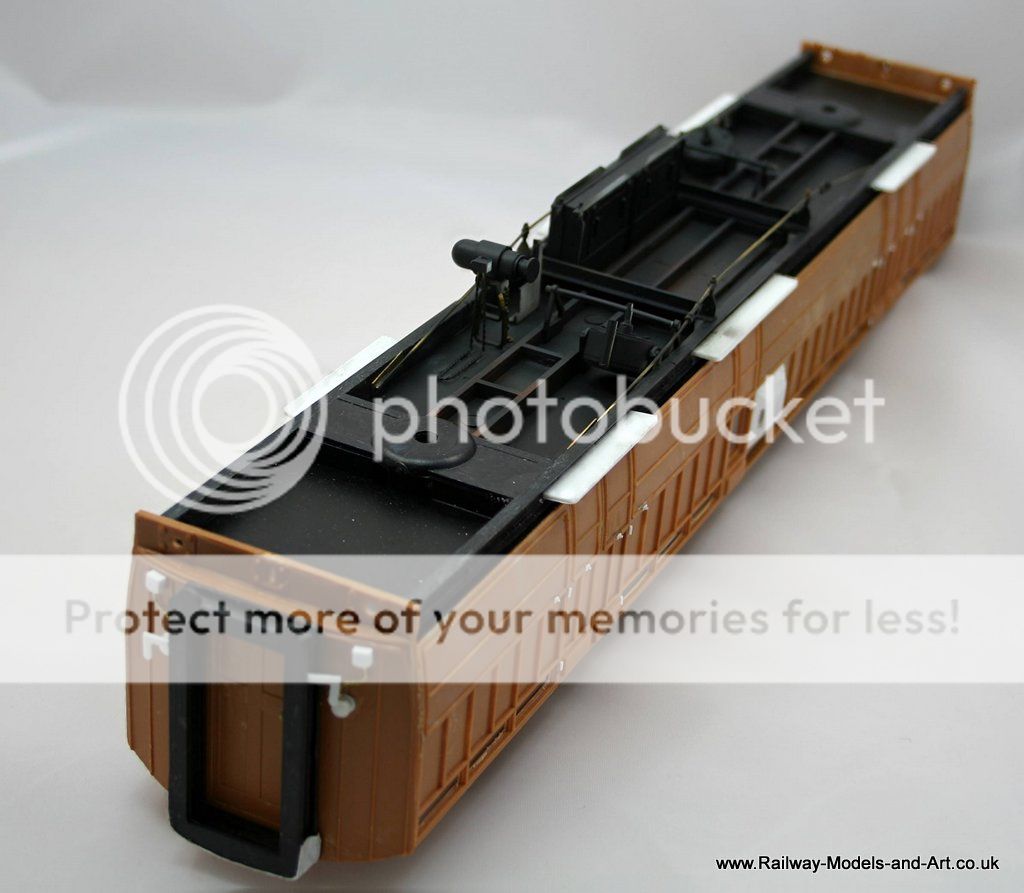
Ignore the bogies, they were to hand so I used them to prop the coach on for the photos
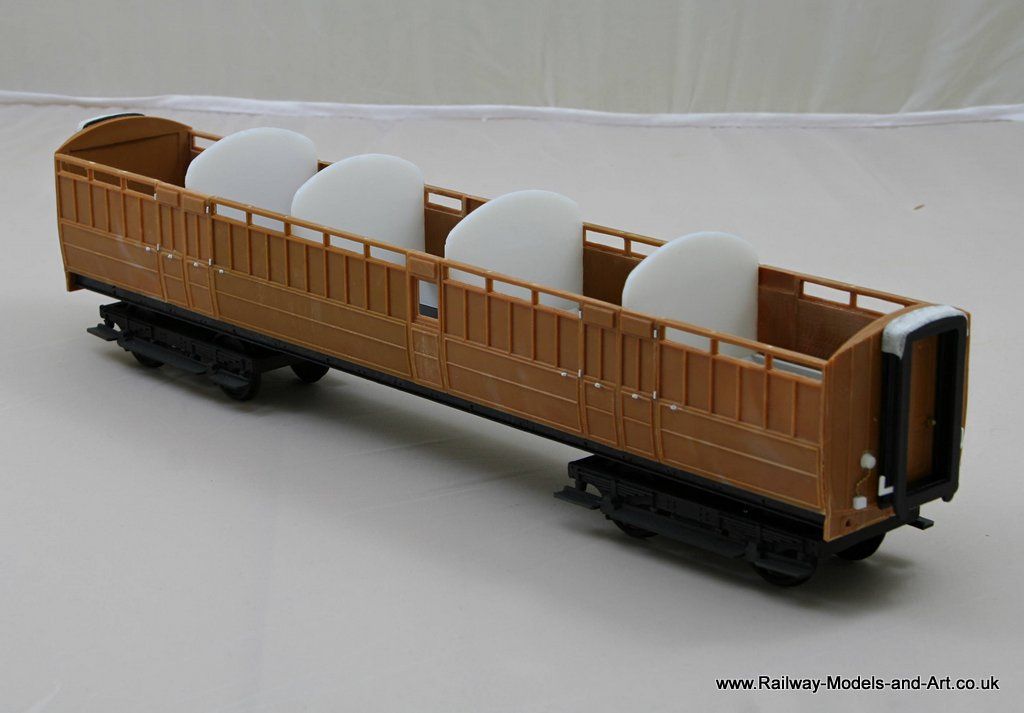
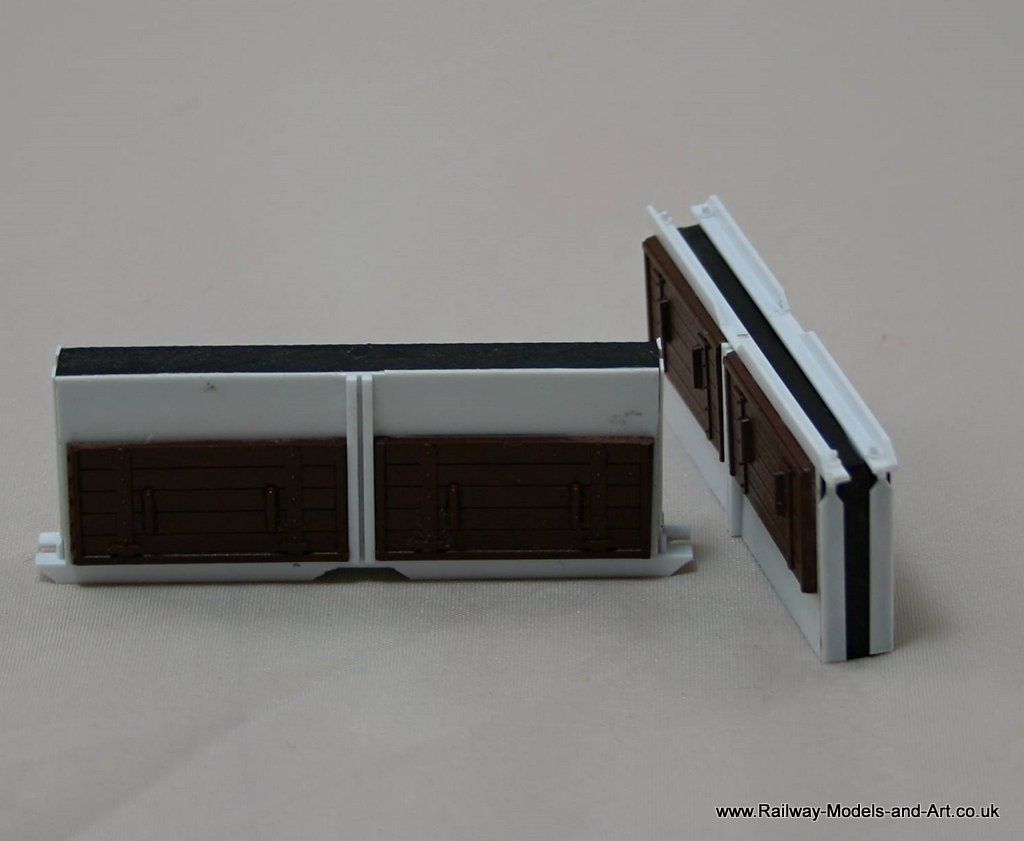
In between I made up the battery boxes for the all 3rd.
Regards Rob
Posted
Full Member
Posted
Full Member
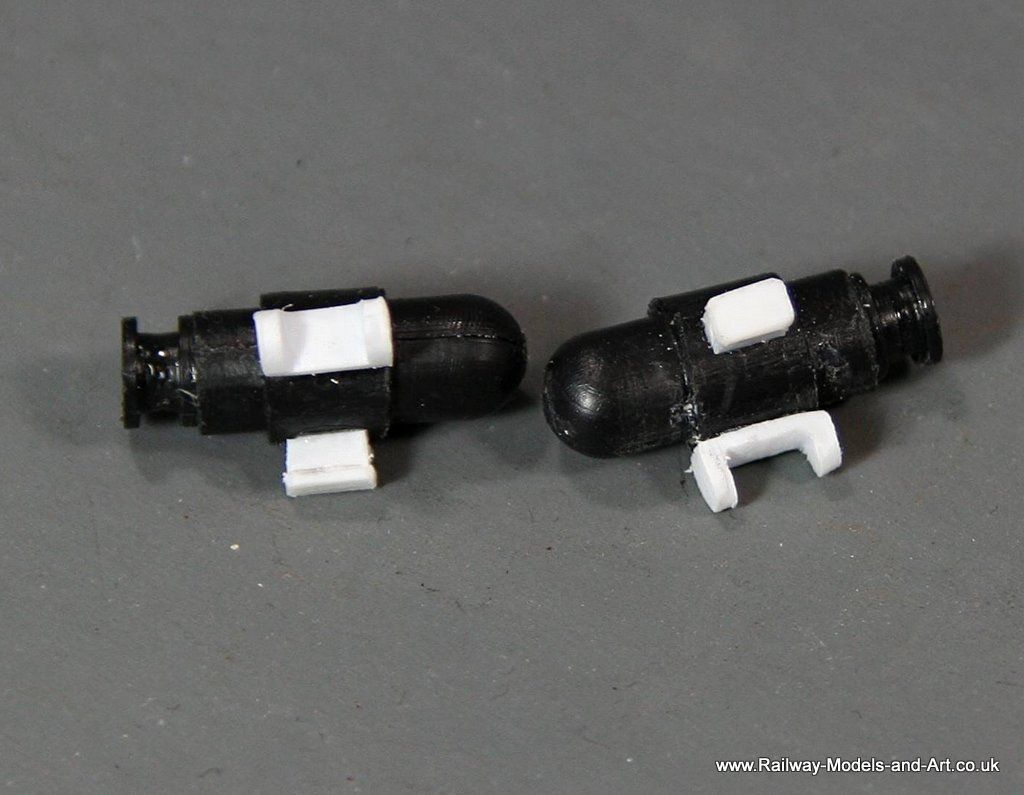
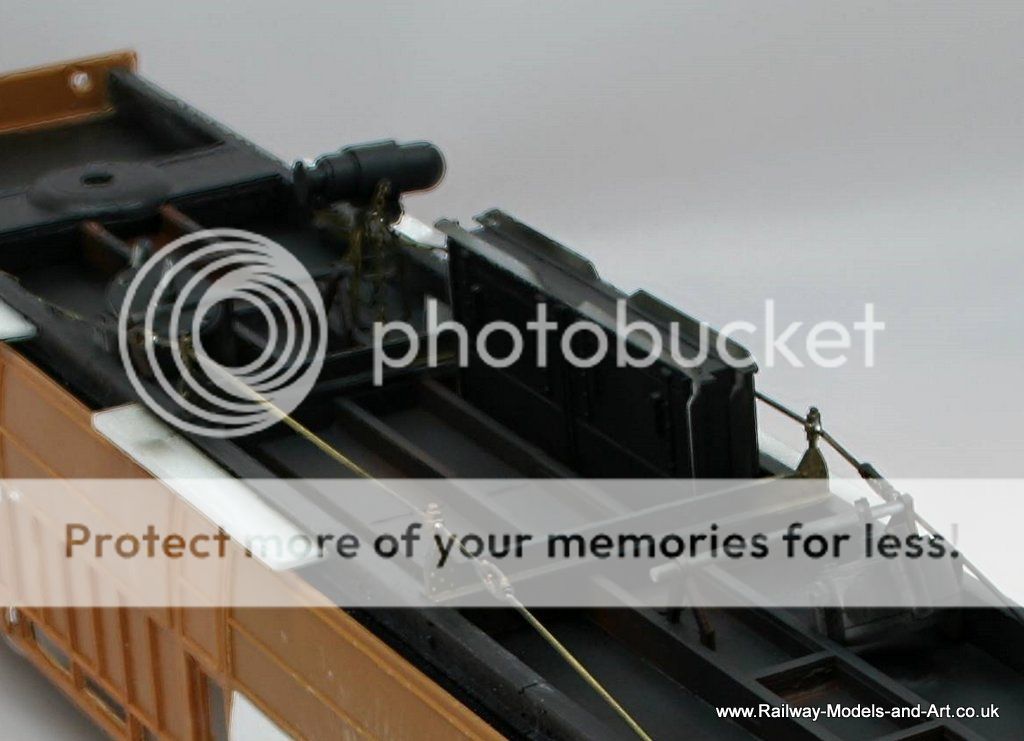
In between sessions on the roof I attached the battery box and prepared the V hangers for the vacuum cylinders. Not many words and not much to show visually either.
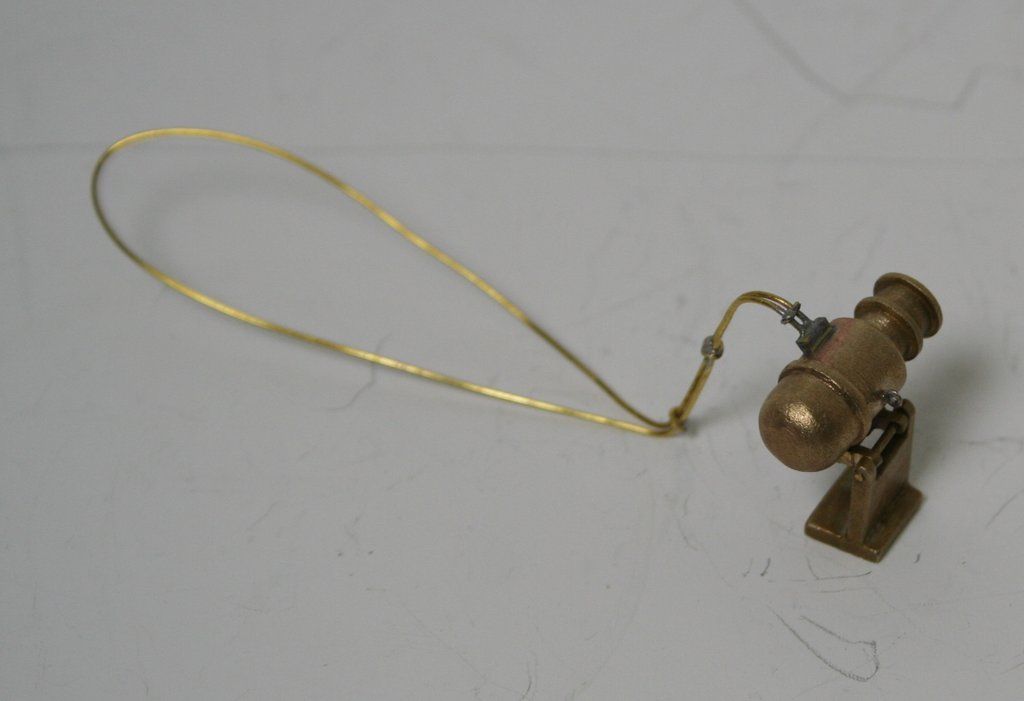
What is worth sharing visually, is that I did more work to one of the dynamos.
Starting from this, if you will forgive the repeat of an earlier photo.
And using this as my working example (this is one of the very nice Sidelines castings).
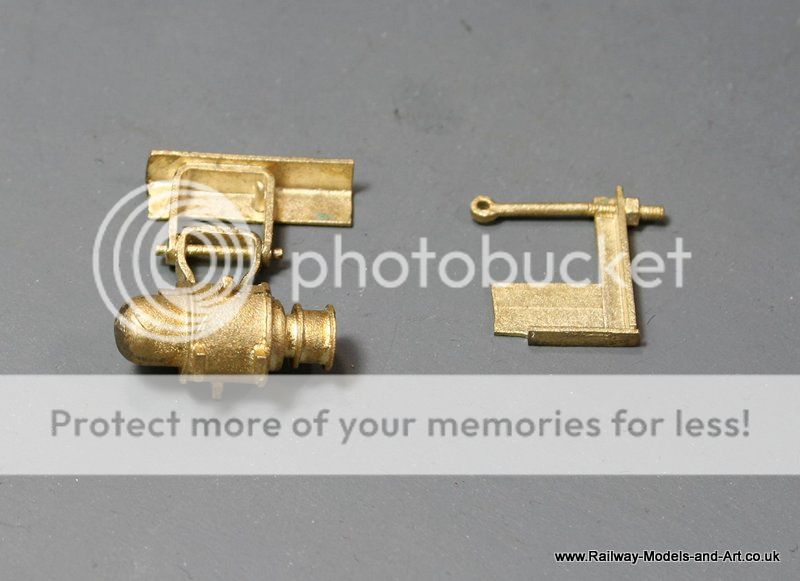
I arrived at this.
I am so pleased with the result that I plan to rip gently prise the dynamo off the parcels coach that I am building for myself which just needs final details and painting and modifying it to the same spec.
Regards Rob
Posted
Full Member
Cheers
John
John
Posted
Full Member
No problem John, they are lovely castings but as you might expect they aren't cheap and since I am building these for someone else I am cautious of keeping costs sensible.Hi Rob, nice work on the dynamos. I pinched your picture of the Sidelines example for use on my coaches.
Cheers
John
Geoff Stratford (formerly owner of Gladiator) also does some nice castings which are not as detailed but cheaper and can be made to look good - in true Blue Peter style her's one I did earlier
This is under an Ex NBR BG that I really need to get finished - it's so close you can taste it…
Regards Rob
Posted
Full Member
John
John
Posted
Full Member
When I pick up the NBR BG again I will share some photos of the rest of the build - I went to town on the details.
Regards Rob
Posted
Full Member
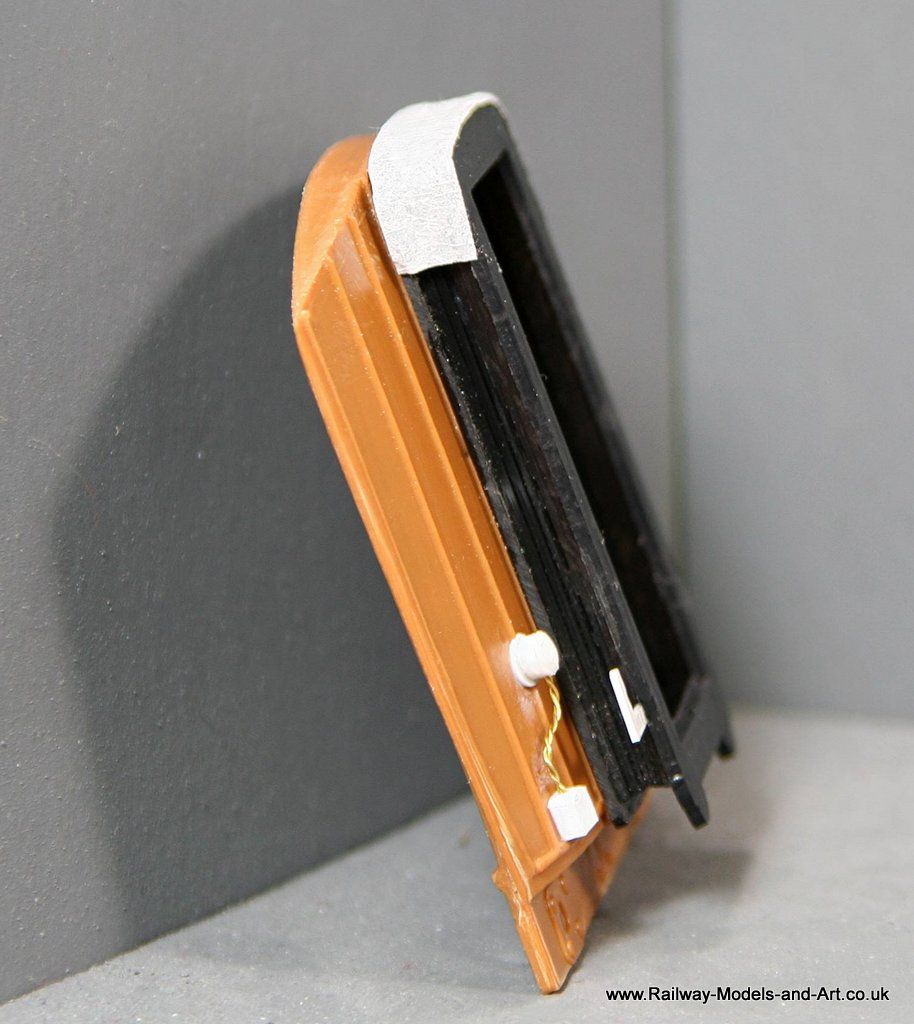
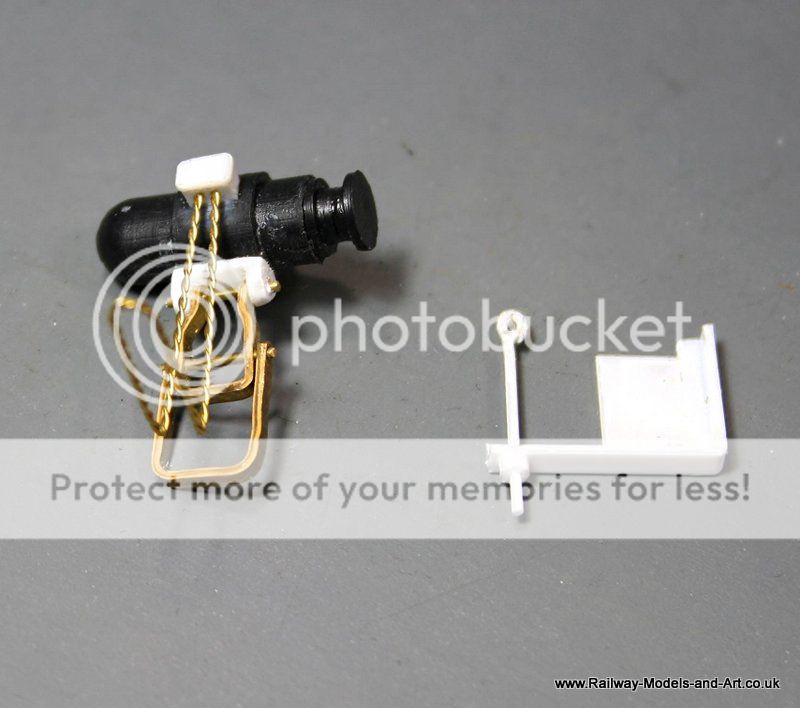
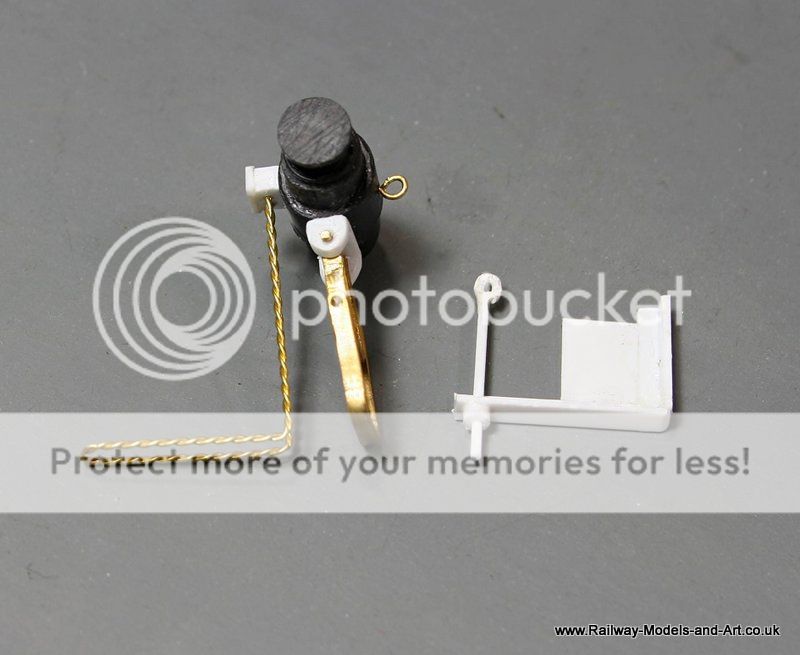
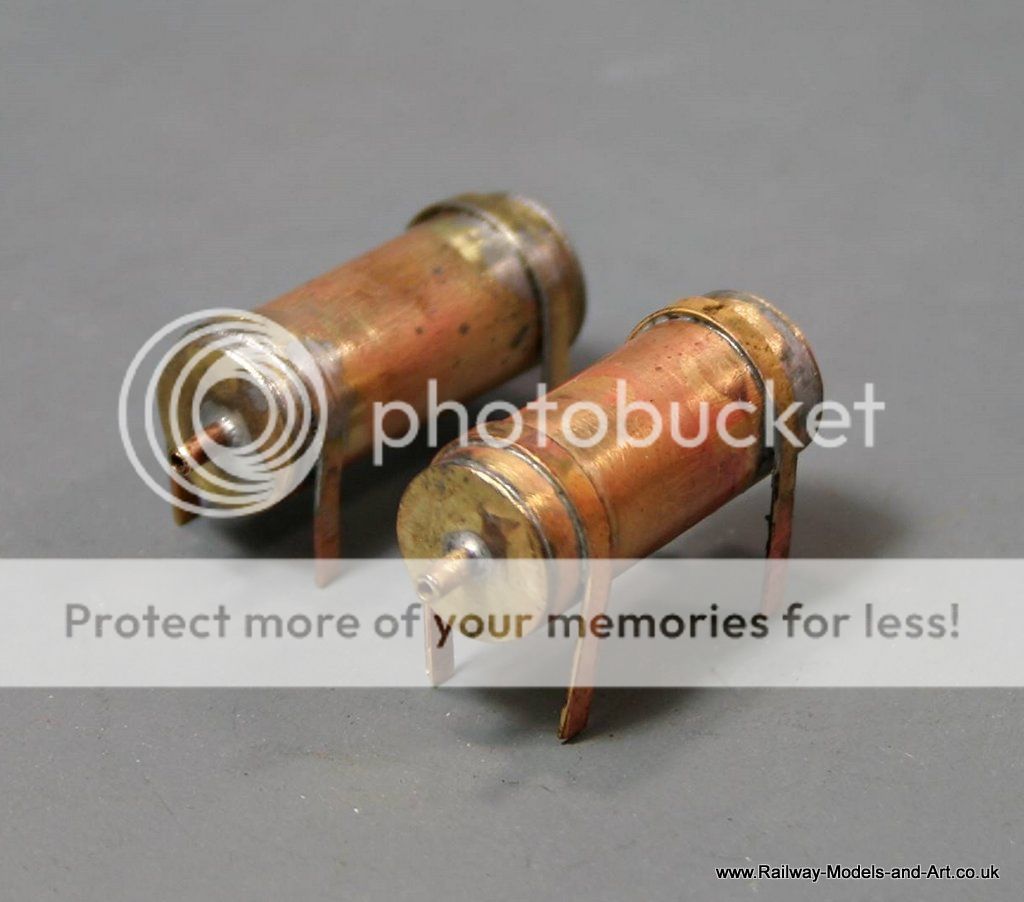
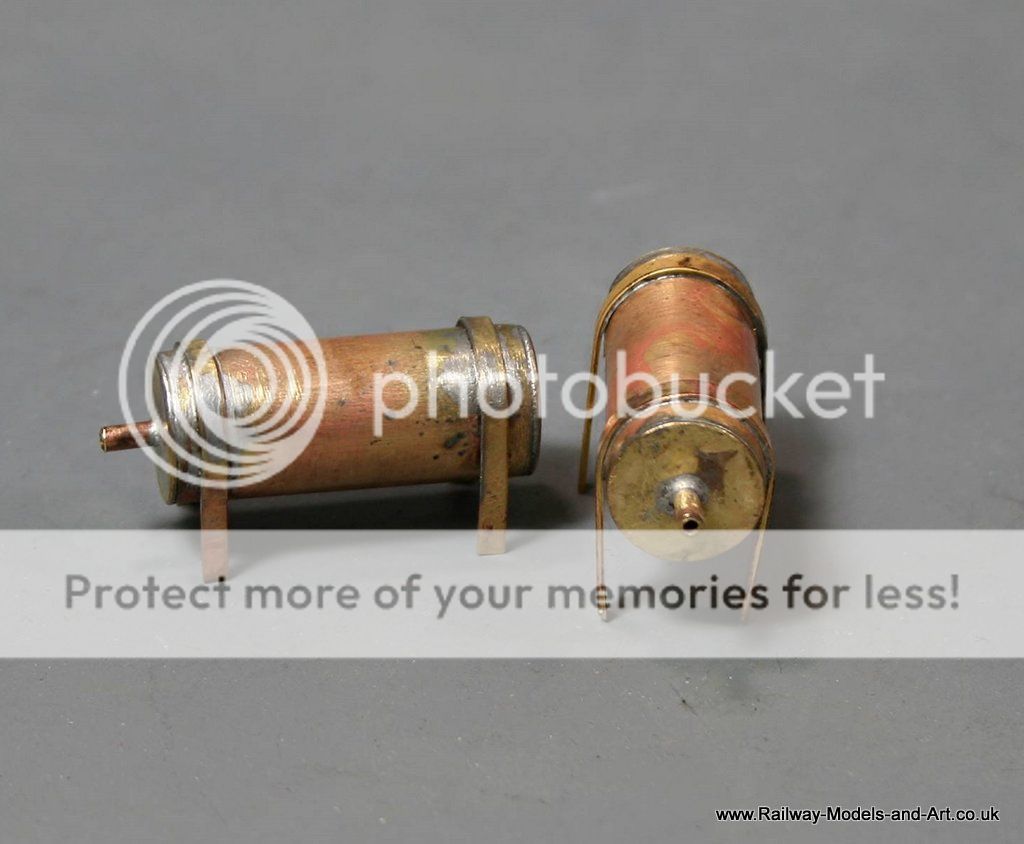
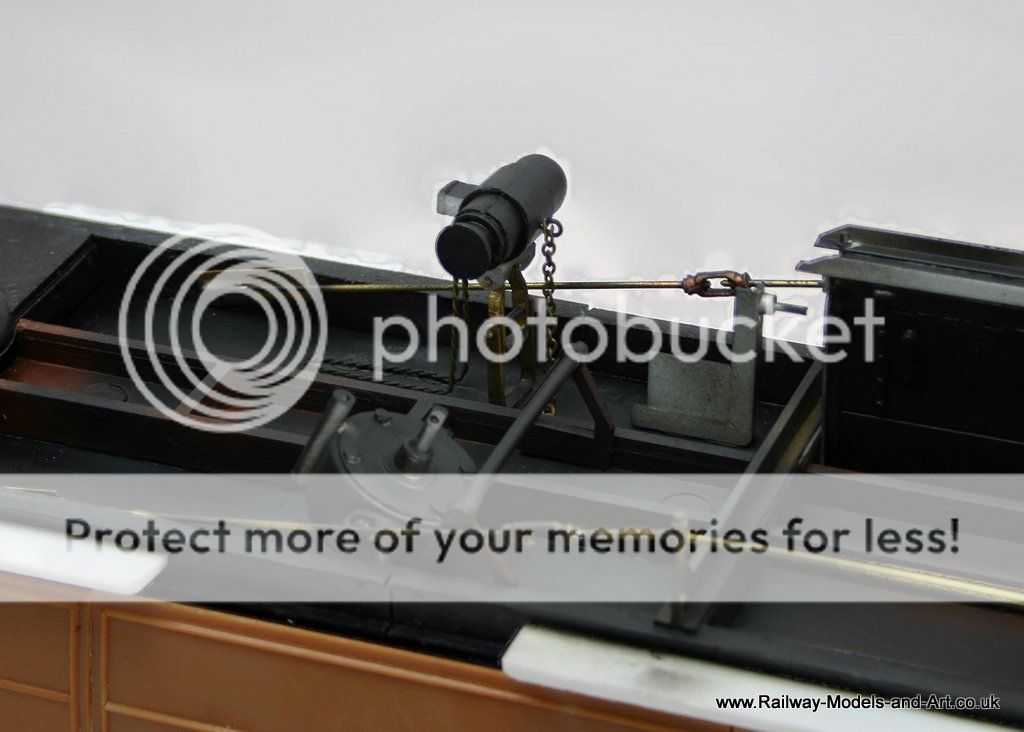
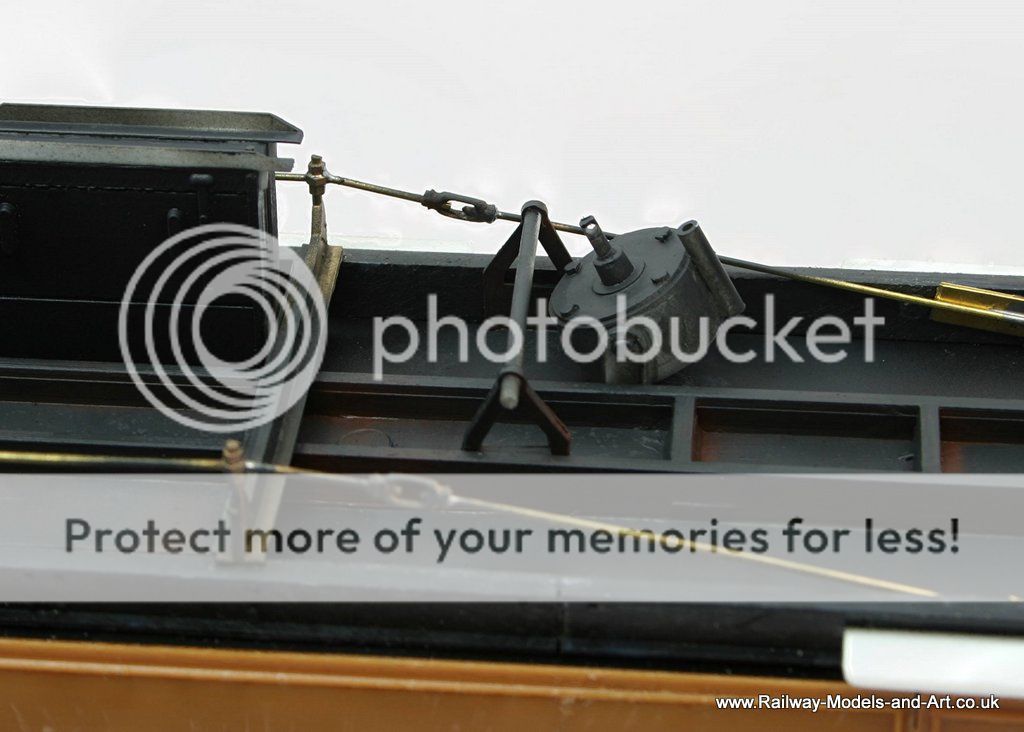
Last night I only had a little time at the bench and got completely distracted from the brake van by thoughts on vacuum tanks for the all third. I recently managed to get some really good underfloor detail photos from an LNER 3 compartment first at Stainmore railway. which included good shots of vacuum tanks and cylinders - They are on my Flickr site should anyone need them
This is where I got to, they still need much cleaning up and for the legs to be straightened/cut to length and I plan to solder them to some scrap brass plate to give an area to glue to.
Regards Rob
Posted
Full Member
John
John
Posted
Full Member
Sorry, they are in the Album Kirkby Stephen East - this link should take you straight there Kirkby Stephen East
Regards Rob
Posted
Full Member
John
John
Posted
Full Member
Regards Rob
Posted
Full Member
The roof for the BG is now complete.

The sides for the all third have had their T handles carved off and all parts are now joined together to make each side.
More work has ensued on the underframe of the BG but I haven't taken any photos yet - hopefully tomorrow.
Regards Rob
Posted
Full Member
John
John
Posted
Full Member
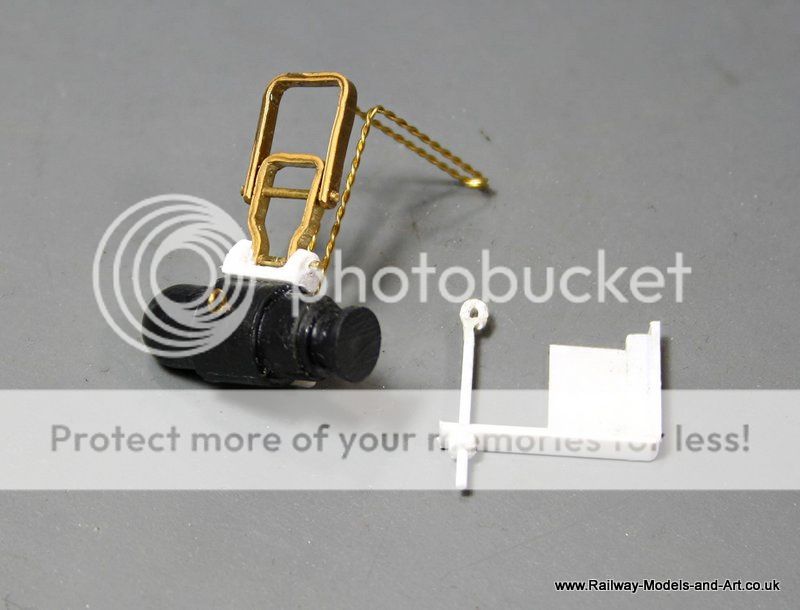
The observant will note that I managed to break of the tensioner…
Regards Rob
Posted
Full Member
I notice you've done the side strapping on the battery box. Just working on that myself, copying the picture from Mike.
I must do the safety chain on my dynamo. I think I have the electrical cables in the wrong place, so will fix that.
Question, did the vacuum cylinders also have safety chains?
John
John
1 guest and 0 members have just viewed this.