Gladiator B16/1 A North Eastern Workhorse
Posted
#225563
(In Topic #12305)

Full Member
The completion of the build of a 7mm scale B16/1
The next build to cross my workbench is another one that's not for me but for the same Gent that I built the G5 for last year. This one is a finish it off build of a Gladiator B16/1This is where I am starting from.
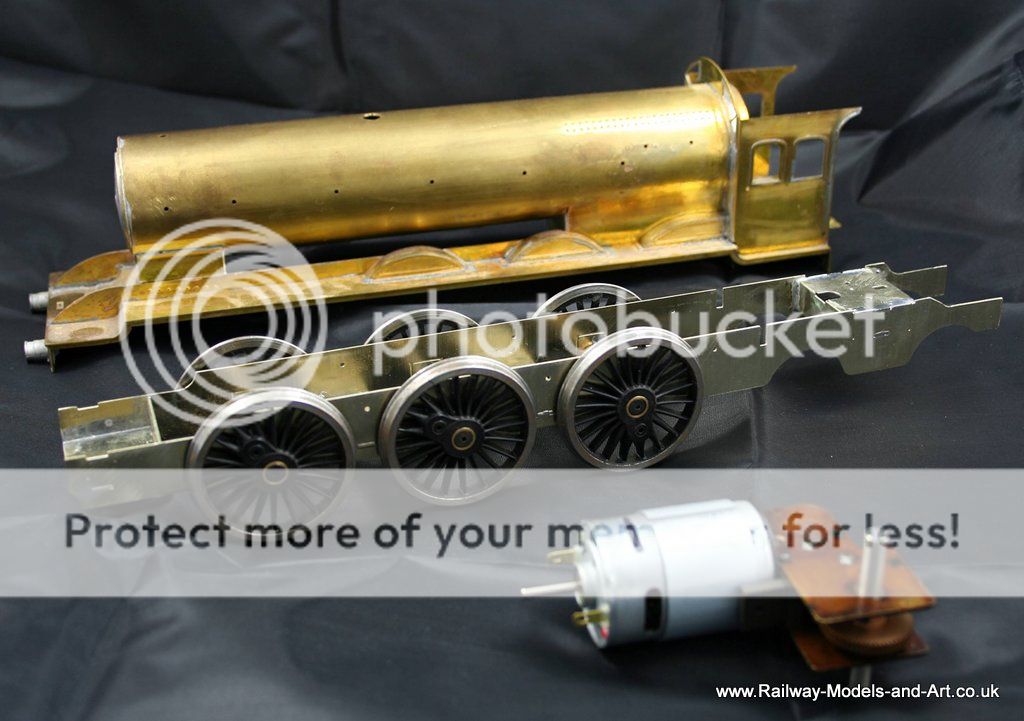
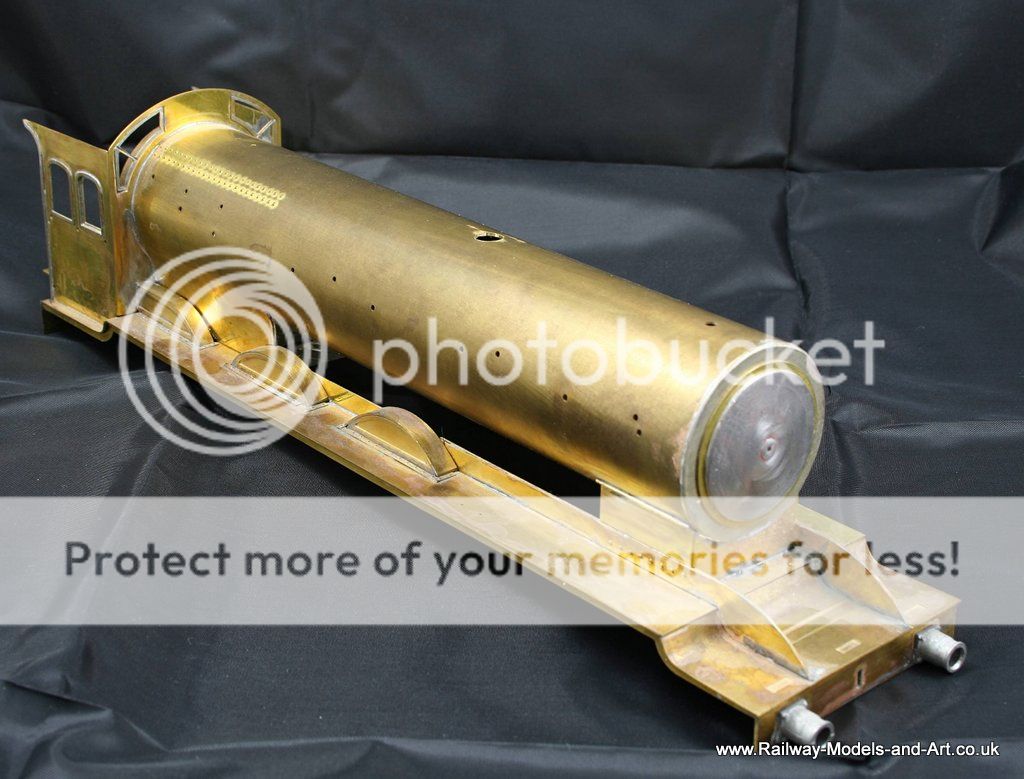
The main body work and the basic chassis are built. The chassis is to be rigid and pick up is to be by the American method.
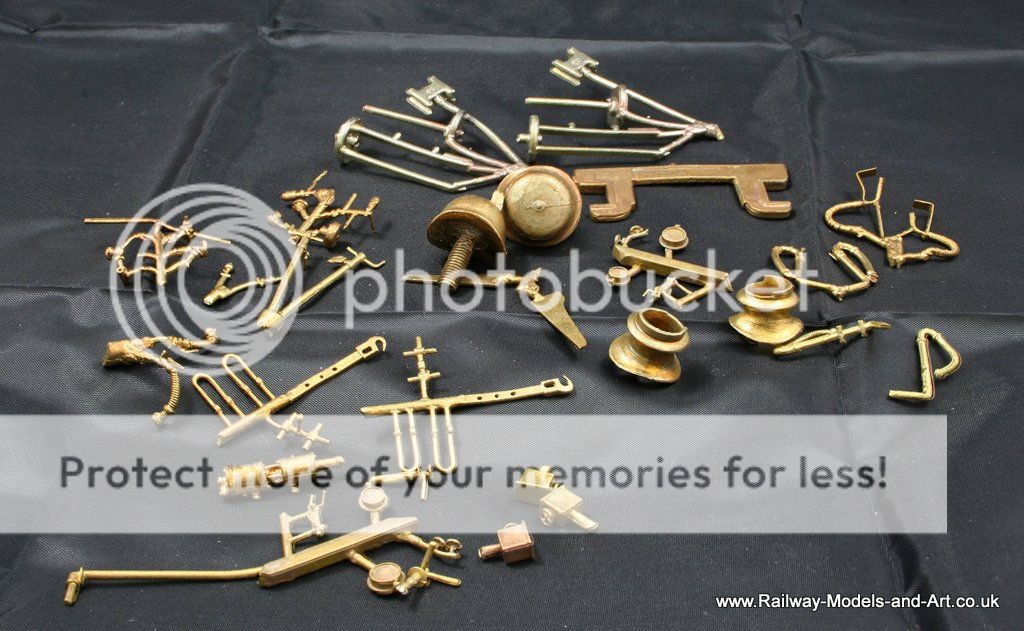
The kit contains lots of lovely brass castings
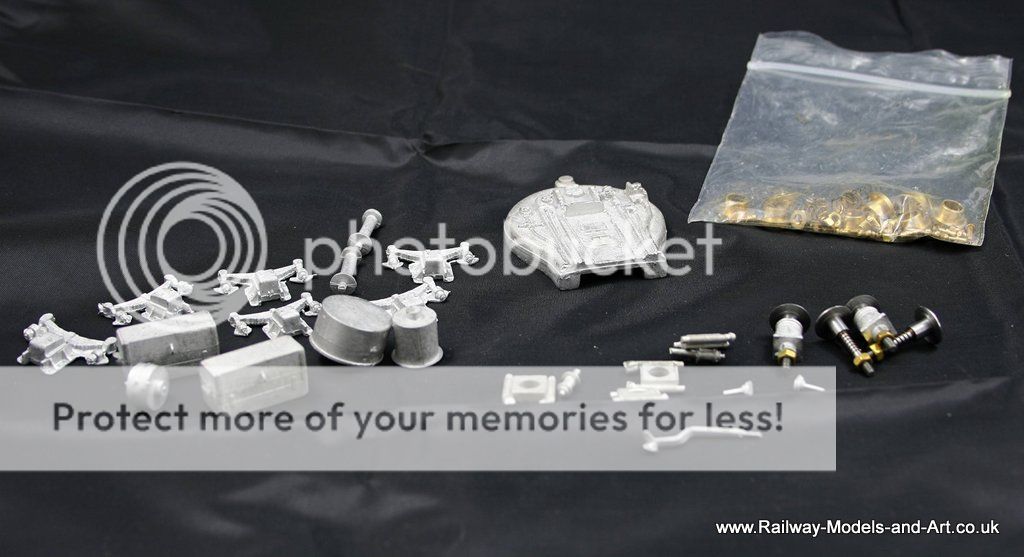
Plus some nice whitemetal ones too.
I have the week off and I will be at home the week after Easter so I plan to make a start on this then. Any spare time on between after finishing of the V4 brake van will be spent blackening wheels and preparing the castings etc.
Regards Rob

Posted

Full Member
I can see a few things that I would replace if I were doing it for me. The screw couplings for sure. Maybe the vac and steam pipes, they are well detailed but I like the fine spring/hoses that Slaters provide.
John
John
Posted
Full Member
for soldering I use a combination of an ERSA soldering station and a microflame - I must confess to only using the soldering iron where I can't use the microflame.
Because it's not for me I will be just using the parts provided. For screw coupling when I run out of my stock of Premier types I plan to try some of the CPL products from Paul Bambrick, they look to be pretty good. I do like those from slaters but I find them a fiddle to assemble.
Regards Rob
Posted
Full Member
I figured you'd use the parts provided since the model is a commission. They will produce a superb model. As you know I haven't tried CPL yet. I have tried Slaters and agree the screw couplings are a fiddle but they are nice.
John
John
Posted
Full Member
You can't beat a microflame for nice clean soldering. just just need to remember that all of it gets hot and if you have other parts that you don't want to fall off you need to use a heat sink to keep them from getting too hot and dropping off. I use a combination of aluminum hair clips and self locking tweezers. I also have four pairs of forceps that also get used. Having serrations in the jaws,they are especially good for holding small sections of rod for hinges etc.
Regards Rob
Posted
Full Member
John
John
Posted
Full Member
Time for food and then back on with it.
Regards Rob
Posted
Full Member
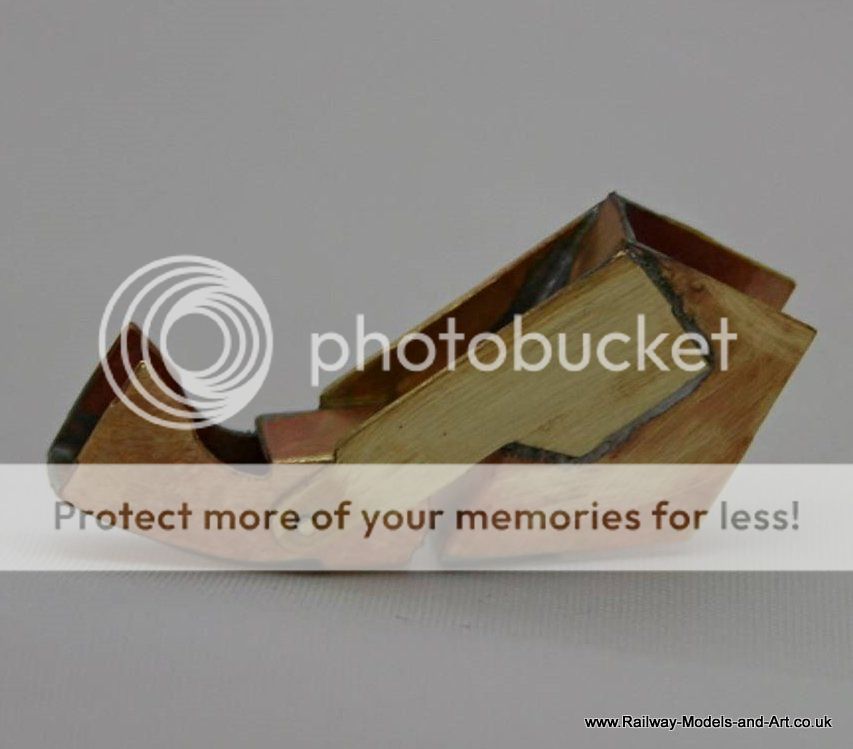
To get a feel for things I decided to make a start on the tender. There are a few options for frame spacers supplied and I am using those recommended for O finescale and for anyone else who might be building one they don't leave much in the way of side play should you desire it.

Next up I did the water scoop - so far all the holes have been etched on the small side which is so much better than them being over etched.
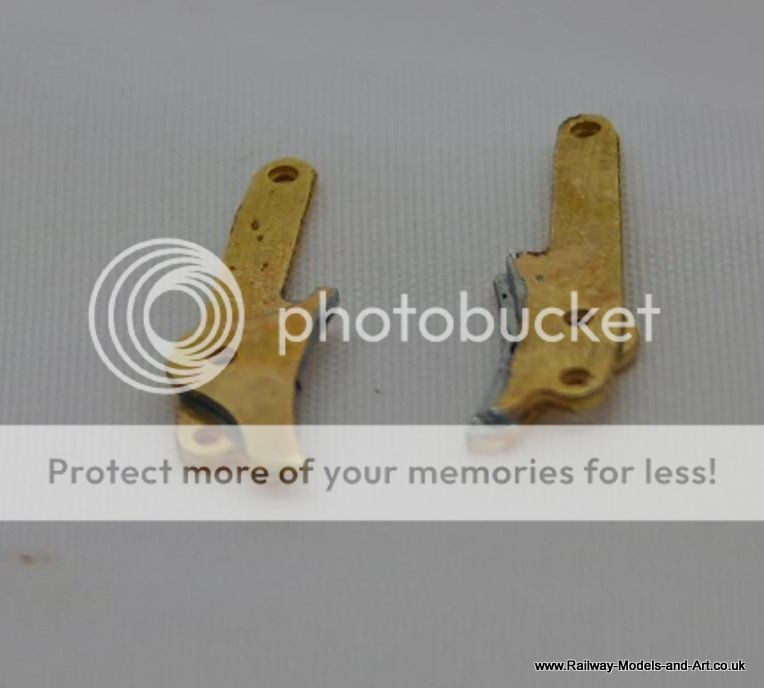
I also soldered up the brakes and found them to be a little odd in that the shoe overlays are slightly smaller than the main etch on the side nearest the wheel. It took a few moments of trial to work out which way round they fitted.
Chris and I popped along to York Show this morning, our first ever visit. It was an enjoyable show and I came away with a couple of books - The Tourette Rail Tank book and the Yeadons volume on among others the B16's - Booklaw had them on at £10 each so it was rude not to partake.
The kit was designed by Steve Barnfield and Steve was one of the demonstrators at York upon seeing him, I planned to have a chat to him about the B16. But despite standing in front of him for a good 5 minutes, he never once looked up from what he was doing to engage me in conversation.
Regards Rob
Posted
Full Member
On the brakes, perhaps the larger etch needs to be ground to shape in order for it to sit snug against the wheel without touching. The wheels do have a 21 deg cone after all.
Nice looking scoop. Always a good idea to have undersized holes I think.
John
John
Posted
Full Member
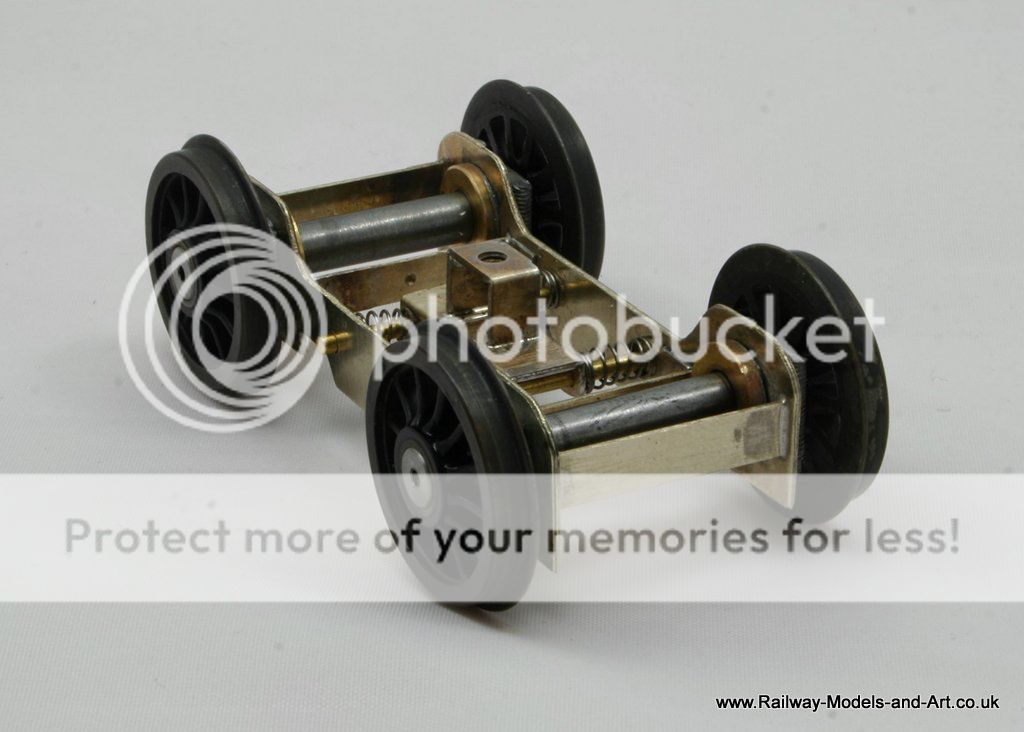
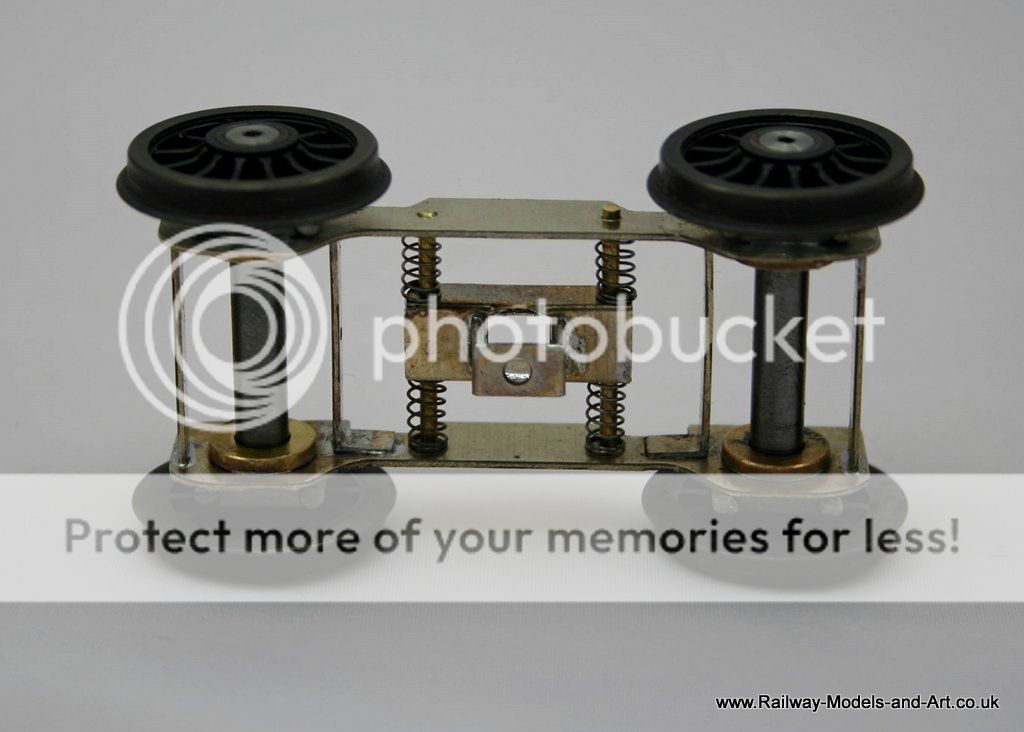
What look like washers are the outer rim of the bearings.
Regarding the spacers I suspect that the instructions might be wrong and that the smaller spacers are for finescale. To be honest I suspect that this one will end it's days in a cabinet on display. The loco has been built rigid and I doubt that it would negotiate anything less than 6' so the tender should be fine.
Regards Rob
Posted
Full Member
John
John
Posted
Full Member
I must admit, if I had built the whole thing then I would have built in compensation, but since the loco is built rigid it doesn't make sense to spring the tender.
When I build one of these for me I will compensate it. - and spilt the axles for pick up.
Regards Rob
Posted
Full Member
John
John
Posted
Full Member
Something like that :roll:so your customer must want it that way. :roll:
Regards Rob
Posted
Full Member
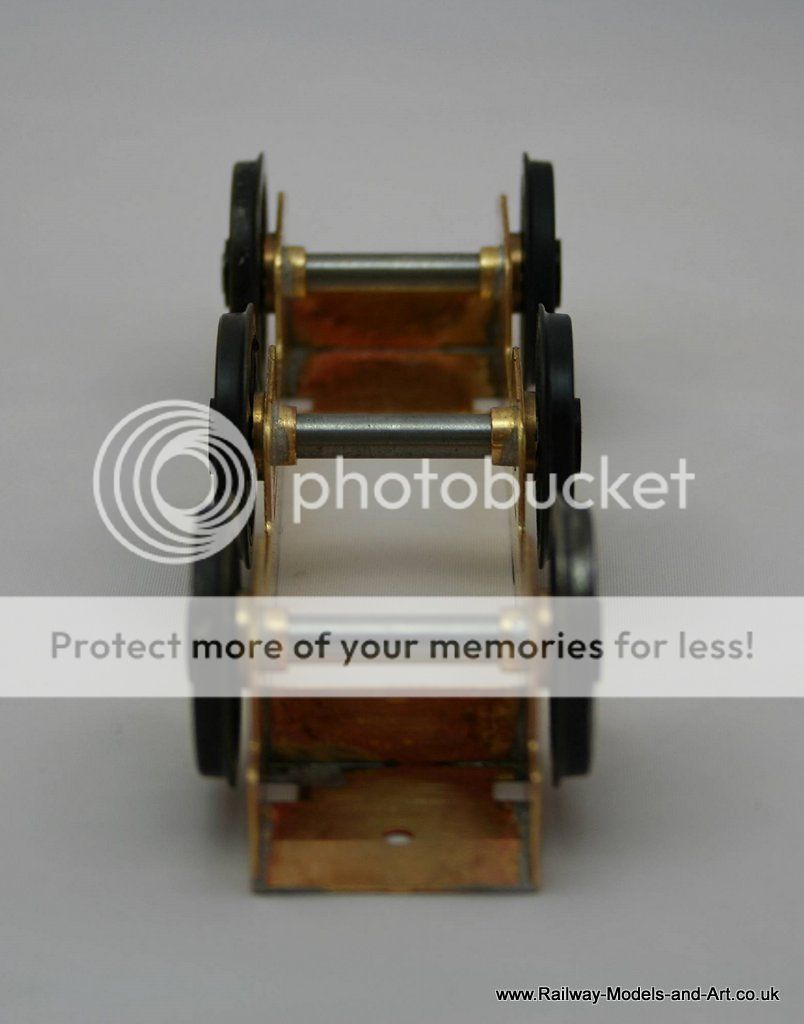
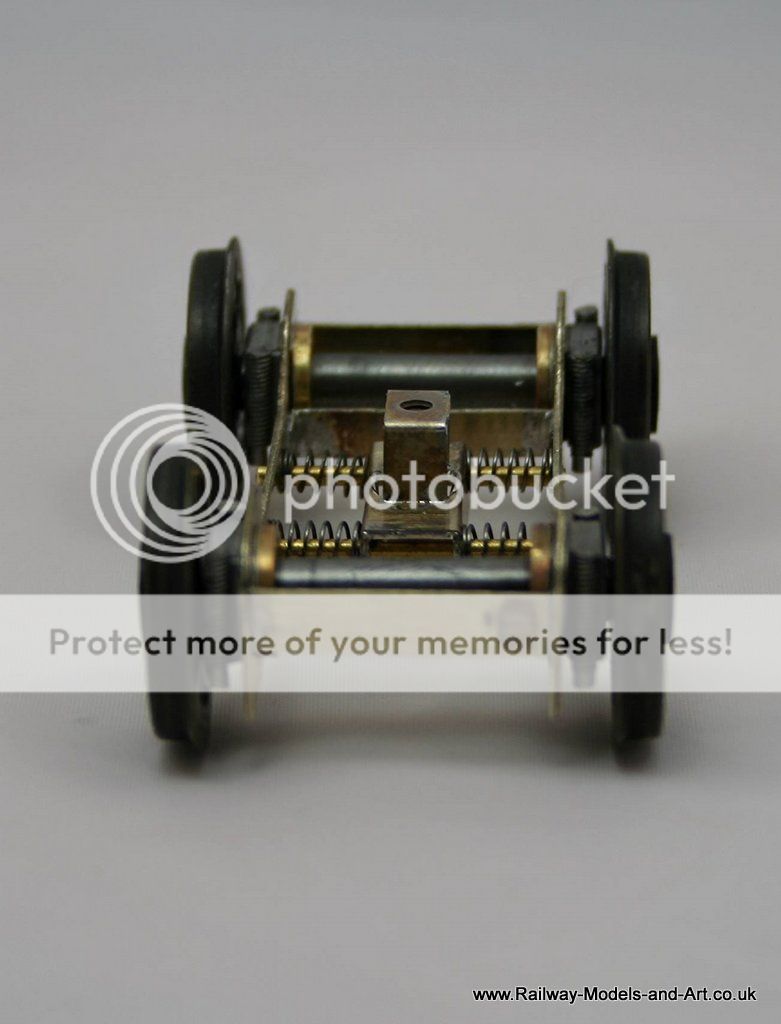
In the meantime I moved on to the front bogie (the plan is to try to get a running chassis to take along to Leigh show for a run on Saturday).
There are two options for building the bogie in the instructions, one uses L type spacers and the other incorporates side control.
I opted to go for the side control method. All went well until I got to fitting the bearings. The instructions say to leave them loose until all is square etc. and then solder them in. What it doesn't say (but admittedly the photo further on in the instructions shows) is that the bearings need to be fitted with the flange to the inside of the frames. I didn't notice this and having soldered them in with the flange to the outside I realised that I had a lot!!! of side play.
My newly bought Yeadon volume gave me a couple of reasonably clear photos of the hornblock/spring on the outside of the frames. To achieve this I had to cut away the section of the axle bush that protruded through the frames, cutting back flush with the frames. Once the hornblock/spring castings are soldered on there is just a little side play.
*Note to David if he's looking. It would be worth adding something to the instructions at some point on which way round to fit the bearings
The photos also show quite a prominent bar/frame stretcher across the front of the bogie so I added one at each end from scrap etch.
I haven't soldered the bars that hold the side control yet just in case I need to shorten the springs once I test it.
Regards Rob
Posted
Full Member
John
John
Posted
Full Member
Hopefully David Hill the new owner of Gladiator will be looking in on one of the forums and will perhaps add an update to the instructions when he gets to the point of re-releasing the kit.
Regards Rob
Posted
Full Member
John
John
Posted
Full Member
Regards Rob
Posted
Full Member
One advantage of doing BR is that stock from other regions can pop up just about anywhere.
John
John
1 guest and 0 members have just viewed this.