Painting a Military Figure
Posted
#15169
(In Topic #1276)

Full Member
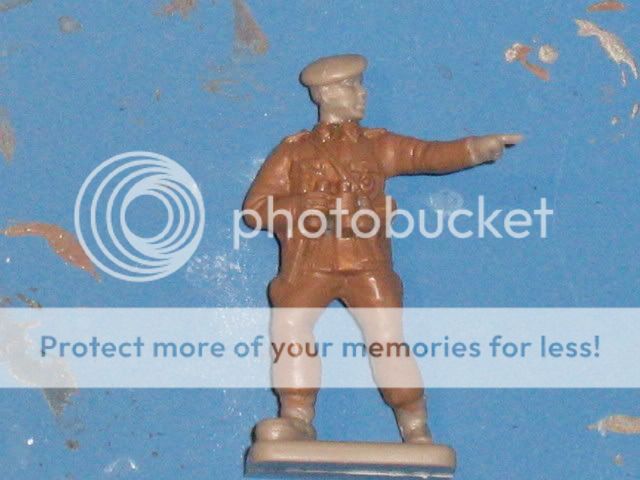
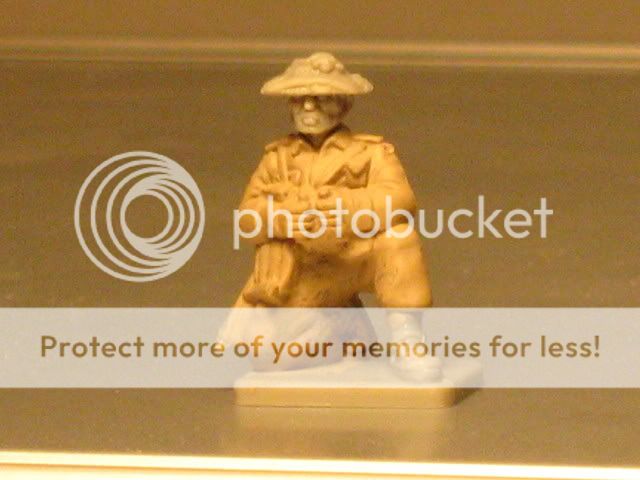
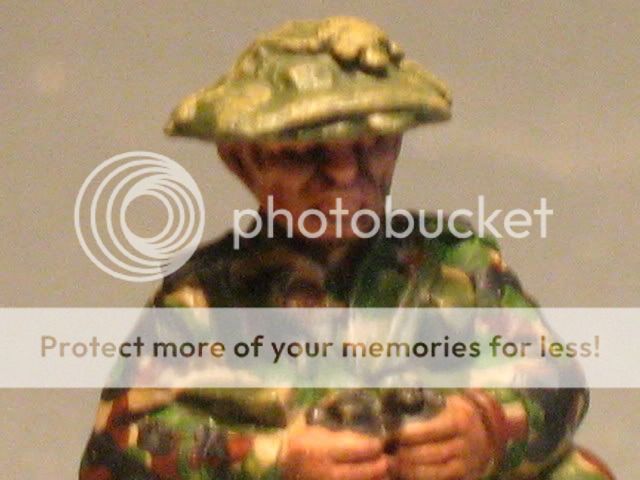
These colours are brown, buff, green and black, or dark grey. Unfortunately I have not got a modern British Army figure to work on but I found a WW2 German Officer figure. I lopped his head off and stuck a beret on him from my spares box and chopped off some small items. He is not very accurate but will do for this experiment.
I decided to use brown as a base colour and would build the camouflage on top of that. So I gave the figure a coat of brown paint:
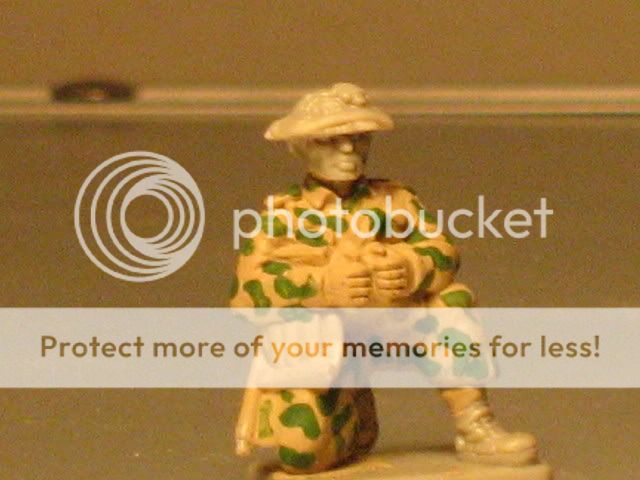
Then using a fine brush I added thin curved lines of buff:
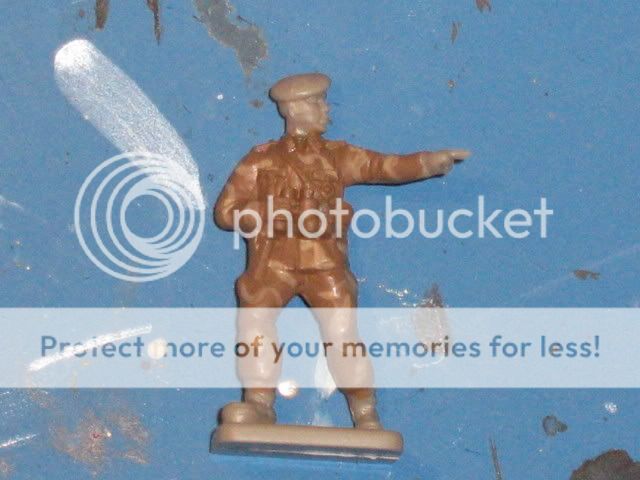
This was followed by green, in a slightly heavier application:
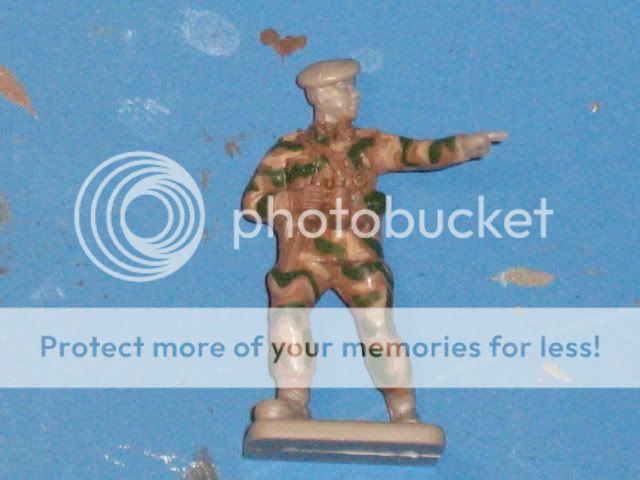
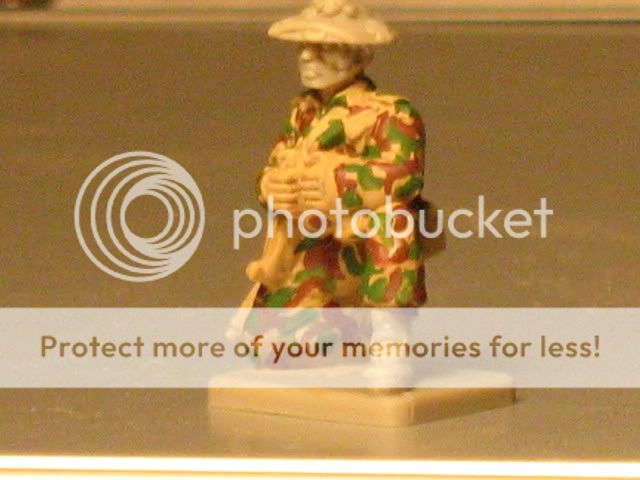
Next I added a very dark grey in light irregular swirls and painted the beret, binos and boots in the same shade:
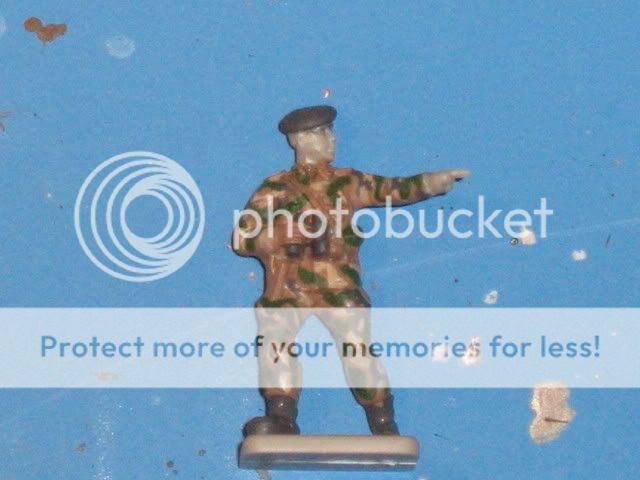
This was followed by some flesh and some brown for the hair. I also painted his equipment, holster etc in light olive green:
Next I will add shading and highlights to give the figure depth.
Bob(K)

Posted

Full Member
Close…
Too me, it hasn't quite matched the swatch you have used as a go by, you may not mind and the comment is purely in the spirit of the forum of mutual help…
It's really subtle and I may be wrong but from the picture it appears that the colours are layered with buff as the base, then green, then brown (with some deliberate overlaps) and them black (again with some different overlaps over both green and brown).
The sequence is a little different to yours and I don't think you have as many overlaps as the swatch and I can tell the difference.
This from someone whose 20 year old Tiger tank's winter camouflage was created during a bout of glandular fever. I still like it, although it bears no resemblance to the real thing.
Nice touch with the beret :D
Posted
Full Member
All your observations are correct, however, my initial thoughts were that if I were to use buff as the base colour the overall figure will appear far too light. Also I don't think it will be possible to capture the pattern exactly in this scale. I was after an impression of the camouflage rather than a replica. However, your points are valid. I will continue with this figure to see how the finished product looks and then try building the paint work more accurately with a second figure and then we can compare the difference.
Keep the comments coming as this is a new venture for me.
Bob(K)
Posted
Full Member
I'm a terrible chess player.
Watching with interest.
Posted
Full Member
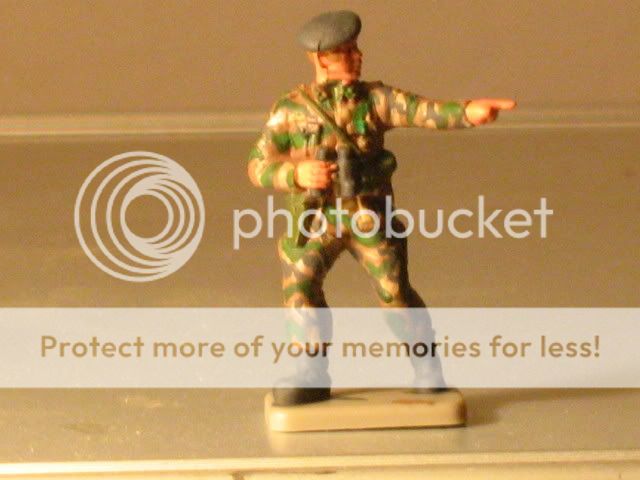
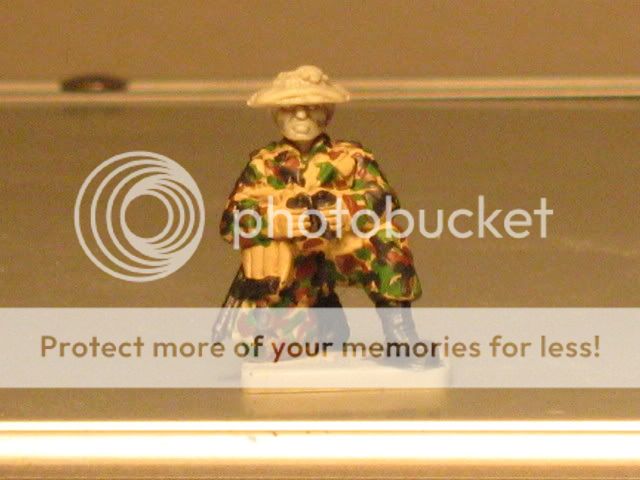
The camouflage effect has softened and merged into the background giving more of an impression than a depiction, which I think would be correct in this scale. I am not sure the final effect is that of a British soldier (more like a german in a beret :roll: ) but I think this technique has promise. I would like to try it with a more accurate portrayal of the real camouflage pattern and see what it looks like.
Would welcome views on this project good and bad.
Bob(K)
Posted
Inactive Member
So far as I'm concerned I have learned so much from you about how to paint figures that I'm fascinated by how you try things out until you get it right and therefore although not interested in military figures, this thread has been extremely informative so thanks go to you and Marty.
I liked your earlier one better (maybe a touch paler green and some raw umber in the brown?). This last one seems a bit dark but lets be frank you are close enough for most people.
Les
Devon Junction
Kernow Junction
Kernow Junction
Posted
Guest user
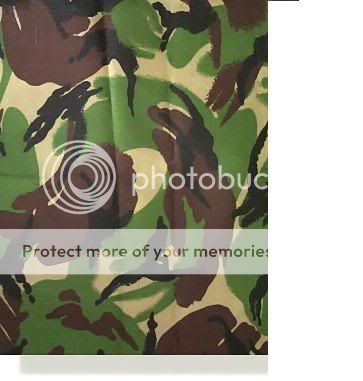
you are the master 8) i like someone who will take on a challenge. i hxave found a picture of the latest DPM

(Click to enlarge)
this is a more splash effect than a swirl starting in layers
buff
geen
brown
black
it should be easier, the pattern is smaller but a dab rather than a swirl.
a couple of days on salsibury plain my combats were a murky browny black :P
i done 3 weeks in the jungle in Kenya, 2 sets of combats. one dry set for the night, one wet set for the day and no washing or shaving for 3 weeks. it was brilliant. vanish ultra had no chance of working :D
Posted
 Last edit: by
Posted
Full Member
Next I will add some shading and highlights, taking care not to obliterate the camouflage effect - we will see what happens.
Bob(K)
Posted
Guest user
you have hit the nail on the head. that DPM is exactly what the combats are like on the first day of exercise :D all i have to do now is wait for my 20 or so figures to arive then ship them out to you. JOB DONE :D :D
Bob
could you please do a step by step as you did for the first figure. got a cheek aint i :P
Posted
Guest user
Looks very good indeed! What I can see, that is, with such good camouflage :)
Mike
Posted
Guest user
First class will have to do for not only you but others also painting small figures like that.
Sol
Posted
Posted

Full Member
One question though, don't they camouflage the helmets too?
Wayne
Posted
Full Member
Wayne Williams said
I think you have got it! Looks great to me! I don't think I have the patience to paint like that, let alone the ability.
One question though, don't they camouflage the helmets too?
Wayne
Wayne, modern kevlar helmets have cloth covers with the same pattern as the uniform. This figure is a WW2 figure that I used as an experiment just to have a go at painting camouflage, so the helmet is not correct. That said, in the next stage I will add the camouflage net and some scrim and foliage, as would have been worn on old steel helmets. There is also the shading and highlighting to be done - which is where I ruined the last attempt :shock:
Bob(K)
Posted

Full Member
Phill
Posted
Full Member
I will do a step by step on how I painted this figure over the weekend.
Bob(K)
Posted
Legacy Member
reg
Posted
Full Member
At Matt's request here is a step by step guide to how I painted a soldier in modern DPM camouflage uniform:
PART 1
Equipment:
A standard brush size 0
A fine brush size 003
A small brush (size 0) for dry brushing
Paints:
I used acrylic, a mixture of cheapo tube types(CT), Tamaya (T) and Citadel (C):
Lamp Black (CT)
White (CT)
Buff (T)
NATO Brown (T)
Field Grey (T)
Dwarf Flesh (C)
Burnt Umber (CT)
Sap Green (CT)
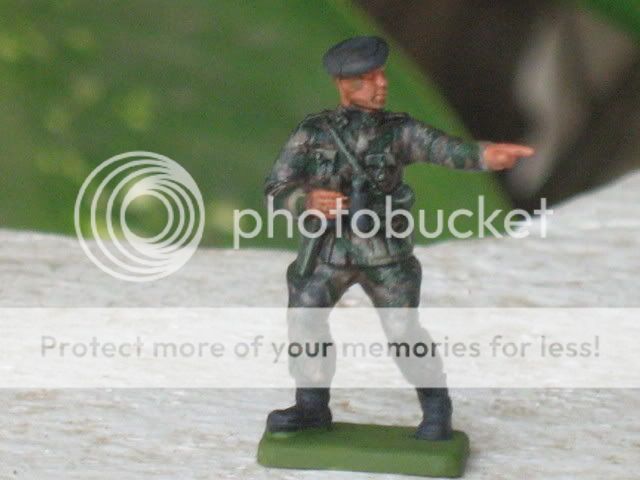
I used another WW2 figure from my spares box - beginning to get low on volunteers now :roll: First give the figure a wash in detergent. Allow to dry completely. Then paint the whole figure in the Buff colour:
Once dry, and these acrylics dry almost instantly, paint on small curly stripes and blobs of the green. Ensure edges of the figure, under arms and legs are also painted:
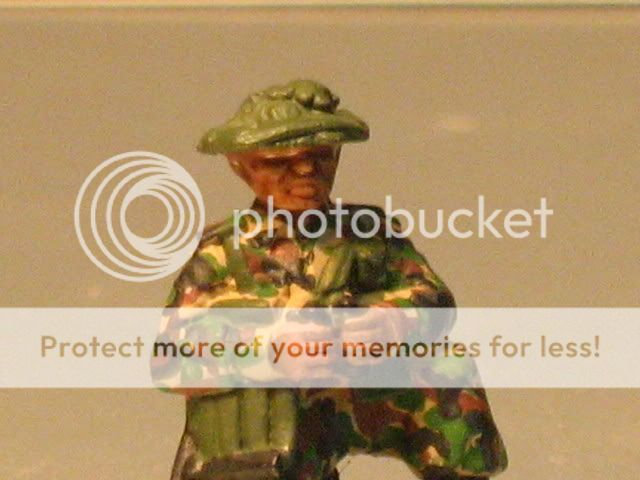
Next do the same with the NATO brown, ensuring some of the brown overlays the green:
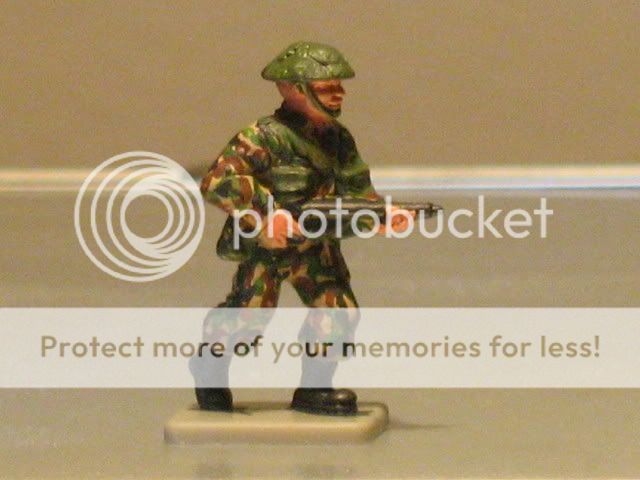
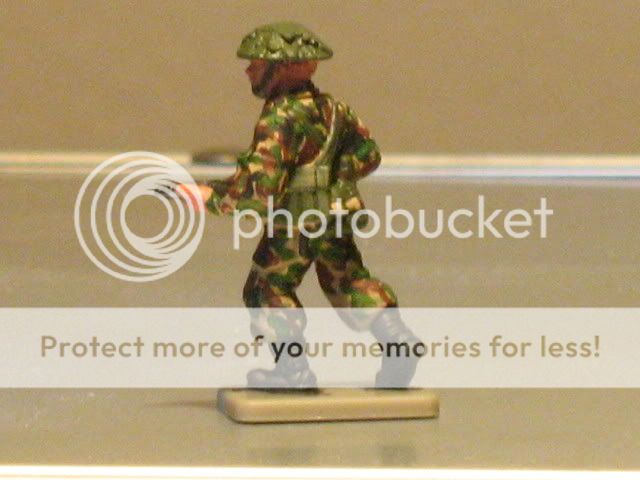
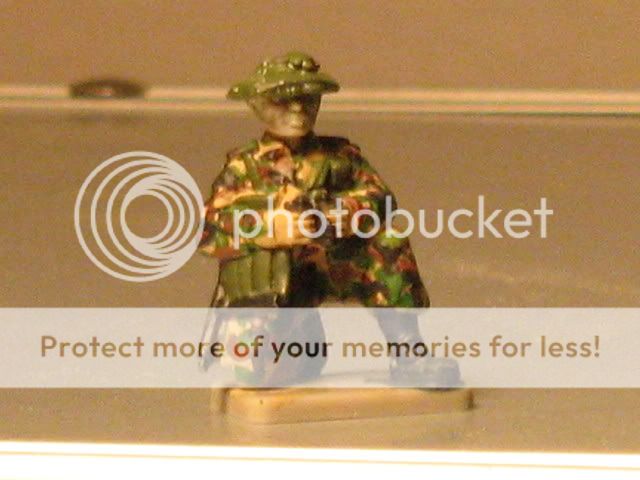
Next using the CT black and white mix up a very dark grey colour. Paint very thin Y shaped swirls, evenly across the figure. At the same time his weapon, boots and binoculars can be painted:
Finally for this stage, using the Field Grey or a light olive, paint the helmet and all of his web equipment. Look the figure over and touch up any areas that have been missed using the appropriate colours.
In part 2 I will do the flesh, shading and highlighting.
Bob(K)
Posted
Full Member
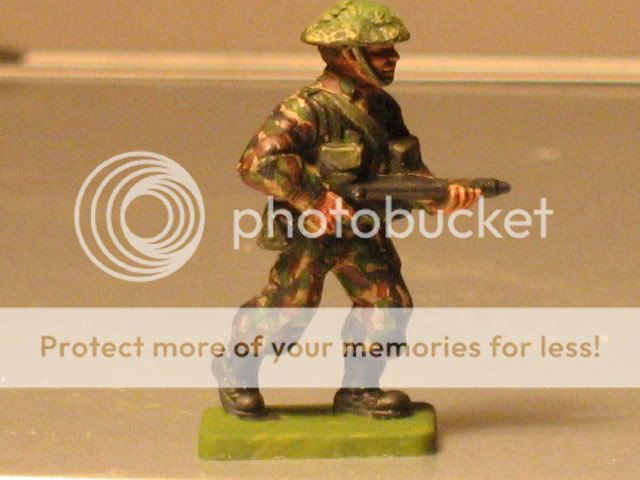
The next task is to paint in the flesh. Once this was done I also used some burnt umber and detailed the hair on the back of the head:
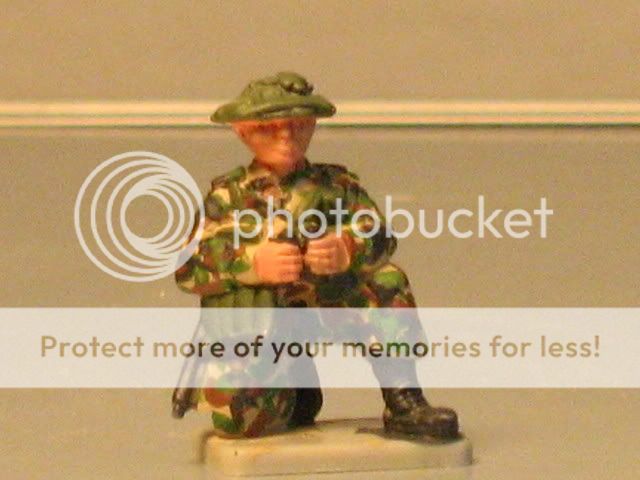
When the flesh areas had was dried a wash of burnt umber thinned with water is painted over the flesh areas, face and hands. Again after this is dry a second wash of very thin lamp black is painted over the whole figure, less the flesh areas. This runs into the folds and gives some depth. It is crucial that this was is not too dark as it will spoil the camouflage effect:
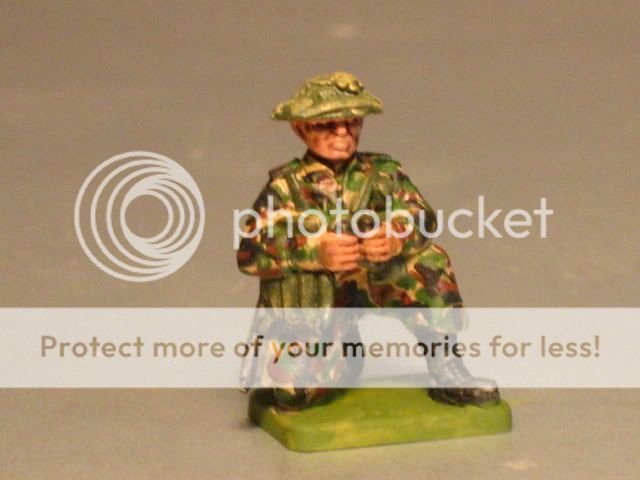
The final phase is a very light dry brush of flesh over the skin areas and using some of the original buff the lightest dusting using an almost dry brush to pick out detail on the helmet, equipment and weapon. And that's it. Job done:
Bob(K)
1 guest and 0 members have just viewed this.