Renewing bogies on old Triang Hornby Mk 1's
Posted
#175484
(In Topic #9918)

Banned
Using Bachmann offerings as a replacement...
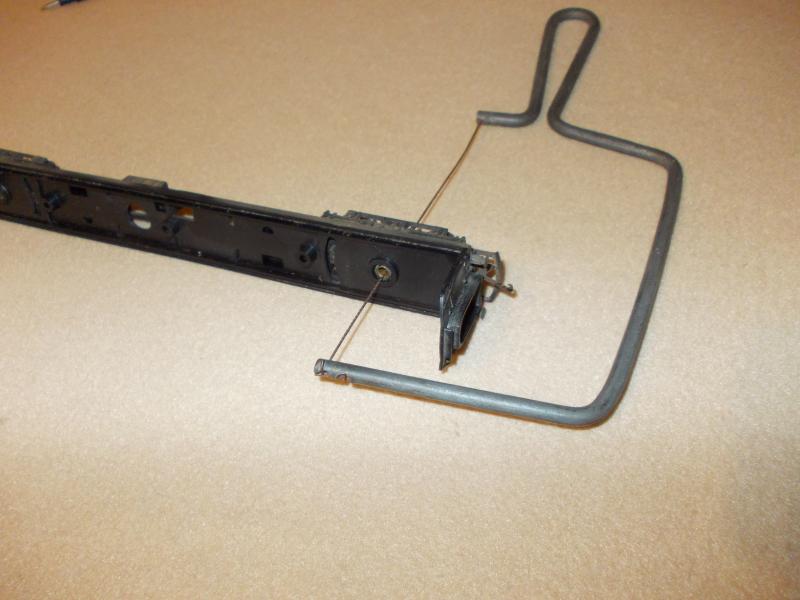
Following on from Petermacs thread on 'Replacement Mk1 Coach Bogies' ( http://yourmodelrailway.net/view_topic.php?id=12386&forum_id=17#p217972 ) I thought an easy to follow 'how to' on this would be valuable to some. Please note that this first piece is on the Triang model with the riveted bogie to body attachment.So, first off, strip down the coach into it's individual pieces. Bachmann bogies (36-005A) at ready.

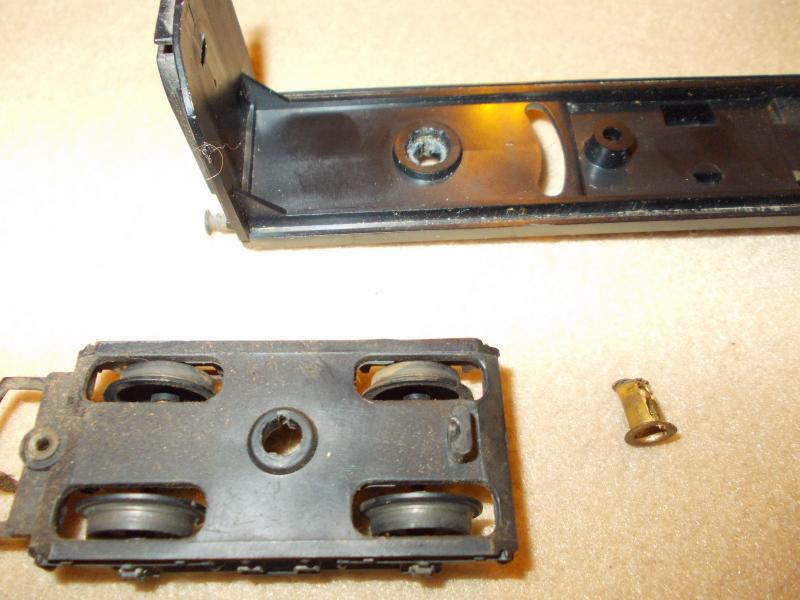
The next stage is to take a fret saw to the brass rivet and cut through one side. Be careful not to cut deep into the pivot hole on the chassis. The bogies are not a worry as they can be discarded or sold off on ebay.
…and the result…
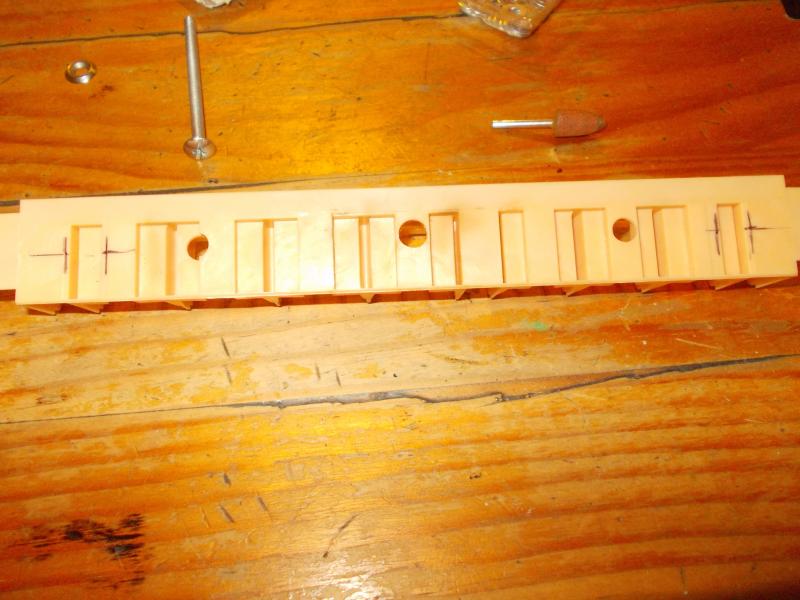
The next job on the list is to mark the underside of the interior insert. This is so that you know where to remove a small section of floor/seats for the bolt head clearance. The longish 3/16" diametre bolt below is used as a bolt head width guide and the grinding piece to the right, is used in a Dremel or similar to remove the excess plastic.
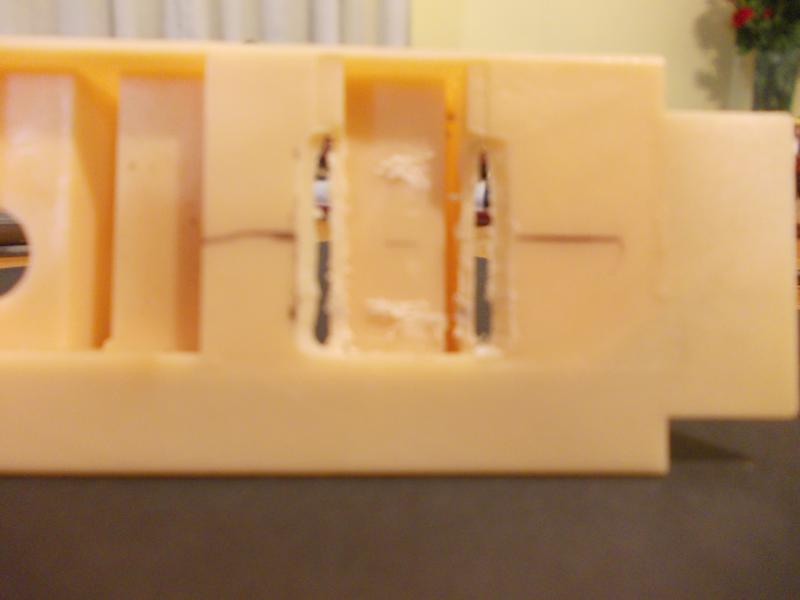
This is how little of the floor/seat moulding needs to be removed for bolt head clearance. Just a little blurry, but you get the picture.
Here is a comparison of the Bachmann and original Triang bogies.

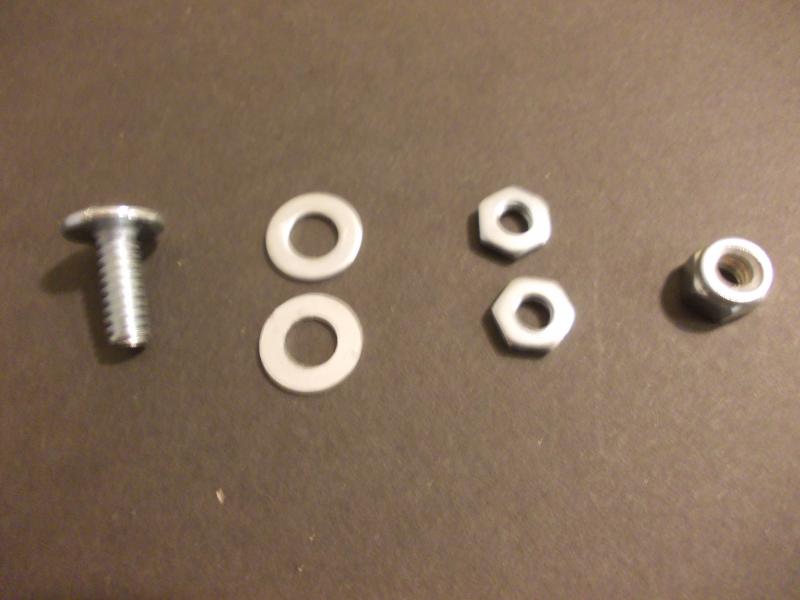
To fit the new Bachmann bogies you will require ; 2 x 12mm (1/2") 3/16" round head bolts, 4 washers to fit 3/16" bolt, 4 x 3/16" nuts or 2 x 3/16" Nylock nuts. Photograph below illustrates a set for one bogie.
To connect both the bogie and coach together, I used this method ;

If using 2 x individual nuts and not the Nylock nut, I would recommend placing a drop of super glue onto the thread after the first nut has been put on, then wind on the second nut. If using Nylock, don't bother as they have a firm hold regardless.
The next step is to rearrange the coach, put the interior in, the coach sides then the roof. Job done. One good thing about the bachmann bogies is that if you think they couple too closely, just undo the screw that fixes the coupling to the bogie frame and move outward and reattach via a new pilot hole.
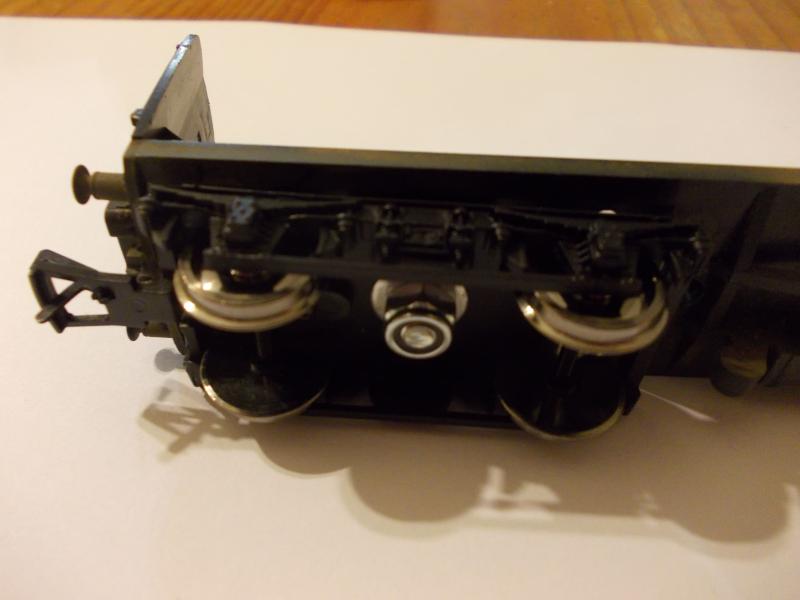
So, a pic of the old and new side by side.

The new Bachmann bogies with smaller coupler on the left and the clunky Triang on the right. The biggest difference you will notice, is how the rebogied coaches roll, very, very smoothly. Also, they don't ride the track chairs and roll easily through Peco Streamline points…
The next installment will be replacing the bogies on the 'screw fitted' coaches.
Cheers, Gary.

Posted
Full Member
Well done that man……………….an Excellent tutorial :doublethumb
'Kev
Posted

Inactive Member
That`s a really good result. How does it compare cost wise to purchasing say , a new Bachmann coach at around $50.00…????
:cheers Gormo
"Anyone who claims to have never made a mistake, never made anything!!"
https://sites.google.com/site/greatchesterfordmodelrailway/home
https://sites.google.com/site/greatchesterfordmodelrailway/home
Posted
Banned
Yes, my coaches are not upto current standards, but atleast I have lengthened the life out of seven coaches for just over the cost of one single coach… ;-)
Cheers, Gary.
Posted

Full Member
 thumbs
I have to agree re price difference. It's relatively coppers again many, many pounds for a new coach - aprticularly with the recvent price increase. :shock:
I don't have any Triang coaches - mine are, I think, Hornby Railroad or earlier models. They have plastic wheels and the "plug in" bogie mounting. The particular ones I was complaining about (and wanting to re-bogie) sit far too low so won't couple with the TL couplings thus, there's no point in even attempting Kadees until I've either re-wheeled them or preferably, re-bogied them.
'Petermac
Posted
Guest user
Easy to do and a money saver all rolled into one.
Very well explained as always. You should have been a teacher…..
Well done…
Posted
Inactive Member
I can see the logic coming through there. I like the idea of breathing new life into some older items and keeping the cost down.
Cheers Gormo
"Anyone who claims to have never made a mistake, never made anything!!"
https://sites.google.com/site/greatchesterfordmodelrailway/home
https://sites.google.com/site/greatchesterfordmodelrailway/home
Posted

Site staff
The only difference was that I carefully and slowly drilled the top of the brass rivet to remove the lip, so it then dropped out.
I also put my (M4) bolts and Nylock nuts the other way round, as I thought the bolt head would not protrude as far below the bogie as the Nylock nut. I was just a bit concerned about the nut catching on anything between the rails, uncoupling ramp etc.
I can certainly confirm they roll very smoothly through Peco points.
Ed
Posted
Banned
Using the 12mm bolts, the bottom of the Nylock nut sits just a fraction lower than the lowest part of the axle. I would say about 0.5mm and the nuts are 3mm above the horizontal section joining both axle boxes, well hiden behind the centre of the bogie and clear of catching anything.
Cheers, Gary.
Posted
Site staff

I must admit only one of my coaches had an interior, which I left out.
At some point I will have to get interiors for the others and cut them to allow for the Nyloc nut inside the coach.
But that's a project for another day, now back to track laying.
Ed
Posted
Banned
:doublethumb
Cheers, Gary.
Posted
Full Member
Looking into just changing the wheels , however I have been to not to use the 14.1 mm wheels , instead use the
12.6mm wheels to keep the ride height the same , the Bachman 36-005A MK1 bogie comes with 14.1mm wheels , will this be OK
Second question.
I also have the old Triang R156/R225 SR EMU , will the Bachman bogies fit this as well
No the biggest problem , the Motor Bogie on The R156 , not a clue how to address this , if any one has ideas , I am all ears Cheers
Daryll
1 guest and 0 members have just viewed this.