7mm GWR E140 B set from 1980`s RJH kits
Posted
#231772
(In Topic #12688)

Full Member
But as granny once told me `never give up on a decent metal kit`…..and I think these are still good kits for their age. And they are complete kits except for paint and lining.
This what you get……….
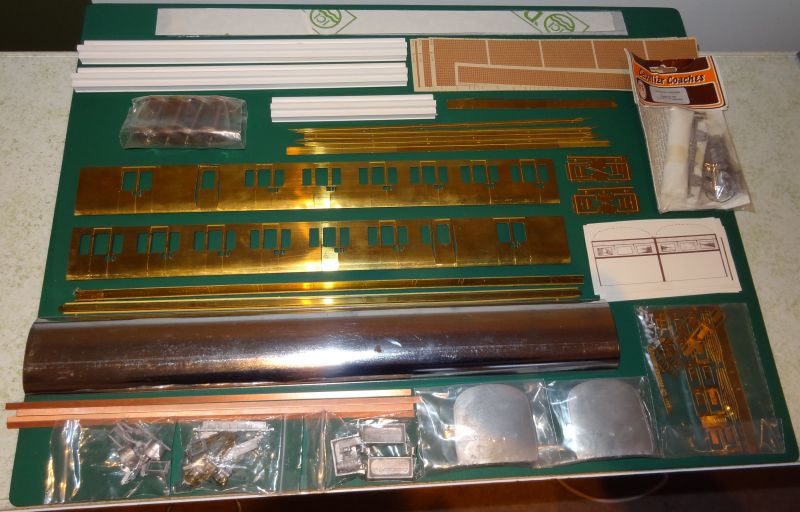
The instructions are virtually diagramatical with minimal written instructions so not a great help for an absolute beginner but the kit is broken down into easily achievable units and the parts are well designed.
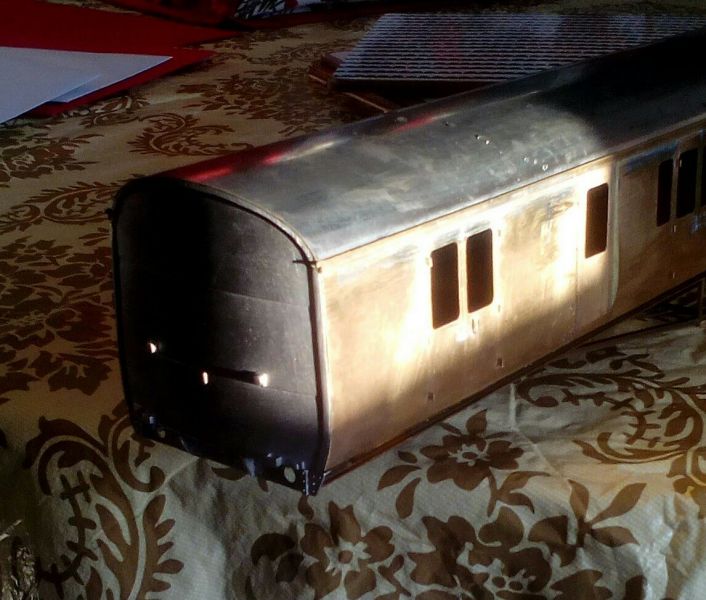
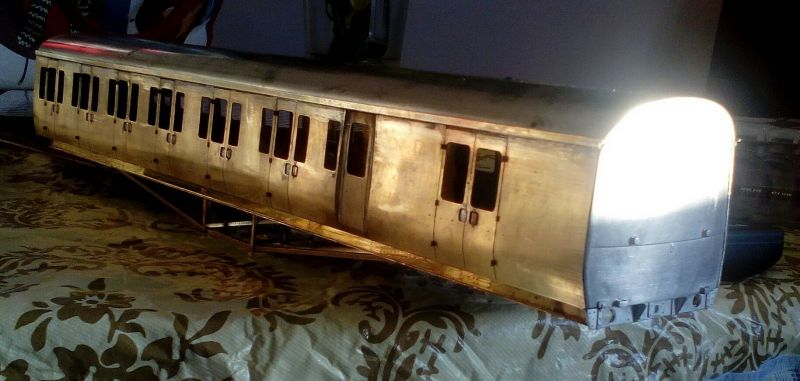
The thick brass sides come ready formed….. yippee ! but I could see that the recessed Guards dorrs would be the most awkward to build…. so I began with these to get them out of the way.

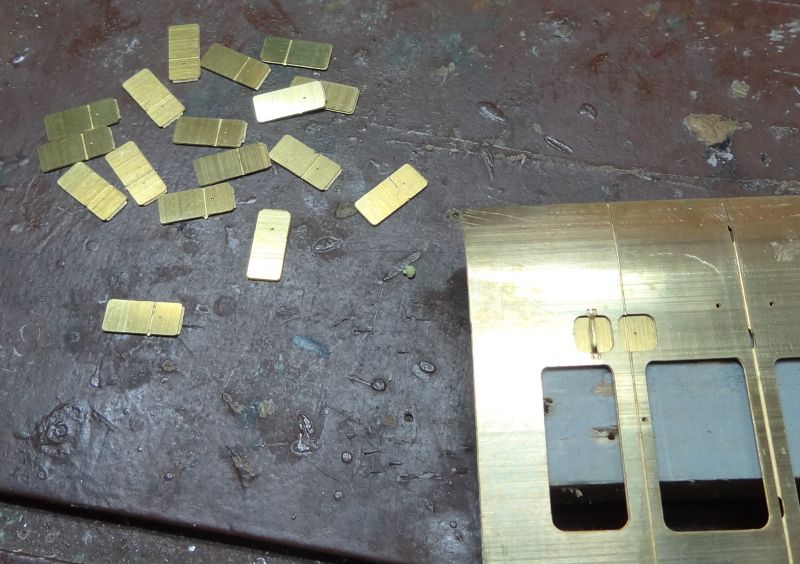
There are (thick) etched infills to be folded up and soldered in place….I considered annealing but decided against……………..

They were a bit if a fiddle to shape…………
Next to assemble was the `recessed` door handles.
These are etched backplates to be soldered up with plenty of heat to enable the solder to flow evenly.
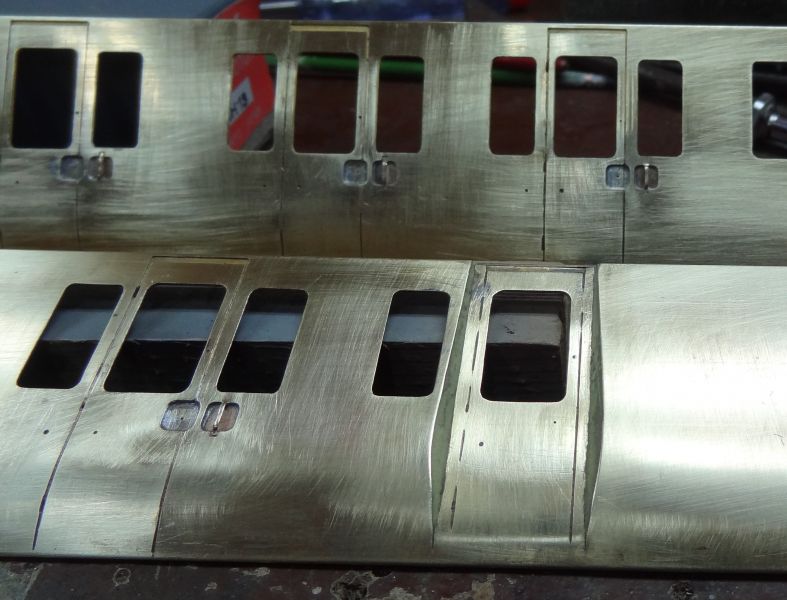
A bit of carefull soldering later and the most awkward assembly is completed. I used a model filler to finish of the recessed doors…….
Twobolt John

Posted

Full Member
Nice looking kit.
Nigel
©Nigel C. Phillips
Posted

Full Member
Posted

Full Member
Regards Rob
Posted
Full Member
I did`nt know that RJH produced LNER coach kits Bob but they are mentioned in the generic instructions.
I very much appreciate the design of this kit and have decided to upgrade the detailing from what is on offer from the 1980`s
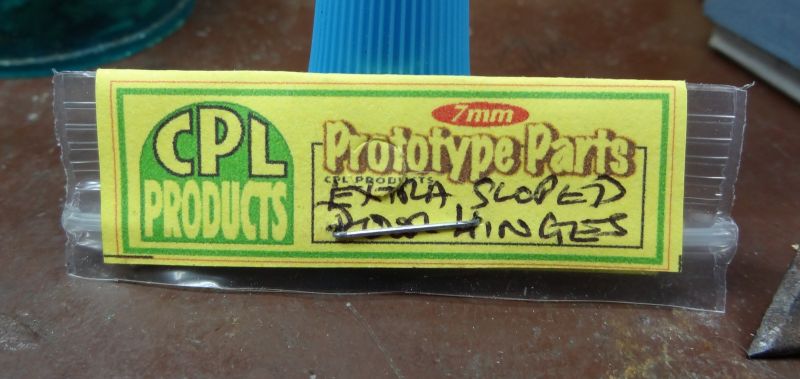
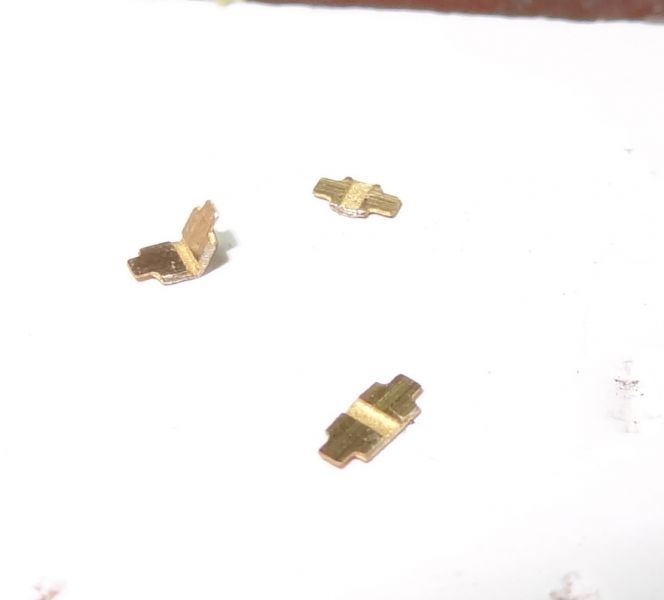
Some time back I purchased some GWR door hinge frets from CPL models and these need a little fettling to fit the pre etched slots in the coach bodywork.
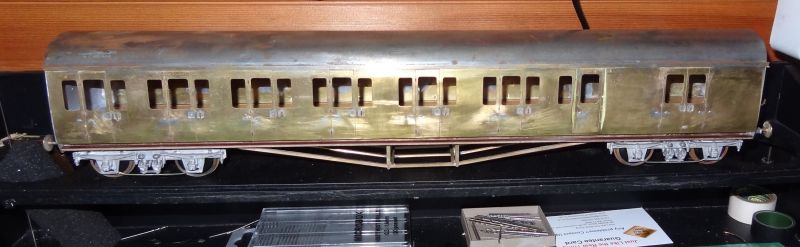
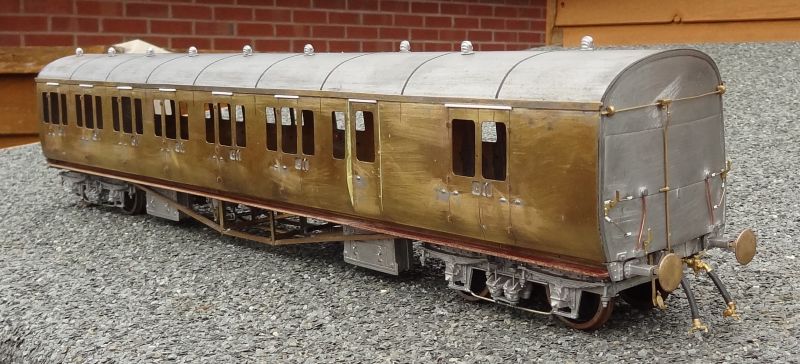
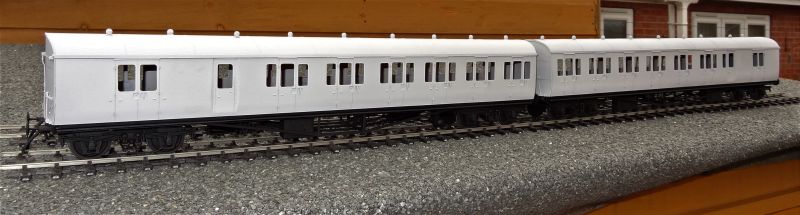
The kit is a composite assembly of brass sides and whitemetal ends plus a thin preformed tinned sheet metal roof, so quite a soldering challenge needing quality low melt solders and particular fluxes
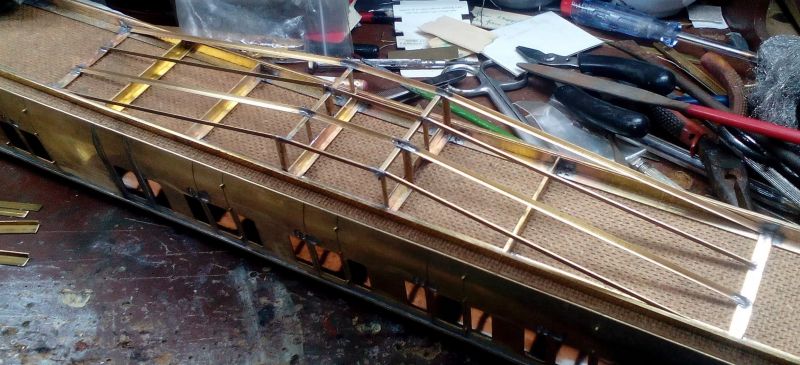
There is more carefull soldering required to assemble the chassis solebar and buffer beams which can be built as a seperate module that is cleverly bolted to the coach end castings with a simple `hardboard` flooring.

The chassis trussing is an etch that requires folding to shape…. far too difficult for me to get right and so I have replaced with brass angle strip.

Other chassis parts were much easier to fold and these were included in the construction…..

Carefull soldering ensures strong joins but making sure everything is square…….
Notice the sweat from my brow……. :shock:
 Last edit: by Twobolt
Twobolt John
Posted
Full Member
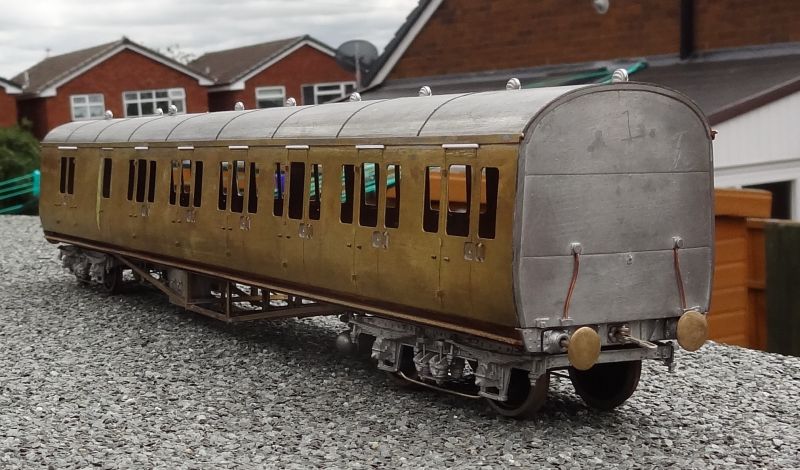
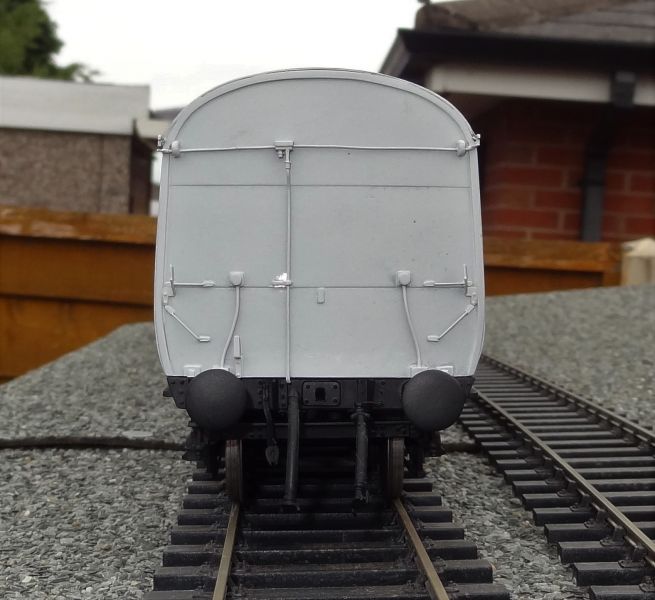
I have continued to enhance these coach kits with CPL products by moving on to detailing the coach ends.

I then got down to preparing the rather nice underframe parts supplied with the kits.
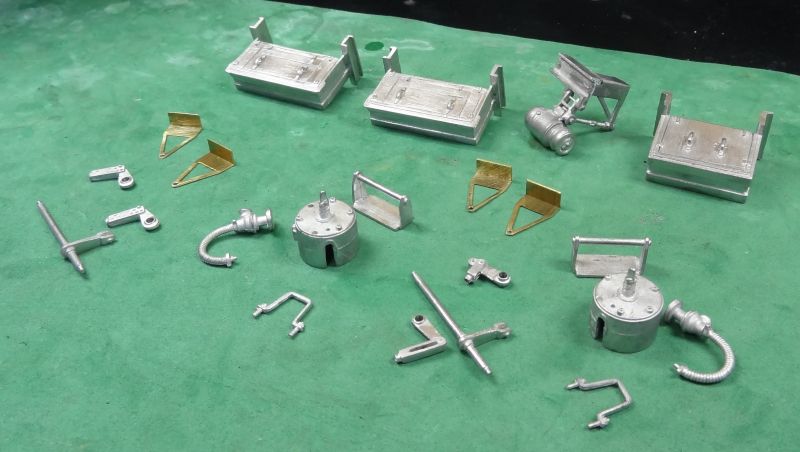
Also, the white metal bogies were assembled and fitted to the underflooring.
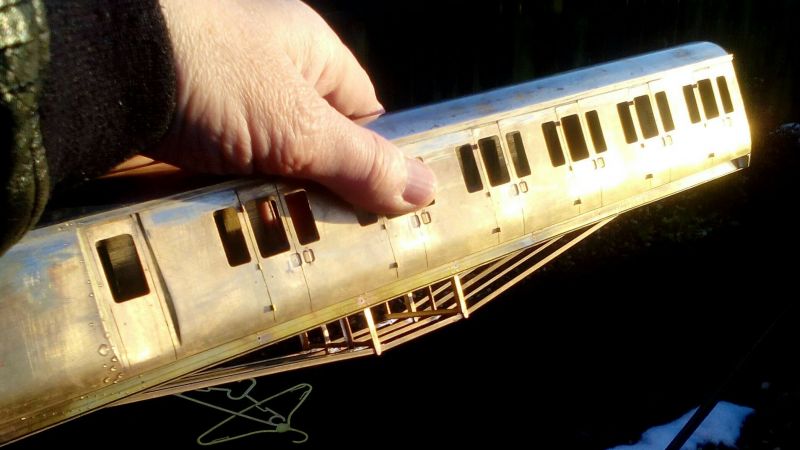
……. then push on with the detailing……..
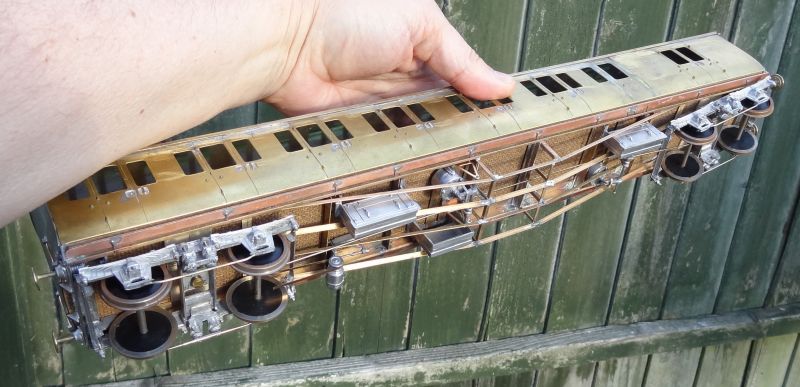
…… note the use of PCB strips for the footboards……………………

This week has seen the final cantrail and roof detailing and the fitting
of the vac pipes and centre close coupling……
….. there`s always an annoying `sticky` buffer spring …………

so…… that`s enough detailing prior to a thorough clean up and then etch
priming before applying the GWR 1930`s livery.
Last edit: by Twobolt
Twobolt John
Posted

Full Member
Posted

Full Member
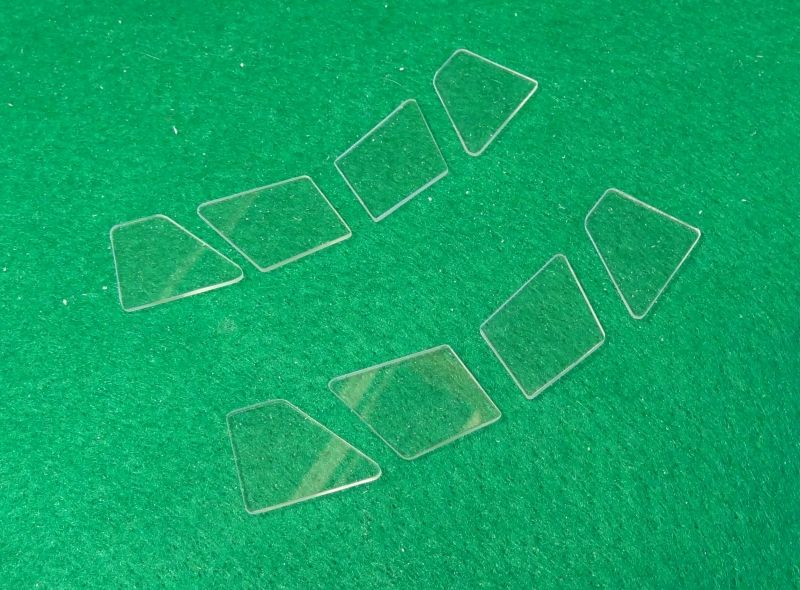
How will you do the glazing - or is it an "al fresco" coach ?

'Petermac
Posted
Full Member
When I get to the glazing stage I will be using Acrylic sheets from Yorkmodels.co.uk .
Nice and easy to work with and simple to cut and shape.
It has been quite a pleasant task to apply etch primer from Closterman.
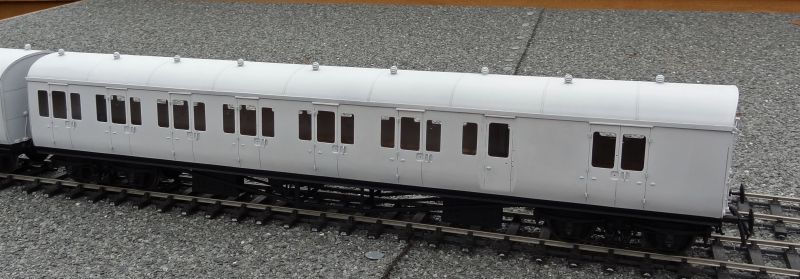
Both coaches now ready for GWR livery.

The End……………………………………………… for the time being…………
Twobolt John
Posted
Guest user
I recently bought one of these RJH kits ref C-GWC -007 and was absolutely delighted that a frantic Google search for information lead me to your build.
First let me say if mine turns out half as well as your two I will be very pleased - they are superb.
My kit came without bogies and instructions and I have a couple of questions that you may be able to answer please. From my so far limited research I see that construction covered a number of diagrams with different coach lengths and different bogies. Assuming your kit has the same reference (above) as mine, either from the instructions or from the model, can you tell me the length of the completed body and which bogies were intended. Better still if you can tell me which diagram it represents that would be a real bonus.
Having had a quick look at the box contents the kit looks to be of good quality and I look forward to building it when the current queue allows.
Best wishes
Terry
Posted
Full Member
If you hav`nt already you could do with getting some Carrs 100deg low melt solder ( no pre tinning required)
As the brass used in this kit is very heavy duty stuff, I needed my 80watt iron
Dia E140 had the 7` bogies E145 had the 9` bogies no other differences except the grab handle position on the outer ends….GWR.org has got their information wrong.
John
Twobolt John
Posted
Guest user
Yes, I have some Carrs 100 degree low melt solder. Since I will be largely following your construction which diagram do yours represent E140 or E145?
Terry
Posted
Full Member
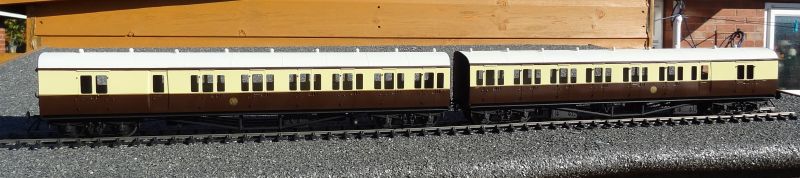
I wanted to do an early 1930`s full livery. Fox transfers are the only one`s suitable but try as I may I could`nt get the lining transfers to hold…tried all the various liquids but eventually had to use HMRC Pressfix.
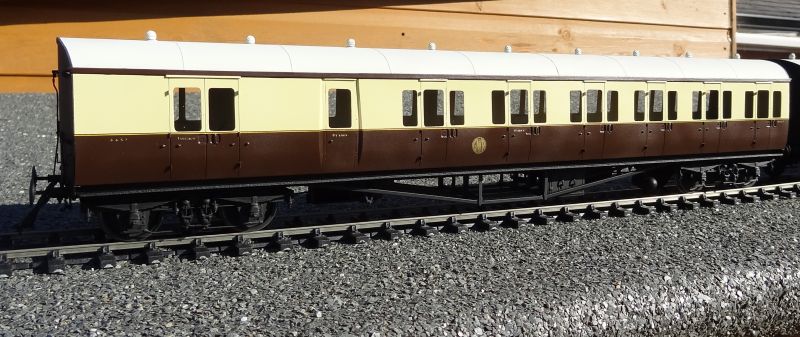
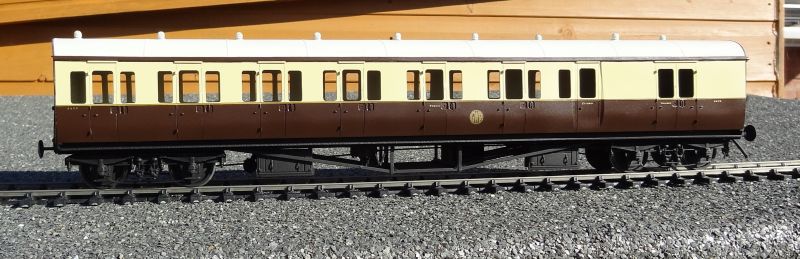
Not quite finished yet…..
Last edit: by Twobolt
Twobolt John
Posted
Guest user
It will be some time now before I make a start but I will be sure to post progress when I do.
Terry
Posted
Full Member
Bees knees. Difficult to tell from the photos - are the buffers different lengths at the ends?
Nigel
©Nigel C. Phillips
Posted
Full Member
John
Twobolt John
Posted
Full Member
Double bees knees then. One of the (many, many!) Issues with the Hornby B set. As I said, difficult to tell from the photos. I always wondered why given the tight radii on some lines and no gangway twixt the two. Step up from buffing bars though.
Nigel
©Nigel C. Phillips
1 guest and 0 members have just viewed this.