Trix Trains Goods Shed 00-4 Cardboard Building Kit
Posted
#264619
(In Topic #14401)

Full Member
The building of the vintage Trix Trains cardboard Goods Shed kit
Hello everyone,Thank you for taking the time to look at another cardboard building kit with me. This time we have another Trix Trains kit, their Goods Shed kit 00-4.
I should mention, before I start, I have scanned in each kit before building them. Because they are quite rare and haven't been produced for almost 50-years, I thought it a good idea to do so. If anyone fancies building one of these, please contact me and I'll see about sending you the images.
Having recently built the Trix station and platform kits, and experienced the very poor accuracy of the cutting, I was a bit more prepared this time and went through every piece before assembly. Without exaggeration, every single piece needed some trimming with a knife! I haven't recorded each amendment, but I will say it was worth while paying particular attention to the roof apex, making sure inner and outer sections were all the same, and all the wall sections were square and the correct size.
On with the build!
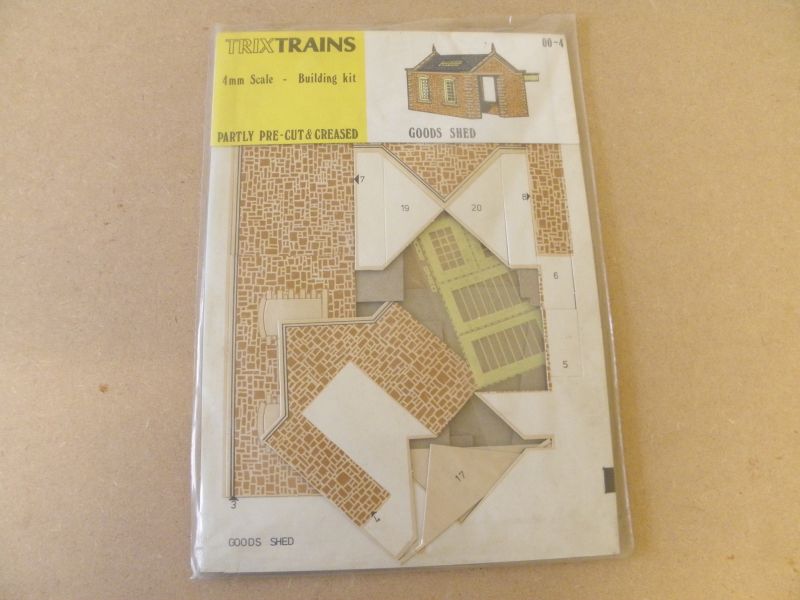
The Trix Trains Goods Shed Kit. As with the station kit, the pieces were almost jumping out of the bag!
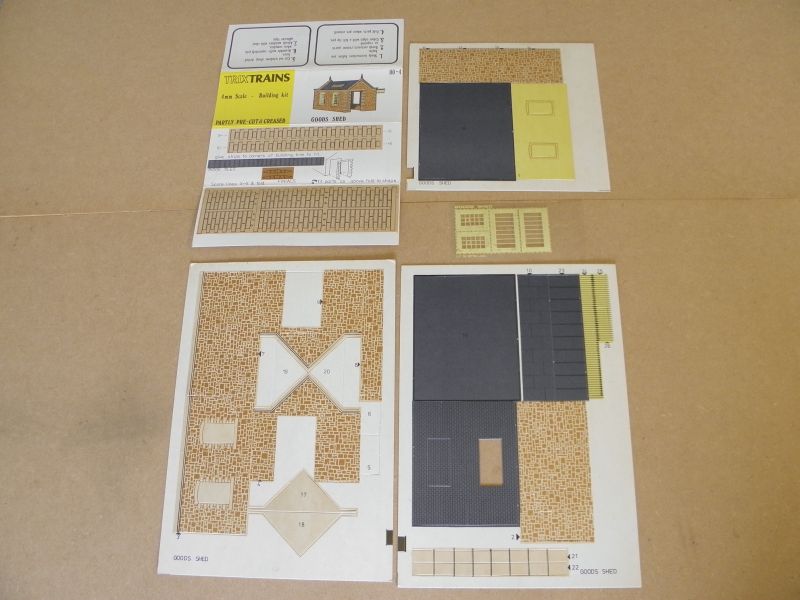
The contents of the kit. The paper instructions and additional parts top left, three sheets of card components and a plastic window sheet.
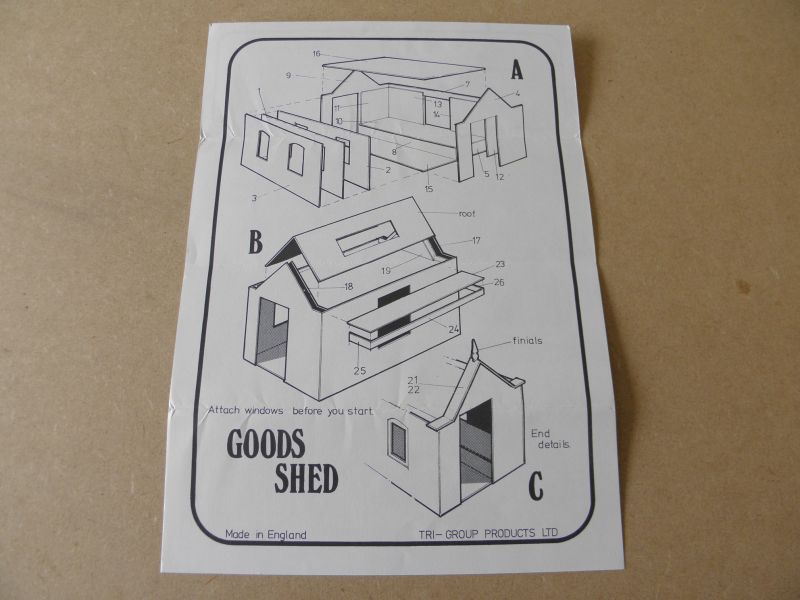
The reverse of the paper sheet showing the visual instructions.

Three sections of board make up the outer wall. I have glued the first two together and left to set under some heavy books for an hour or so, then fixed the windows in place with tape and glue. The window apertures in the third piece, below, were too large and out of position. I glued back the cut-out sections and cut my own apertures.
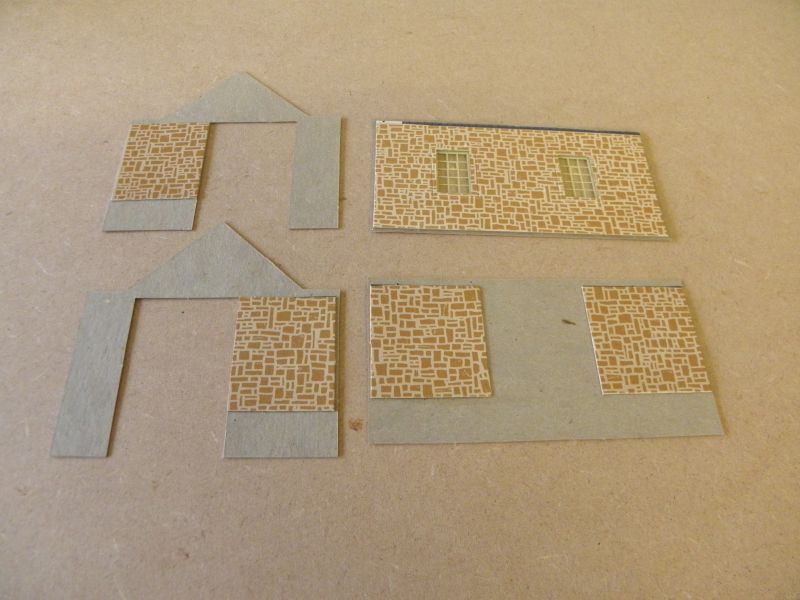
The four walls of the building, with internal sections glued into place. Again I like to let them set under heavy books.
Please note the lack of a doorway in the bottom RH wall!
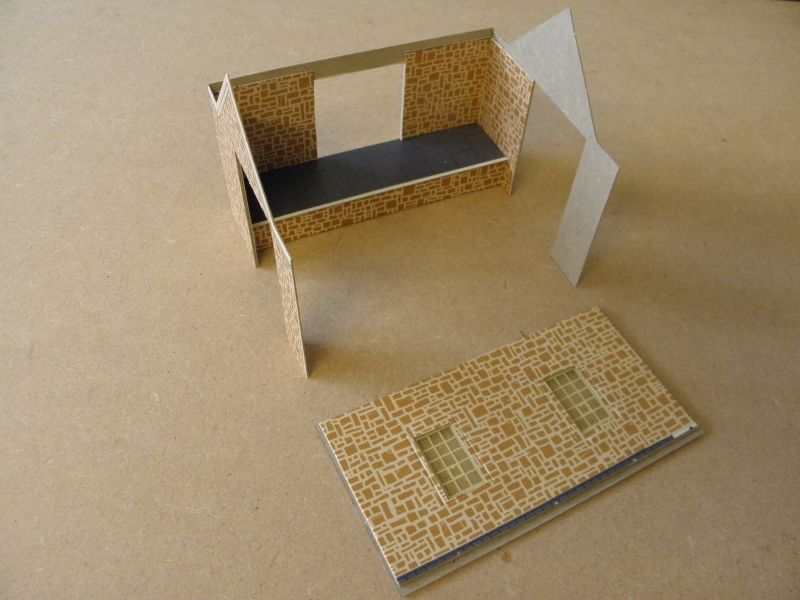
With the aperture cut in the back wall, I assembled the platform side of the building. The kit suggests a solid floor, but I decided to leave the floor mainly open. I'm not sure if this is my error, or the kit's, but positioning the platform so far back was a mistake, as there will be quite a gap when the wagons arrive!
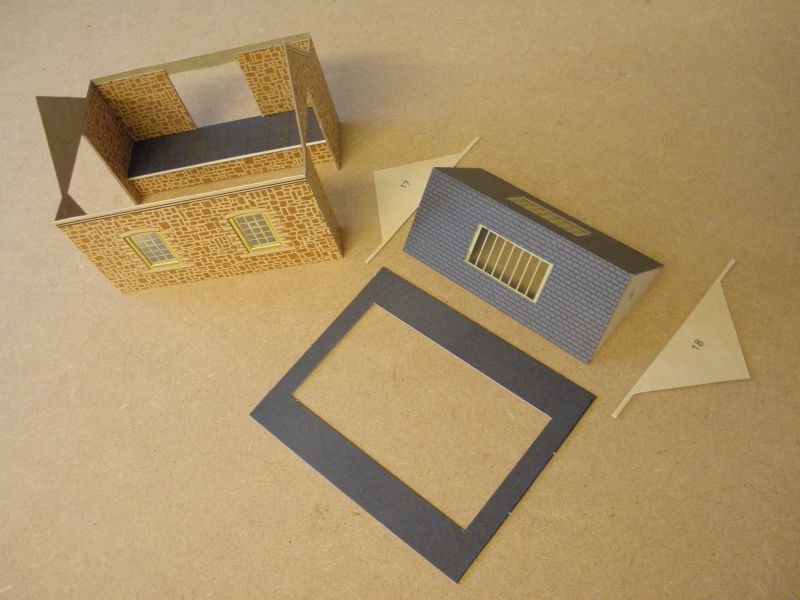
With all the walls in place, I set to work on the roof. To make the fold, I cut a channel in the back to allow the board to bend. As this kit has paper tiles for the ridge I could have scored the outside to achieve the same result.
The large rectangular flat roof section did not have a central cut-out. I decided to add one slightly smaller than the apex roof section.
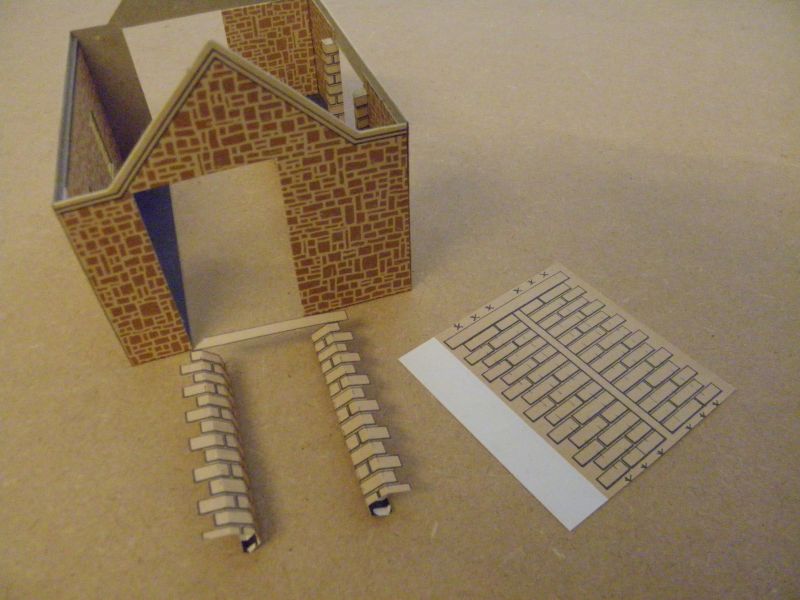
Before installing the roof, I thought it best to add the paper wall ends. These were a little fiddly to cut and fold. I left a little extra to add as a glue tab on the inside.

The wall ends in place, and the roof and canopy assembled.

The roof was lowered into place, making sure the internal apex was level with the external apex. The wall capping was folded with the aid of a channel and two scores. The paper corner pieces were cut and glued into place, the canopy was then added to the side.
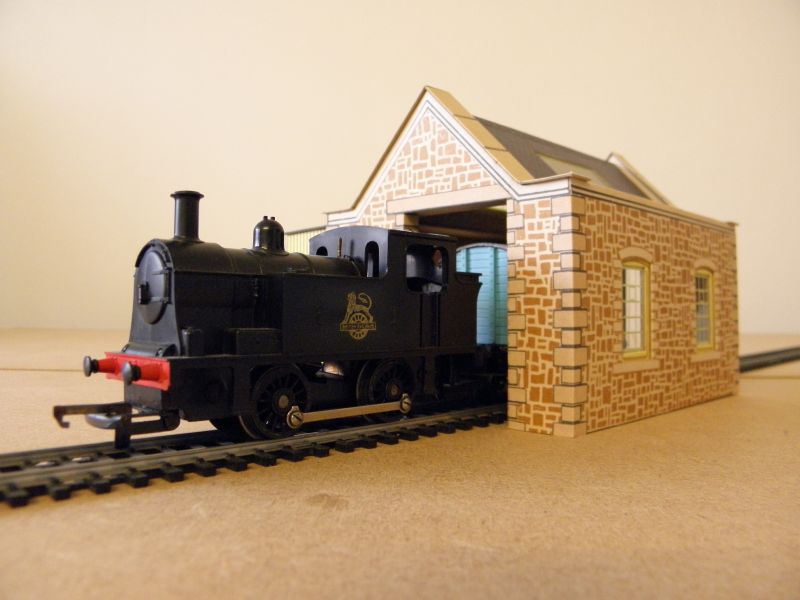
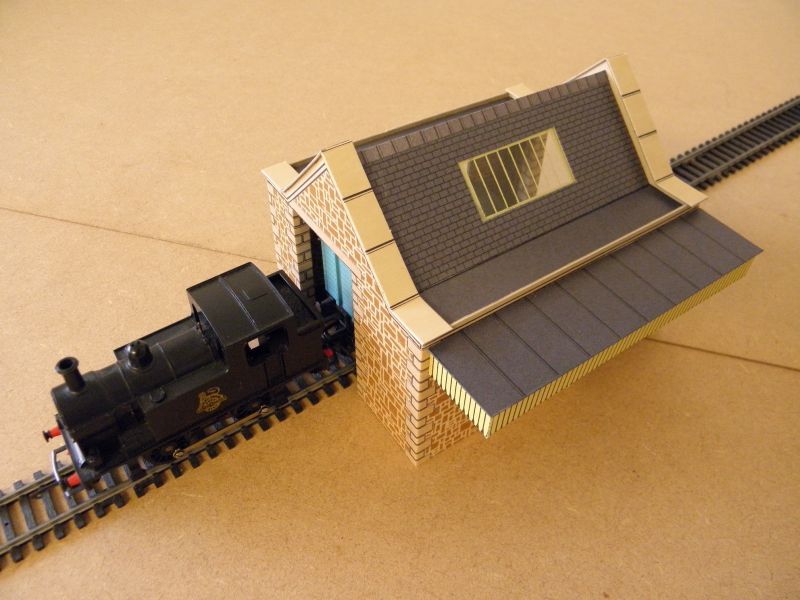
And the completed building! Photographed with a BR black Triang R359 "Nellie" and wagon.

There's a bit of a jump down for the workmen from the shed! Raw edges of board were painted with grey Gouache.

And the final view.
The quality of the kit was, again, quite poor – but I think it turned out well enough. The things I like with this kit are the design of the roof and the wall capping stones, and the use of paper corner stones to finish off the walls. The triple layer wall with the window apertures and yellow frames are also attractive.
A build of the Trix signal box should follow quite soon.
Thank you again for looking.
Gordon :-)

Posted

Full Member
Cheers
Andy
Andy
Posted
Full Member
Thank you Campaman, much appreciated :cheersYou have made a very nice neat build.
Posted

Full Member
Did you build the scanned copy and keep the original intact or was the scan the one for "posterity" ?
'Petermac
Posted
Full Member
Dinky little shed Gordon. :thumbs
Did you build the scanned copy and keep the original intact or was the scan the one for "posterity" ?
Thanks Peter,
I built the original. I figured that if I scan the original in, and post the build of the original on-line (here!), some Trix collectors or lovers of old things might find it useful.
It's a funny thing, but I wonder how many kits have been purchased with good intentions, only to lie in someones drawer for decades? I must confess to owning one or two…
It kind of gives me a nice feeling to finally build a kit which has sat dormant for so long.
All the best
Gordon
1 guest and 0 members have just viewed this.