Superquick Market House B35
Posted
#240543
(In Topic #13323)

Full Member
Building the Superquick Market House
Following on from my other original Superquick builds, I thought that it might be interesting to post the build of the Superquick Market House, from their current range.I wasn't able to find much information on-line about how the Market House would look once it was made up, so the following might be useful if you are thinking about buying the kit, or not!
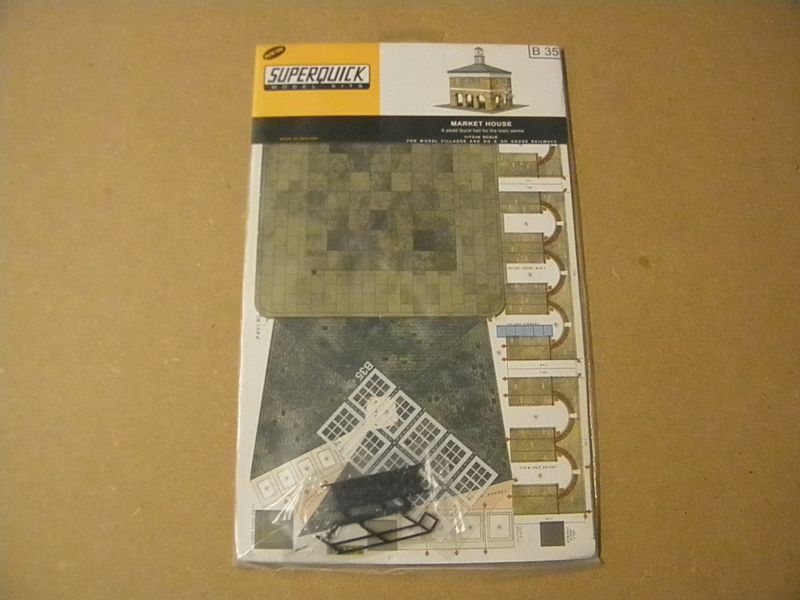
The Superquick Market House B35 kit
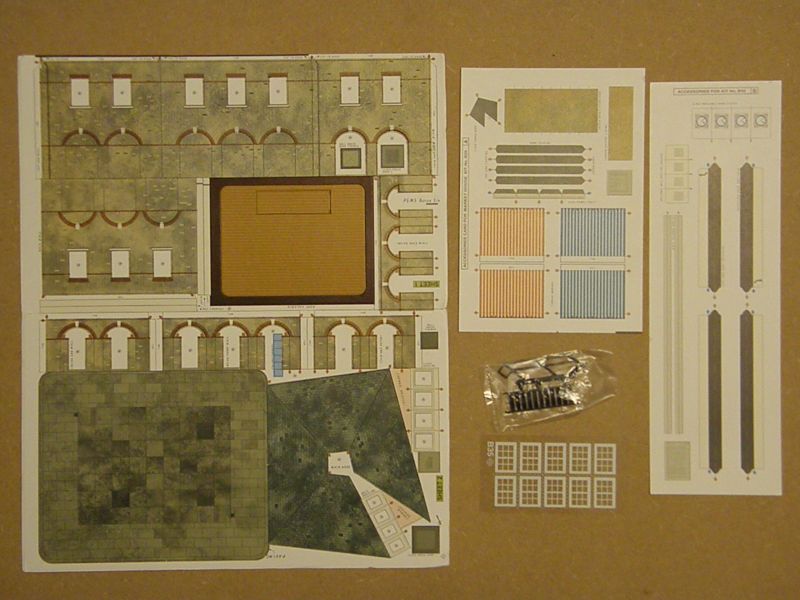
All the parts which come with the kit. The large die-cut laminated card sheet, the thin card sheets, the windows, and the plastic steps.

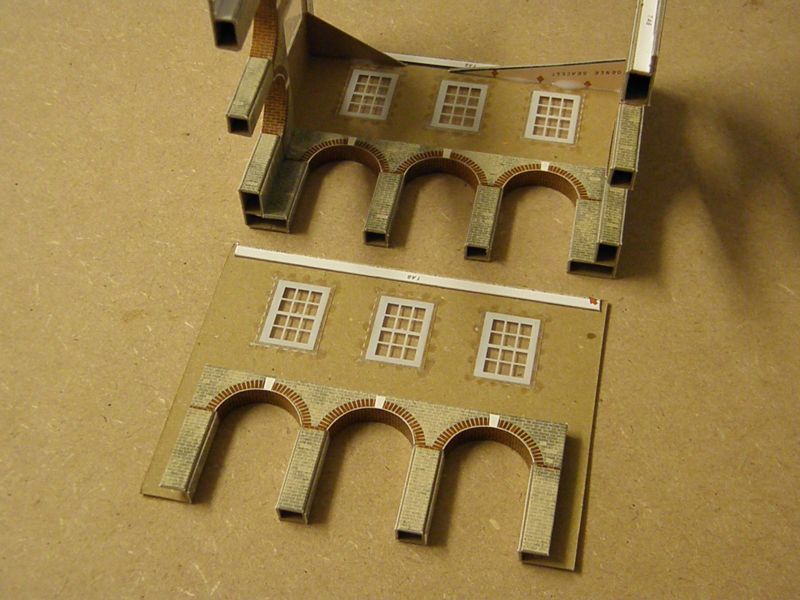
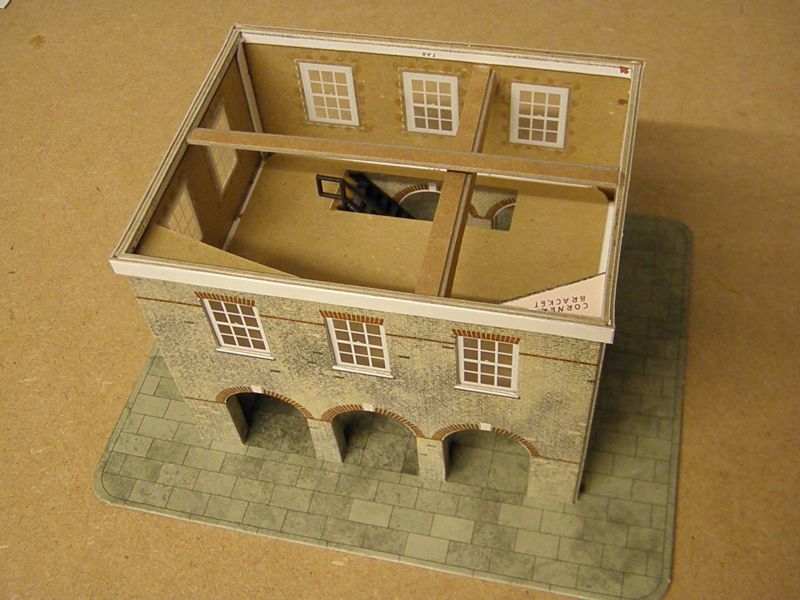
The inside walls were made up first. The instructions tell you to make up the first three, and then ask you to make up the fourth later on; but you can make them all up at the same time. I lightly went over the scores with a knife before folding each bend through 180º. Tweezers were needed to fit the small square formers, and one had to be trimmed down a little as it was too high. Some of the arches were not die-cut through, and had to be re-cut with a knife (easy enough with a straight line, but not so an arch!).

Windows were added to the outer walls using my usual method of small pieces of tape to get the positions correct, then blobs of PVA to fix the windows in place. I later removed the tape and added more PVA blobs. I have found this method to hold the windows in very well indeed.

The inside walls were glued to the outer walls and left to set. The arch lining was cut from one of the thin card sheets and fixed into place with a little PVA. I found I needed to trim 1/4mm off the length of each strip. After I'd fixed them in place I wished I'd reduced the width a little too as they look a tad wide.
I found that the main section would not fold up well, and that the middle inner wall was offset by 1/2mm. I removed both side tabs with a knife and trimmed a very small amount off the offending edge. The corner sectiones were added to keep everything square, and it glued up pretty well – making sure most of the PVA went where it wouldn't be seen.
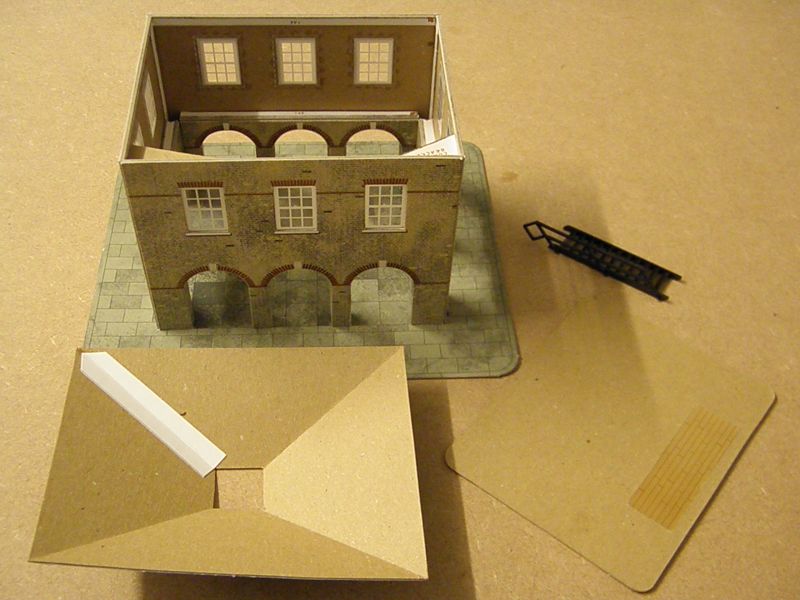
The completed main structure was then fixed to the base. I dribbled a reasonable amount of PVA into each leg, turned the building upright and placed it into position on the base. Some heavy books were placed on top and it was left overnight to set. The roof was made up using card waste to strengthen the join. Wood effect card was trimmed down and added to the floor section.

The components of the clocktower. The thin card clock faces and bell housing 'slats' were fixed into place with a small amount of PVA. Once dry the tower was assembled.
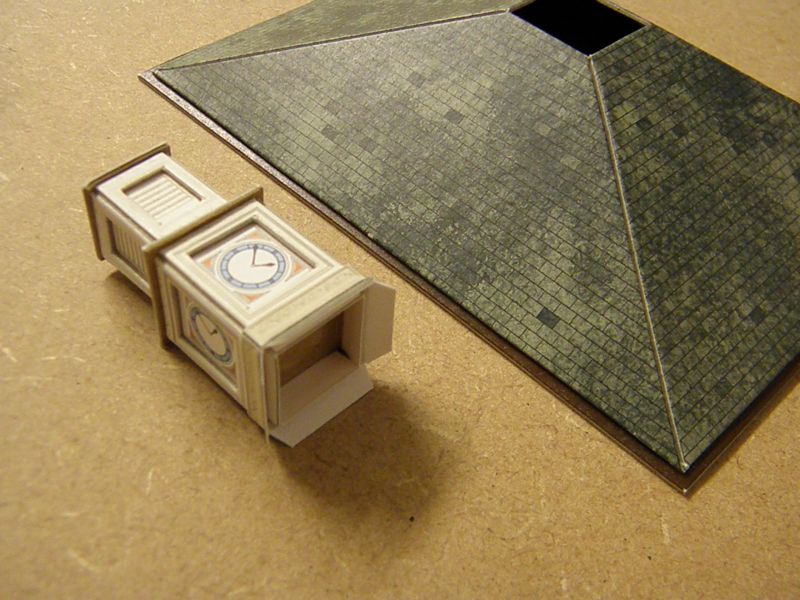
I decided to add the thin card trim to the bottom of the tower before adding it to the roof. It was a little short and did not join up, so I soaked it in water for a couple of minutes before glueing it onto the tower (Great care was needed whilst it was wet!). Once dry, the clocktower was fixed into place using a thin smear of PVA on the trim. Once dry additional PVA was added from behind. The valance has been fixed to the bottom of the roof (It is important that this is completely flat once glued.)
I decided not to use the supplied guttering, as I think that it would look rubbish. I used card strips which I understand were intended for lower down on the building. Again, these were a bit short, but a quick soak in water made them the correct length. I added some cross-members to the inside of the building to keep the walls from bowing.

The ridge tiles again were a little short, but again, a quick soak in water got them to the correct length.

Once assembled, the exposed white edges on the arches were painted to match the bricks, and the red bricks were painted in around the corners and next to the windows. The valance on the roof was painted before the roof was fixed down.
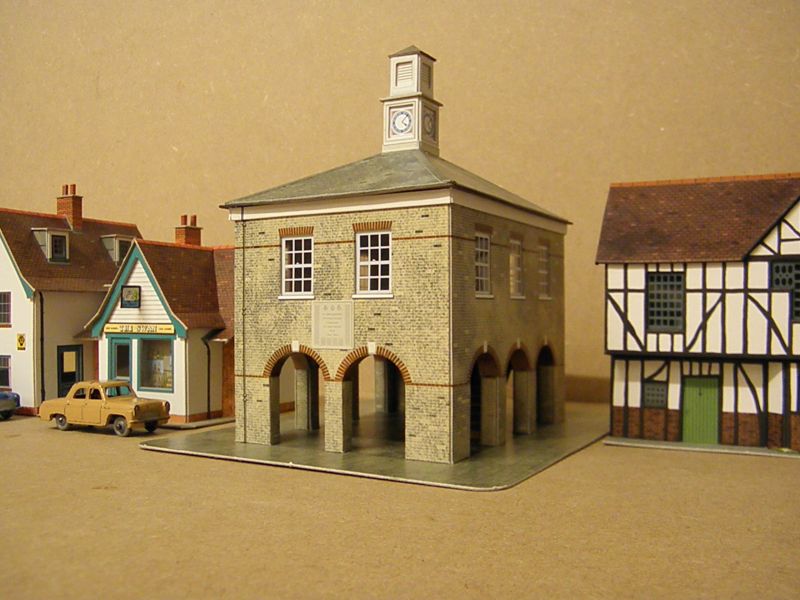
The finished building! An enjoyable build, but not without problems. The quality of the printing is as good as you can get, and the colours used look very natural. The use of light-fast inks should mean that the model will look like this for many years to come. Issues I had were generally due to the sizes of some parts being a fraction too small, and some of the cutting being a little incomplete.
Thank you for taking the time to look at my build!
Kind regards
Gordon

Posted

Site staff
Ron
NCE DCC ; 00 scale UK outline.
NCE DCC ; 00 scale UK outline.
Posted
Full Member
Quite right. The addition of some corner stones would improve the look of the kits too. I wish they didn't print the plumbing running down the walls, these would look much better in plastic. But then, I guess, the objective of the kits is to be quick and simple. Still took me a few evenings to build though…That makes a good base for more detailing like making it more 3D Gordon
Gordon
Posted

Legacy Member
some printed or wills plastic cornerstones would greatly enhance it.
Brian
OO gauge DCC ECOS Itrain 4 computer control system
Posted
Full Member
Excellent build Gordon. It really looks like the market buildings seen all over the country.
I really love these Superquick buildings. They were the first card kits which I built in my teens.
Terry
 Last edit: by col.stephens
Posted
Full Member
As you can guess, I rather like the kits too.
My local town, Dudley, used to have a long octagonal market building, but it was demolished around 1860! It was replaced with a posh fountain, which is still there, and is now, itself, one of the oldest things in the town centre!
I'm planning one or two more Superquick builds which I hope to post soon.
Thank you for looking.
Gordon
Posted

Full Member
Your fifth picture [opened up walls] makes me think that the kit could be used opened up, flat, as the froontage of a row of shops/houses with oversailing upper floors…..Hhmmm.
Doug
'You may share the labours of the great, but you will not share the spoil…' Aesop's Fables
"Beer is proof that God loves us and wants us to be happy" - Benjamin Franklin
In the land of the slap-dash and implausible, mediocrity is king
"Beer is proof that God loves us and wants us to be happy" - Benjamin Franklin
In the land of the slap-dash and implausible, mediocrity is king
Posted
Legacy Member
Brian
OO gauge DCC ECOS Itrain 4 computer control system
Posted
Full Member
I like the idea. You could do a long four-sided bay of shops. And use the clock tower on another building!
Gordon
Posted

Site staff
cheers
Matt
(Links below to Gordon's other superquick builds)
Superquick Market House B35
Elizabethan Cottages Kit
Water Tower and Weigh House
Supermarket Kit
Original Superquick Goods Depot Building Series A No 7
Wasnie me, a big boy did it and ran away
"Why did you volunteer ? I didn't Sir, the other three stepped backwards"
"Why did you volunteer ? I didn't Sir, the other three stepped backwards"
Posted
Full Member
Good idea putting the links up!
Gordon :-)
Posted
Site staff
Wasnie me, a big boy did it and ran away
"Why did you volunteer ? I didn't Sir, the other three stepped backwards"
"Why did you volunteer ? I didn't Sir, the other three stepped backwards"
Posted

Full Member

1 guest and 0 members have just viewed this.