Superquick Country Church Series B No. 29
Posted
#262281
(In Topic #14298)
Full Member
Building the classic Superquick Church kit
It has been some time since I posted a Superquick build. My son, Alfred, requested I build the church, and who am I to refuse!I think more than any other Superquick kit, perhaps more than any card kit, this is the most recognisable of models, to the point of being cliché and is probably harmful to Superquick's reputation as being a little staid and stuck in the past. I have to be honest, I wasn't really looking forward to its build!
Anyhow, Build it I did, and I have to say that the kit is full of detail, interesting design, and beautifully printed colours.
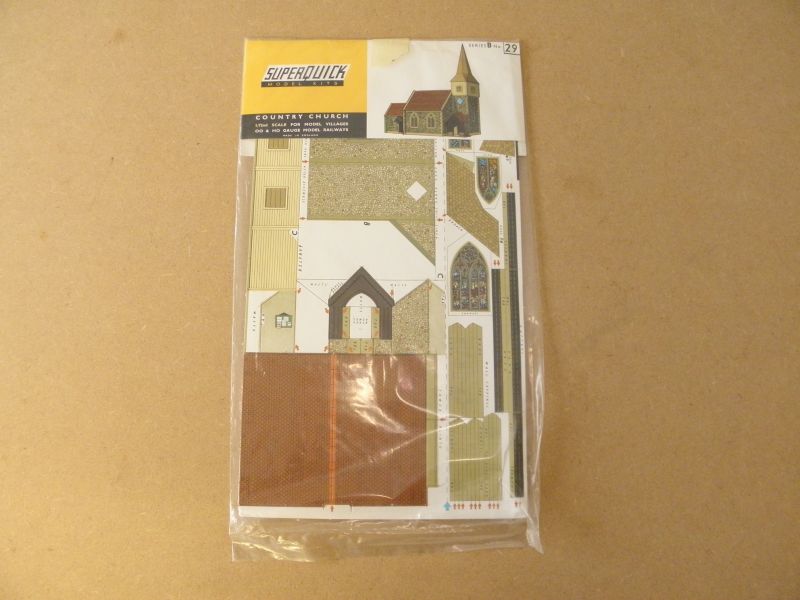
Superquick Country Church kit, Series B No. 29
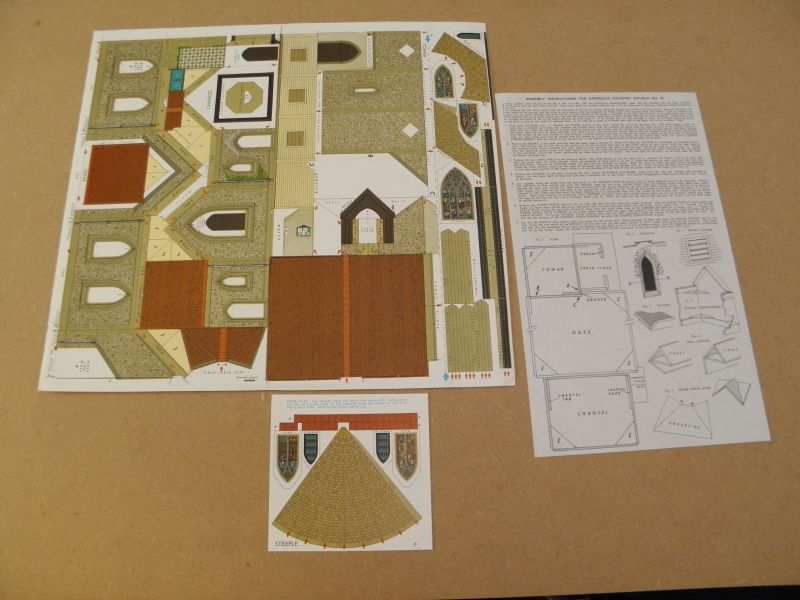
The contents of the kit. The paper on the main section is 3/4 laminated with board, the right-hand side with the windows and roof sections etc is paper, as is the separate square section. The instructions are quite easy to follow for Superquick.
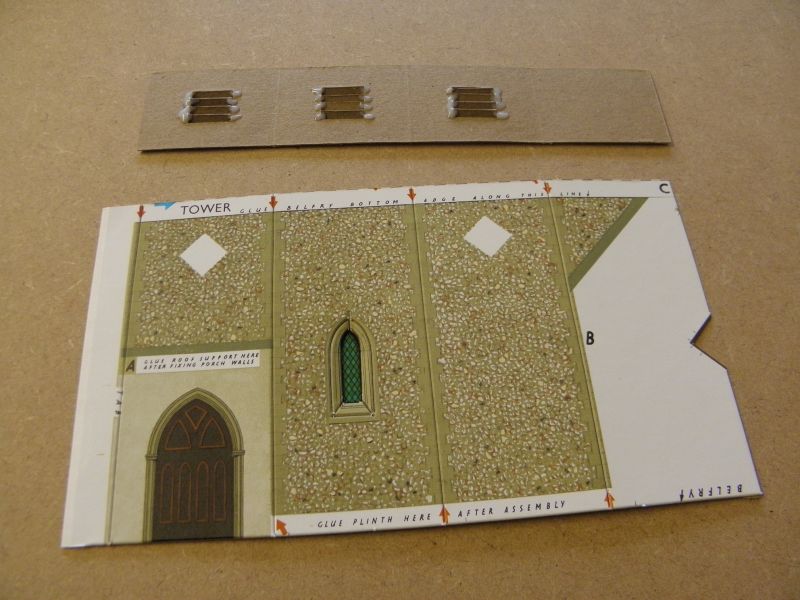
The belfry louvres were cut through with a knife and twisted open around the uncut tags on either end. A spot of glue on the back makes the louvres strong and keeps them open. The window aperture in the tower is eased backwards to create a 3D effect and the paper window glued from behind. The clocks should also be glues to the tower.
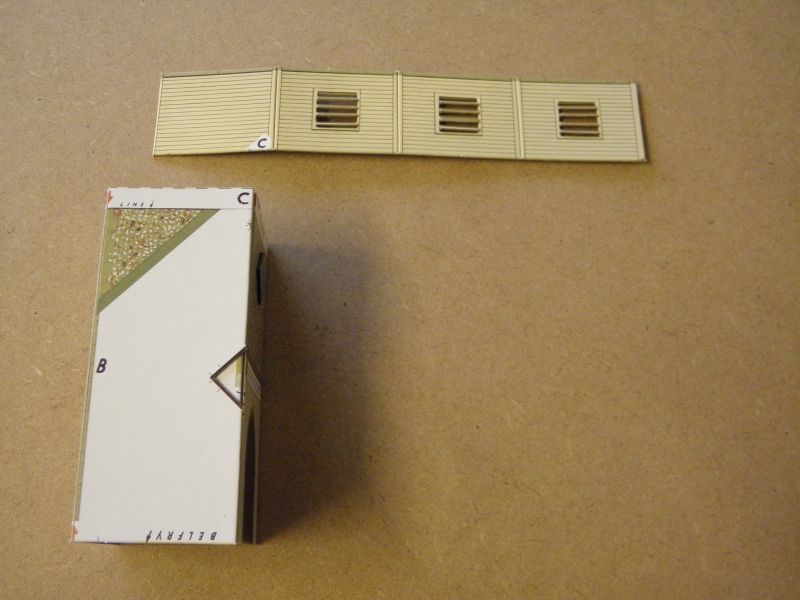
The tower is glued square. There should be a channel down the glue edge where the nave wall will slot in. Where the belfry glues onto the tower, the 'C' marks should align.
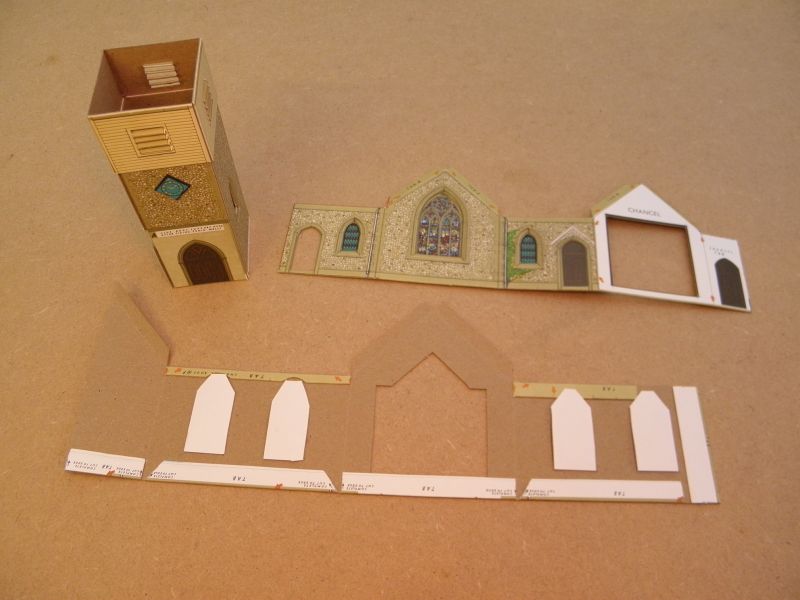
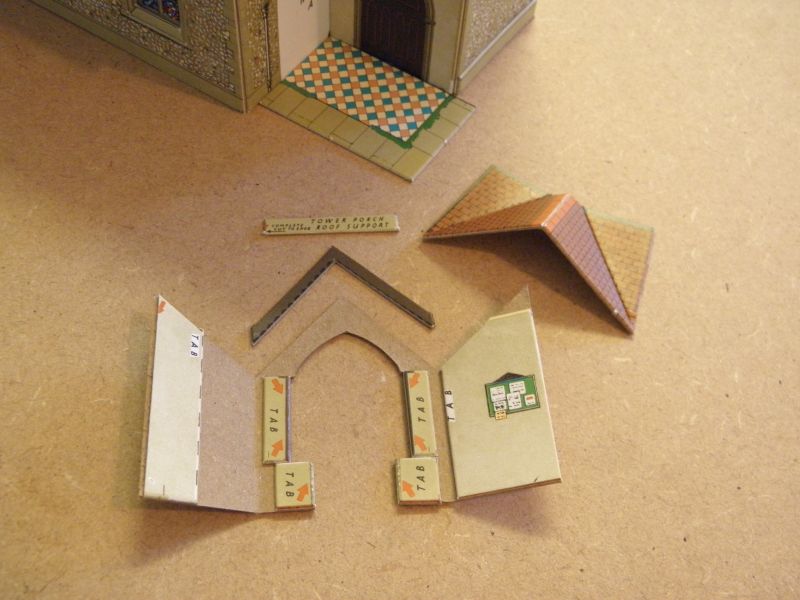
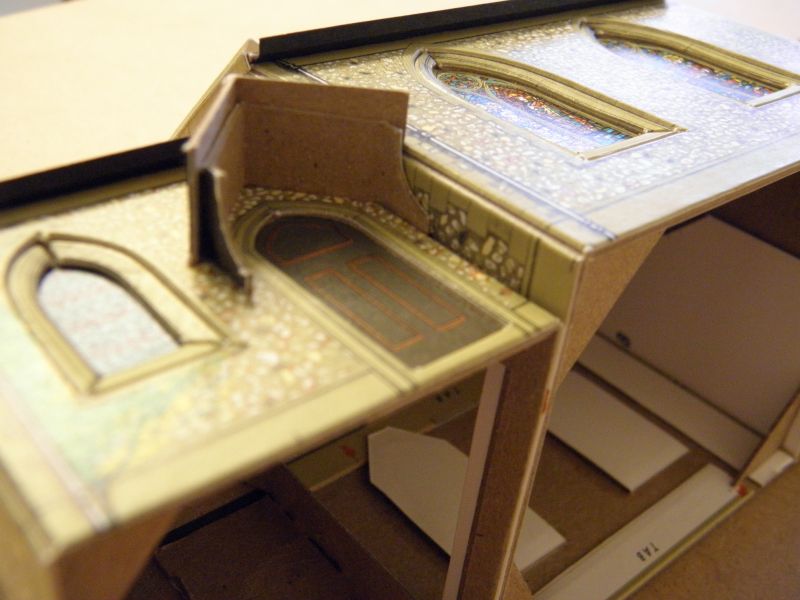
With the tower assembled, the nave and chancel are assembled with tabs glued flat (end roof tabs remain unglued) and windows treated in a similar fashion to the tower's window.
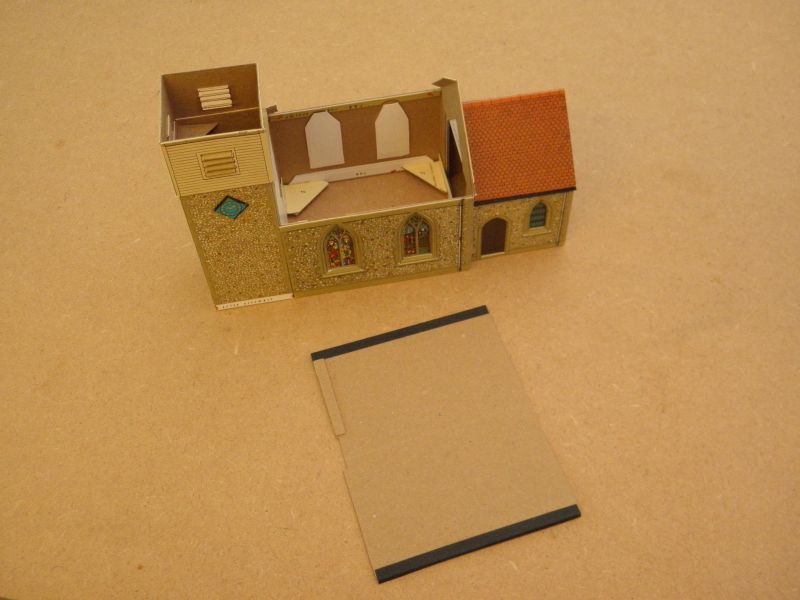
The building quickly comes together. Right-angle sections are added inside to keep everything square.
I found some black paper at a local shop and have used that for the guttering, as I find the supplied printed gutter too thick to work well. The gutters are added before the roofs are fixed to the building.
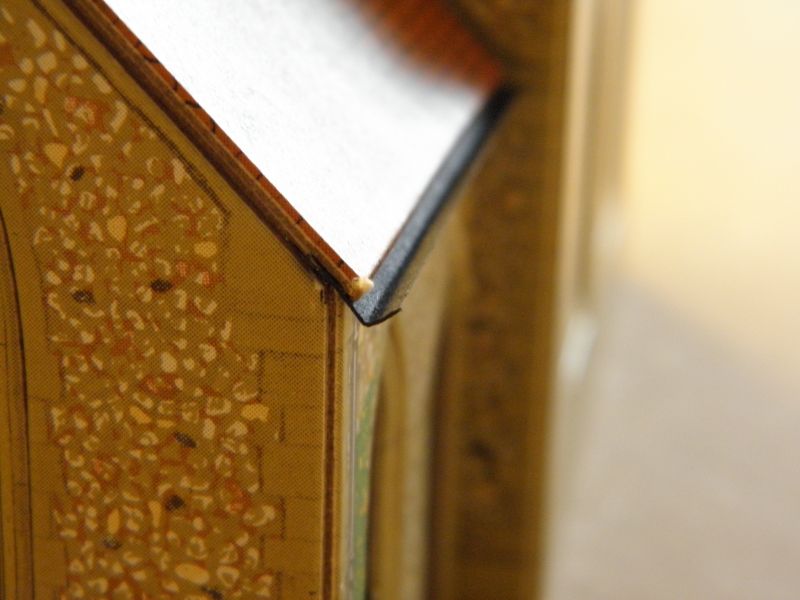
A close-up of the black paper guttering
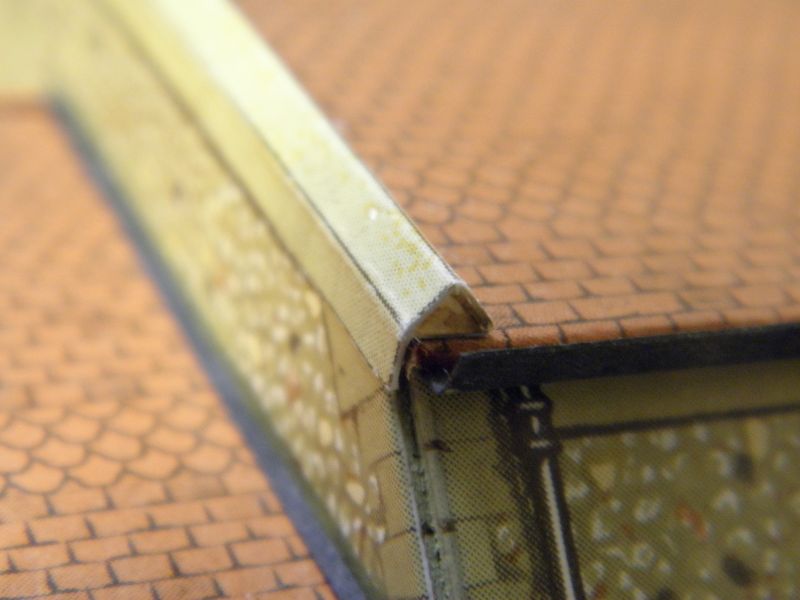
The wall cappings are cut and creased (from behind) and glued into triangular 'tubes'. These are then added to the building. I did need to trim the apexes to get a good fit. I also glued a strip of black paper along the join of the chancel roof to the nave to help with the appearance.
The porch floor is glued in place and the porch assembled. On the left-hand side (in the photograph) I set the tab back 1mm to make a flush join on the tower.
The side porch roof and support are added. There is a triangular cut in the wall which can be used to help with the positioning.

The Spire being assembled. I creased the spire from behind again, and used paper to make the join from behind.

Using the octagonal former to help assemble the spire.

I cut a square of cereal-box card and glued it to the base of the spire to help keep the base square before fixing the the steeple guttering.
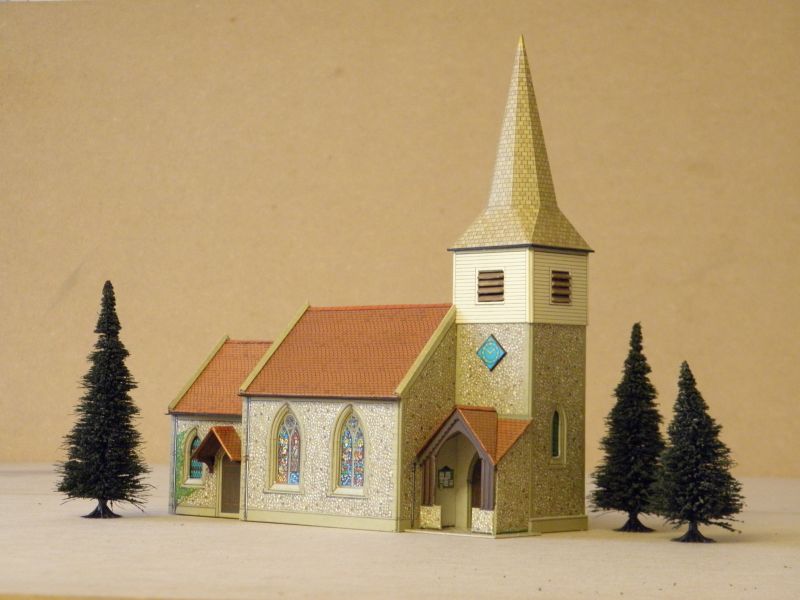
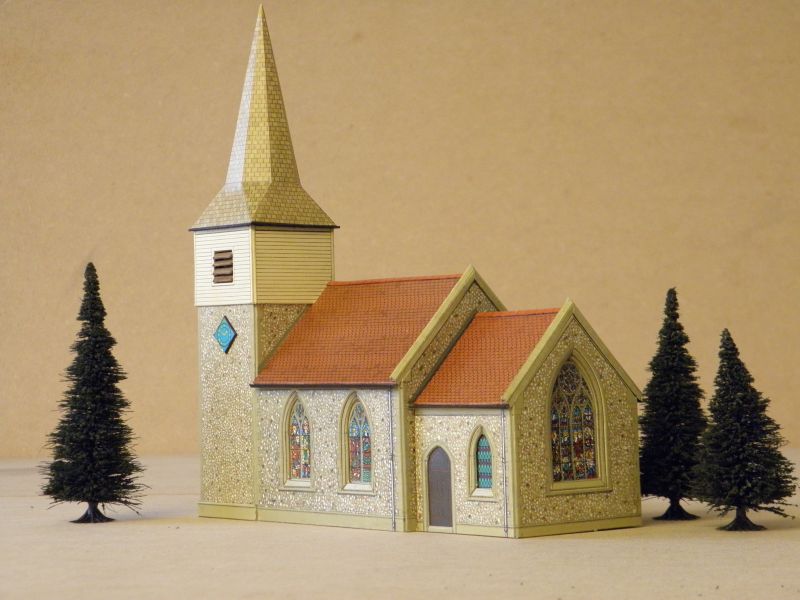

The completed church. Edges were painted with watercolour paints, usually containing some white, to help with the appearance. I found the colour of the belfry quite difficult to match.
I found the build surprisingly enjoyable and quite quick too (for a change!). I didn't have too many problems, though the spire and wall cappings were very fiddly!
It is nice to have a Superquick church where the spire hasn't become crumpled!
Thank you for looking.
All the best,
Gordon :-)

Posted

Full Member
Very well done Sir - far too good to give to a mere "son" - unless he's an adult son ………………………. :pathead
'Petermac
Posted
Full Member
Thank you for your kind comments, Peter.My word Gordon, clichéd or not, you've made an excellent job of that.
Very well done Sir - far too good to give to a mere "son" - unless he's an adult son ………………………. :pathead
Alfred is pretty good for his 11-years. I've corrupted him into liking old Triang, Lima and Hornby models, which he looks after quite well (Much better than me when I was his age!)
We don't have a permanent layout, but when we do set something up we quickly populate it with cardboard buildings.
I quite enjoy building the kits, I guess in much the same way as my wife enjoys making jigsaws etc, and it is always satisfying to finish with an attractive addition to the model railway 'stock'.
All the best
Gordon :-)
1 guest and 0 members have just viewed this.