Part work Butler Henderson.
Posted
#181804
(In Topic #10271)

Inactive Member
GCR 4-4-0 Butler Henderson. Motorising the static model.
Went into Sainsbury's this morning to get some bits and pieces and noticed the GCR Butler Henderson which is being done by one or other of the Part Work firms. I've always had a bit of a soft spot for them so I bought it to see what was what. When I got it home I took it off of its display plinth and studied it carefully. The whole thing screws apart so after removing the diecast, one piece chassis which includes moulded on wheels and motion I realised that there is enough room inside (after butchering) to fit one of the Hornby/Triang 2P chassis into it. I just happen to have one that has had Romfords fitted and a smaller motor so I think I will see how it develops. The tender also screws apart and it would be an easy job to replace the wheels with Romfords etc. and fit some sort of coupling on the back. There would need to be a certain amount of hacking to be done but it does look feasible. Cost so far £8.99 so if it all goes pear shaped I haven't lost a lot. If it works then it will be a lot cheaper than the Bachmann/NRM version. By the way, if you are thinking of using any of these locos as a static display on a siding the siding will have to be electrically dead as the whole of the chassis on these locos are solid metal so would quickly short out any running line.
 Last edit: by 60019Bittern

Posted
Inactive Member
Last edit: by 60019Bittern
Posted
Guest user
Keep it coming, it's sounds interesting. I'll look forward to the pics.
Toto
Posted
Inactive Member
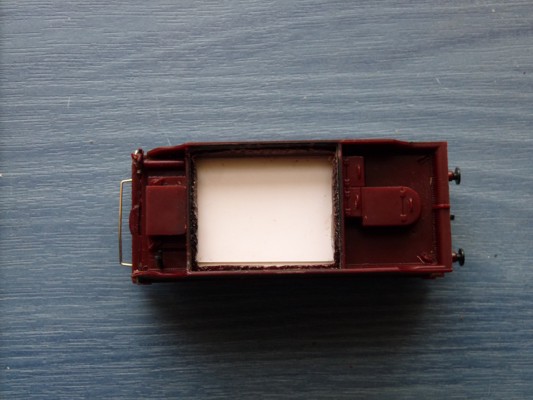
This shows the tender frames and you can see the bits that need chopping off. It needs tidying up. Notice the new wire drawbar.

This shows the tender top after the coal was cut off and a false floor put in to hold the real coal later.
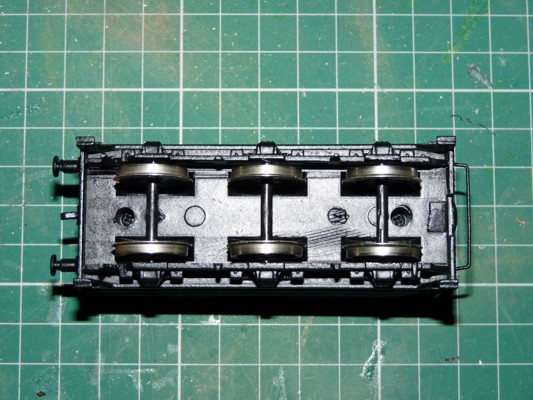
Underside painted with wheels in.
Side view painted
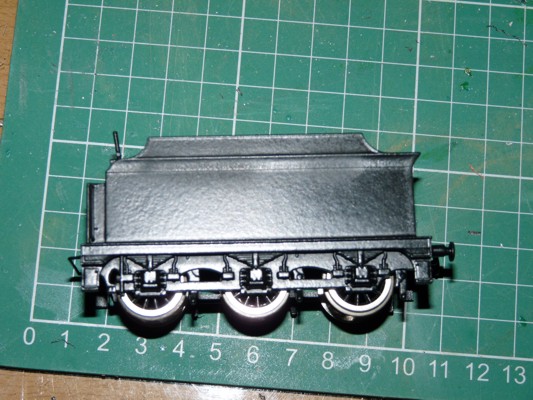
Top view painted

That's all for now folks. Loco body and chassis to come.
Last edit: by 60019Bittern
Posted

Banned
Cheers, Gary.
Posted
Inactive Member
Posted
Full Member
Keith.
1 guest and 0 members have just viewed this.