Johns 7mm Loco Workbench
Posted

Full Member
While I don't mind building kits, they do take a lot of effort and time, at least for me. Once I get things settled and running, I can turn my attention to the 1F kit on my to do shelf.
John
John

Posted
Full Member
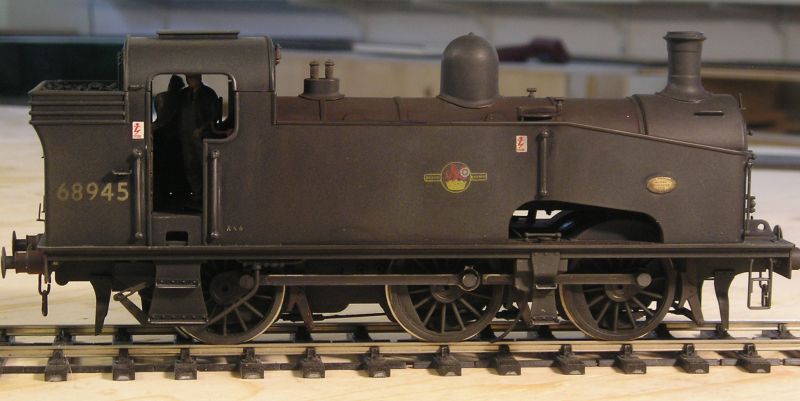
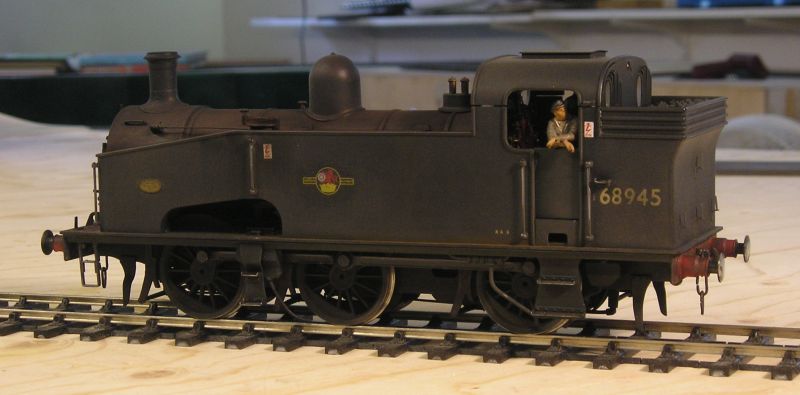
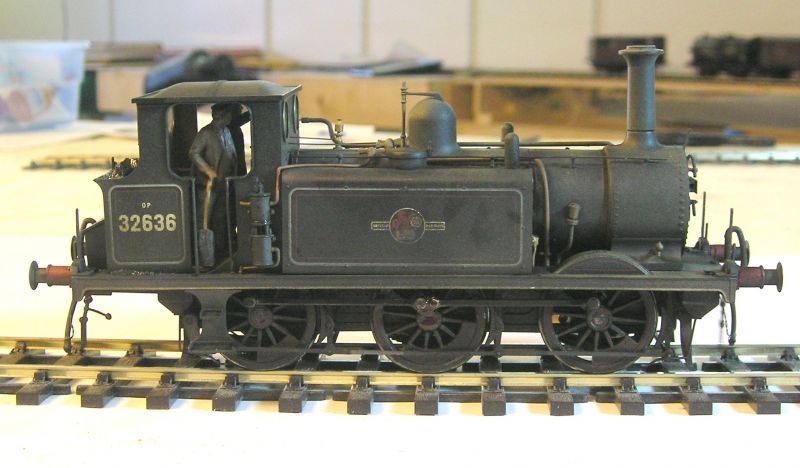
You'll notice the crew is there now. These are ModelU figures. I painted the rods with Humbrol Metalcote Gunmetal. When dry this polishes up with Qtips to nice steel colour.
John
John
Posted

Inactive Member
The Model U figures are excellent. :cool:
Max
Port Elderley
Port Elderley
Posted

Full Member
Regards Rob
Posted
Full Member
John
John
Posted
Full Member
Superb model and has Zimo/Paul Chetter sound installed. Works beautifully and sounds great. There's a bag of bits supplied so I'll have to figure all that out once he decides on the number. (It is recommended that number plates are obtained from Narrow Planet ( Light Railway Stores)
These were not fitted for autocoach operation so my buddy will have to get the Dapol 64XX or 14XX/48XX when they come out some time next year.
John
John
Posted
Legacy Member
Mine came with loads of bits too, John, bit christ only knows what they are and where they're supposed to go ! Might paint 'em pink and let the wife stick 'em on where she thinks fit.
Allan.
Posted
Full Member
John
John
Posted
Full Member
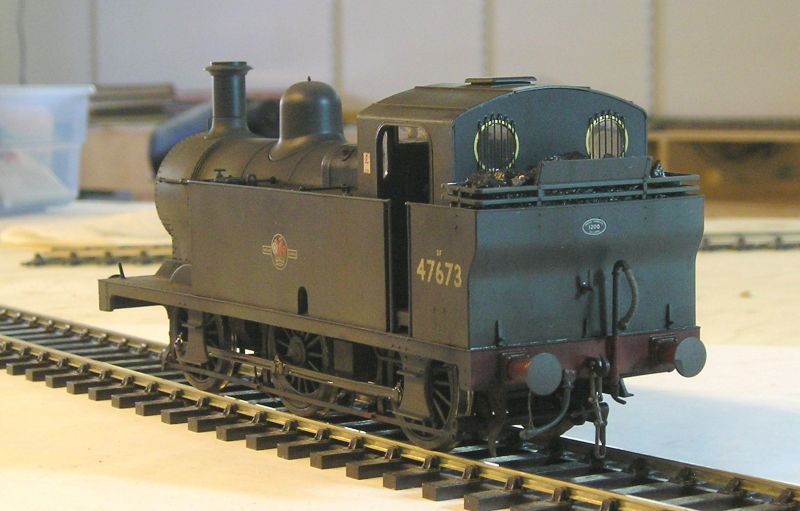
Dapols LMS Jinty with BR late crest (post 1956):

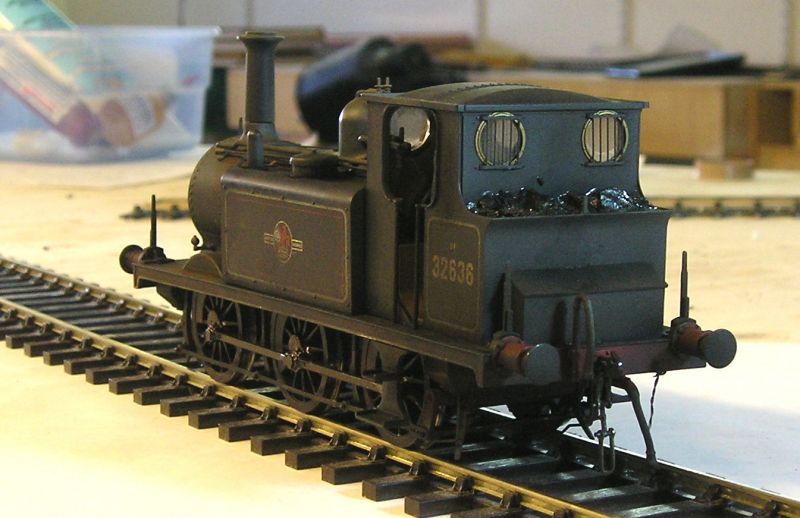
Dapols A1X Terrier:
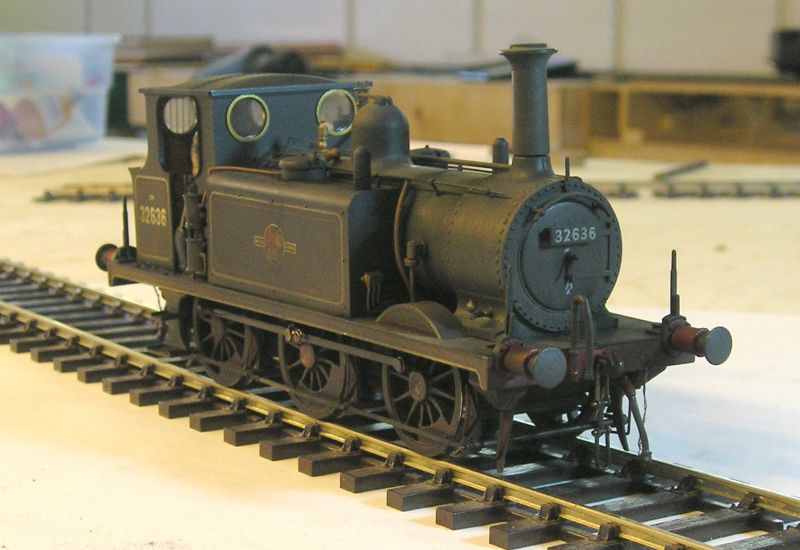
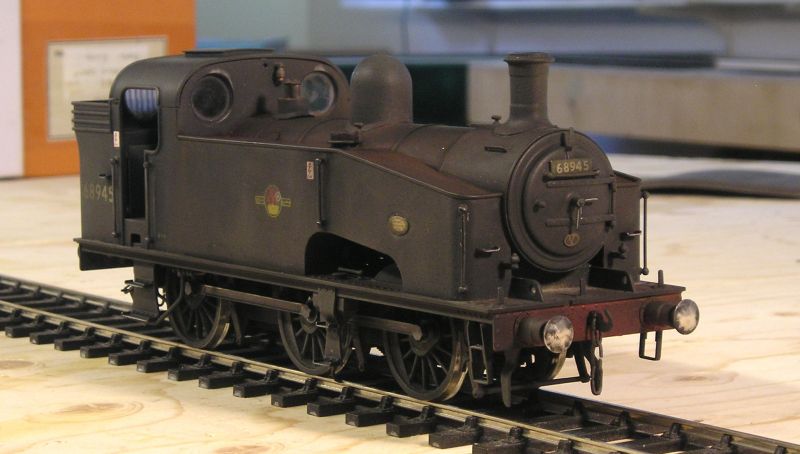
The process I use is always thesame and an airbrush is necessary. I spray earth/dirt over most surfaces first. I then follow up with a dusting of black. Following this, I apply powders as I deem necessary, umber, black and rust.
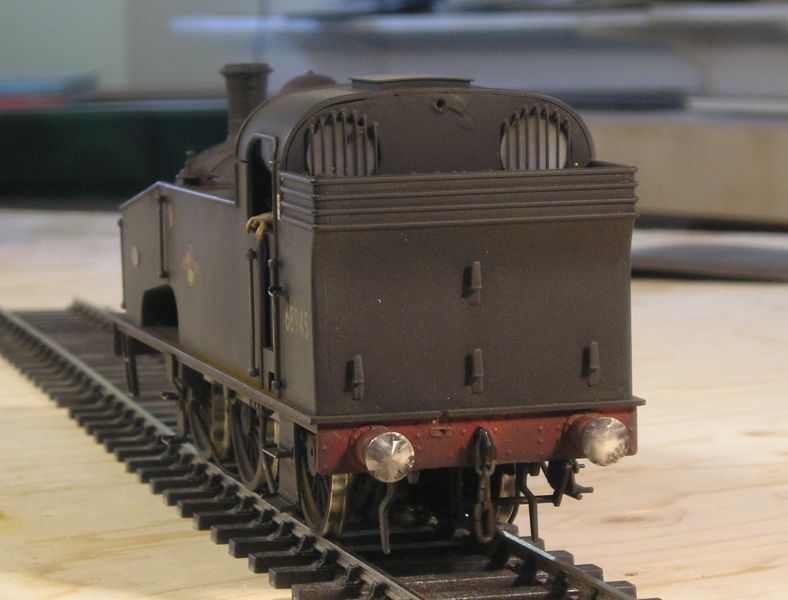
Real coal in the bunkers.
The crews really set things off I think.
Now I must investigate why the Terrier cab rear is ahoo.
John
John
Posted
Inactive Member
Photos always find the crooked details.

Max
Port Elderley
Port Elderley
Posted
Full Member
John
John
Posted
Legacy Member
Allan.
 Last edit: by allan downes
Posted
Full Member
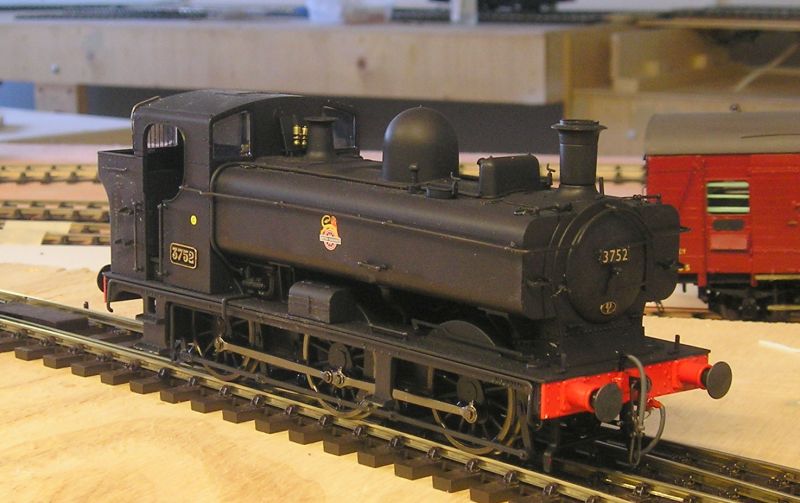
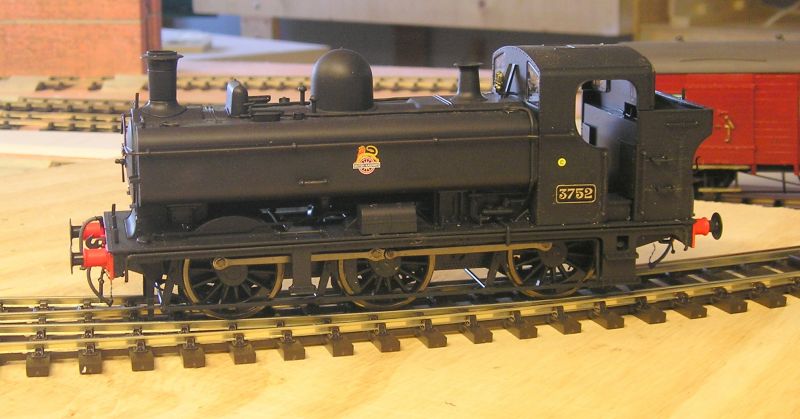
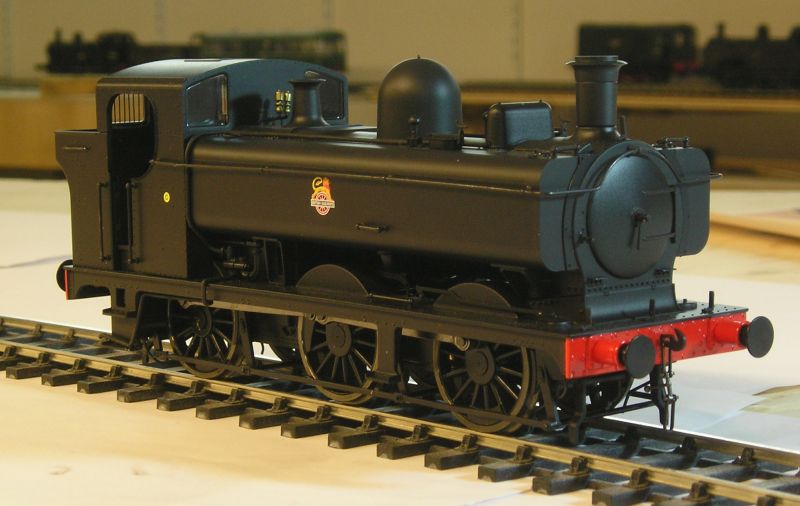
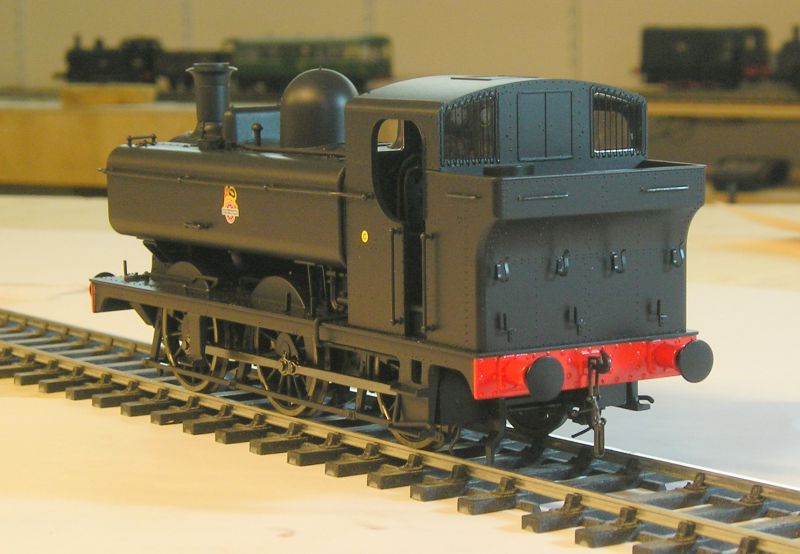
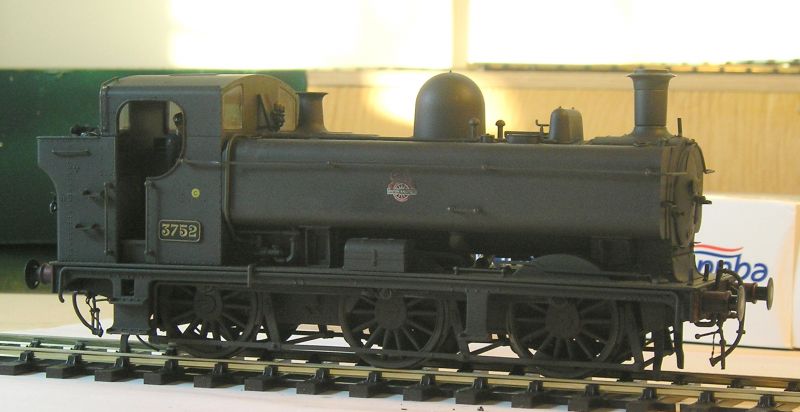
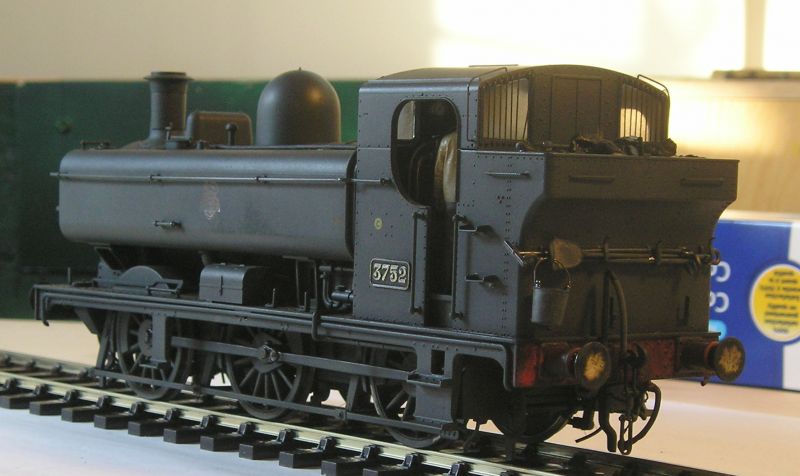
I finally settled on 3752 because I had photos of 3750 and 3751. These were built between 1937 and 1938 and had all the features seen here, most notably the top feed and bunker steps.
You will note that a lot of gubbins has been added since the initial picture was taken. Valence steam and vacuum pipes, tool boxes, buffer beam vacuum and steam pipes.
Shed plate is 83E, Yeovil Town. I've no idea if this loco was ever shedded there or even if it visited but the owner has an affinity for the place. Rule 1 applies.
A very useful resource is: GWR 5700 Class - Wikipedia
John
John
Posted
Full Member
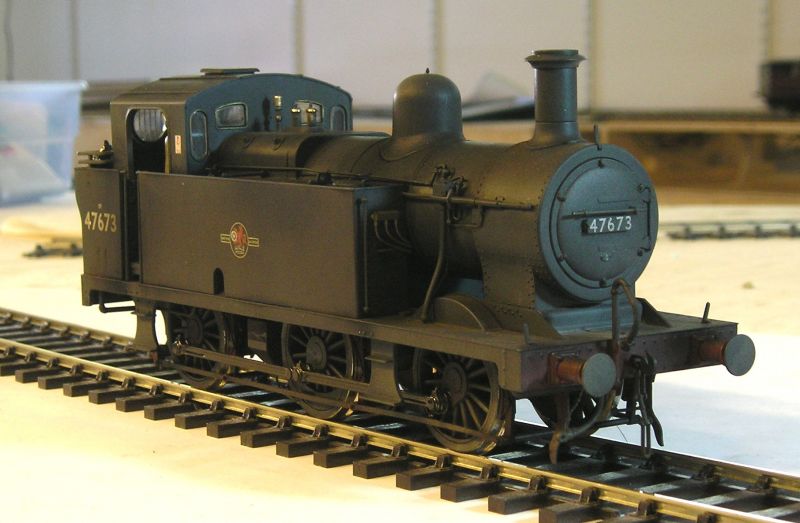
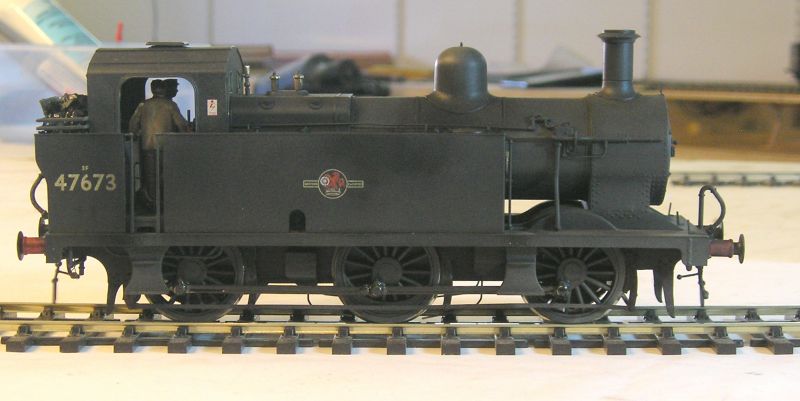
The loco was weathered:
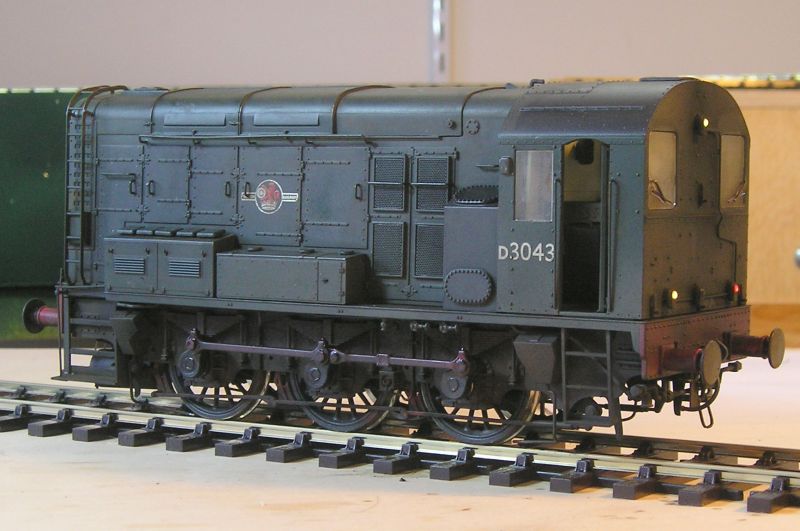
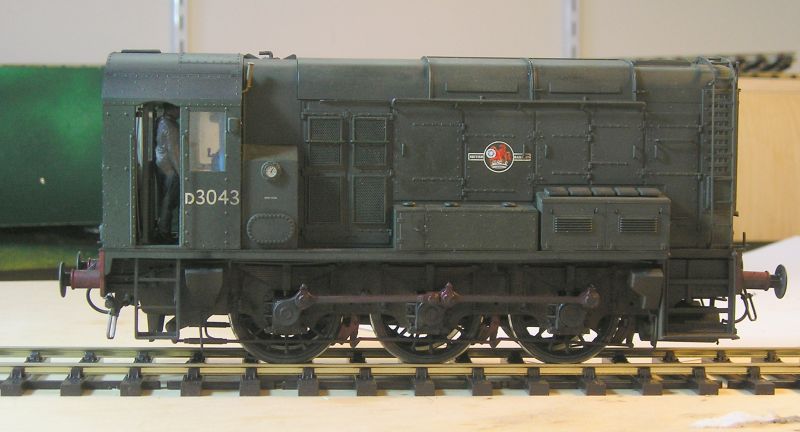

You can see the directional headlight. Also shunting or station pilot lights can be selected. These are on at both front and rear and are non directional. There's also a cab light but it's very subtle.
I started in my usual fashion which is to airbrush earth, followed by black. This kills the shiny plastic look.
I then went on use powders to highlight the frame details and panel details. Also the buffer beams.
I then departed from my routine and used Tamiya Panel Lining colour (enamel wash, black and brown) on the main body. This was scary since I am still getting used to it. If the wash went on too heavy, I thinned it with neat enamel thinners in a cap. Once it dried I think the effect is quite pleasing. Each to his own of course.
I did have a a struggle to get the loco running again. The spray paint dirties the wheels obviously but, in this case it also clogged up the motion. It took a long time to get the wheels clean with Qtips and IPA. I then applied Labelle oil to the rods and outside cranks. There was still baulkiness after all this so I took off the keeper plate. I put white lithium grease on the nylon gear and appled Nano grease (used for metal to metal) to the bearings. This made all the difference and the loco is a running happily now.
Tick another one off.
John
Last edit: by Brossard
John
Posted
Inactive Member
Just enough. :thumbs
Max
Port Elderley
Port Elderley
Posted
Full Member
I weathered the Minerva 8750 class Pannier over the last couple of days:
Crew are ModelU. Note the tools and ubiquitous bucket on the bunker. I got these from Ixion.
John
Edit: I wasn't happy with the wheels so I added more weathering. I'm a little happier now.
Last edit: by Brossard
John
Posted

Full Member
Great stuff John,
Bill
At 6'4'', Bill is a tall chap, then again, when horizontal he is rather long and people often used to trip over him! . . . and so a nickname was born :)
Posted
Full Member
John
John
Posted
Full Member

Another of my friend's Panniers, 74XX this time. Bought second hand and is a lovely runner with sound. The model is from Lionheart and is metal. When it arrived it was sans topfeed. The era of this loco is supposed to be early '50s and almost all panniers had topfeed by then. I used plasticene to make a mold of the topfeed dome from the previous Pannier and filled it with epoxy. Once cured it really looked the part. I still had to add the piping.
To make it BR era I painted out the buffer beam numbers and made a smokebox numberplate. Quite a lot of Panniers retained their GWR livery into the BR era and that is what this loco is supposed to represent.
One of my recent loco acquisitions is this lovely Sentinel:

It was quite a bargain from Hatton's pre-owned (usually I find their offerings to be overpriced) and has sound installed. I did need to add a stay alive. Anyway the livery is all wrong so I repainted it:

There is a ModelU figure in the cab, you can just make out his arm.
Finally, I opened my newest loco today, the Dapol B4:

Still on it's plexi plinth but a real beaut. It has sound installed.
John
John
1 guest and 0 members have just viewed this.