Jeff's (SRman) work bench and projects
Posted

Full Member
It's not perfect. I have a few small air bubbles, a couple of small lumps in the paint underneath, and I cut and partly hand-painted the front end stripes to correct the Electra printing. It still saved an awful lot of work in adding the various livery elements and looks absolutely great at normal viewing distances. I am going to suggest a few minor changes to the vinyls to Adam Warr of Electra but, even if he doesn't consider the alterations, I would still whole-heartedly recommend the product.
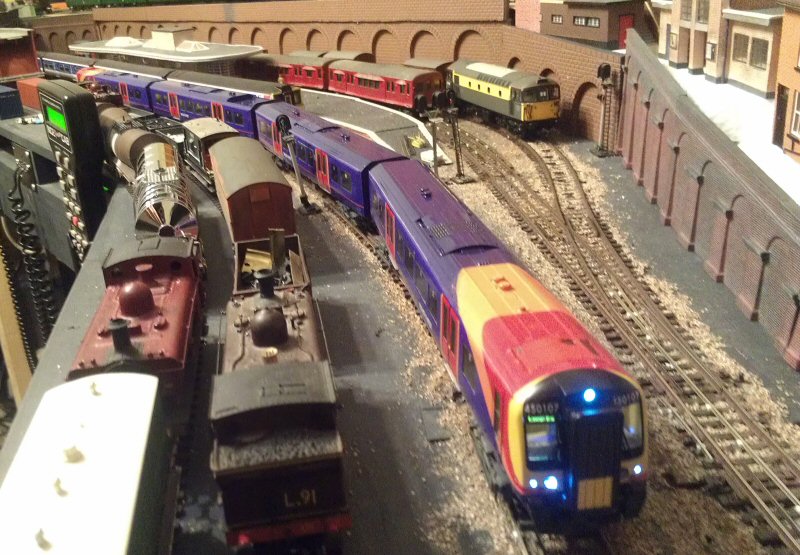
I have taken a couple of videos of the unit too and will edit them into one vid and post that in the next few days.In the meantime, here is the unit, 450 107, looking complete and actually in service.
Jeff Lynn,
Amateur layabout, Professional Lurker, Thread hijacker extraordinaire
Amateur layabout, Professional Lurker, Thread hijacker extraordinaire

Posted
Full Member

Jeff Lynn,
Amateur layabout, Professional Lurker, Thread hijacker extraordinaire
Amateur layabout, Professional Lurker, Thread hijacker extraordinaire
Posted
Full Member
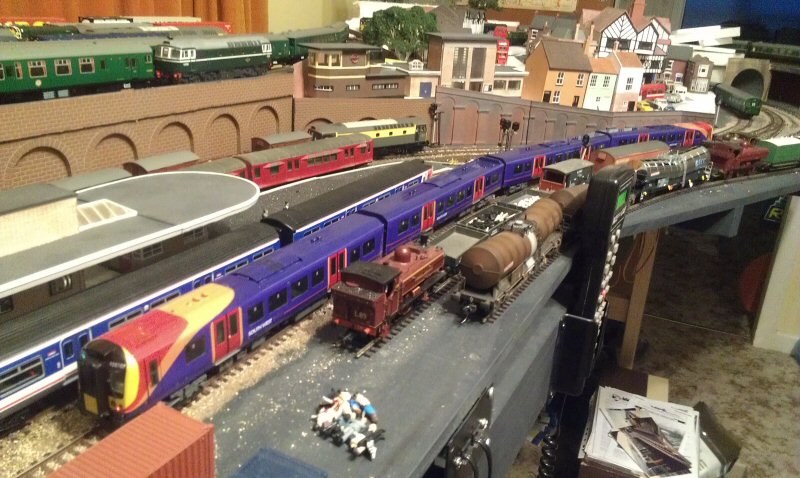
Also running around is the Bachmann class 350/1 converted to a SouthWest Trains class 450 using Electra Railway Graphics vinyl overlays, mentioned (shown off!) in previous posts. This will eventually receive legomanbiffo's appropriate sounds as well but is currently using a Lenz Silver+ decoder.
I fitted the sound a couple of months ago but have only just got around to videoing it in action. I chose a quiet time this morning, gave SWMBO careful instructions to not make any extraneous sounds for five minutes and got down to it. Fortunately I finished the camera work shortly before the neighbours started to cut down a couple of trees!!
http://www.youtube.com/v/0SmBS1tgOz8?version=3
 Last edit: by SRman
Jeff Lynn,
Amateur layabout, Professional Lurker, Thread hijacker extraordinaire
Amateur layabout, Professional Lurker, Thread hijacker extraordinaire
Posted
Full Member
I took along a couple of simple Cambrian wagon kits to construct when I needed a break from operating the demonstration layout. However, that didn't happen and I spent most of the time operating, demonstrating or just talking, but not building anything!!
Today I decided to sit down and build both kits. It took me most of the morning but they were pretty straightforward. Both kits were of open wagons so I wouldn't have had to worry about prepainting anything for the exhibition and both are intended to strengthen the train of Private Owner wagons that my pre-grouping locos can pull (most notably the SECR liveried C class 0-6-0).
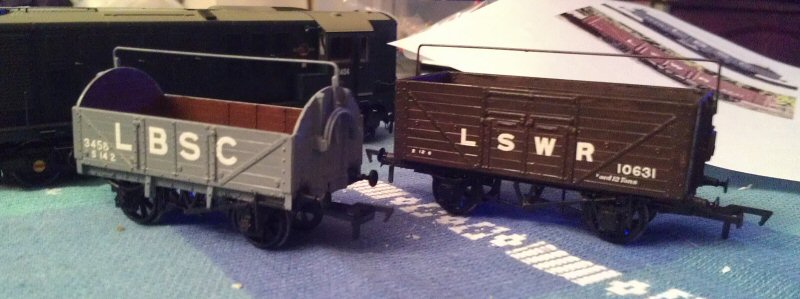
One was an LBSCR D1369 5-plank wagon of 1912 to 1926 build, with a choice of ends, which I built in its early guise with the curved tops and sheet rail, plus early pattern brake gear. The other was an LSWR 8-plank D1316 open of 1904 to 1925 build, done with its original doors and early brake gear on one side only (optional later pattern doors are supplied), plus the sheet rail.
The only parts of the construction that gave me any pause for thought were that early brake gear (trying to follow the instructions carefully) and fitting the Parkside NEM coupling pockets at the correct height. The latter was done with a bit of trial and error using the Bachmann Firestone wagon as a guide (itself an anachronism in the previously mentioned pre-grouping train as it dates from 1928 at the earliest, which is when the Firestone factory in Brentwood opened!). The coupling mounts were packed using some 40 thou plastic on the LBSC wagon and 60 thou on the LSWR one.
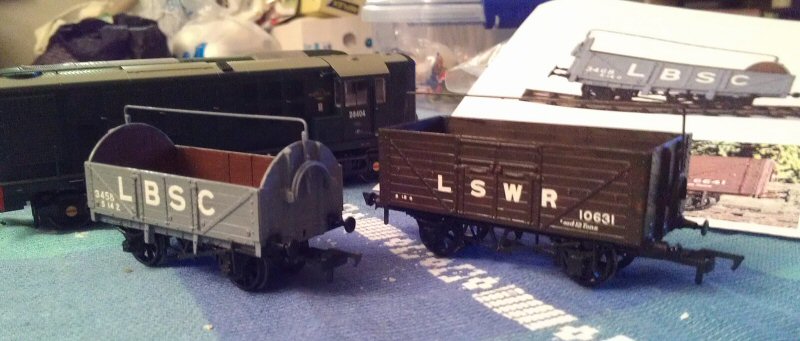
They are yet to be weighted and painted but here are a couple of photos to show the state of play so far.
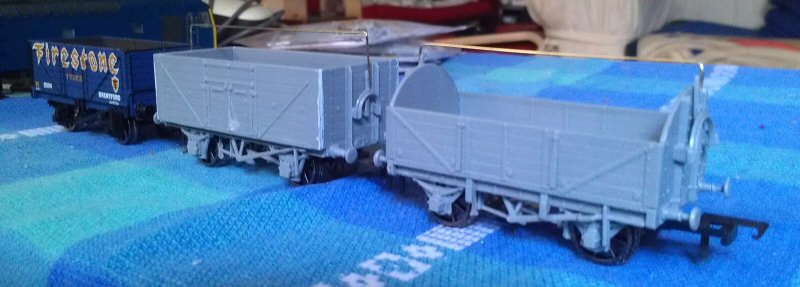
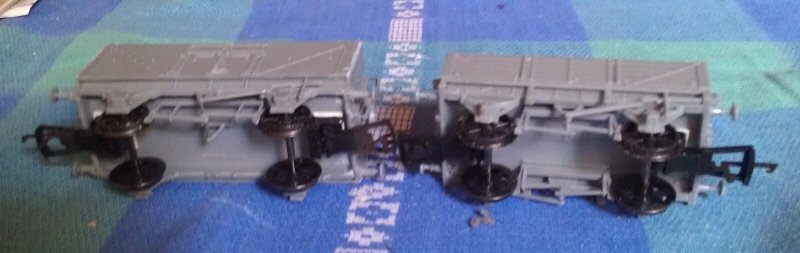
Note that I had to use a little filler on the 8 planker and it hasn't been cleaned up yet in the photos.
Last edit: by SRman
Jeff Lynn,
Amateur layabout, Professional Lurker, Thread hijacker extraordinaire
Amateur layabout, Professional Lurker, Thread hijacker extraordinaire
Posted

Banned
Cheers, Gary.
Posted

Full Member
I have recently been looking at the Hornby Railroad Class 31, to go with a trio of suburban coaches to be a Kings Cross to Kingsmead Suburban train.
I have noticed that you have improved a Lima class 31 on this thread, and I am looking at improving the Hornby Railroad class 31, I hope to add head codes to the head code display box, remove the molded hand rails on the front and replace them with brass wire hand rails, Possibly add flush glazing, and back date the loco to pre-tops numbers.I was wondering if there is any information you could give me on going about this?
some of the questions are- What size brass wire did you use for the hand rails on the nose? I have read 0.45mm on another forum.
- how would you go about the headcode box? cut it out, or trim the detail out and put head codes over the top.
Posted
Full Member
The headcodes are solid so will need to be drilled out if you wish to add lights, otherwise just paint black and use suitable transfers. Personally, if I was doing them I would drill and file then glaze with some clear plastic and add the headcodes behind that. I may yet backdate 31 004 but since that one is a 'skinhead' the headcode idea is irrelevant!

The Hornby body will be almost identical to a Lima issued version and will definitely benefit from the separate handrails as per my efforts. The Hornby chassis has the advantages of better, smoother 5-pole motor, better for DCC, a DCC socket and better wheels and pickups.
And I don't mind the questions in the least. The whole point of posting these sorts of articles is to inspire and assist others … and maybe a little bit of showing off as well!!
:cheers
Last edit: by SRman
Jeff Lynn,
Amateur layabout, Professional Lurker, Thread hijacker extraordinaire
Amateur layabout, Professional Lurker, Thread hijacker extraordinaire
Posted
Full Member
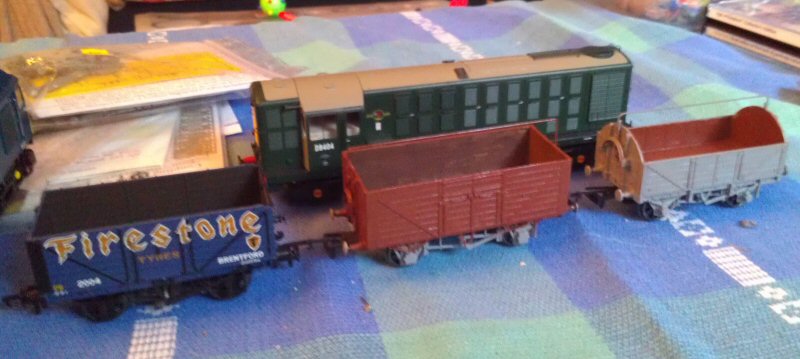

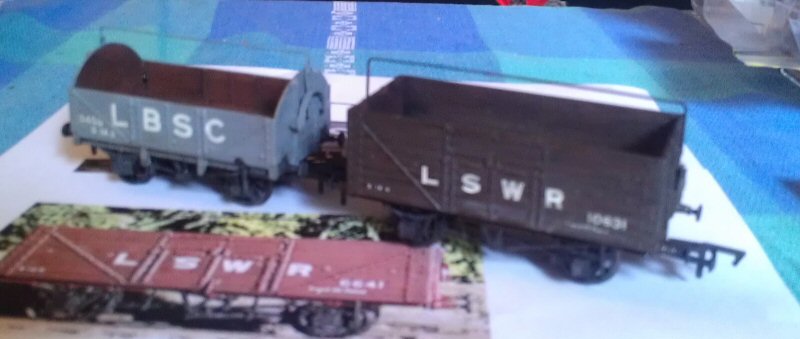
Neither wagon's colour is entirely correct but they are close!
Jeff Lynn,
Amateur layabout, Professional Lurker, Thread hijacker extraordinaire
Amateur layabout, Professional Lurker, Thread hijacker extraordinaire
Posted
Full Member
The transfers have been applied using the HMRS (ex-PC) Pressfix SR wagon sheet, which included lettering and numbers for the SEC, LBSC and LSW Railways. There are a couple of very minor repairs to make to the lettering and numbering, plus the dots between the tare weight numerals to add.
Still to do are a coat or two of matt varnish, to be followed with a bit of weathering.

Last edit: by SRman
Jeff Lynn,
Amateur layabout, Professional Lurker, Thread hijacker extraordinaire
Amateur layabout, Professional Lurker, Thread hijacker extraordinaire
Posted
Banned
Can I ask where you sourced the transfers (Pressfix SR wagon sheet) ??
Cheers, Gary.
Posted
Legacy Member
reg
Posted
Full Member
Gary, the HMRS transfers are available from a few sources. I have had the SR wagon sheet for some time (it is an original PC Models sheet) but I have recently bought HMRS sheets from Mainly Trains and from a model shop in Preston (on eBay - look for Kitlady, or simply type HMRS in the search bar). You are looking for sheet 13, the SR goods sheet. Of course, they have other railways and BR transfers as well! :)
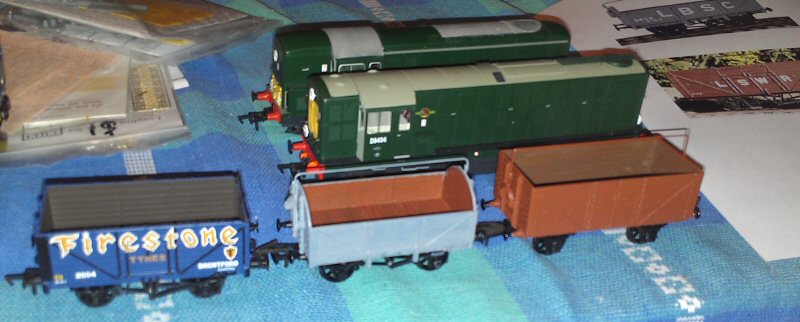
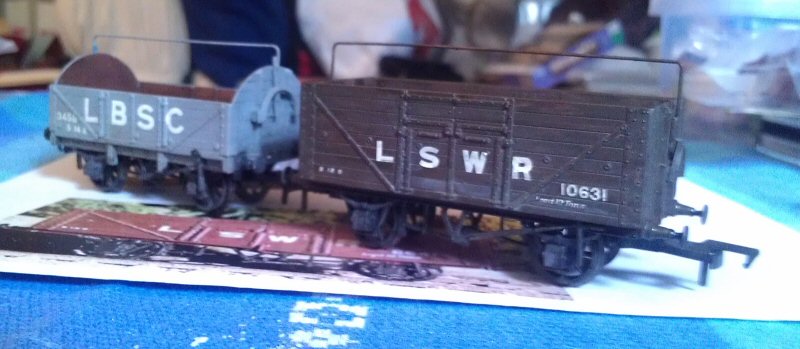
I have now matt varnished the wagons but the difference in appearance is negligible, as far as photos go.
Last edit: by SRman
Jeff Lynn,
Amateur layabout, Professional Lurker, Thread hijacker extraordinaire
Amateur layabout, Professional Lurker, Thread hijacker extraordinaire
Posted
Banned
Cheers, Gary.
Posted
Full Member
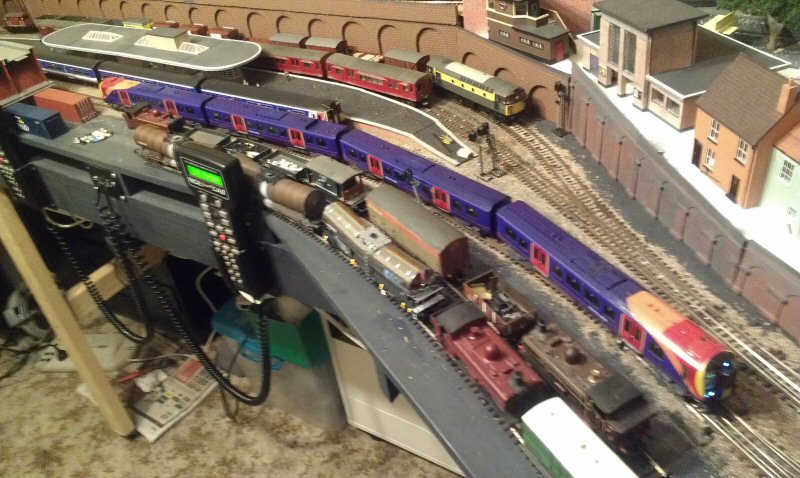
The train also includes my very recently built Cambrian kits LSWR and LBSCR open wagons.


Jeff Lynn,
Amateur layabout, Professional Lurker, Thread hijacker extraordinaire
Amateur layabout, Professional Lurker, Thread hijacker extraordinaire
Posted

Site staff
Regards
Alan
Born beside the mighty GWR.
Alan
Born beside the mighty GWR.
Posted
Full Member
:cool:
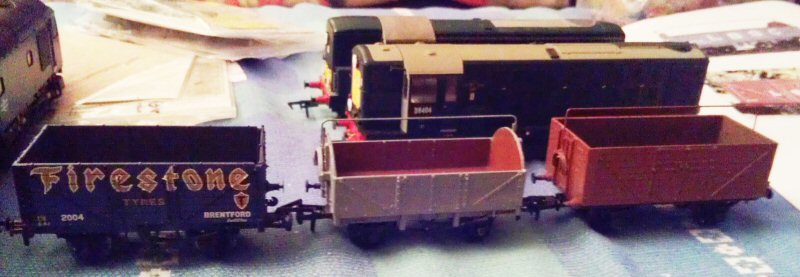
Of course, putting it into black and white / sepia tones does rather negate the colourful nature of the rake!!
Last edit: by SRman
Jeff Lynn,
Amateur layabout, Professional Lurker, Thread hijacker extraordinaire
Amateur layabout, Professional Lurker, Thread hijacker extraordinaire
Posted
Full Member

:cool wink
Jeff Lynn,
Amateur layabout, Professional Lurker, Thread hijacker extraordinaire
Amateur layabout, Professional Lurker, Thread hijacker extraordinaire
Posted
Full Member
The effects are fairly subtle and only just show up in the photos.
Jeff Lynn,
Amateur layabout, Professional Lurker, Thread hijacker extraordinaire
Amateur layabout, Professional Lurker, Thread hijacker extraordinaire
Posted
Full Member
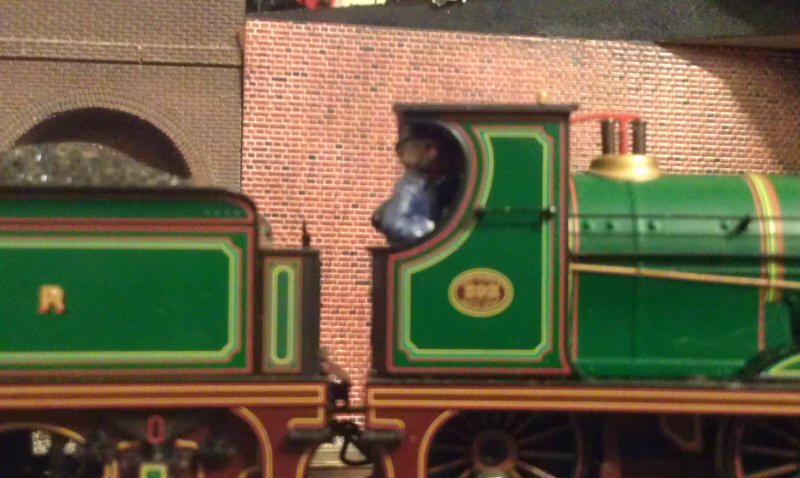
My good friend Graham in Brisbane picked up the crew for me on his recent trip to Britain.
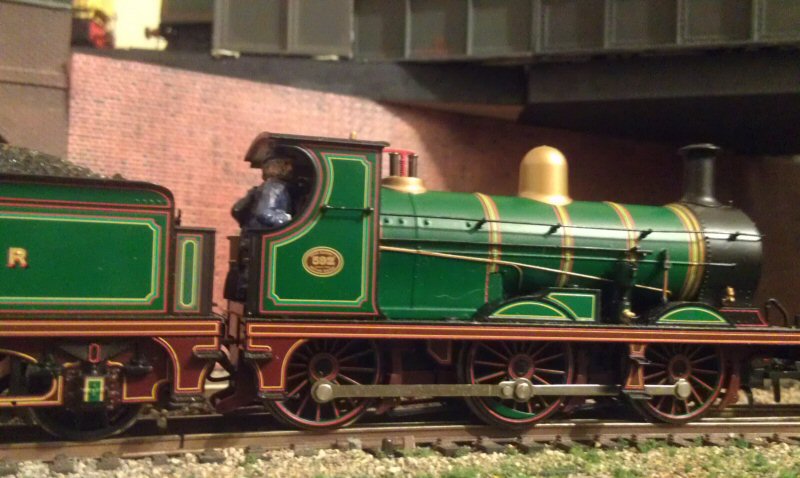
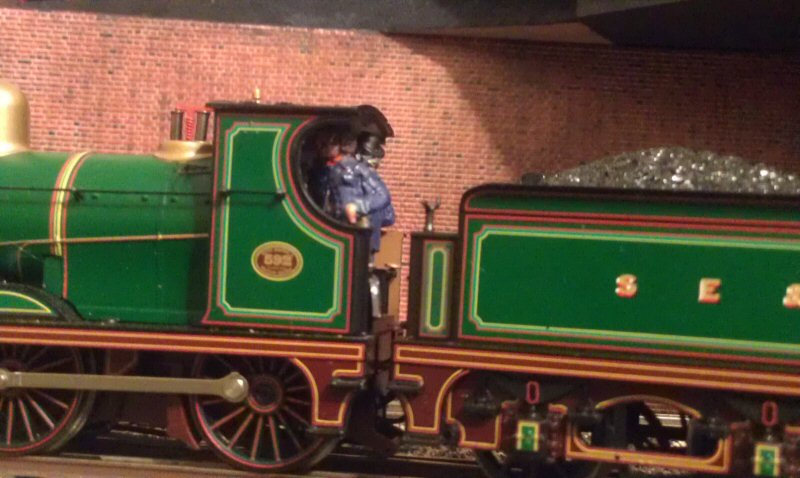
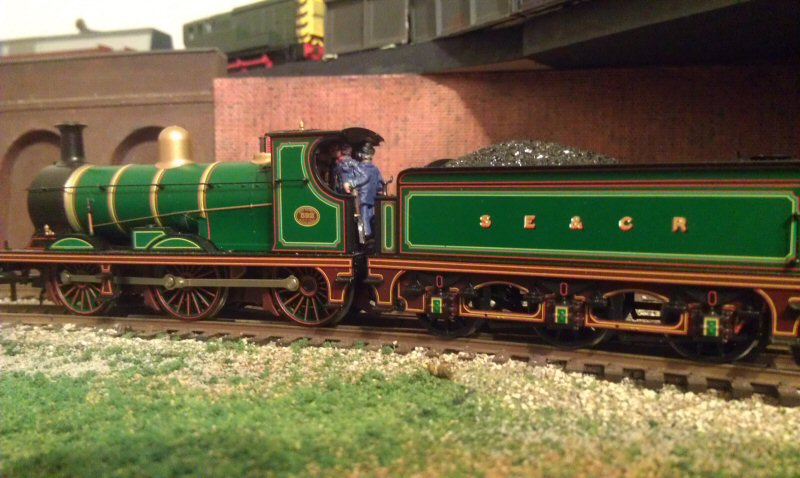
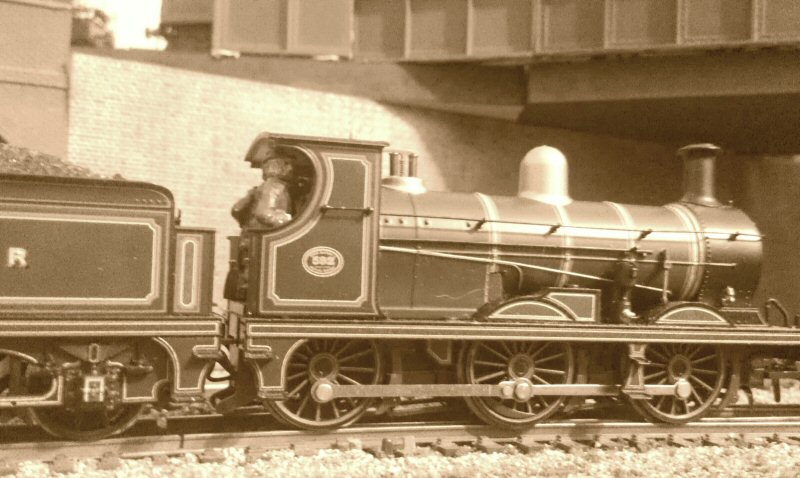
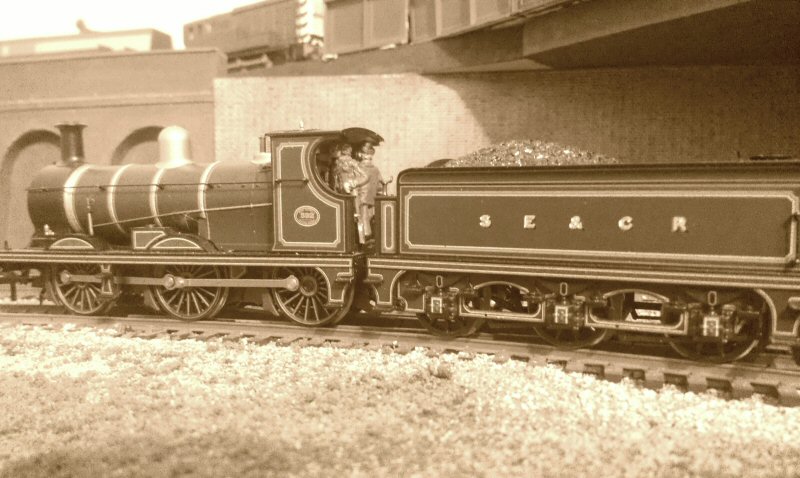


All that's missing are steam and smoke effects (these would not be in the spirit of the 'How realistic are your models' thread if I was to photoshop them in but I may yet do it for my own satisfaction). I will do something about that metal coal load, too!
Jeff Lynn,
Amateur layabout, Professional Lurker, Thread hijacker extraordinaire
Amateur layabout, Professional Lurker, Thread hijacker extraordinaire
Posted
Full Member

Next items to be fitted will be the wooden brake blocks. The kit has etched brass blocks which are way too thin to properly represent the wood, so my intention is to use the brass blocks as templates to add some 40 or 60 thou plasticard, which will be glued to the brass bits then fitted to the van.
Once those are done, I can fit the handrails, lamp irons, step boards and complete the painting and decorating for full service.
Last edit: by SRman
Jeff Lynn,
Amateur layabout, Professional Lurker, Thread hijacker extraordinaire
Amateur layabout, Professional Lurker, Thread hijacker extraordinaire
1 guest and 0 members have just viewed this.